
 NEWS 240417 ABOUT DSL-e
I’ve made a remaster of Damn Small Linux 2024 rc3– 32 bit. My first remaster of DSL 2024 is from 240207. The New DSL 2024 has been reborn as a compact Linux distribution tailored for low-spec x86 computers. It packs a lot of applications into a small package. All the applications are chosen for their functionality, small size, and low dependencies. DSL 2024 also has many text-based applications that make it handy to use in a term window or TTY.
The original DSL was of 50MB many years ago. DSL 2024 rc3 is of 700MB. The reason for that: A 50MB distribution, was a lot of fun and one of the things I am most proud of as a personal accomplishment. However, as a concept, it was in the right place at the right time, and the computer industry has changed a lot since then. While it would be possible to make a bootable Xwindows 50MB distribution today, it would be missing many drivers and have only a handful of very rudimentary applications. People would find such a distribution a fun toy or something to build upon, but it would not be usable for the average computer user out of the gate.
My remaster of DSL 2024 rc3 is of 1100MB. The reason for that is that I’ve added some real useful packages:
1. Firefox (a good Web Browser is a must I think)
2. Changed Desktop DE from Fluxbox to LXDE, which is more useful
3. GParted
4. PulseAudio and Pavucontrol (for sound to work)
5. Synaptic (a really useful package manager)
6. VLC (a Multimedia Player)
7. Changed kernel from 5.10.188-antix to 6.6.15-exton.
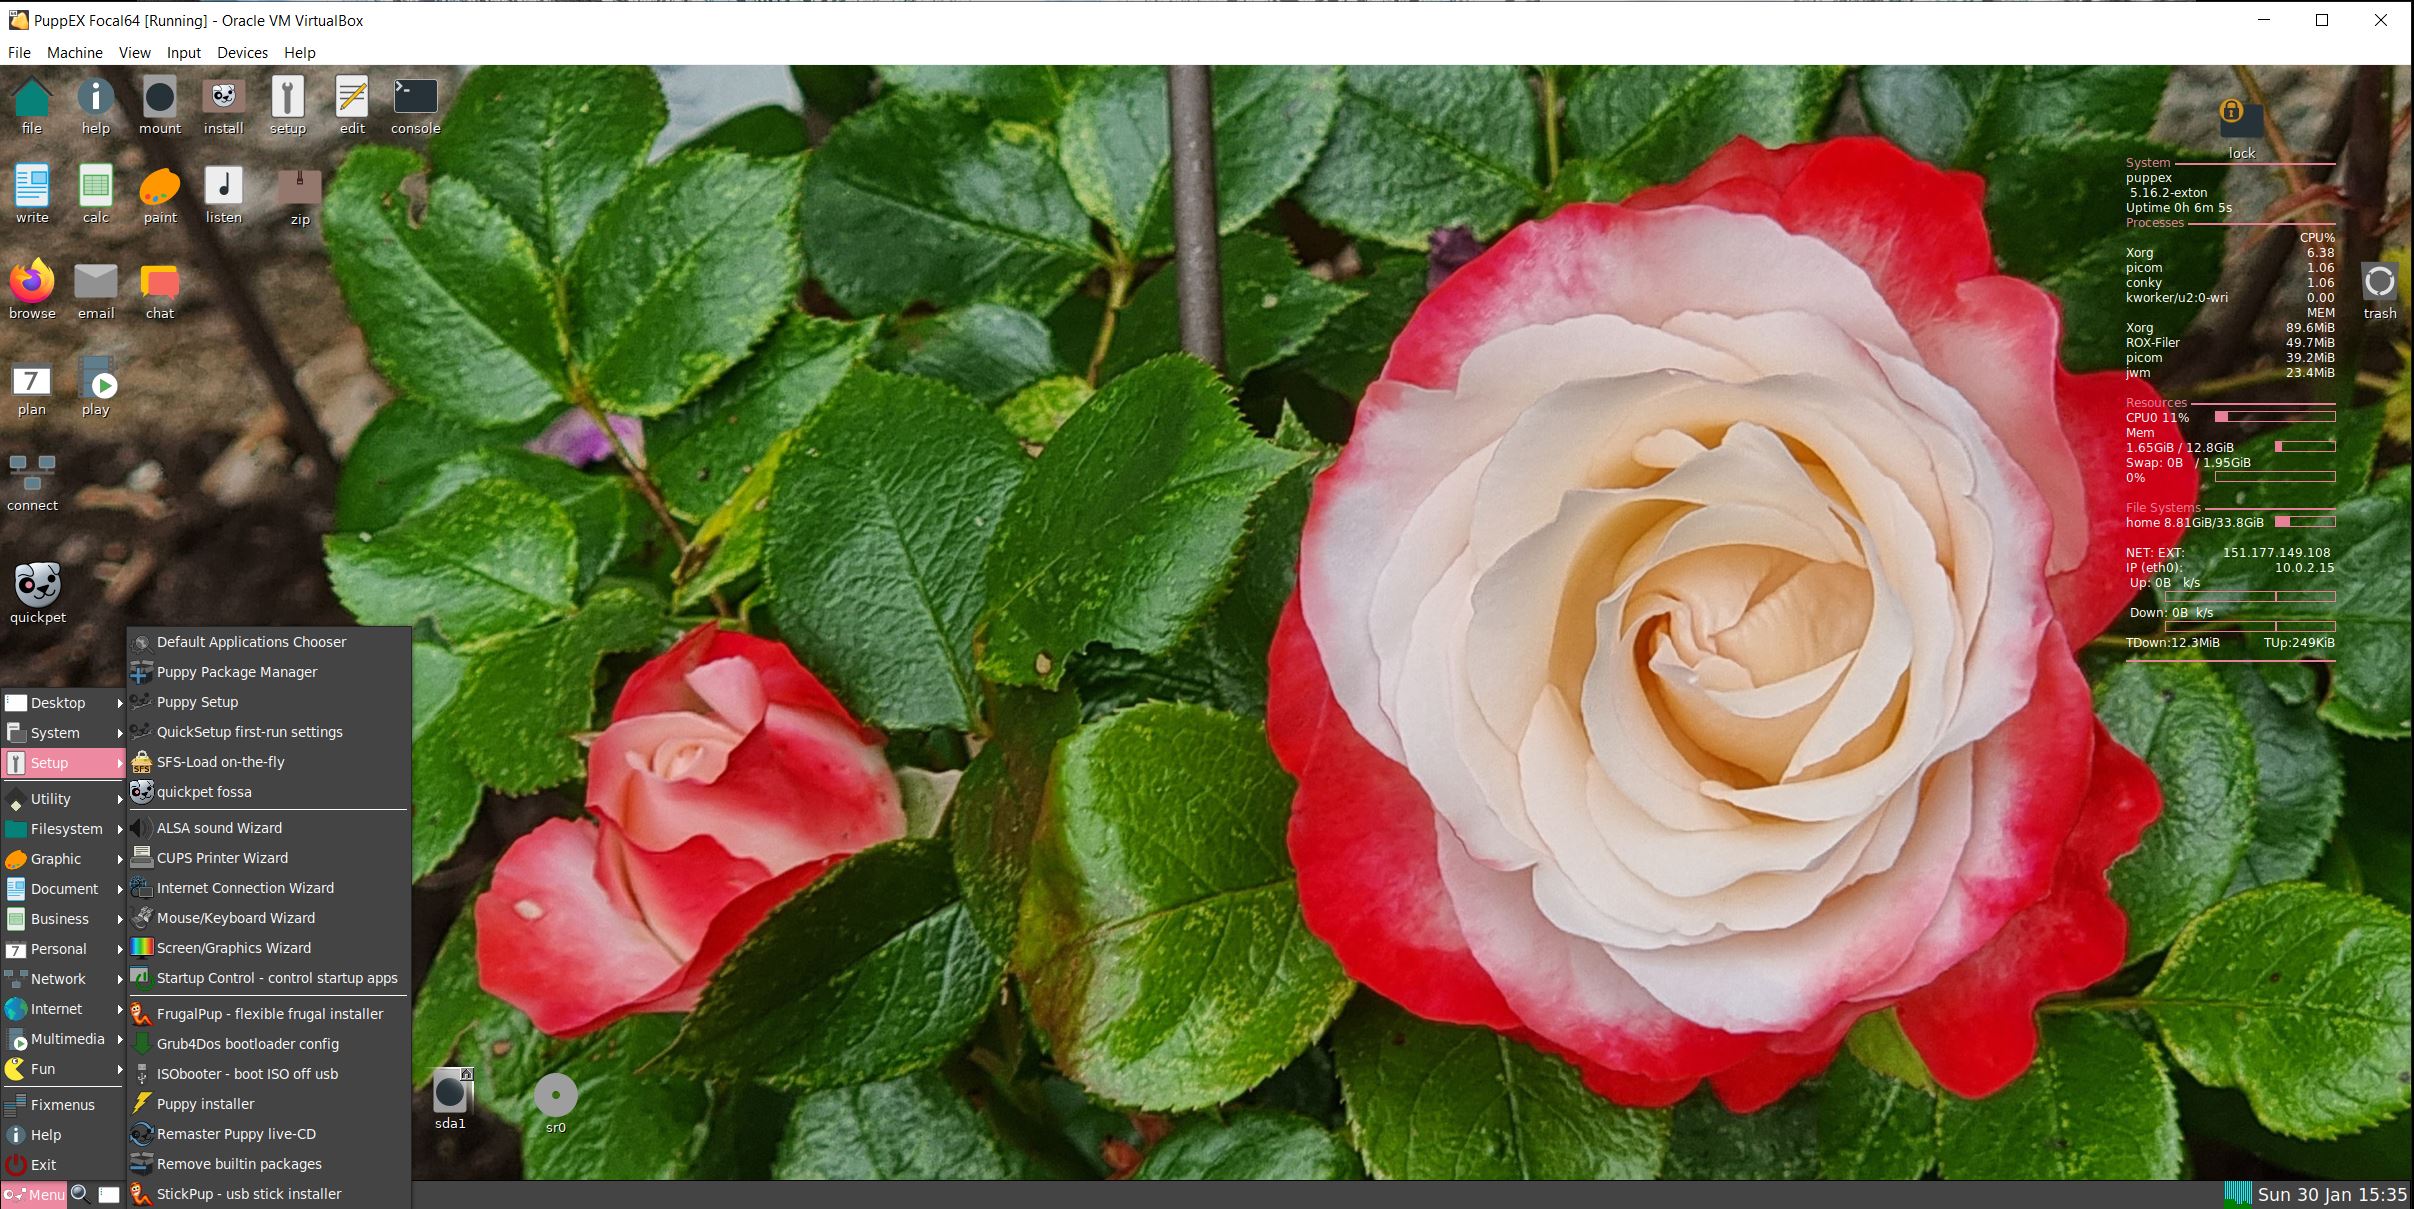
8. VirtualBox Guest Additions are pre-installed so you can always run DSL-e in full screen in VirtualBox!
9. Samba is installed so that you can reach your Windows computers in your home network
10. I’ve arranged so that you can run DSL-e also on UEFI computers. I.e. you can boot DSL-e both in UEFI and Legacy mode.
Note1:I could run and install DSL-e without problems on my oldest computer. An Acer Aspire 5102WLMi from the year 2006. So now you too can bring back life to your (very) old computer!
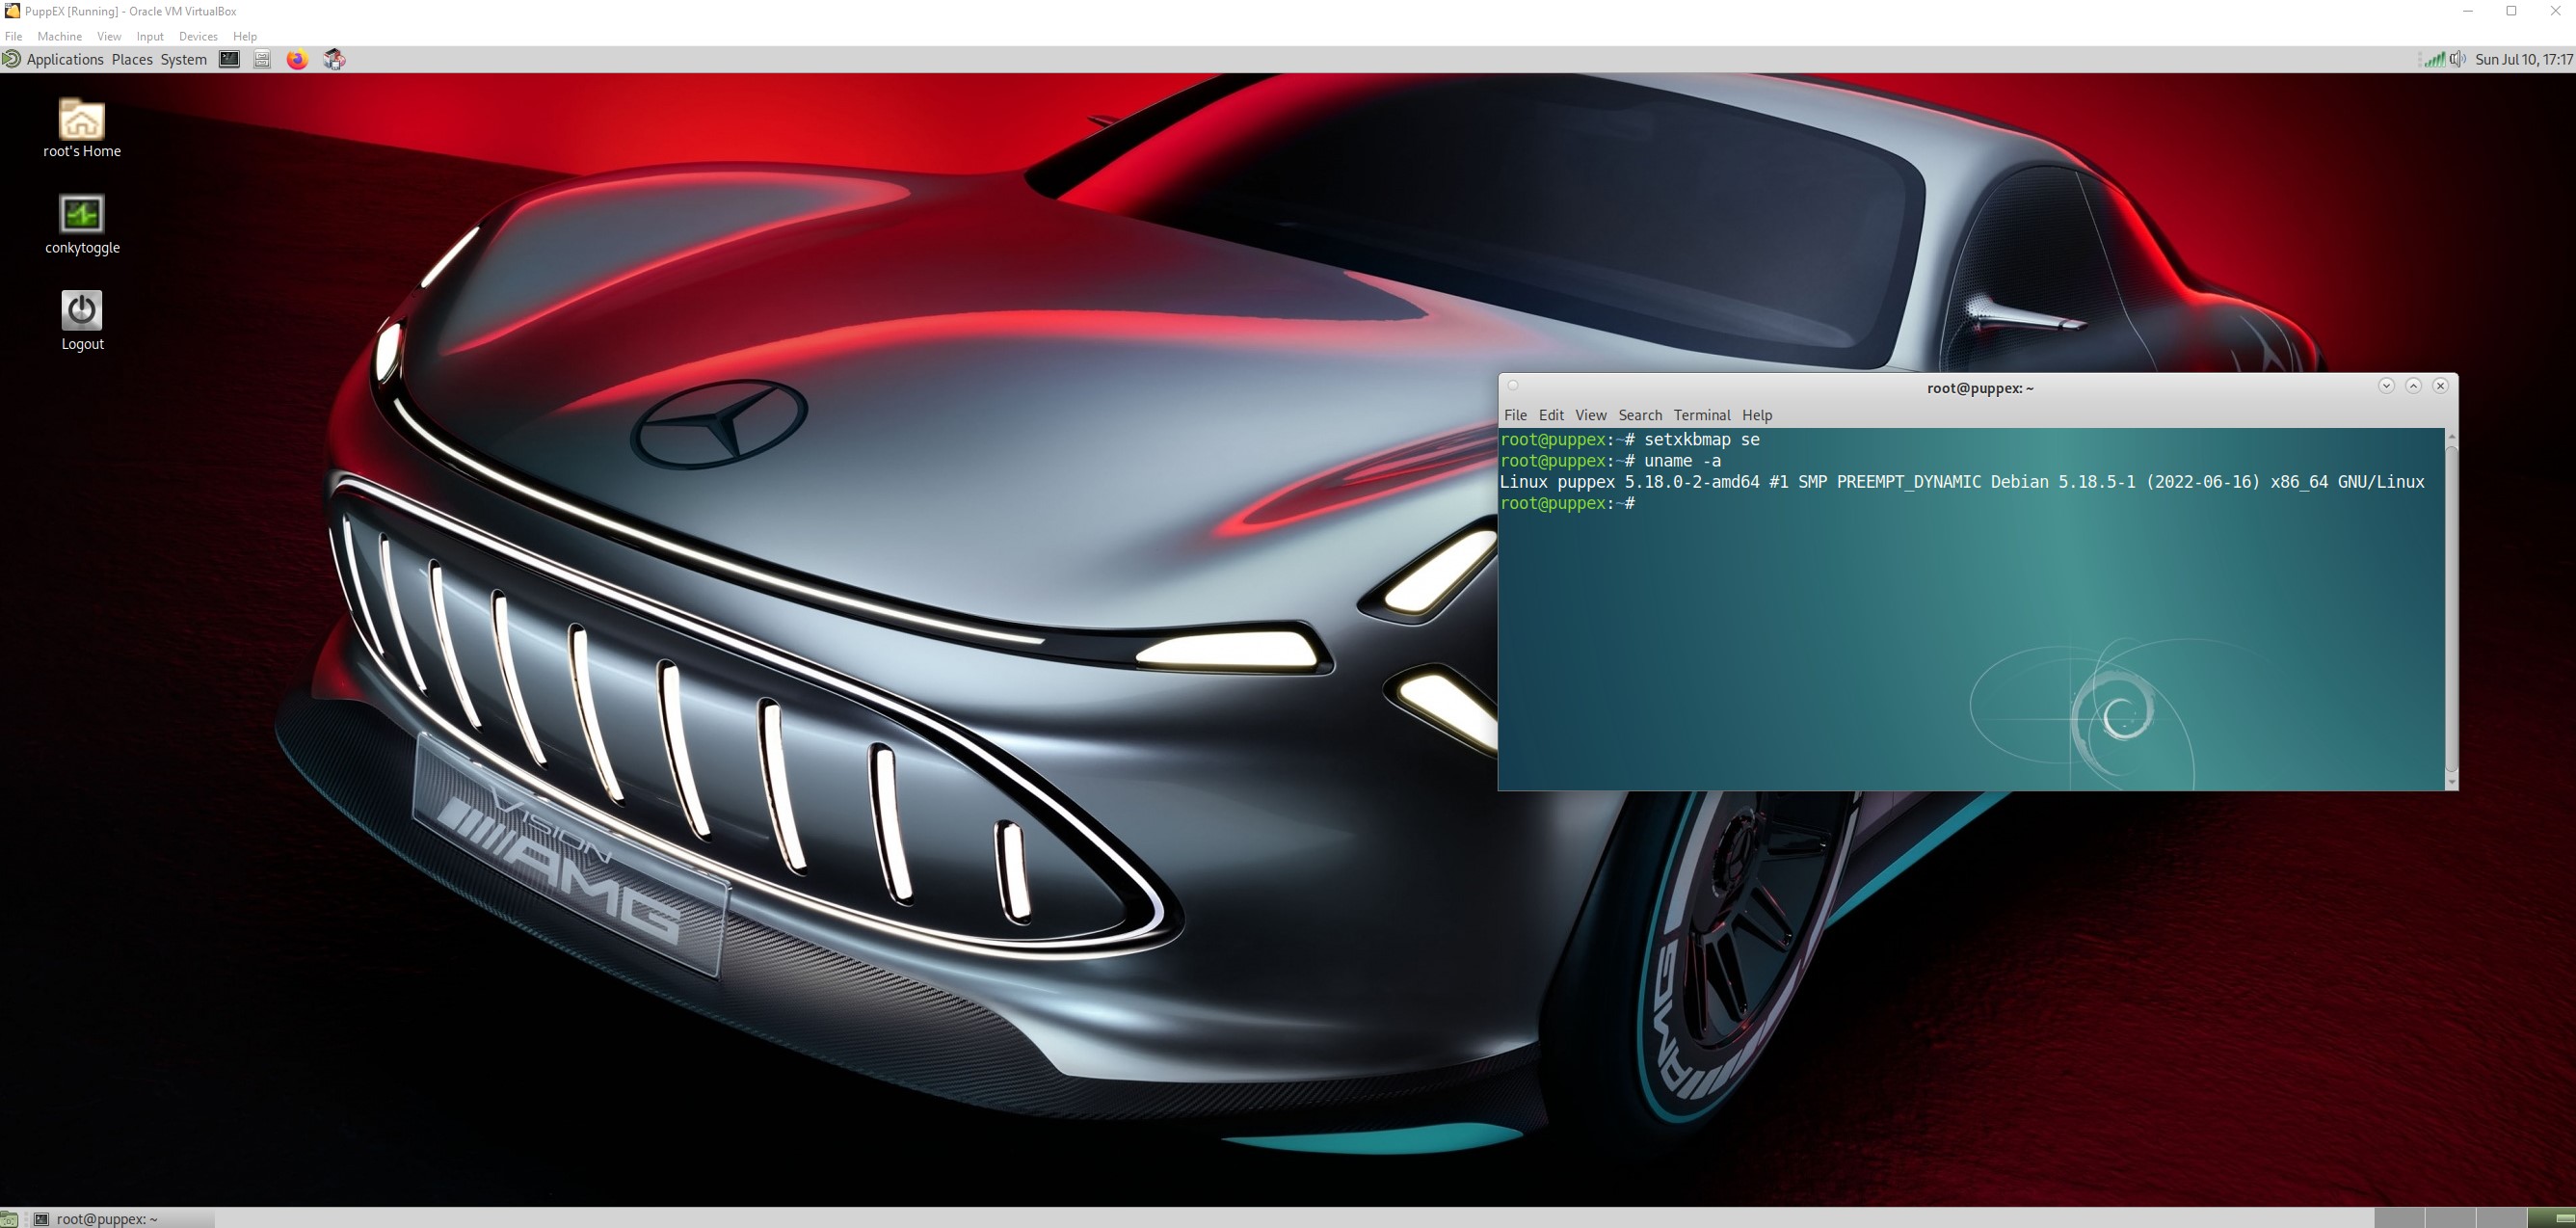
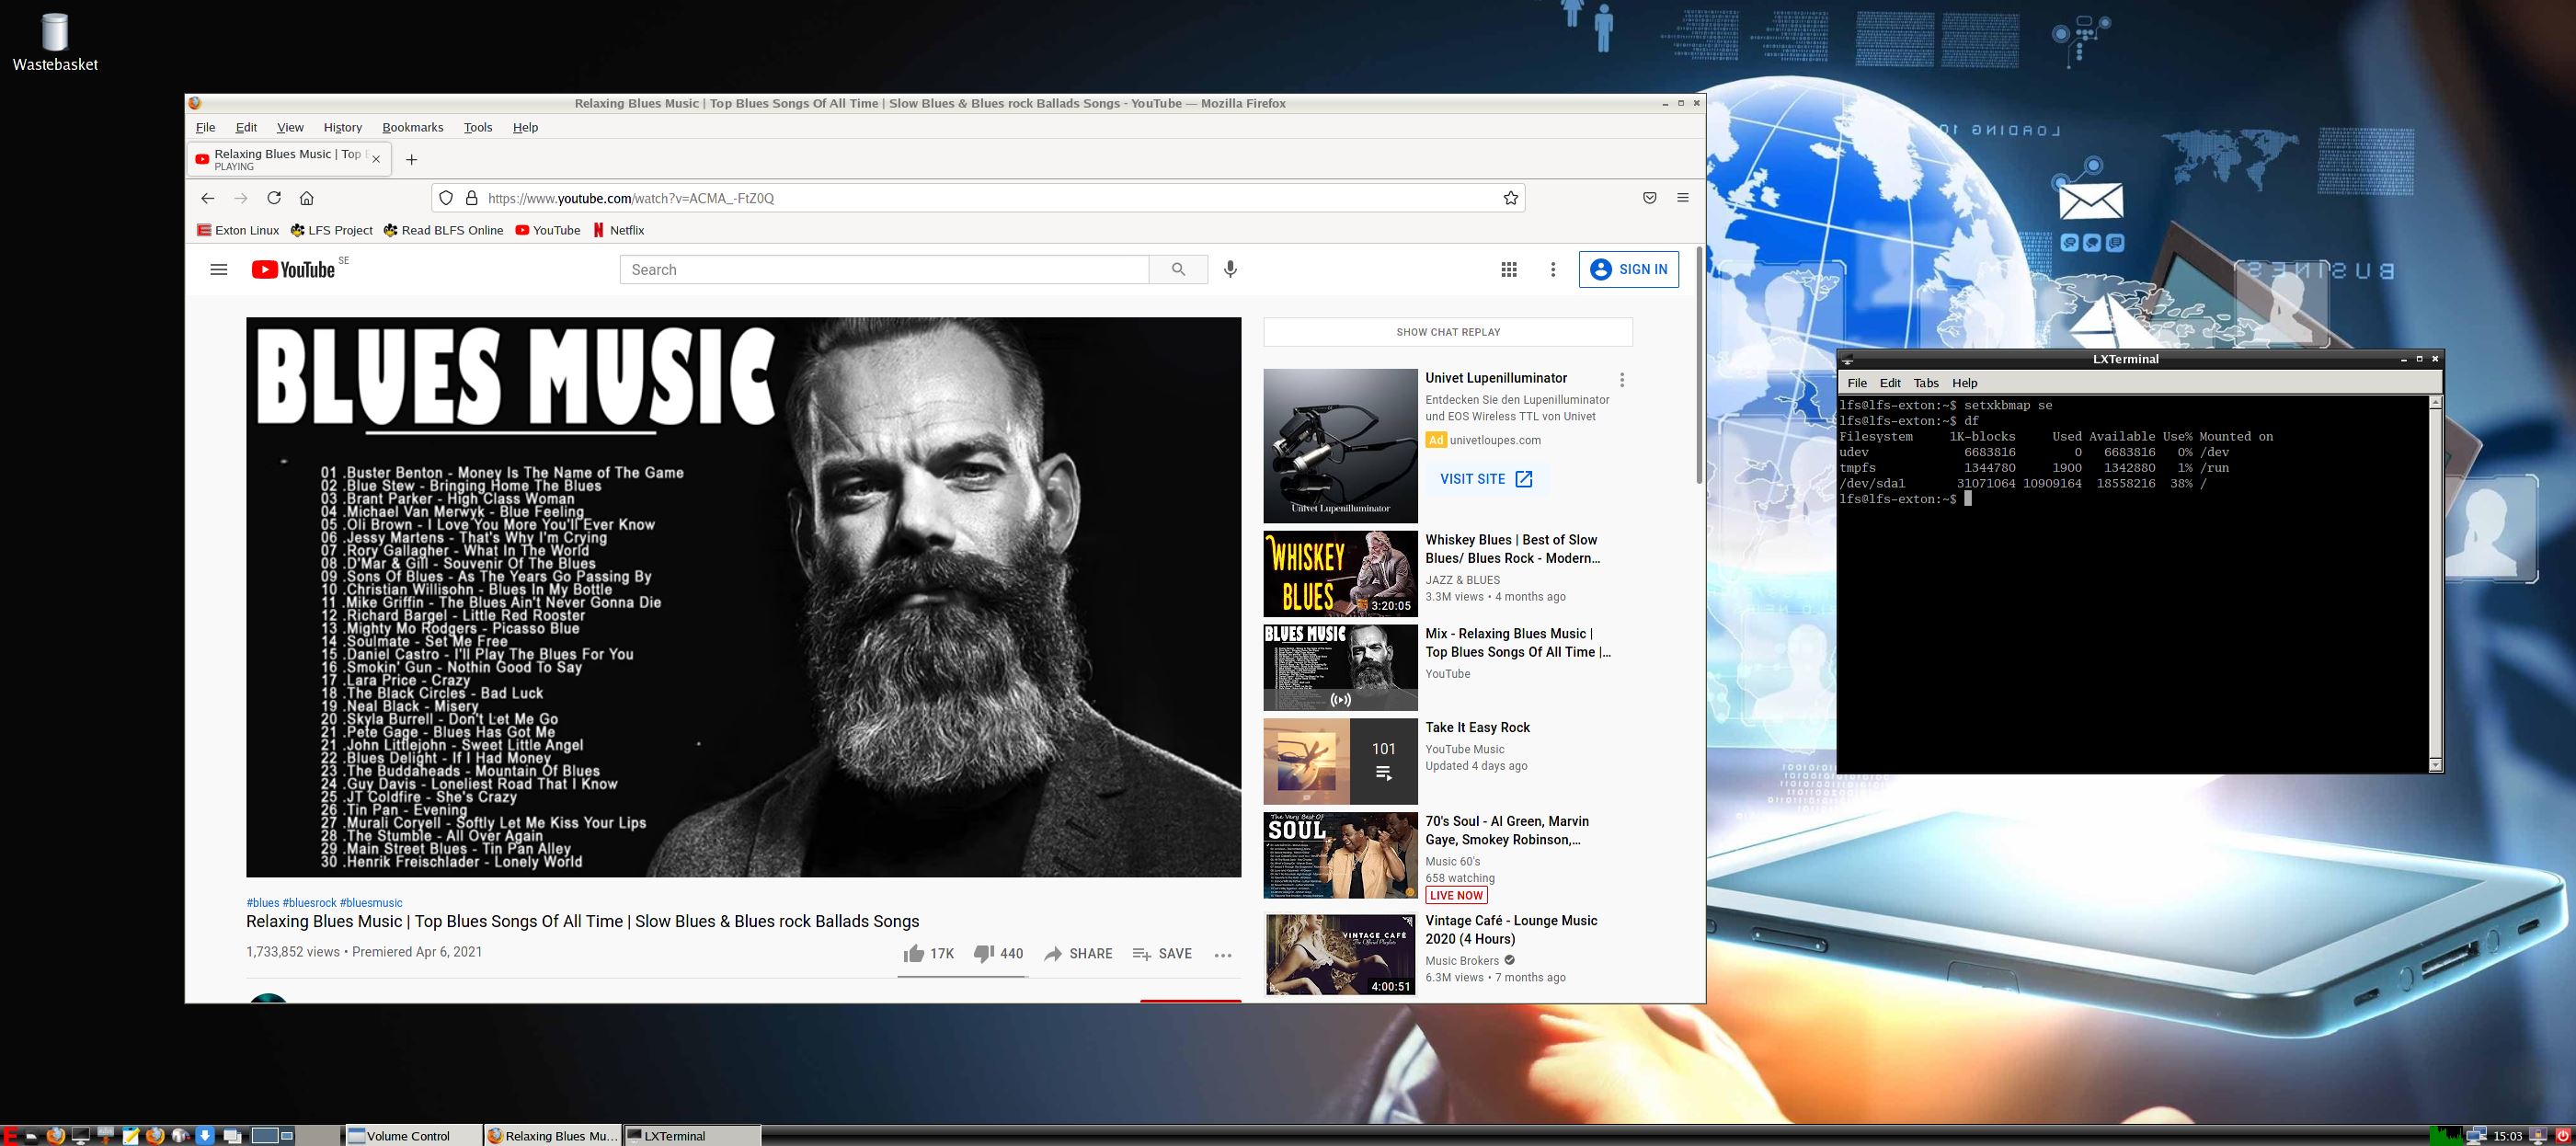
NOTE2: VirtualBox Guest Additions are pre-installed, which means that you can run DSL-e in full screen in VirtualBox. Watch this screenshot…
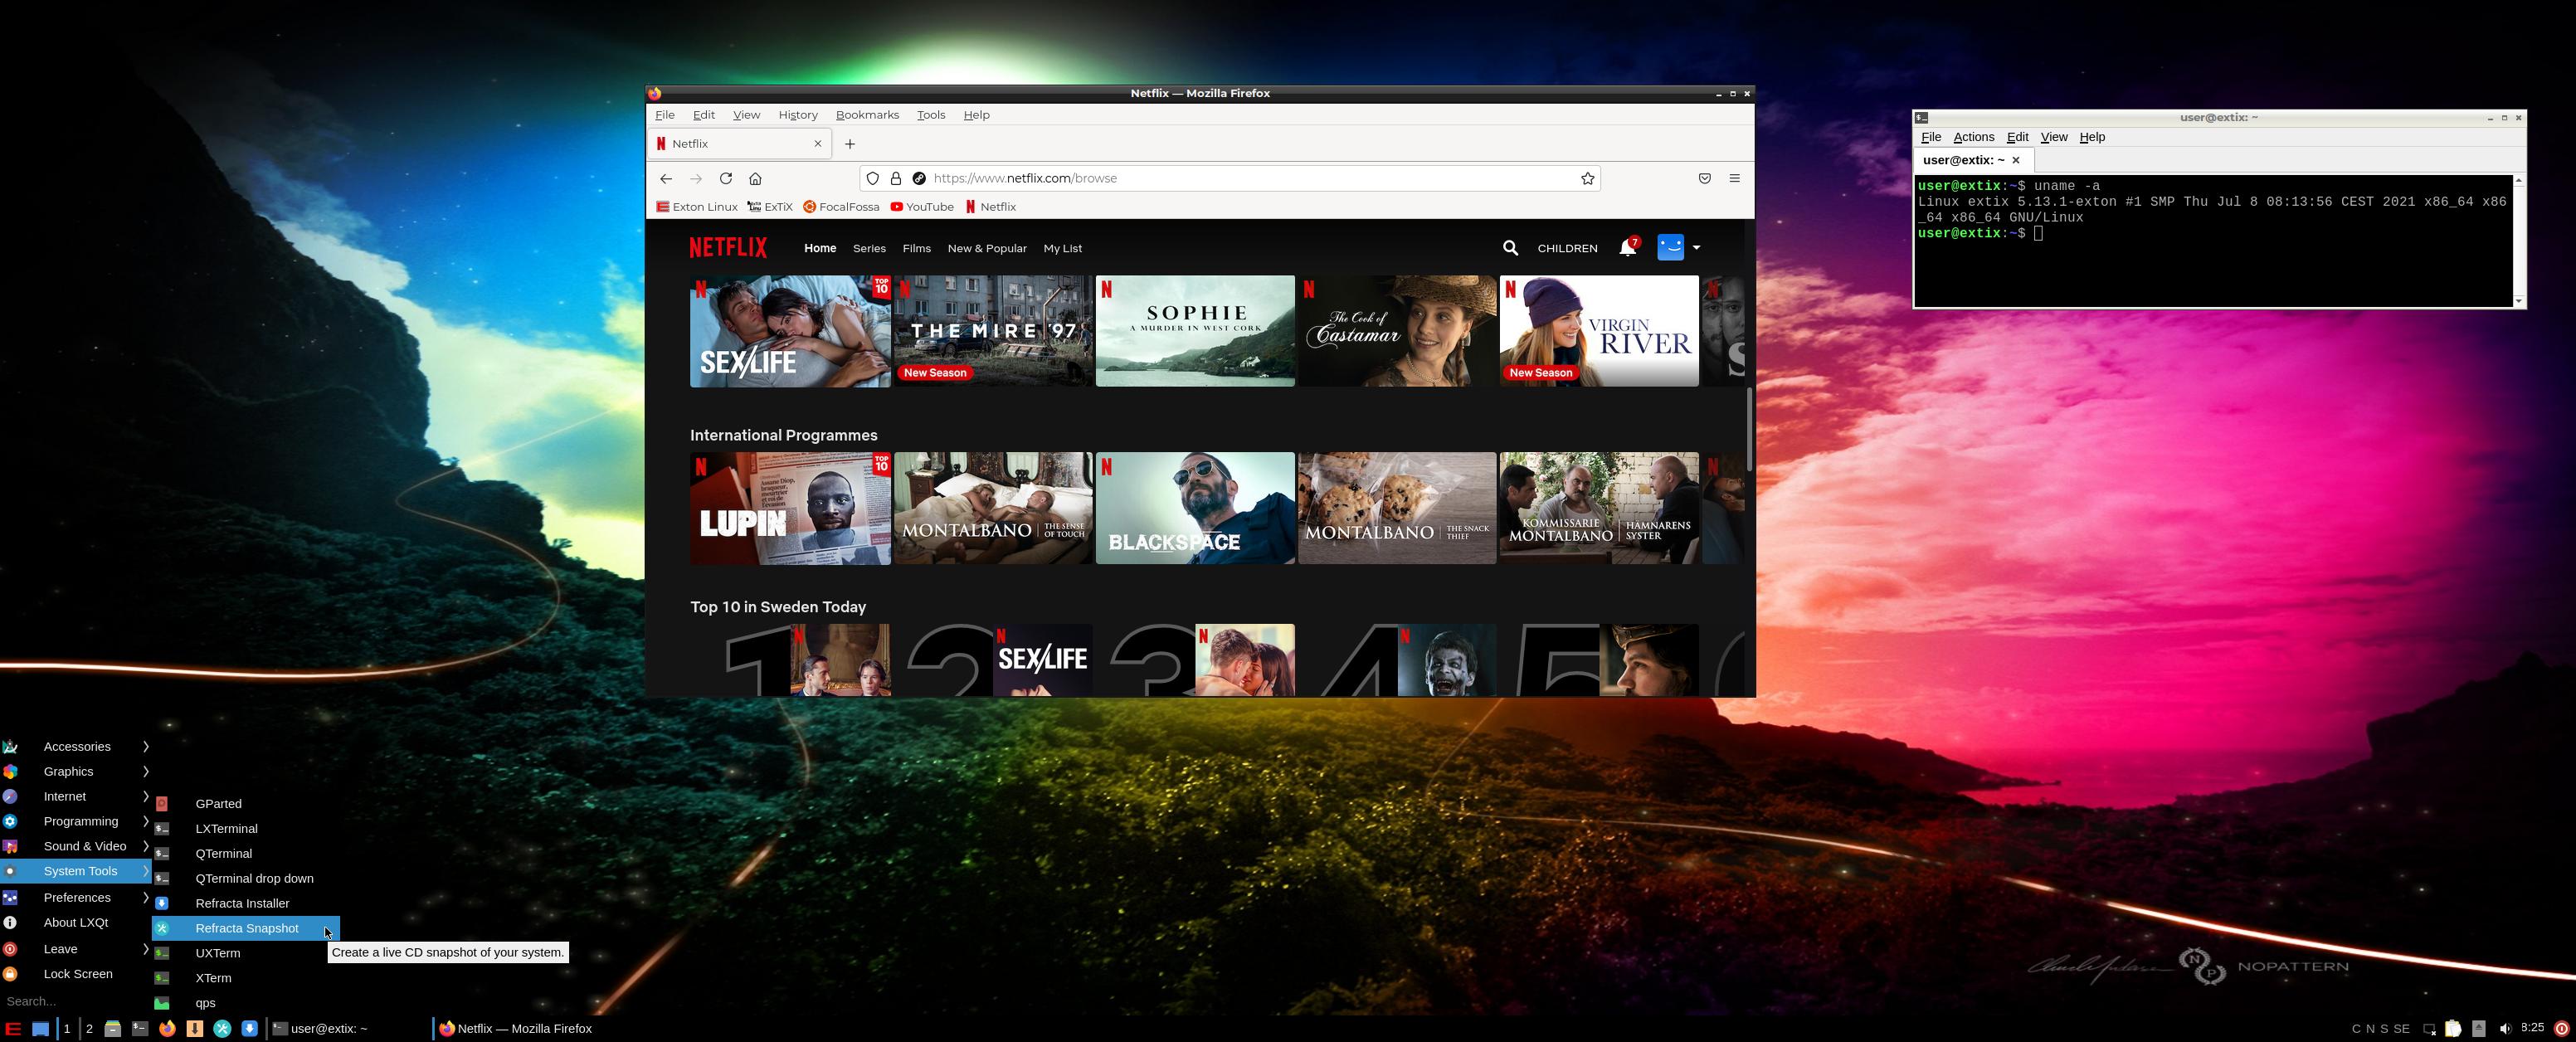
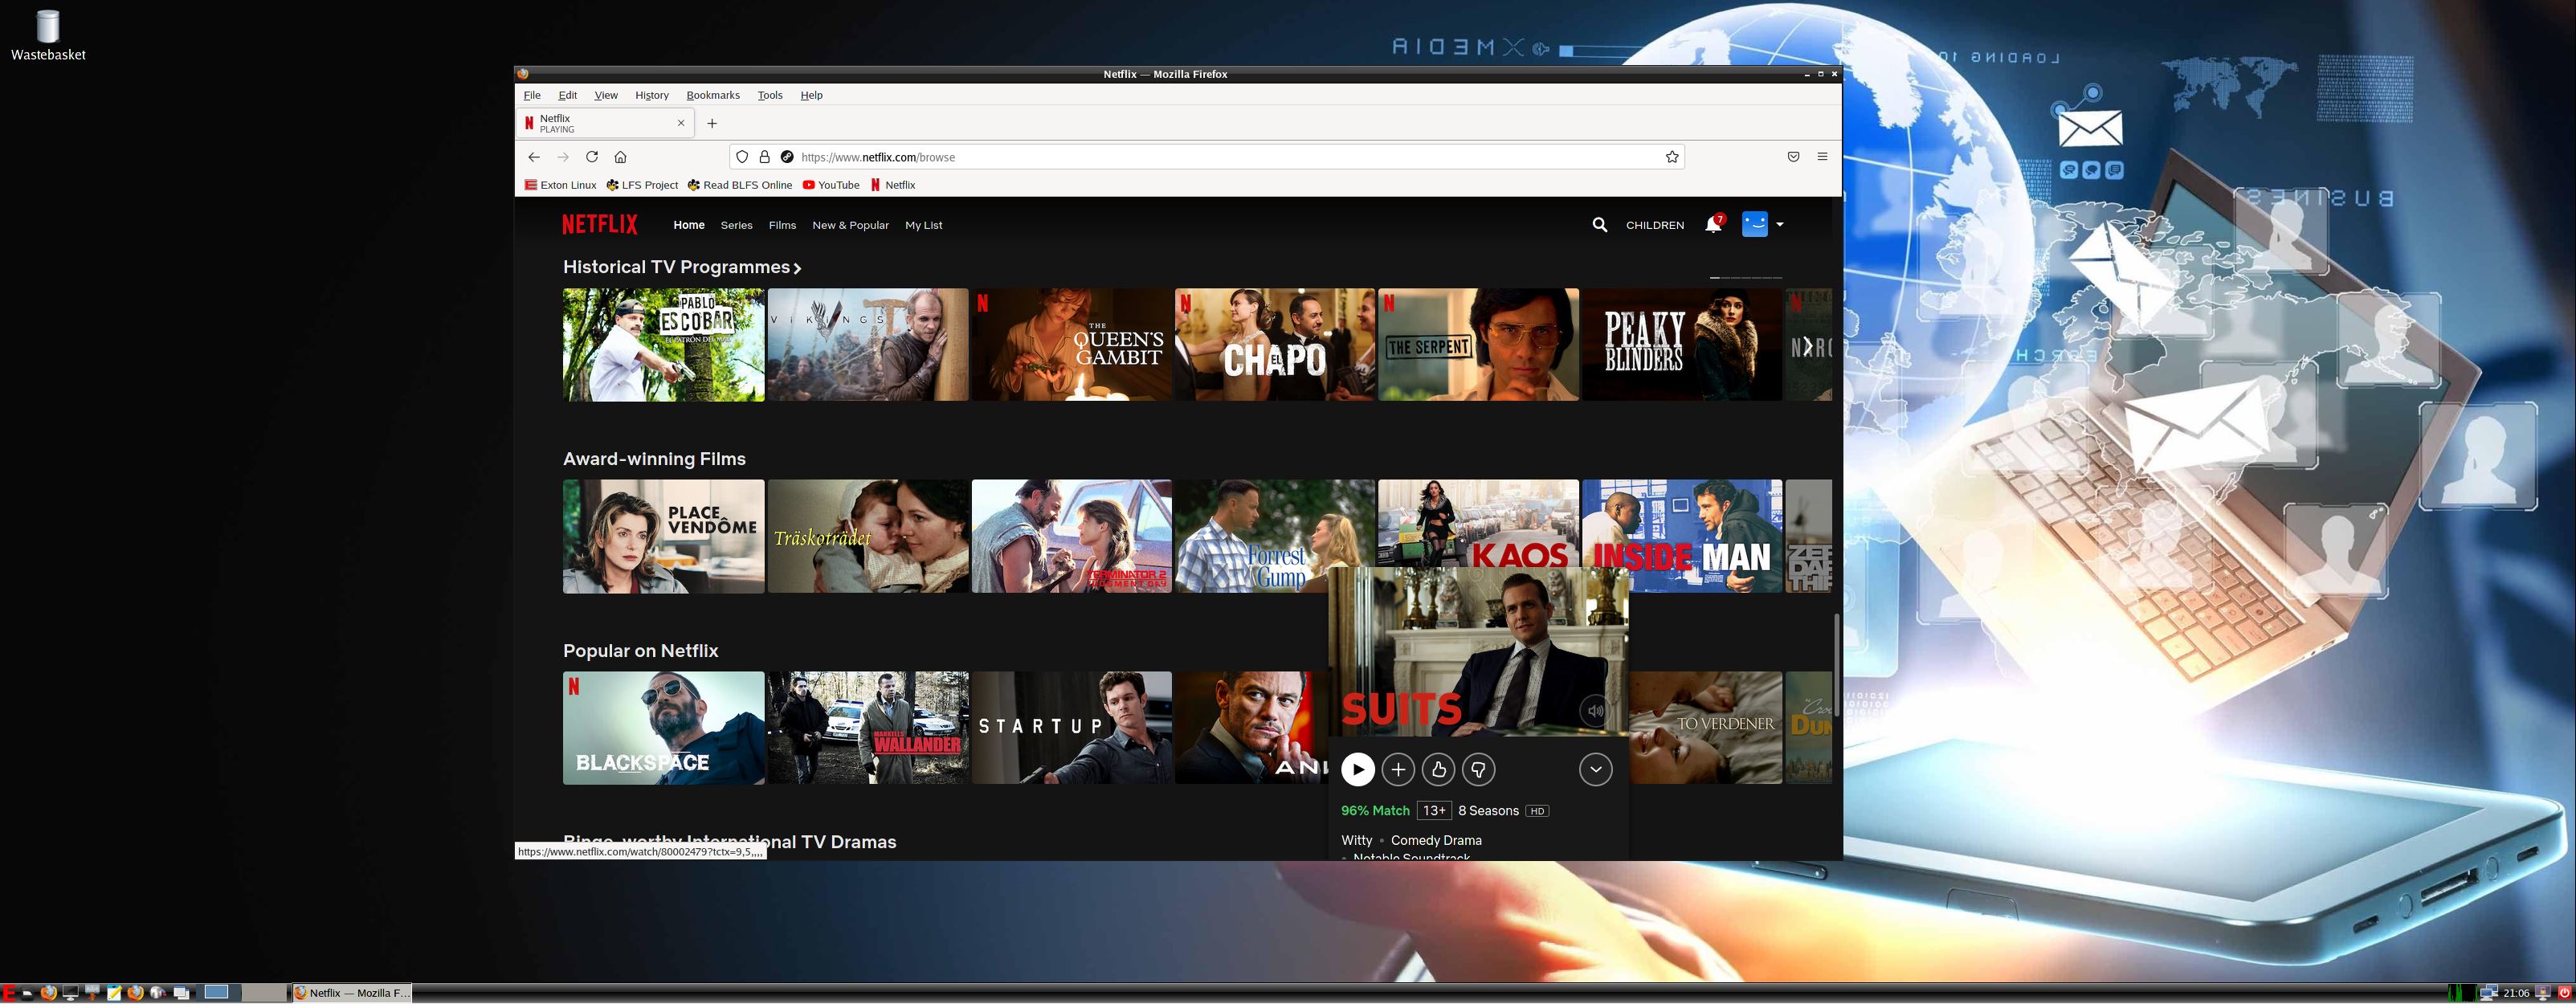
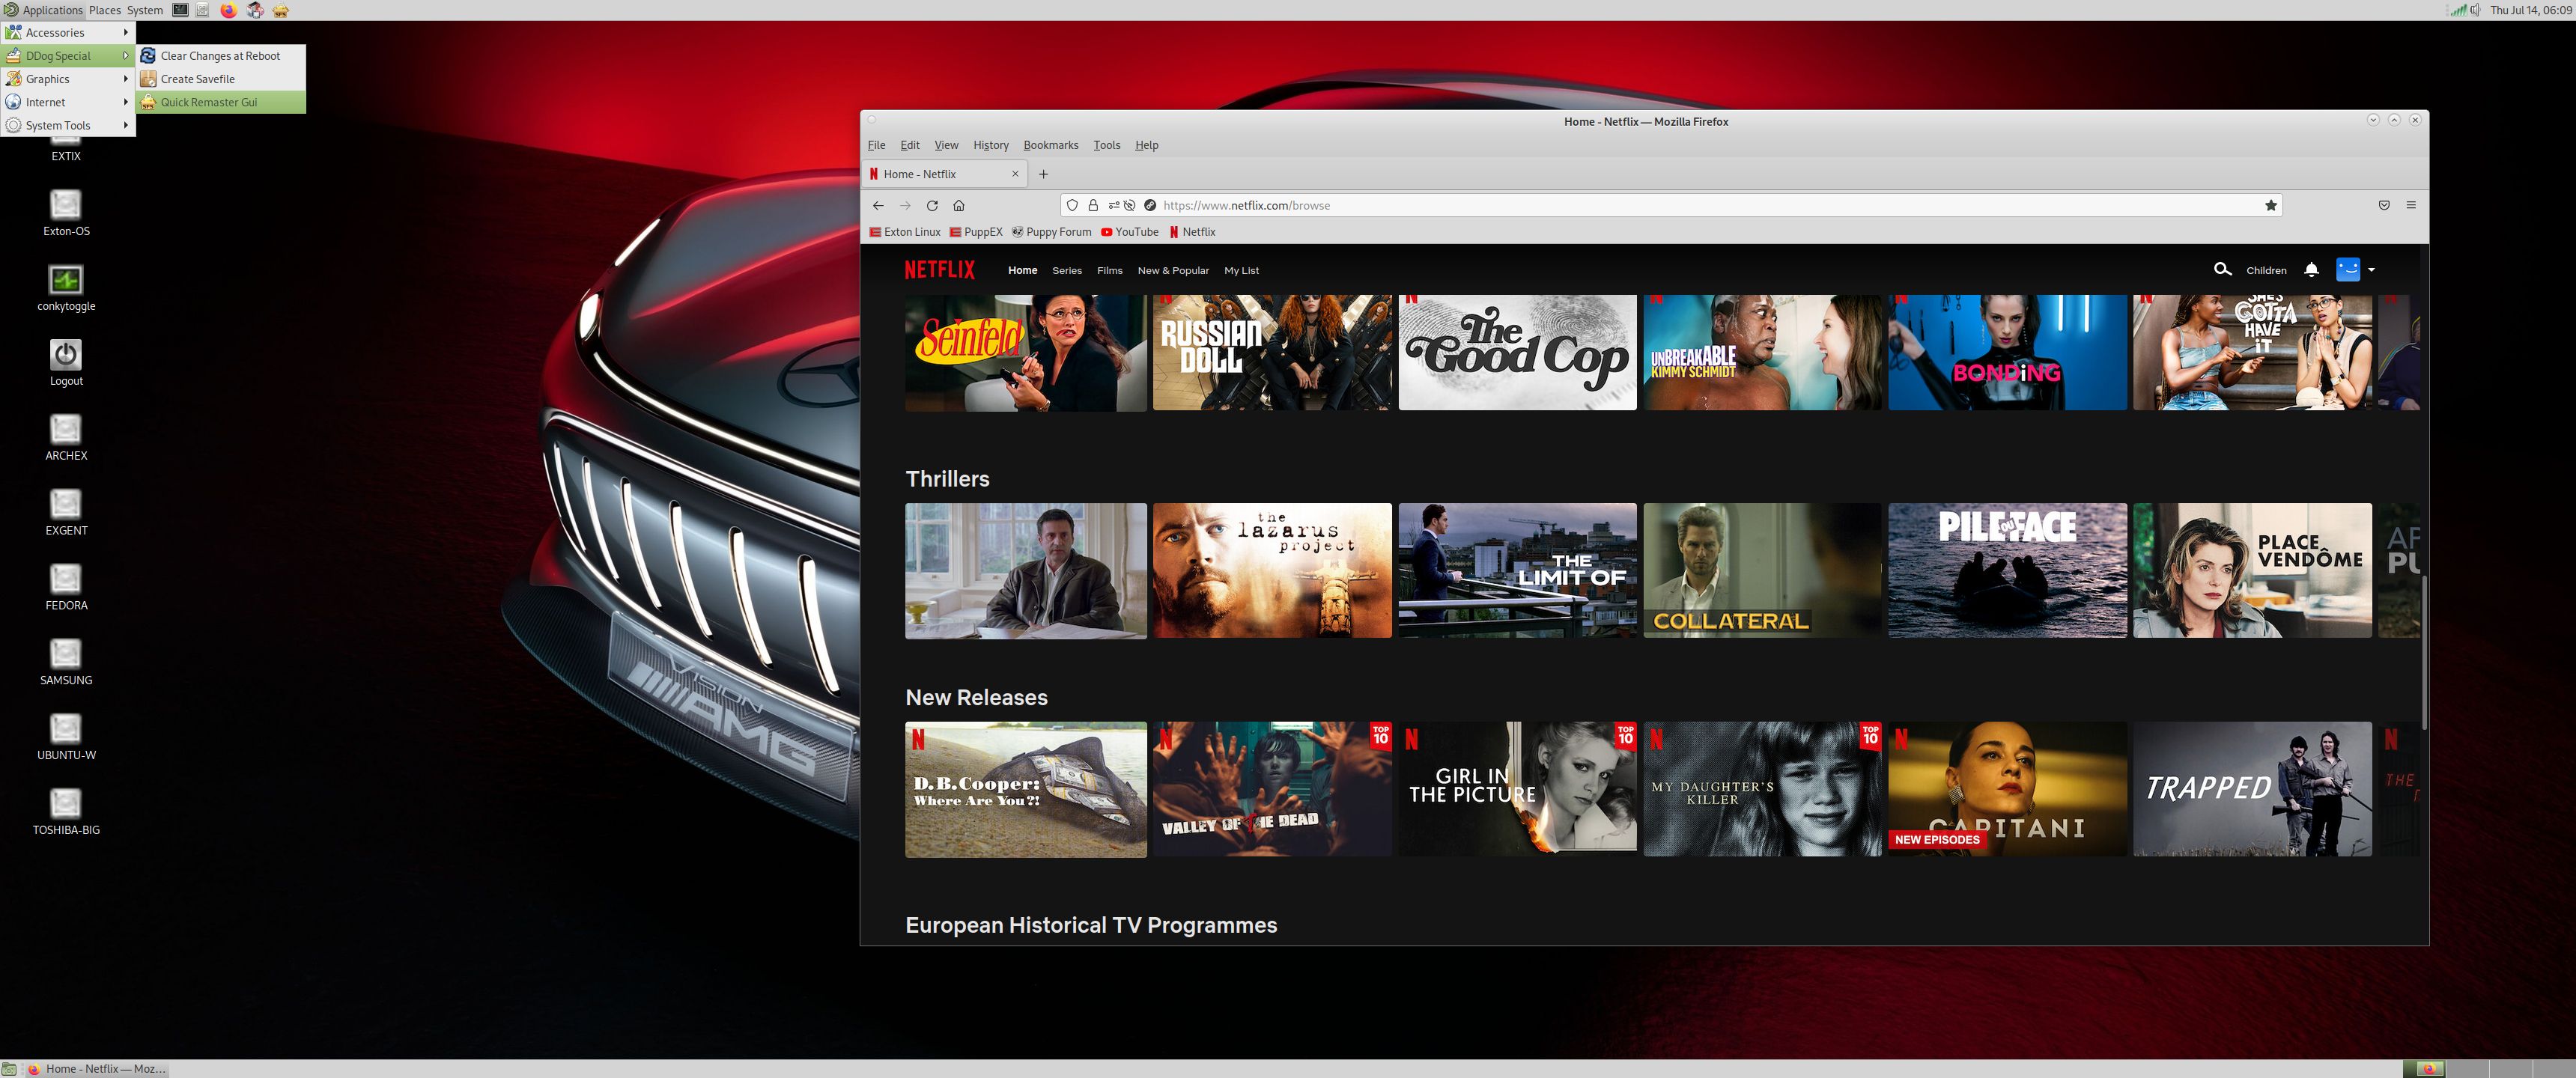
NOTE3: You can’t watch Netflix using Firefox in DSL-e: That’s because Google no longer support Widevine on 32 bit systems.
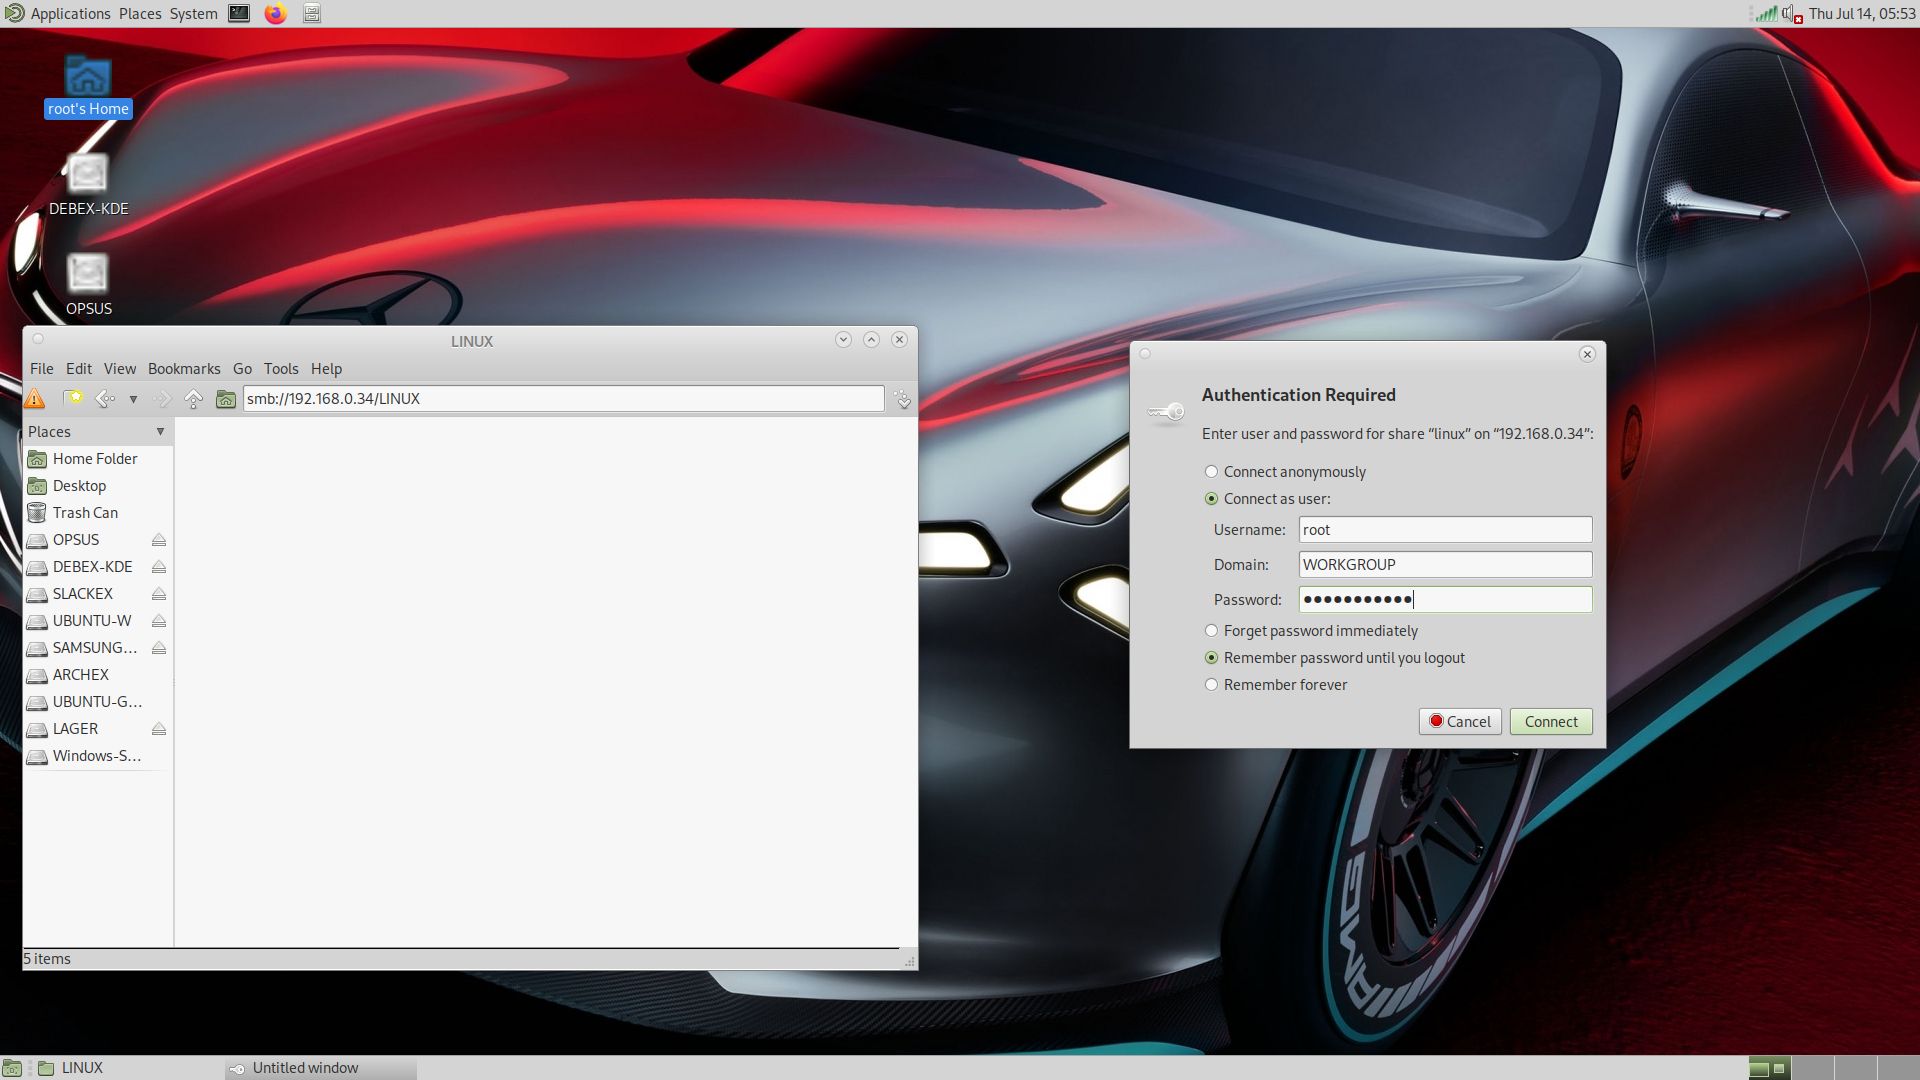
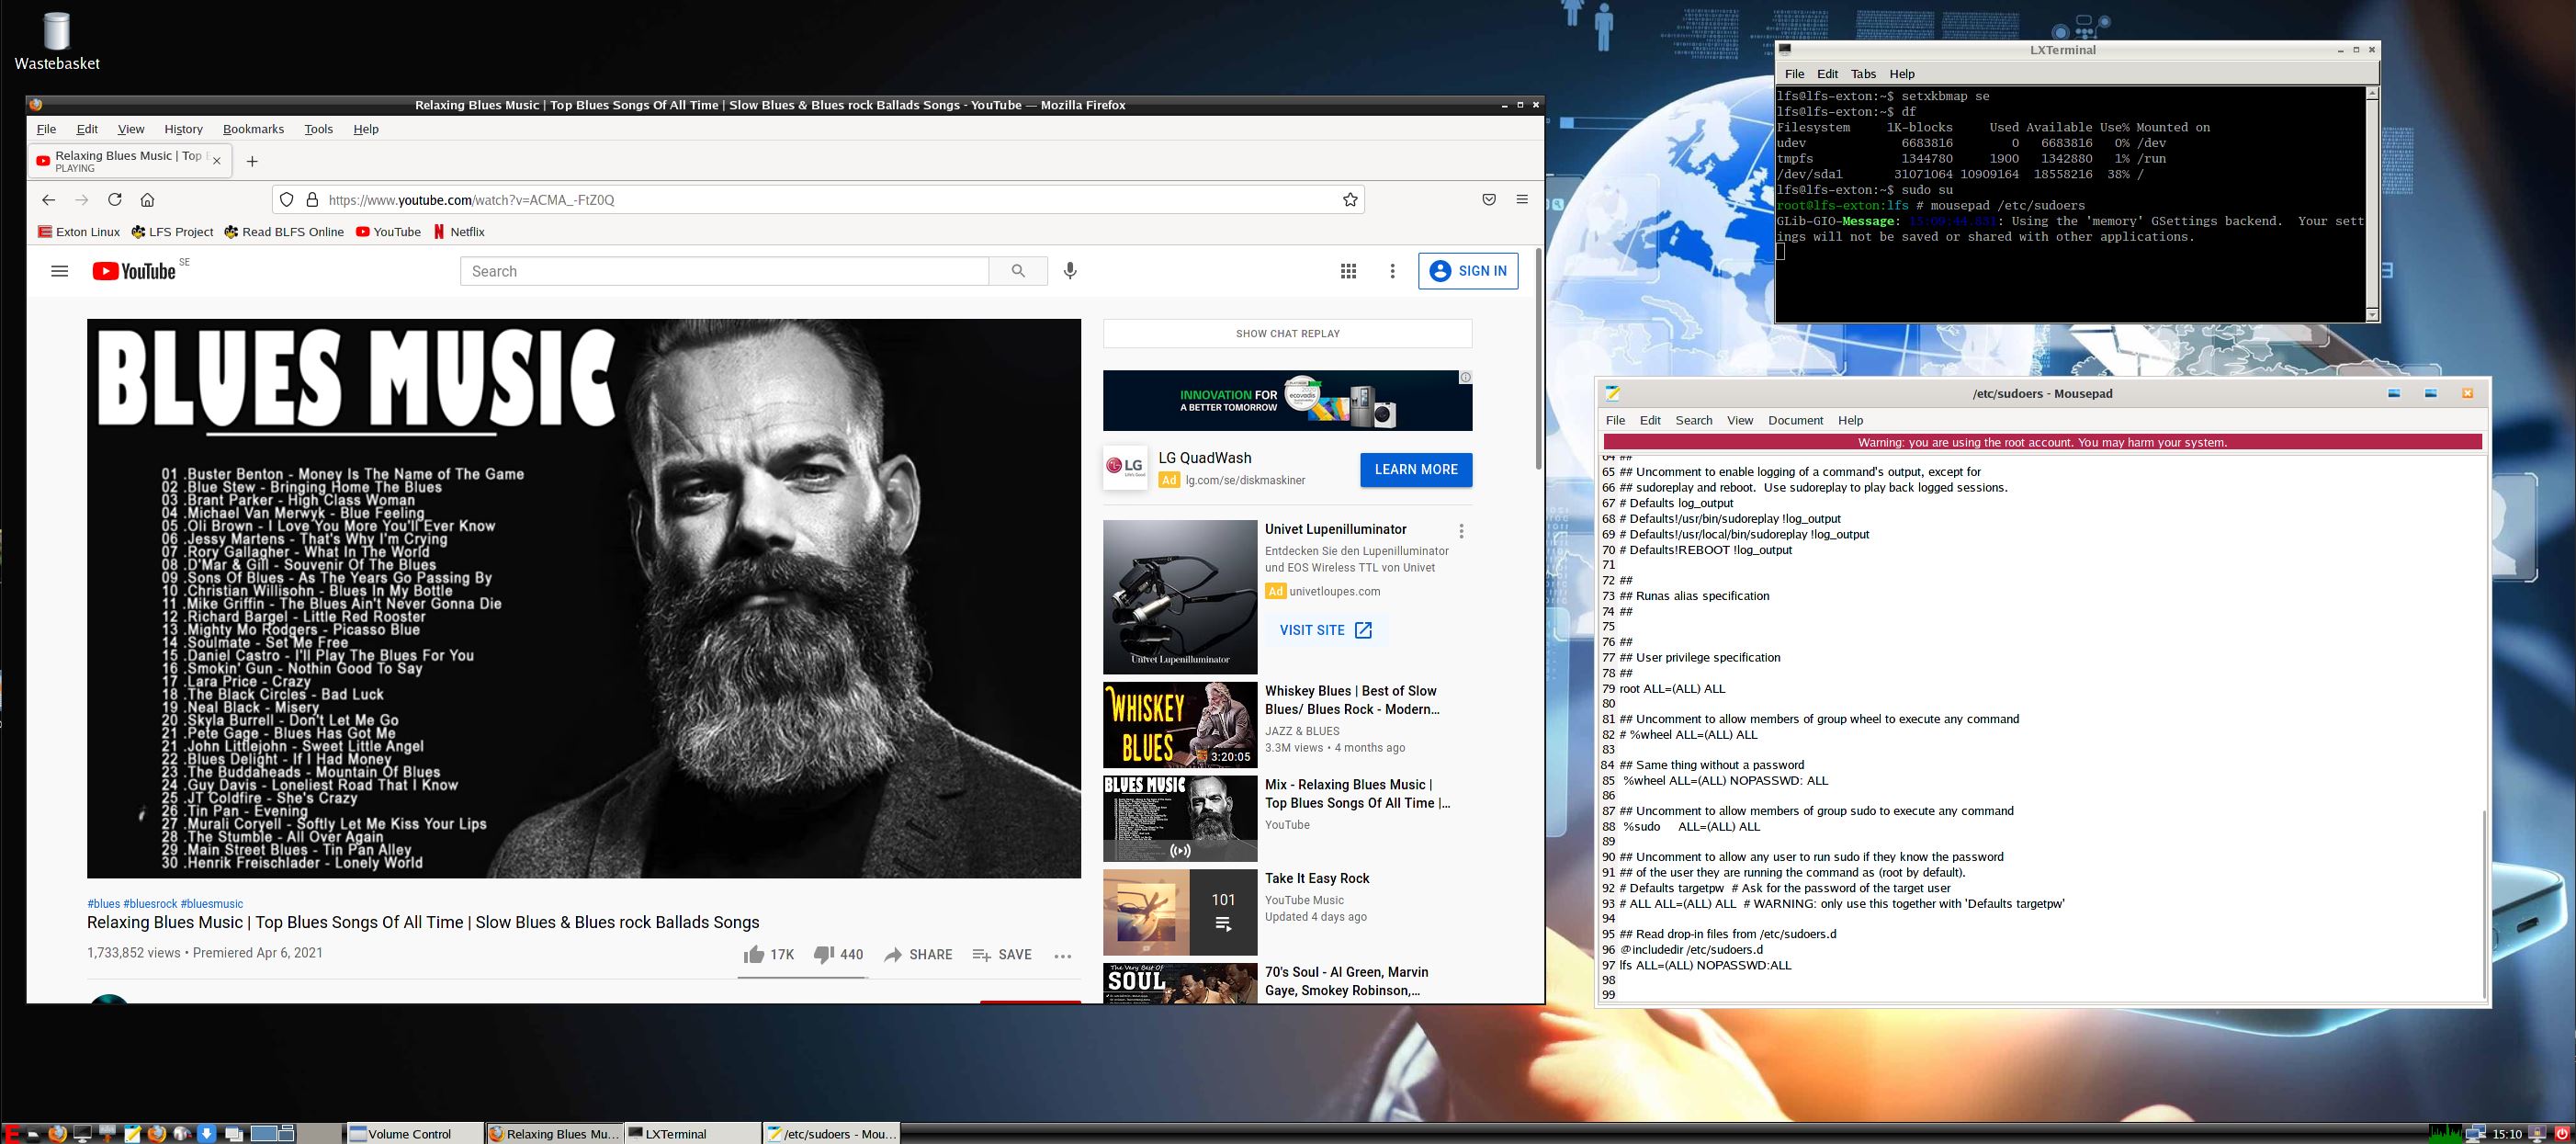
NOTE4: To use Samba you shall run this command:
sudo mount -t cifs //IP-number(for your Windows computer)/SHARED-FOLDER /mnt/samba -o user=username(in Windows)
Example: sudo mount -t cifs //192.168.0.38/LINUX /mnt/samba -o user=arne
Watch this screenshot…
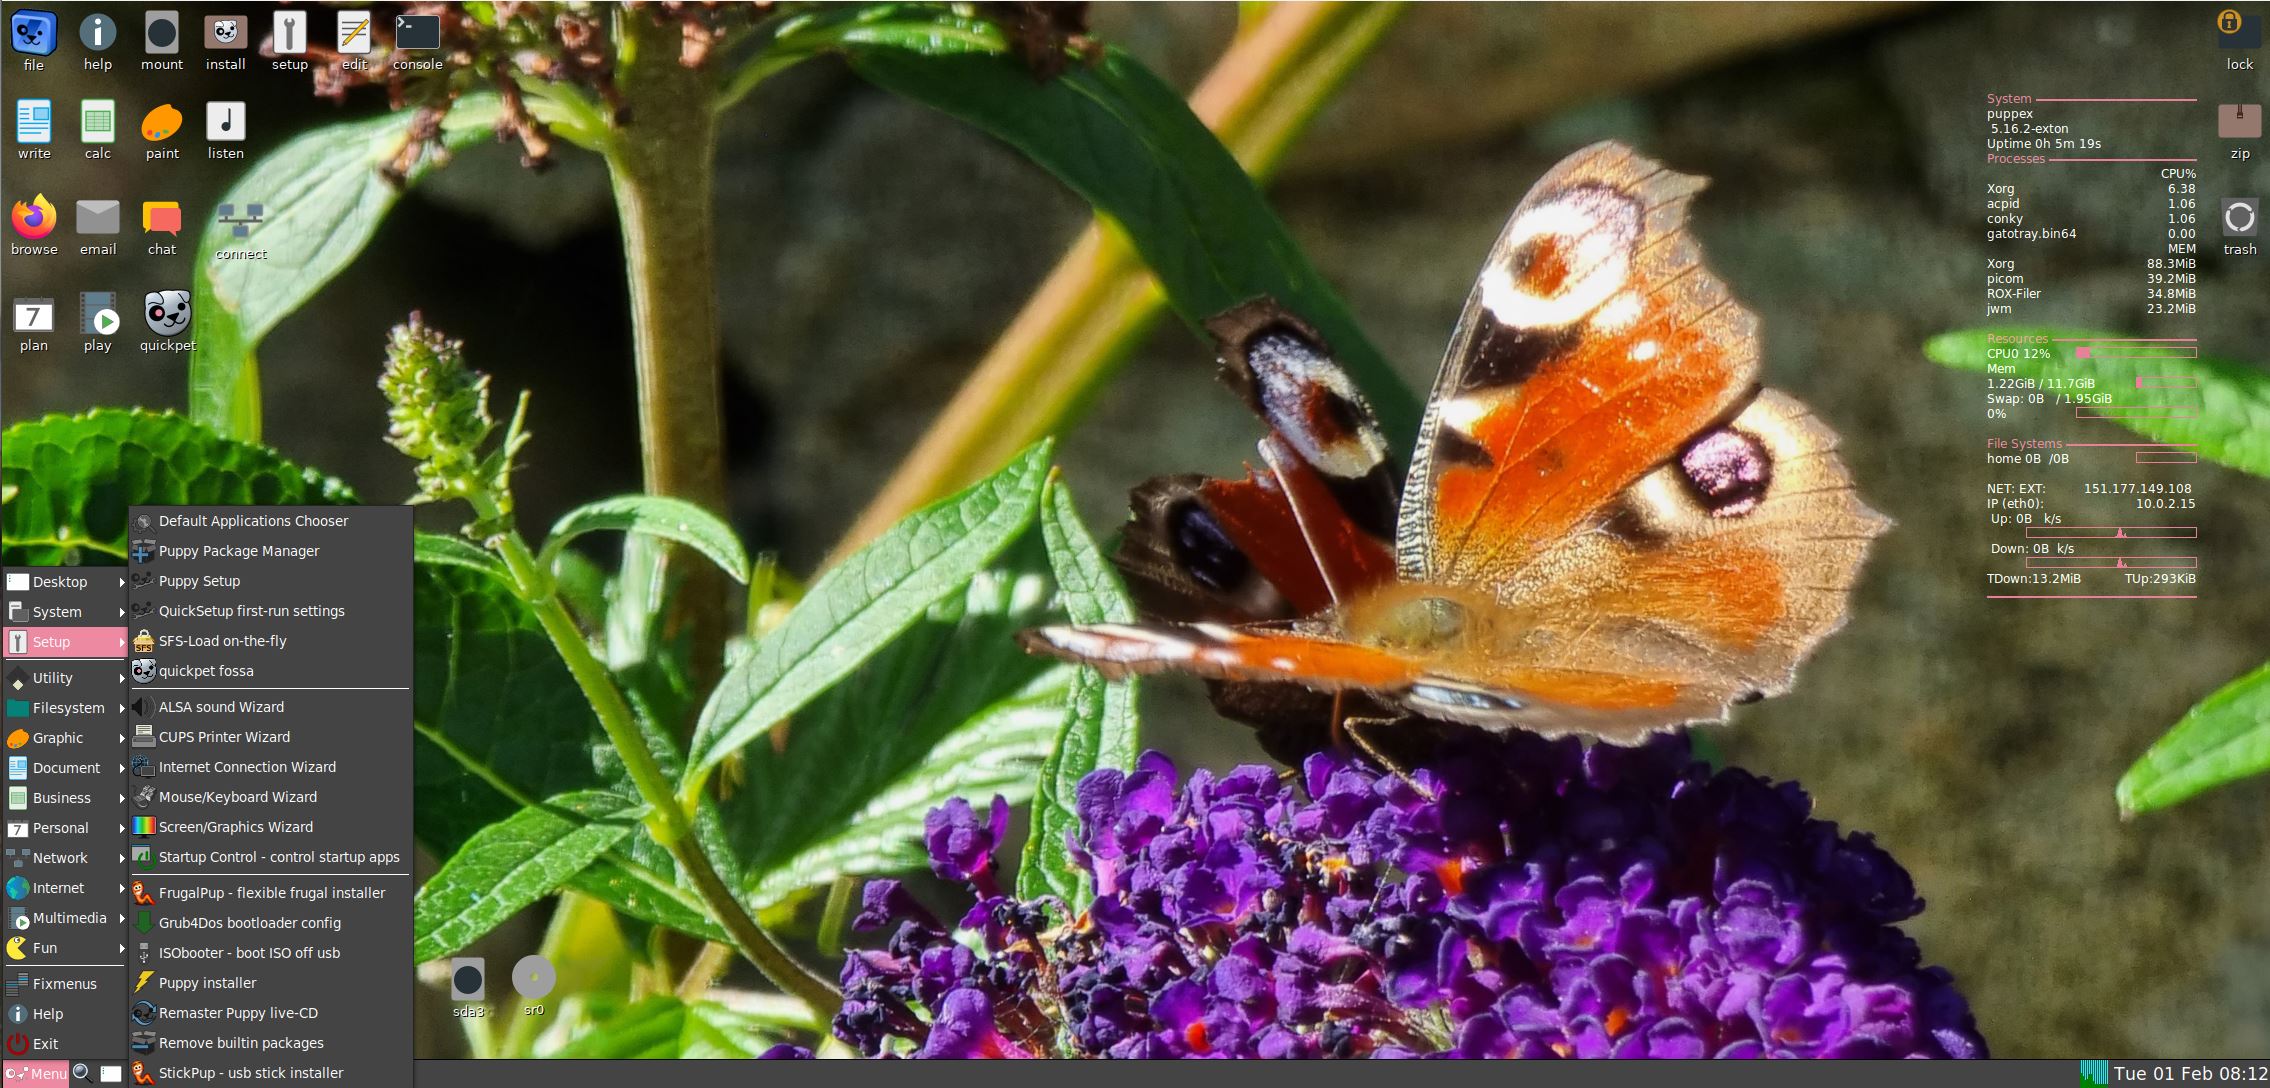
Study all installed packages in DSL-e…
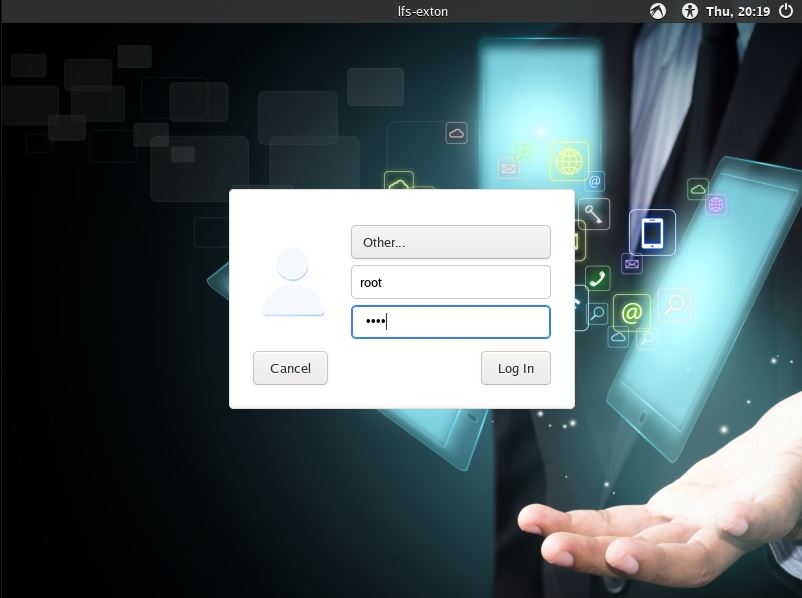
LOGIN to DSL-e
Log in from Slim to LXDE as user exton with password linux. You can’t log in as root from Slim. The password for root is root. Watch this screenshot…
If you want to run DSL-e as root you shall close X by pressing Ctrl Alt F2 simultaneously. Log in as root with password root and run the command startx.
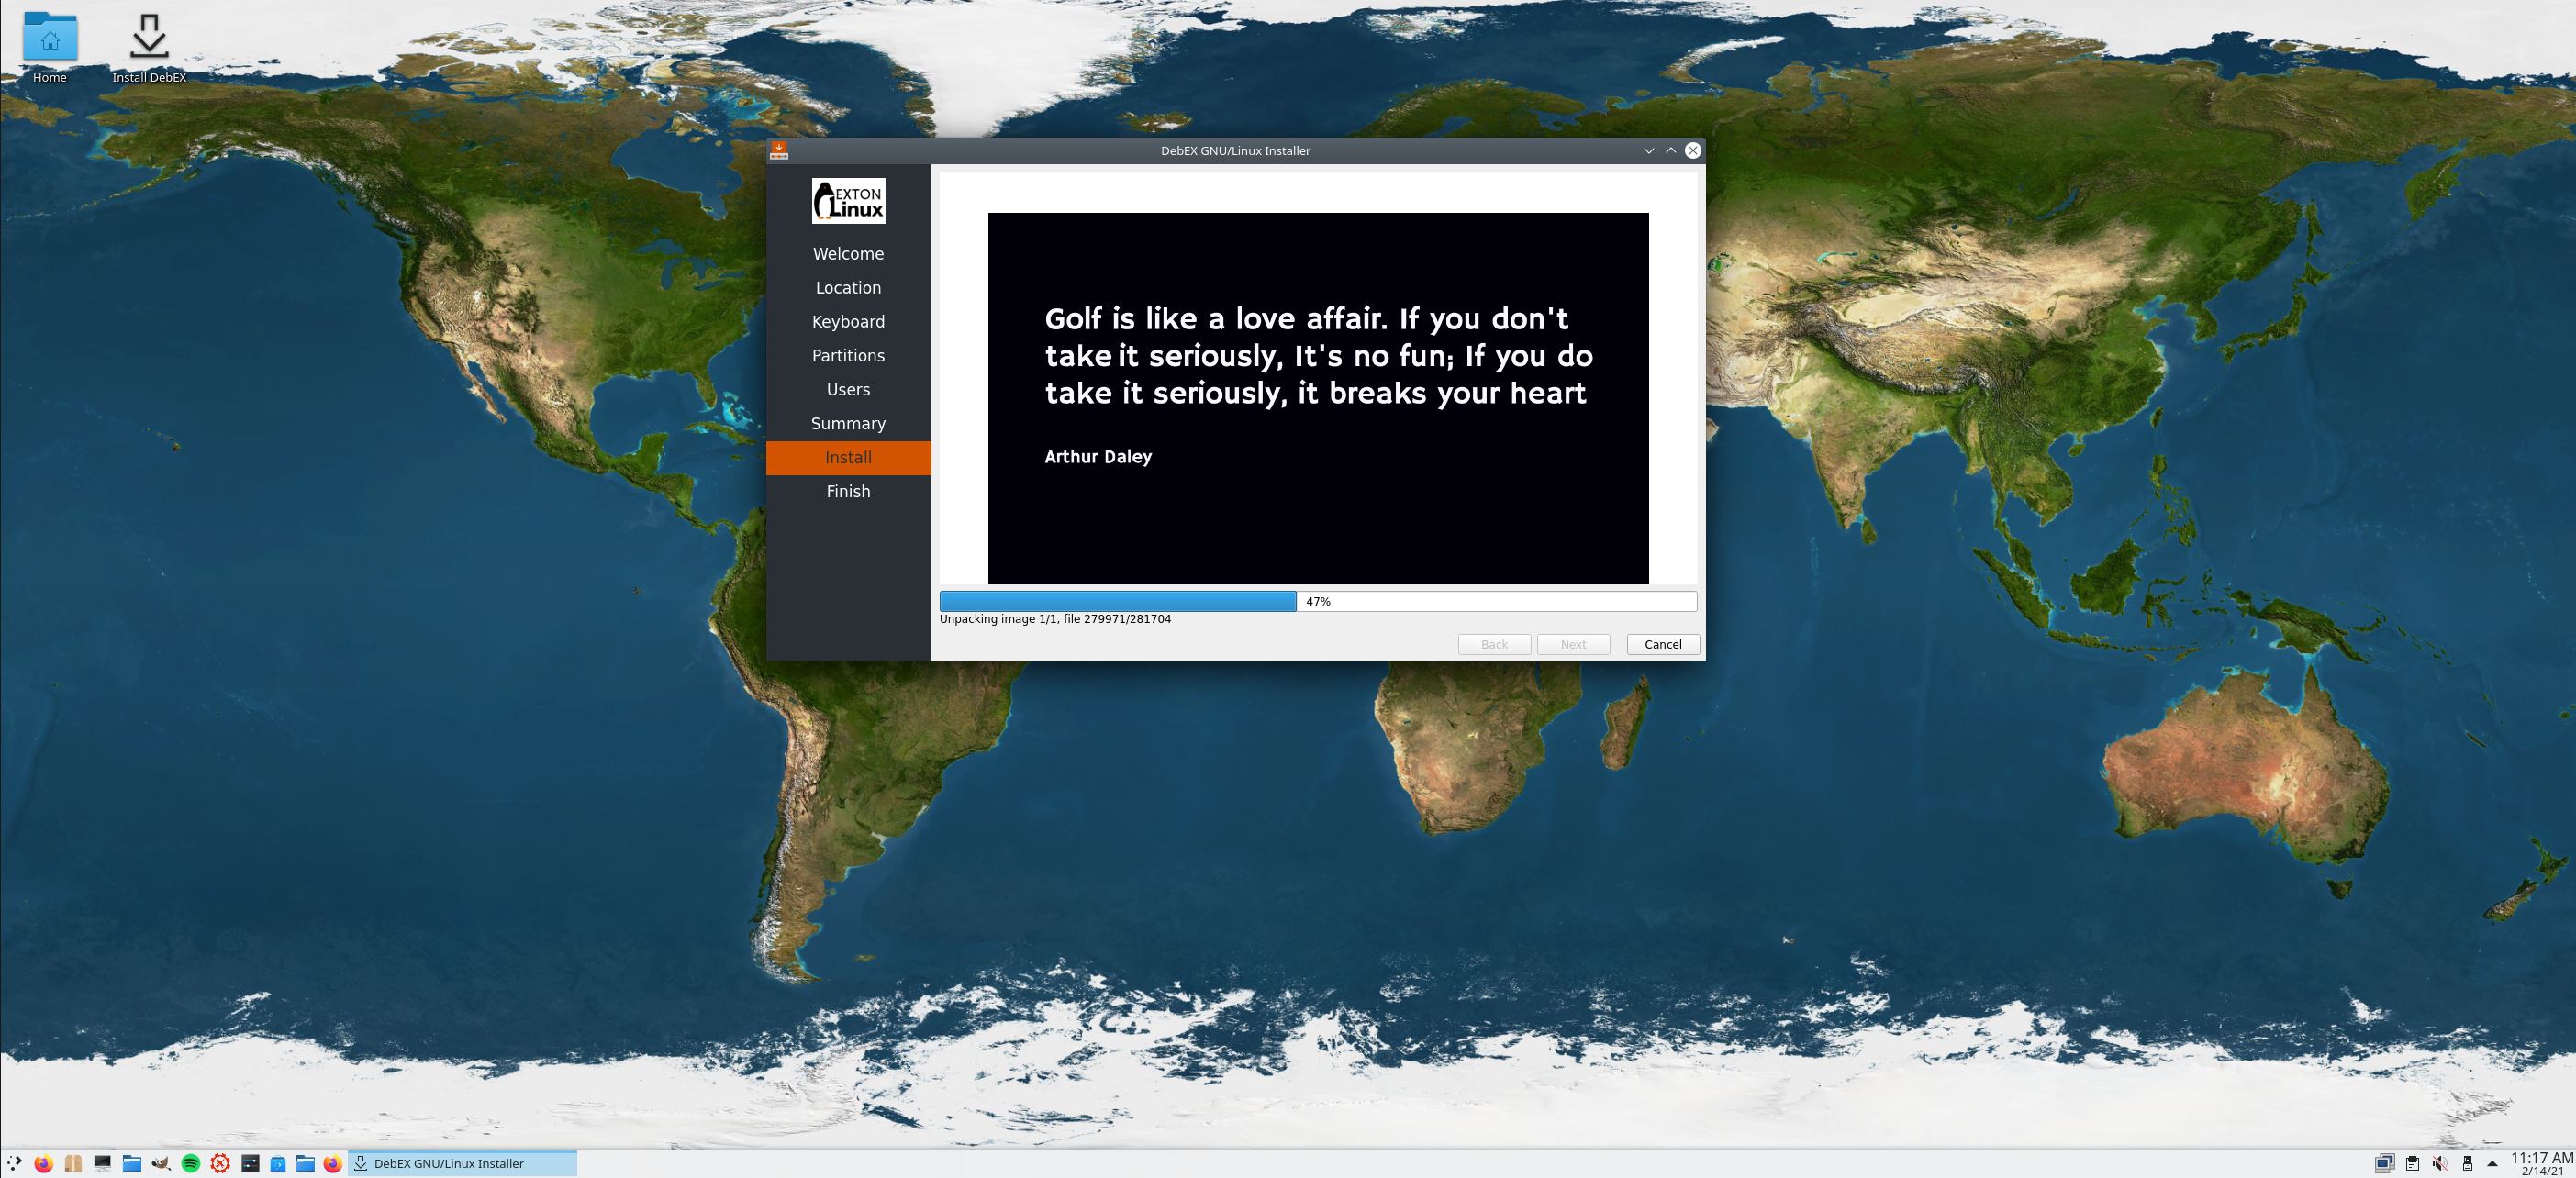
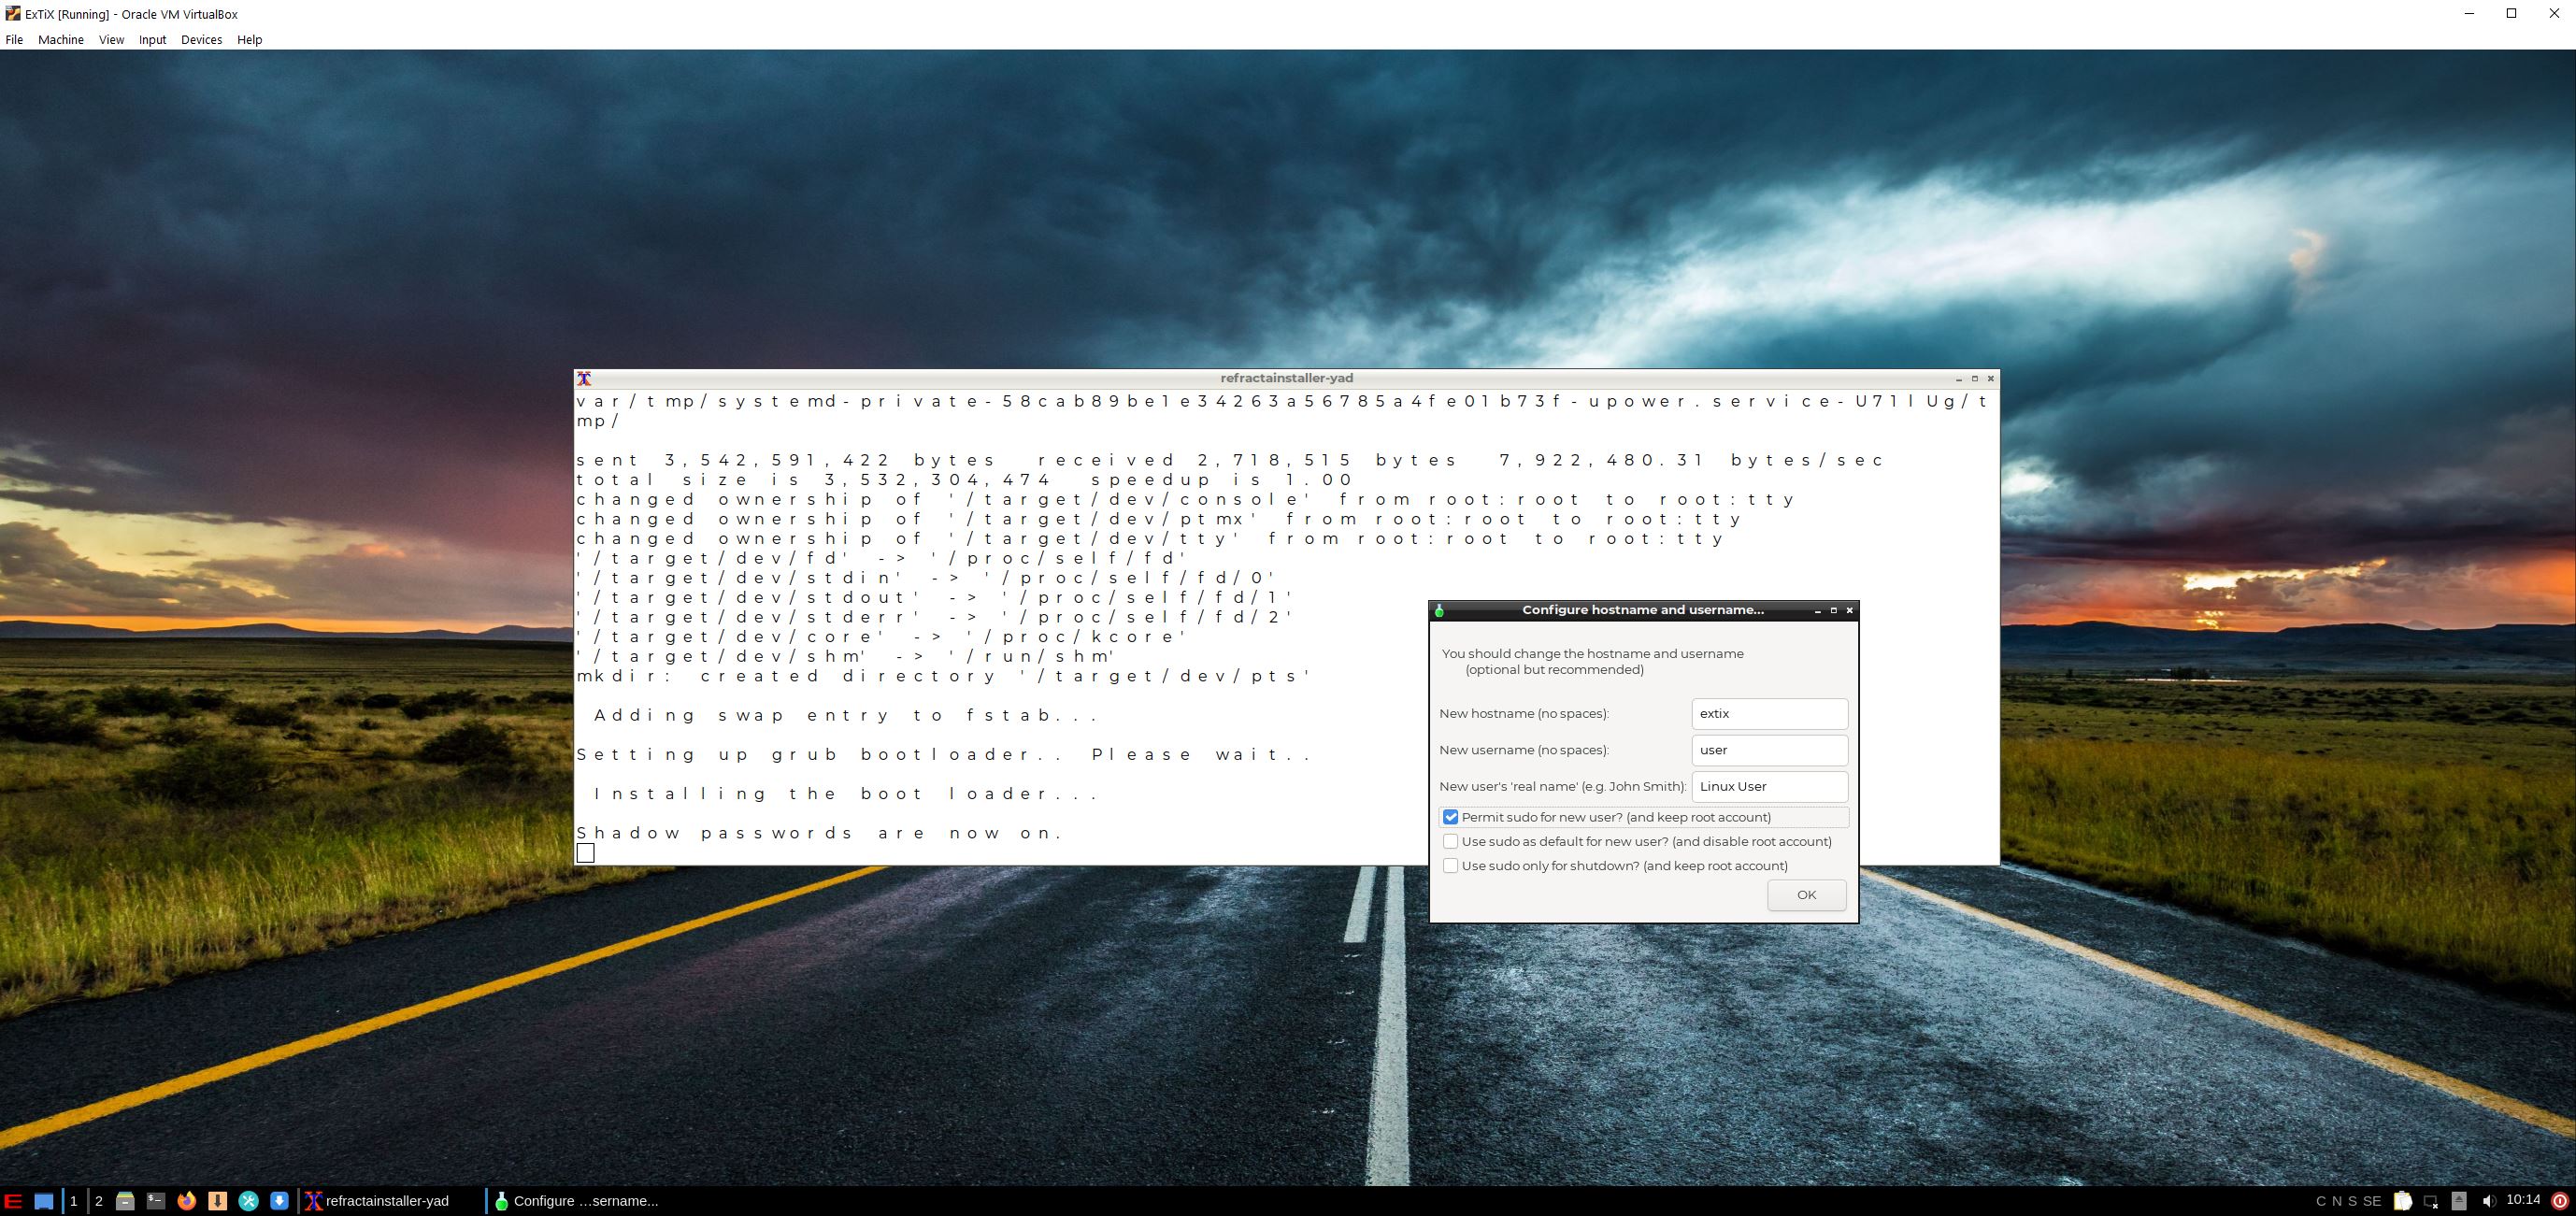
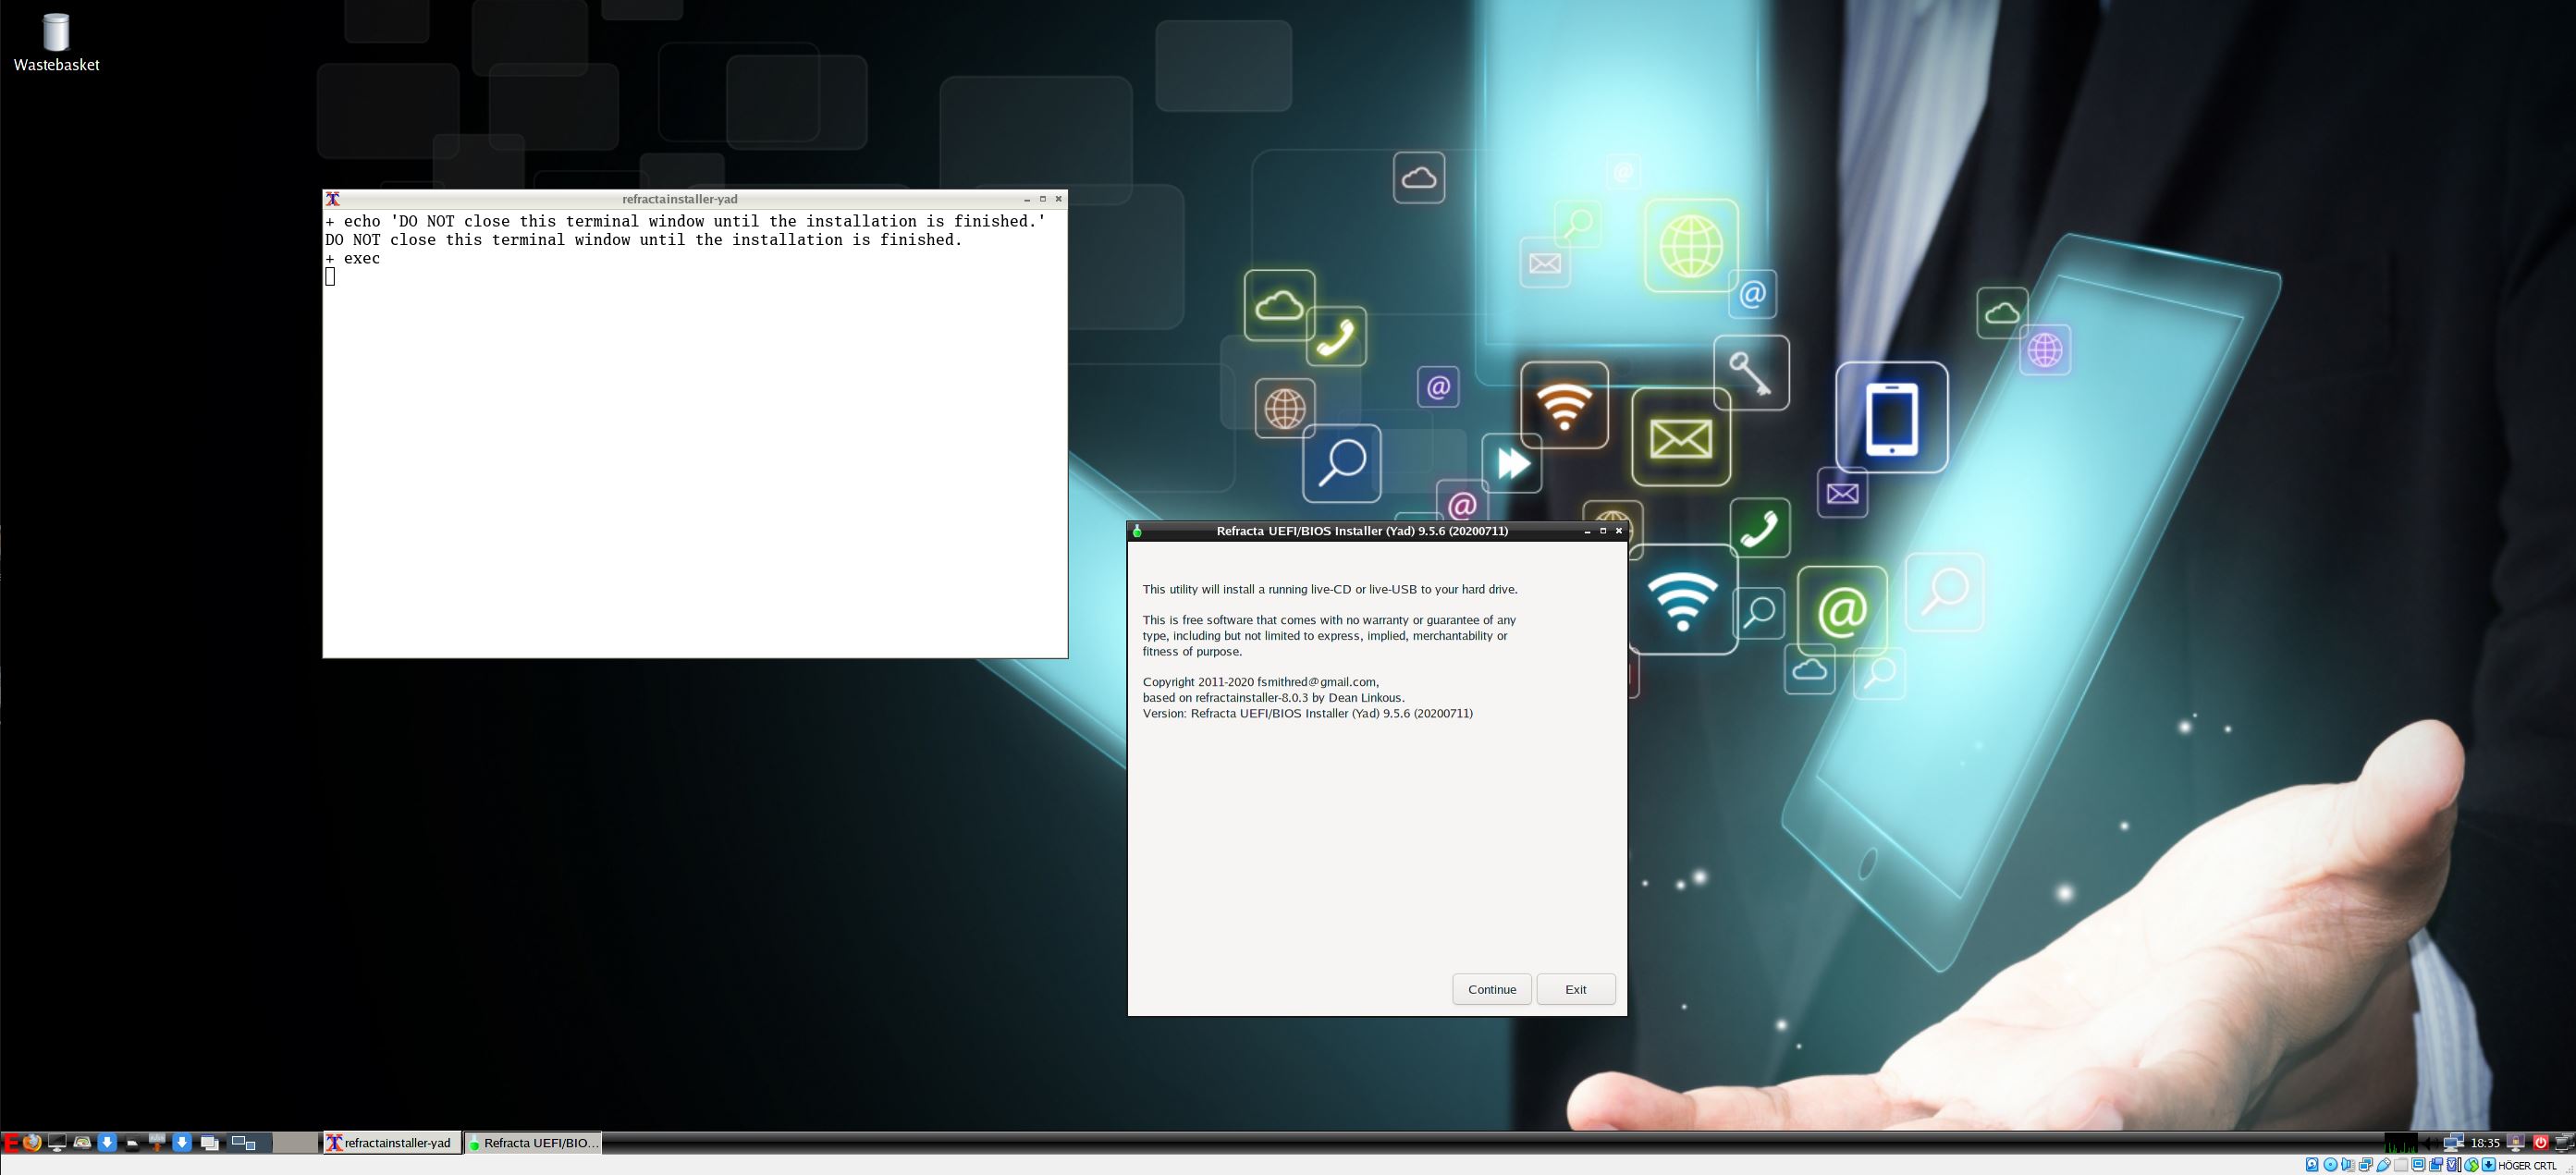
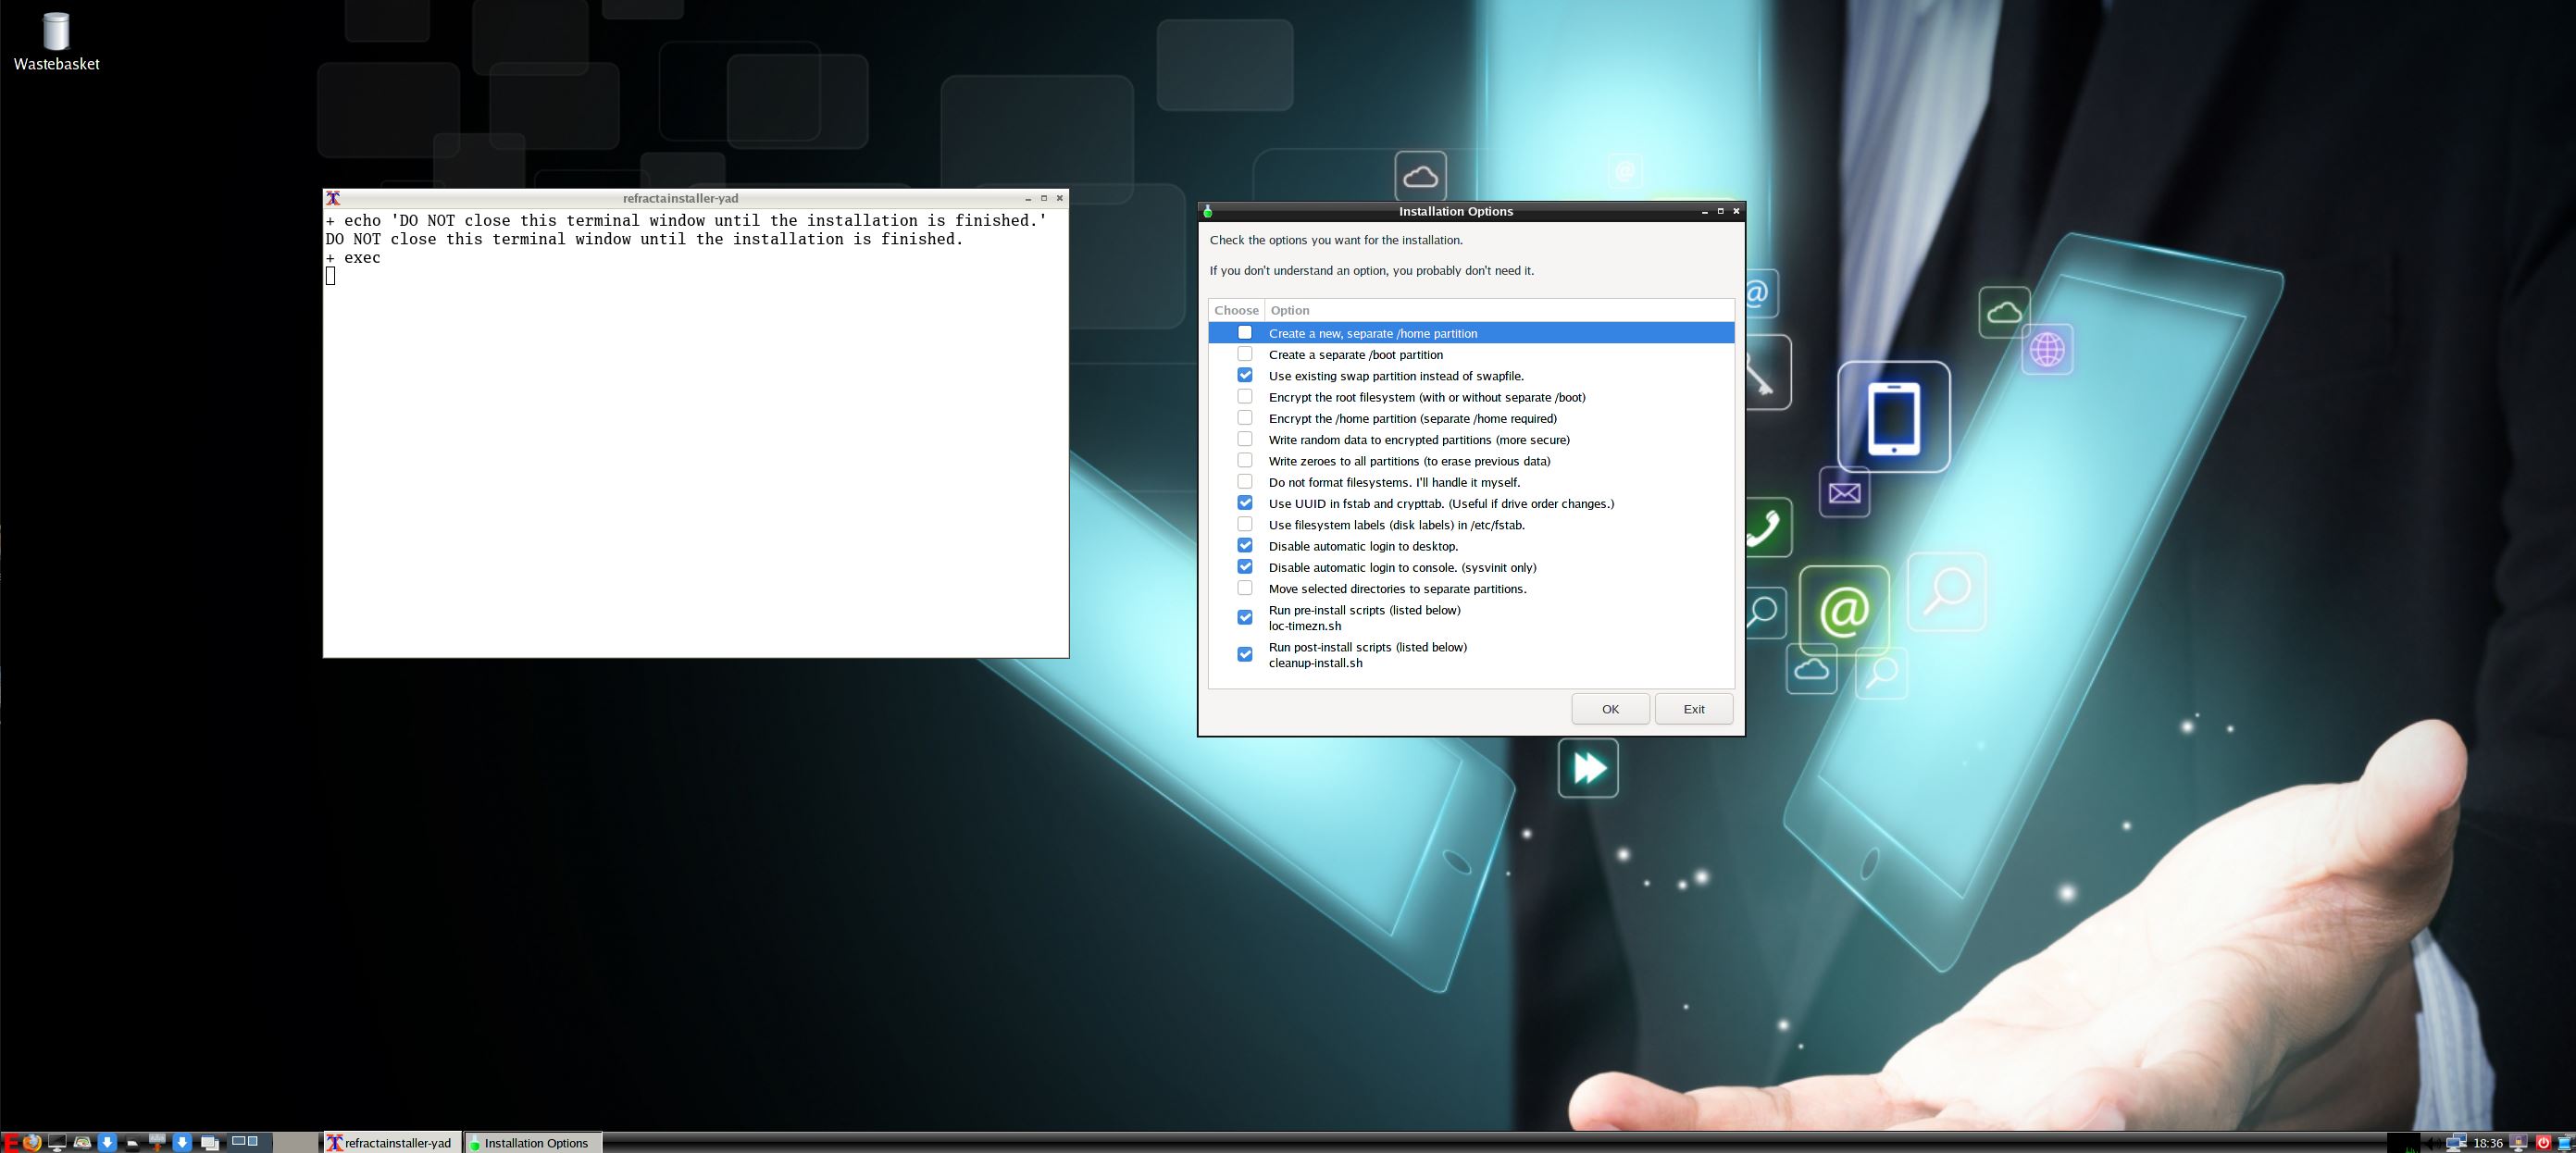
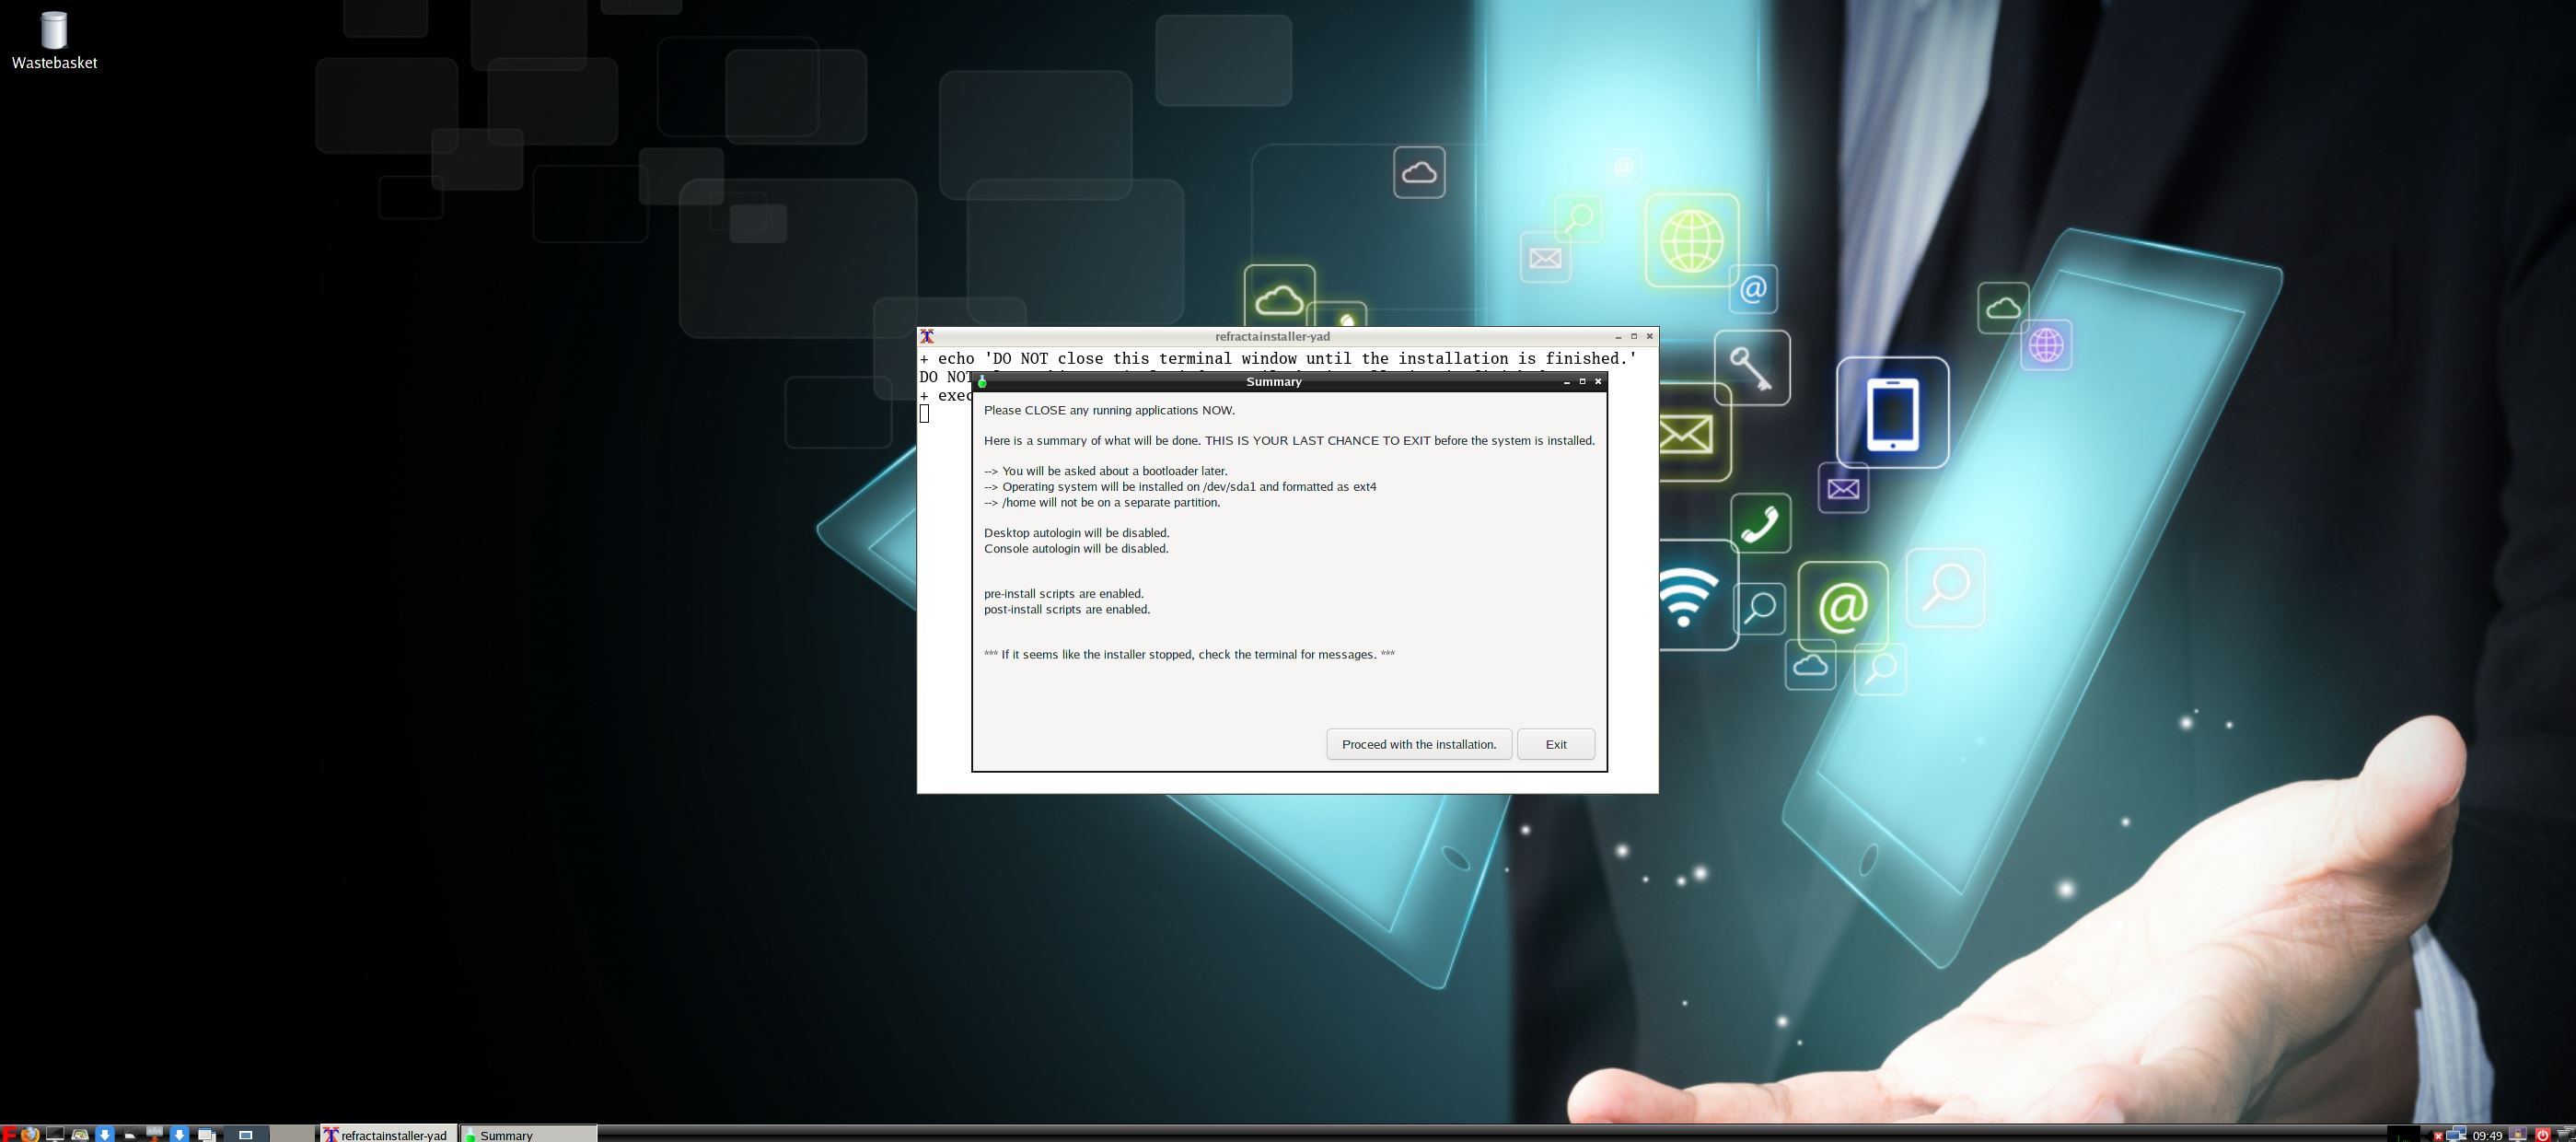
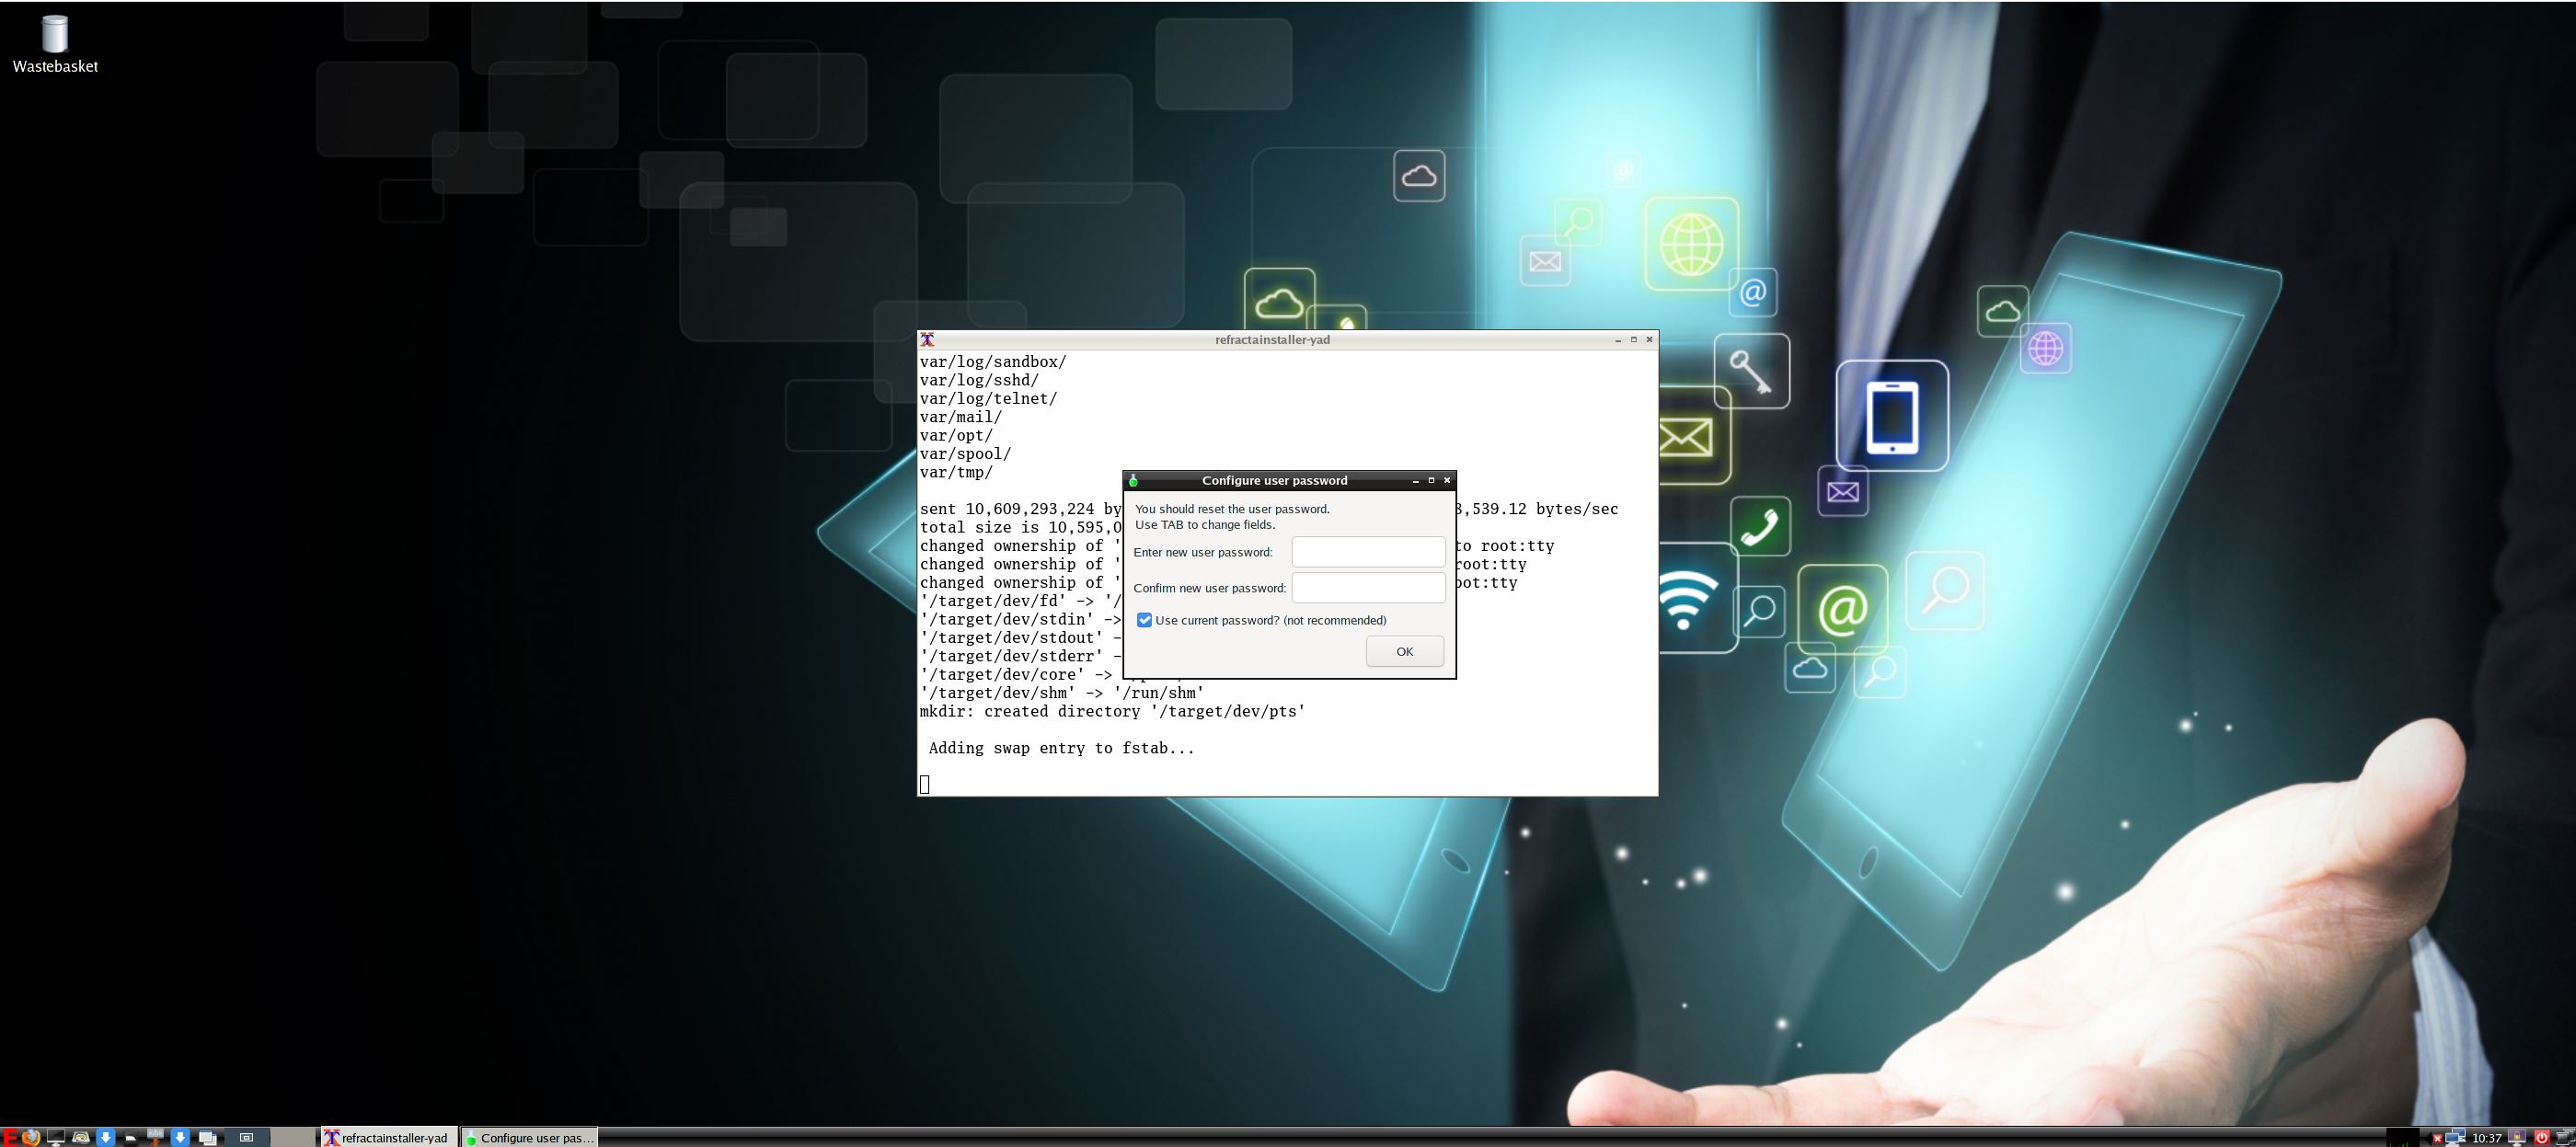
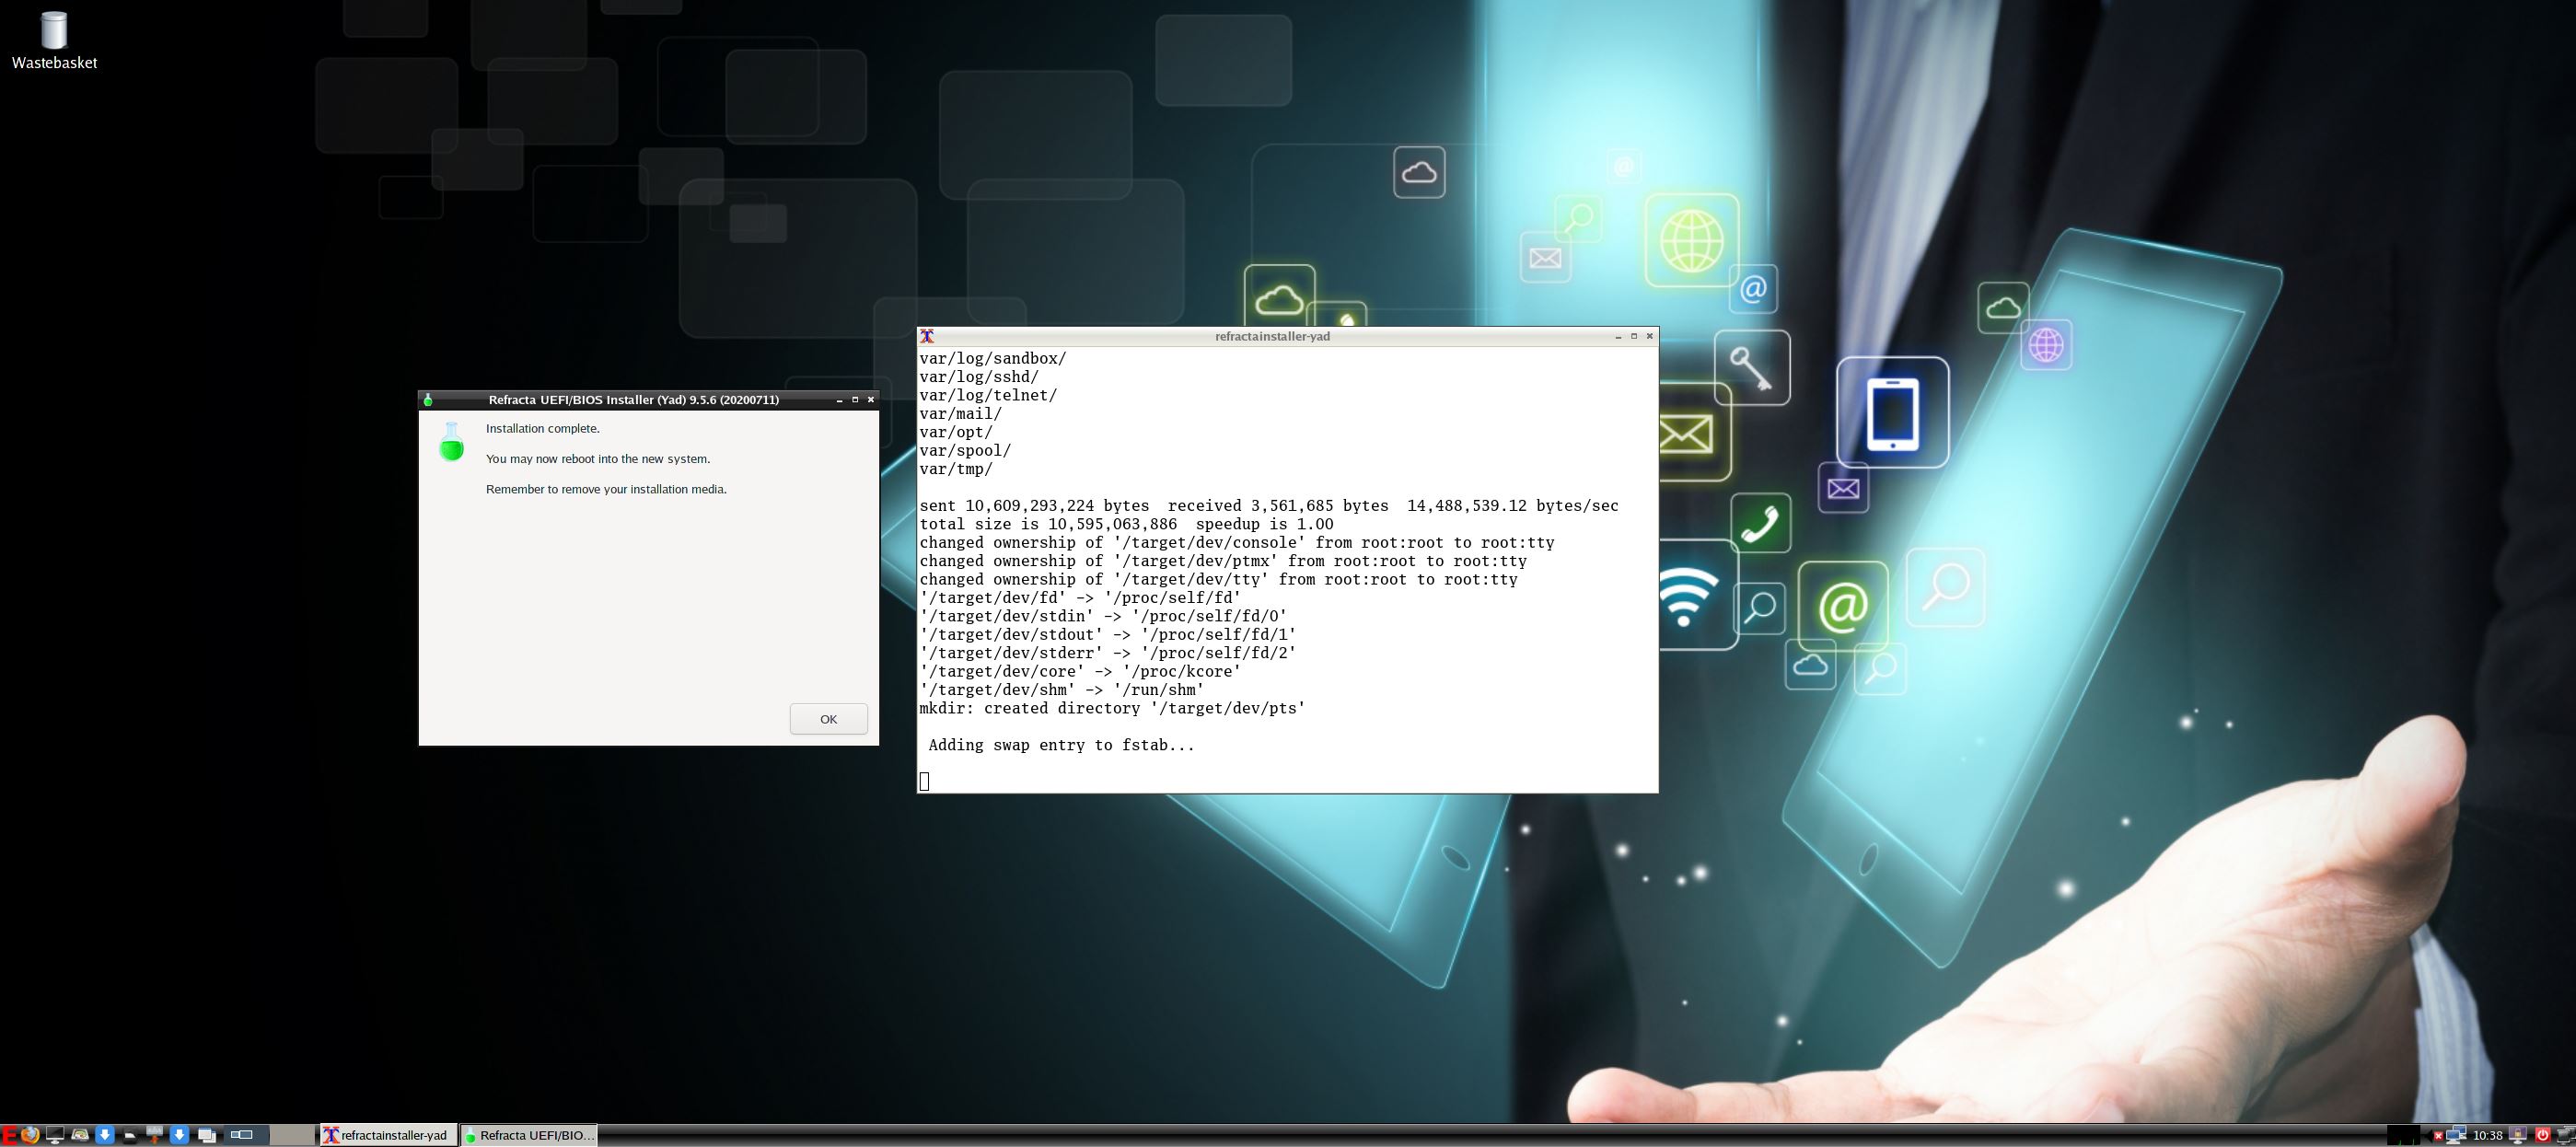
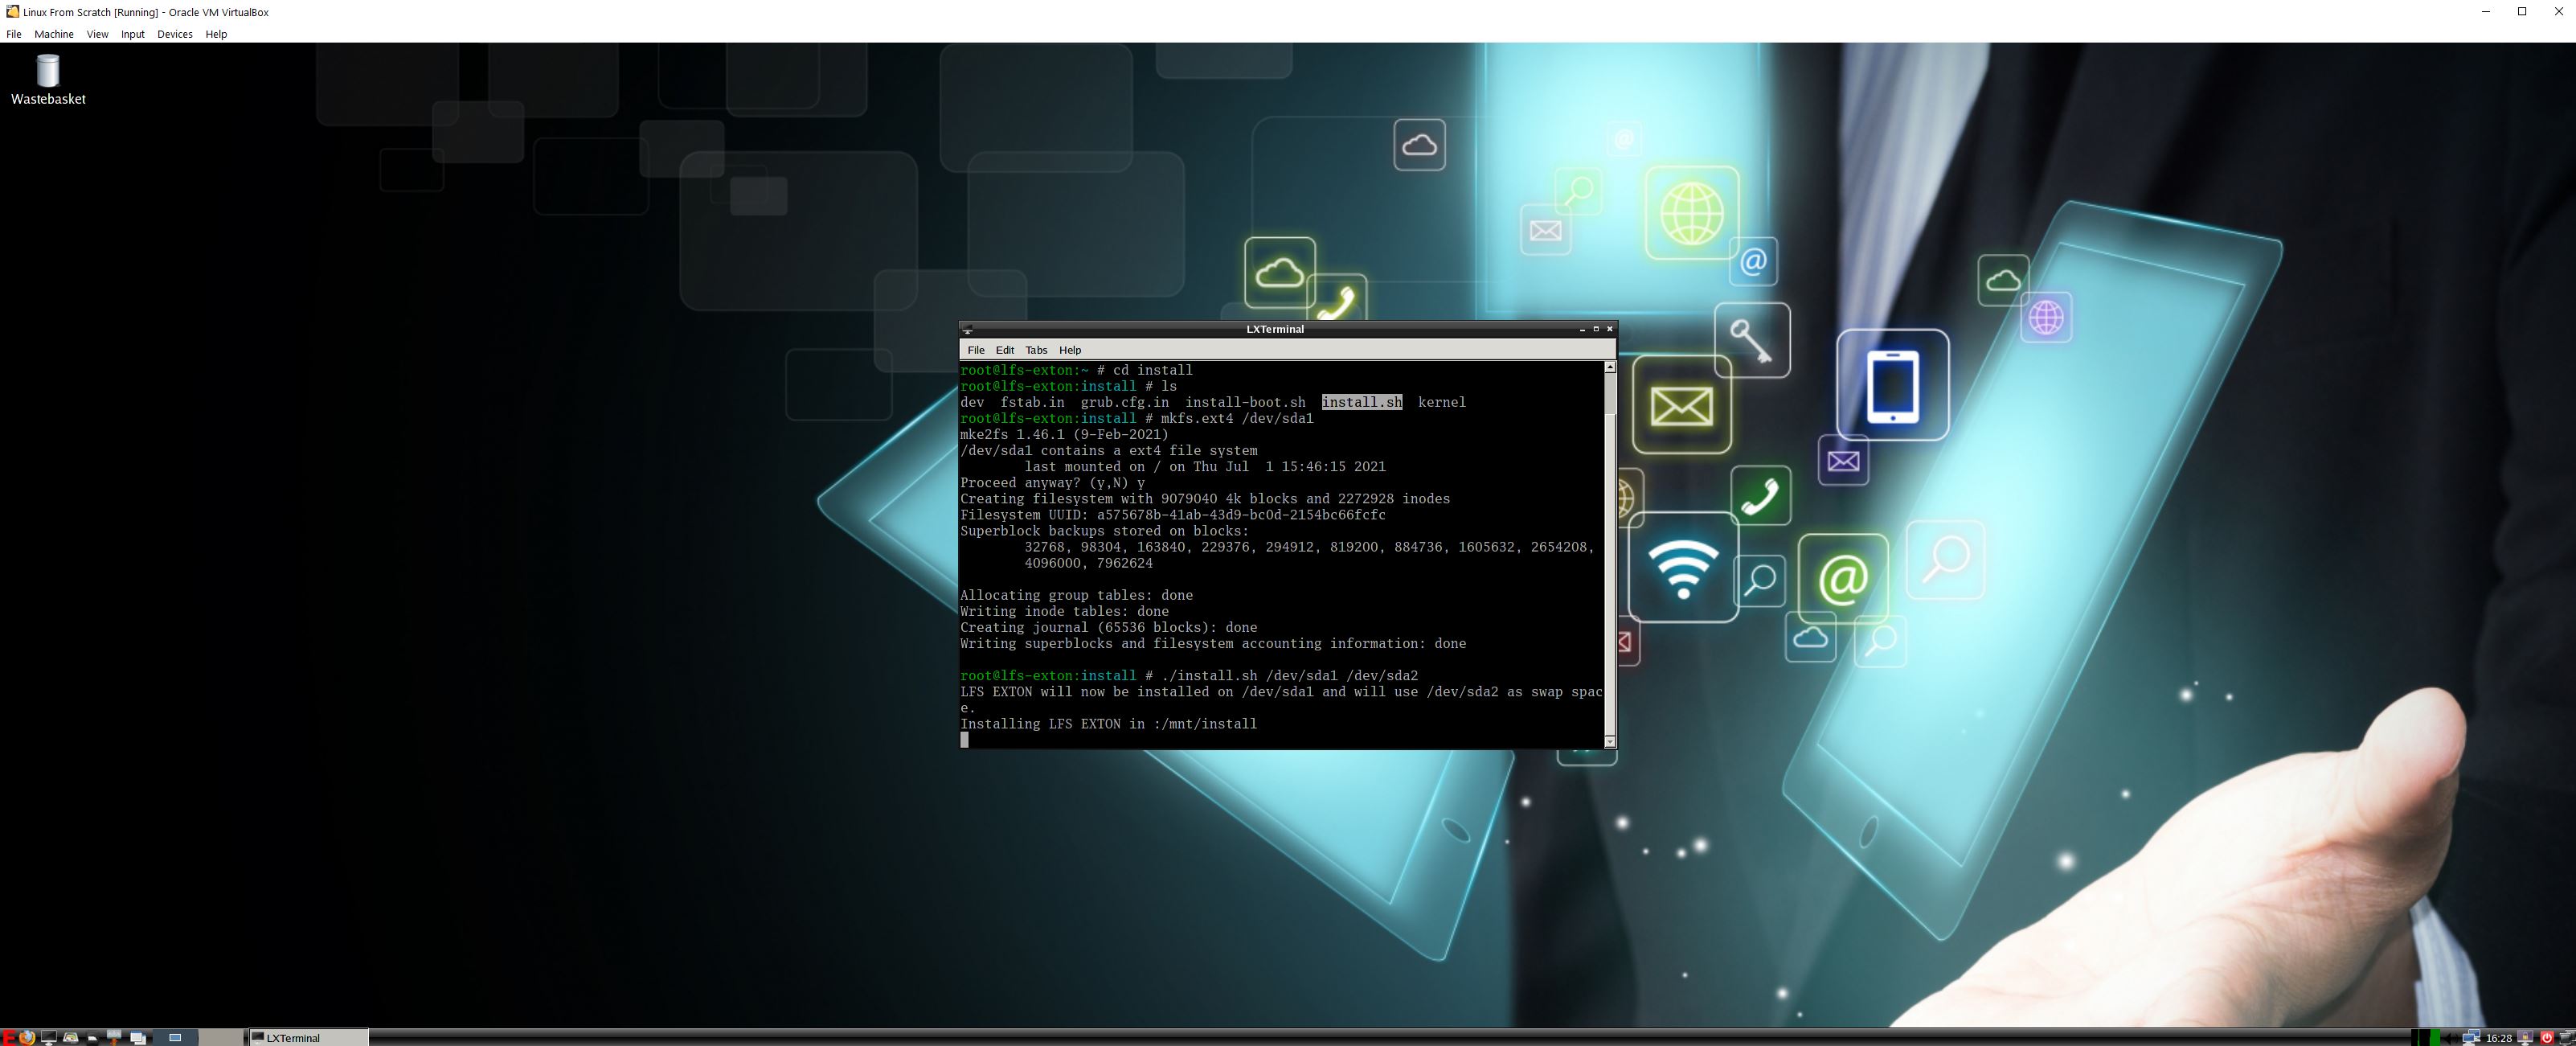
INSTALL DSL-e to hard drive
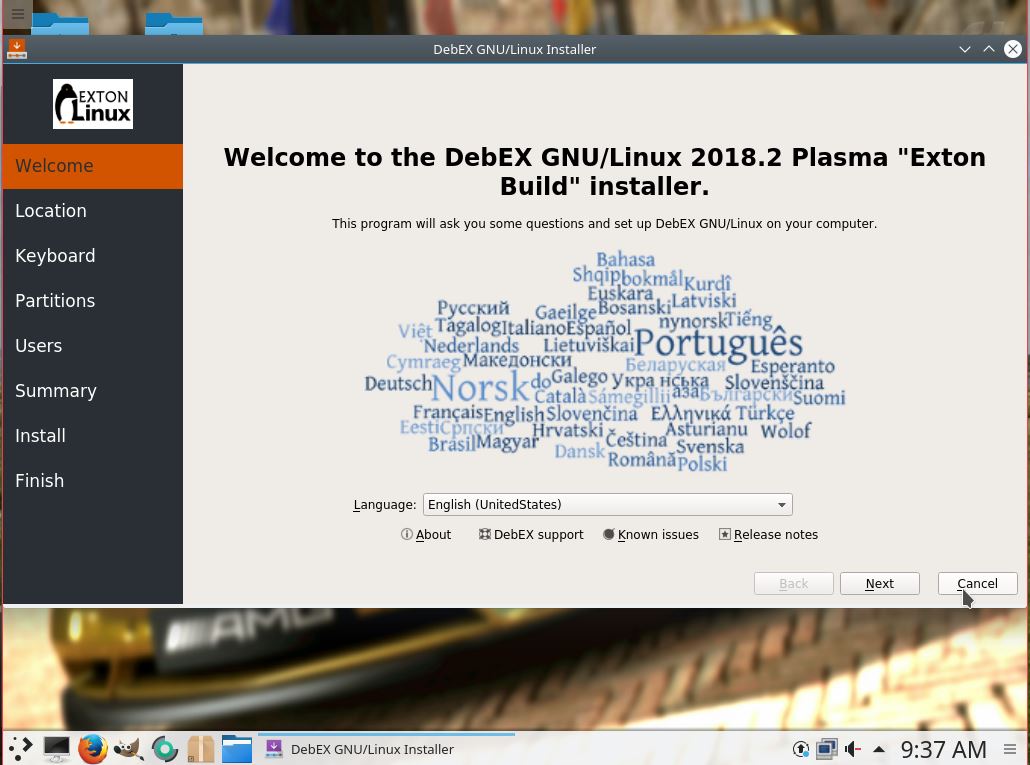
It is really simple. Just click on the INSTALLER icon on the desktop and follow the instructions. Watch this screenshot…
KNOWN ISSUE
After logging in to LXDE you may have to restart X on some computers. That is if you can’t open any apps. Restart X by pressing Ctrl Alt F2 simultaneously. Then log in as user exton with password linux. Finally run the command startx to enter X/LXDE again. Now everything should work. The error is probably due to the way my remaster is made.
SCREENSHOTS
1. Running in VirtualBox in full screen
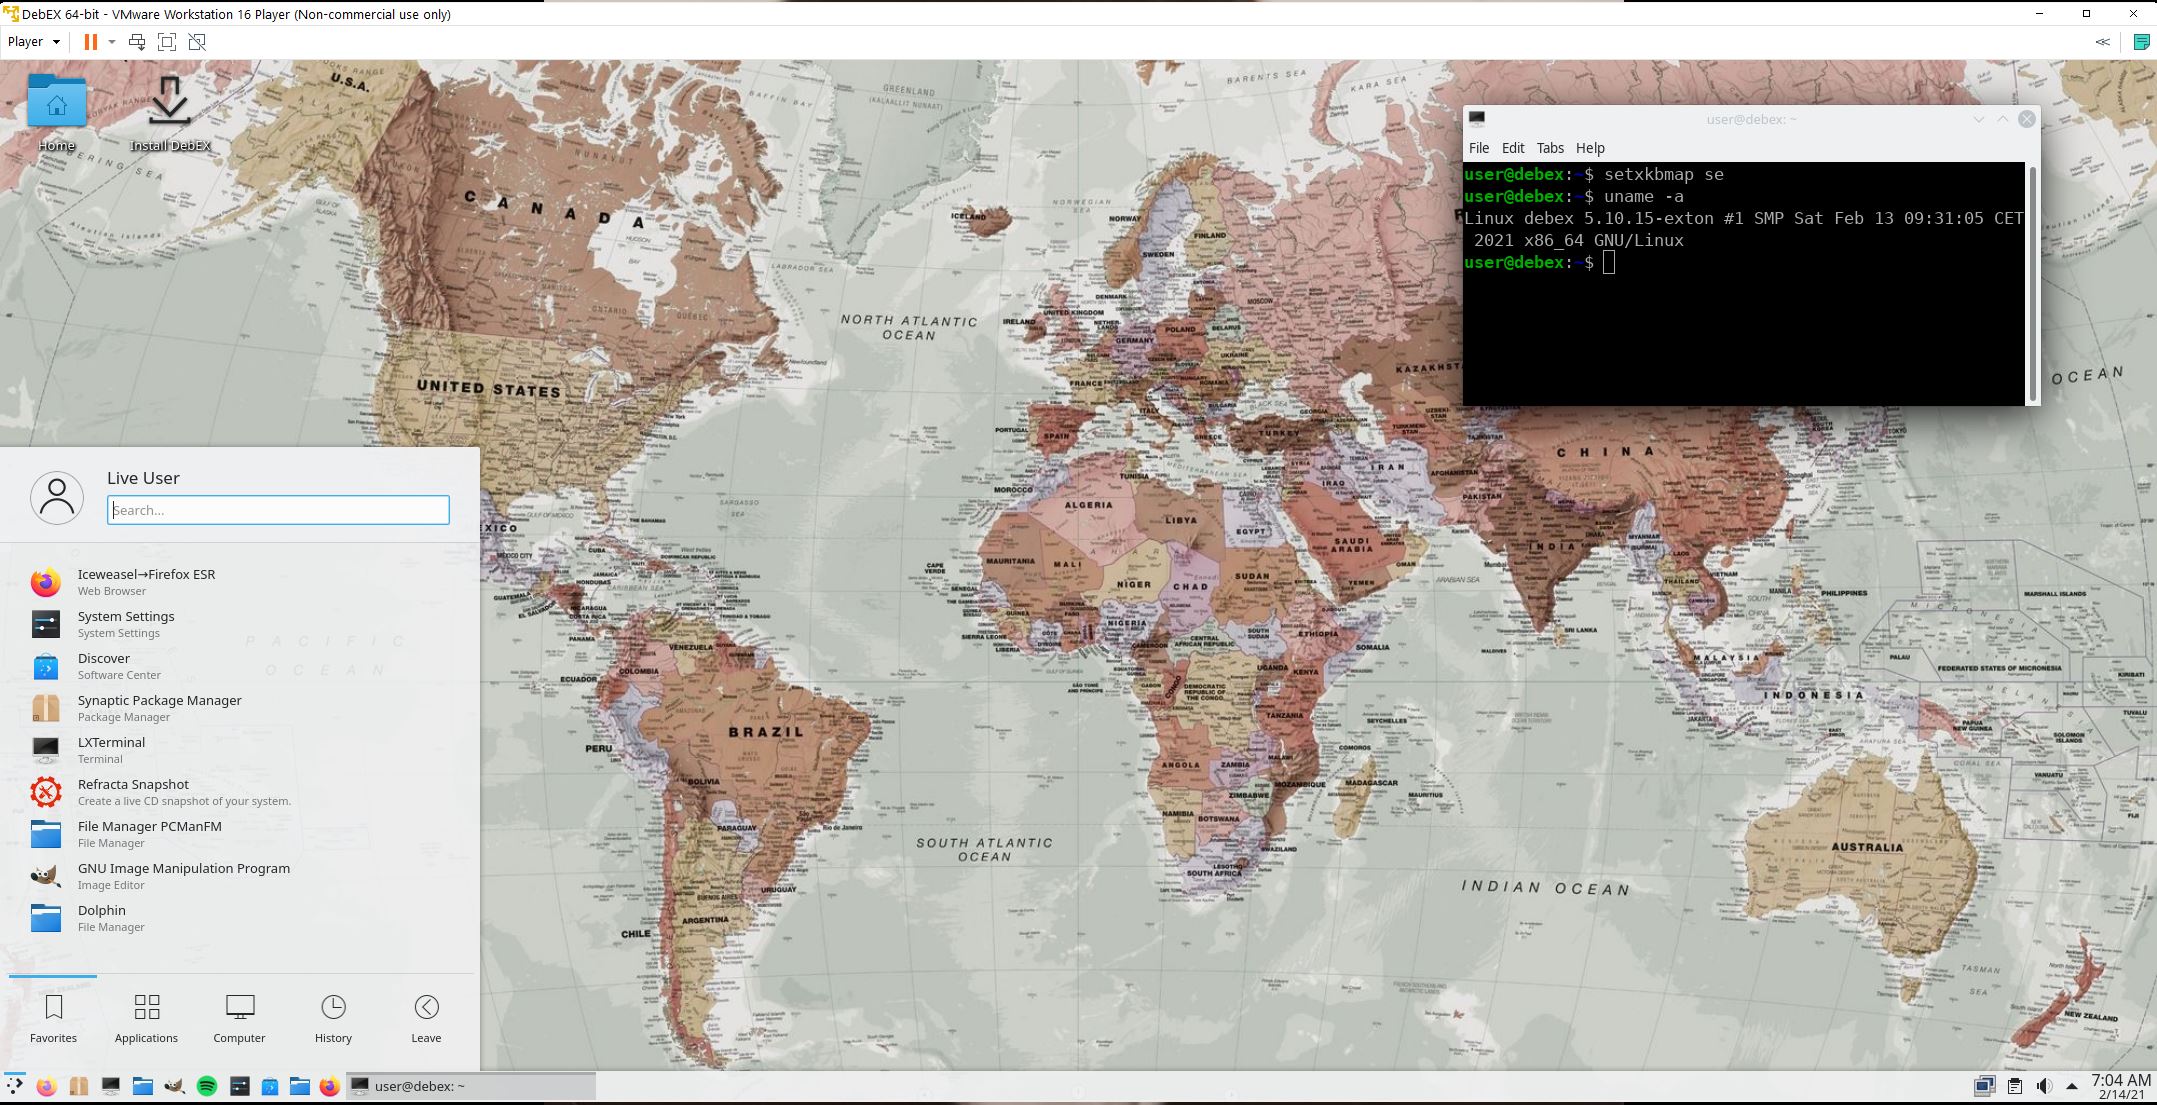
2. Running in VMware
3. Running in Qemu in Linux (the best way to run any Linux system virtually)
4. The Slim Login Screen
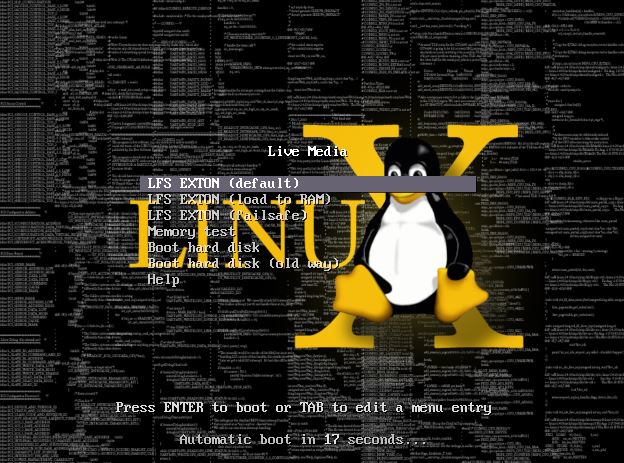
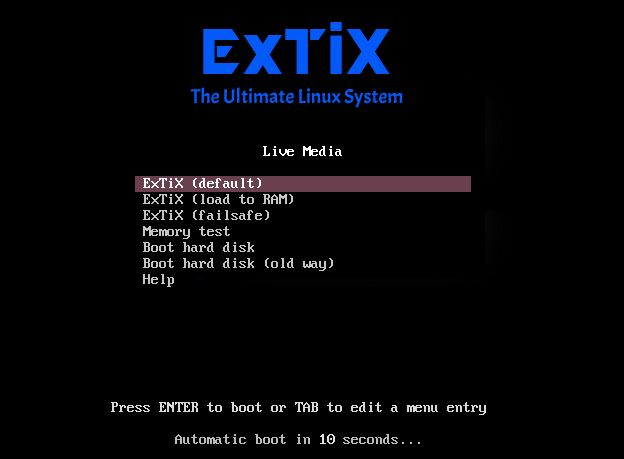
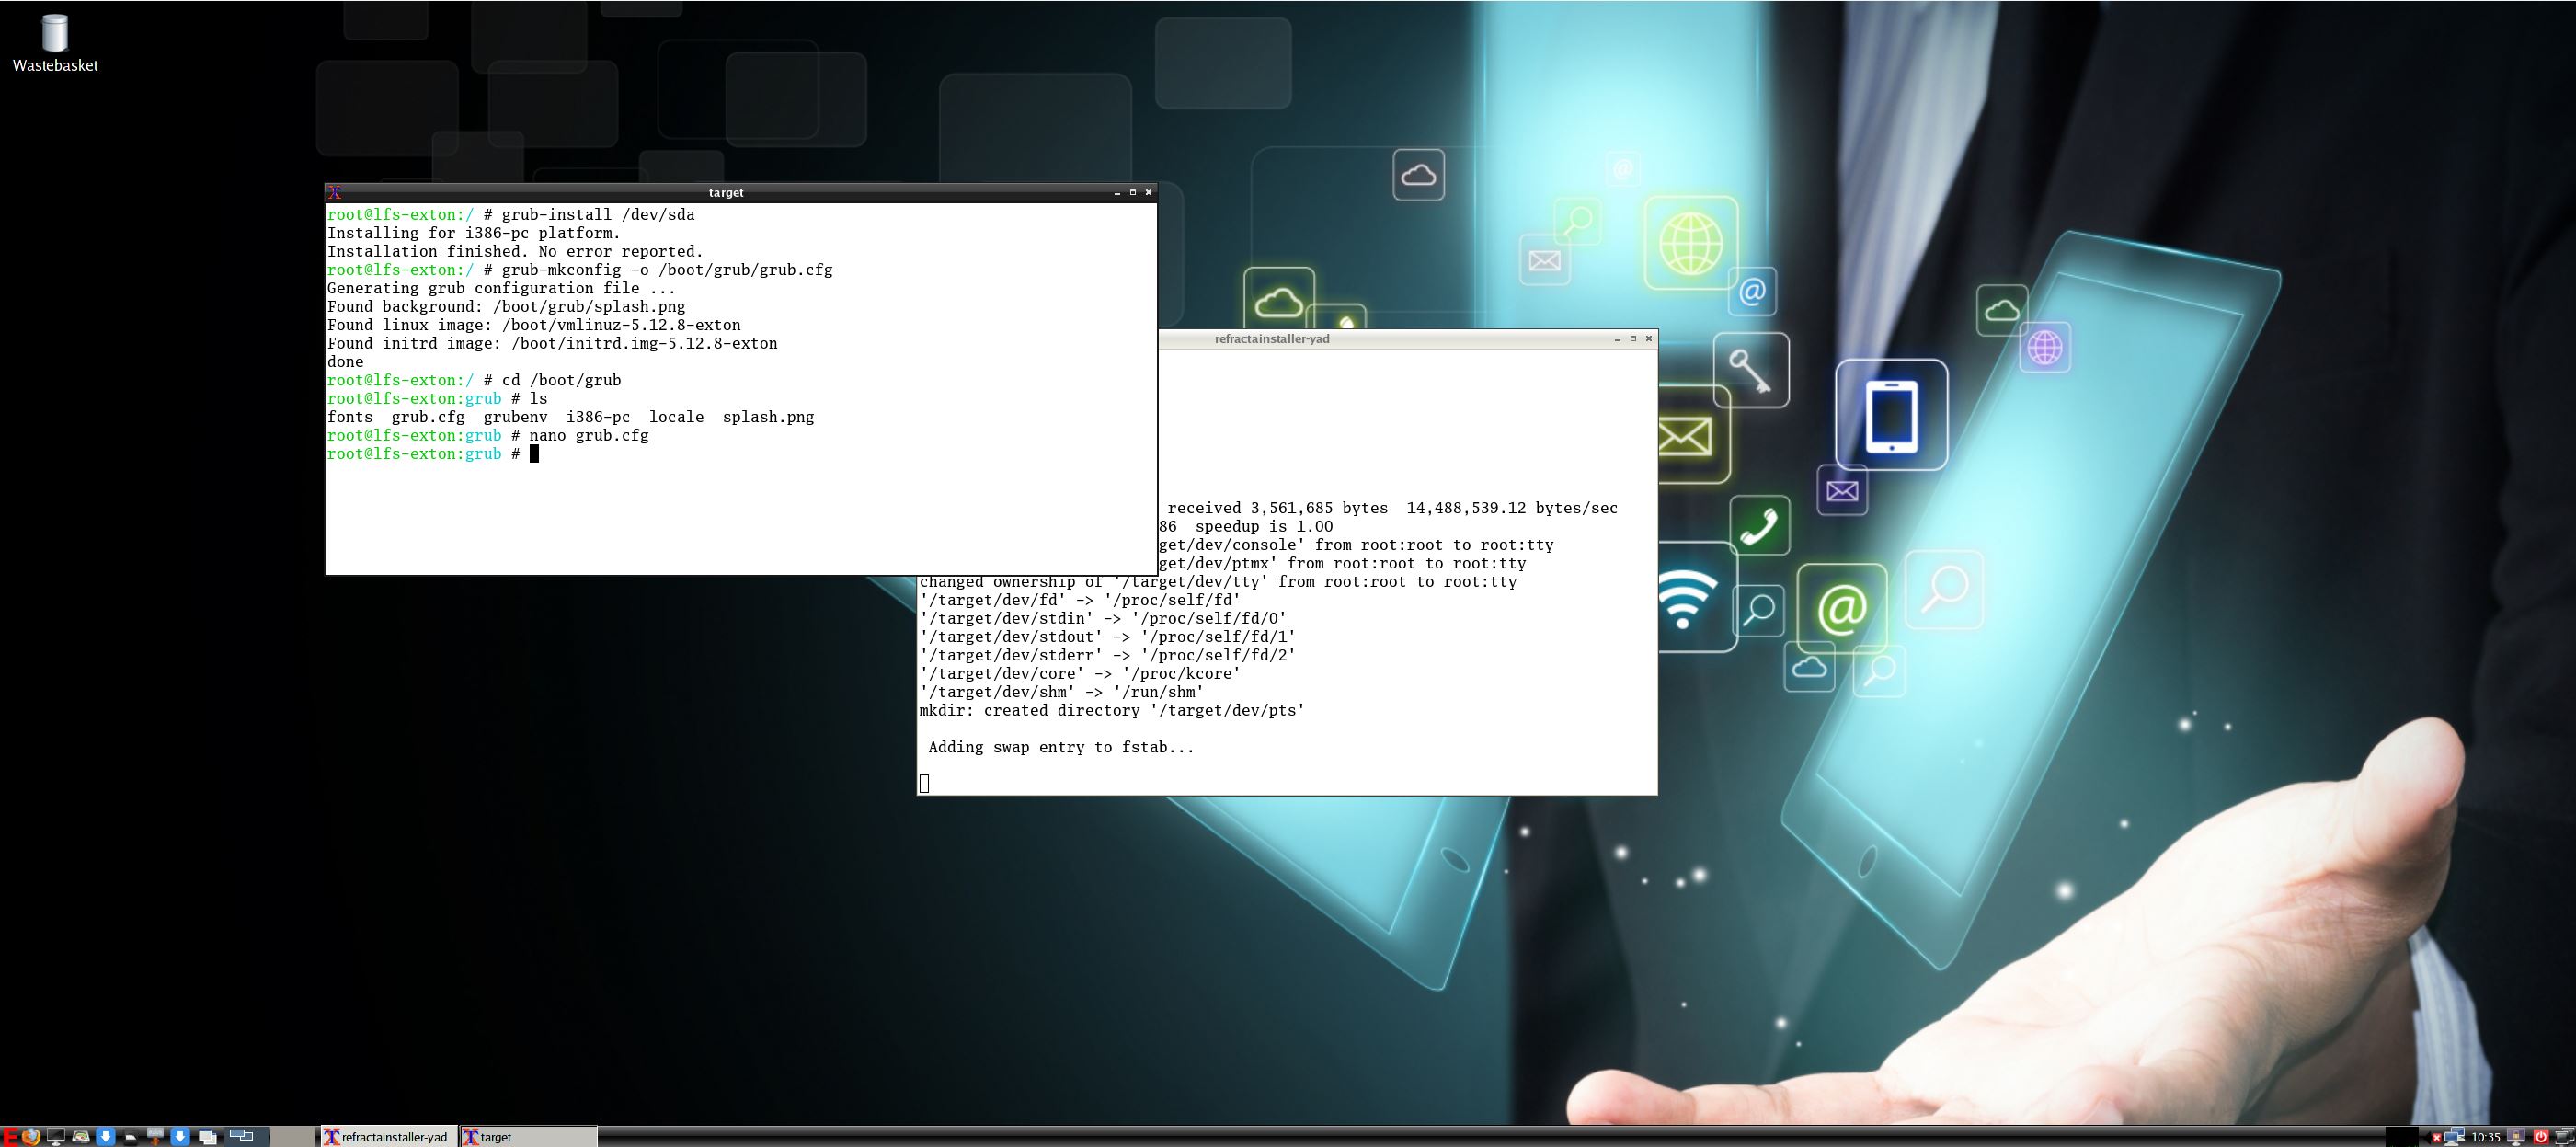
5. The boot picture (splash) after a hard drive installation using Grub
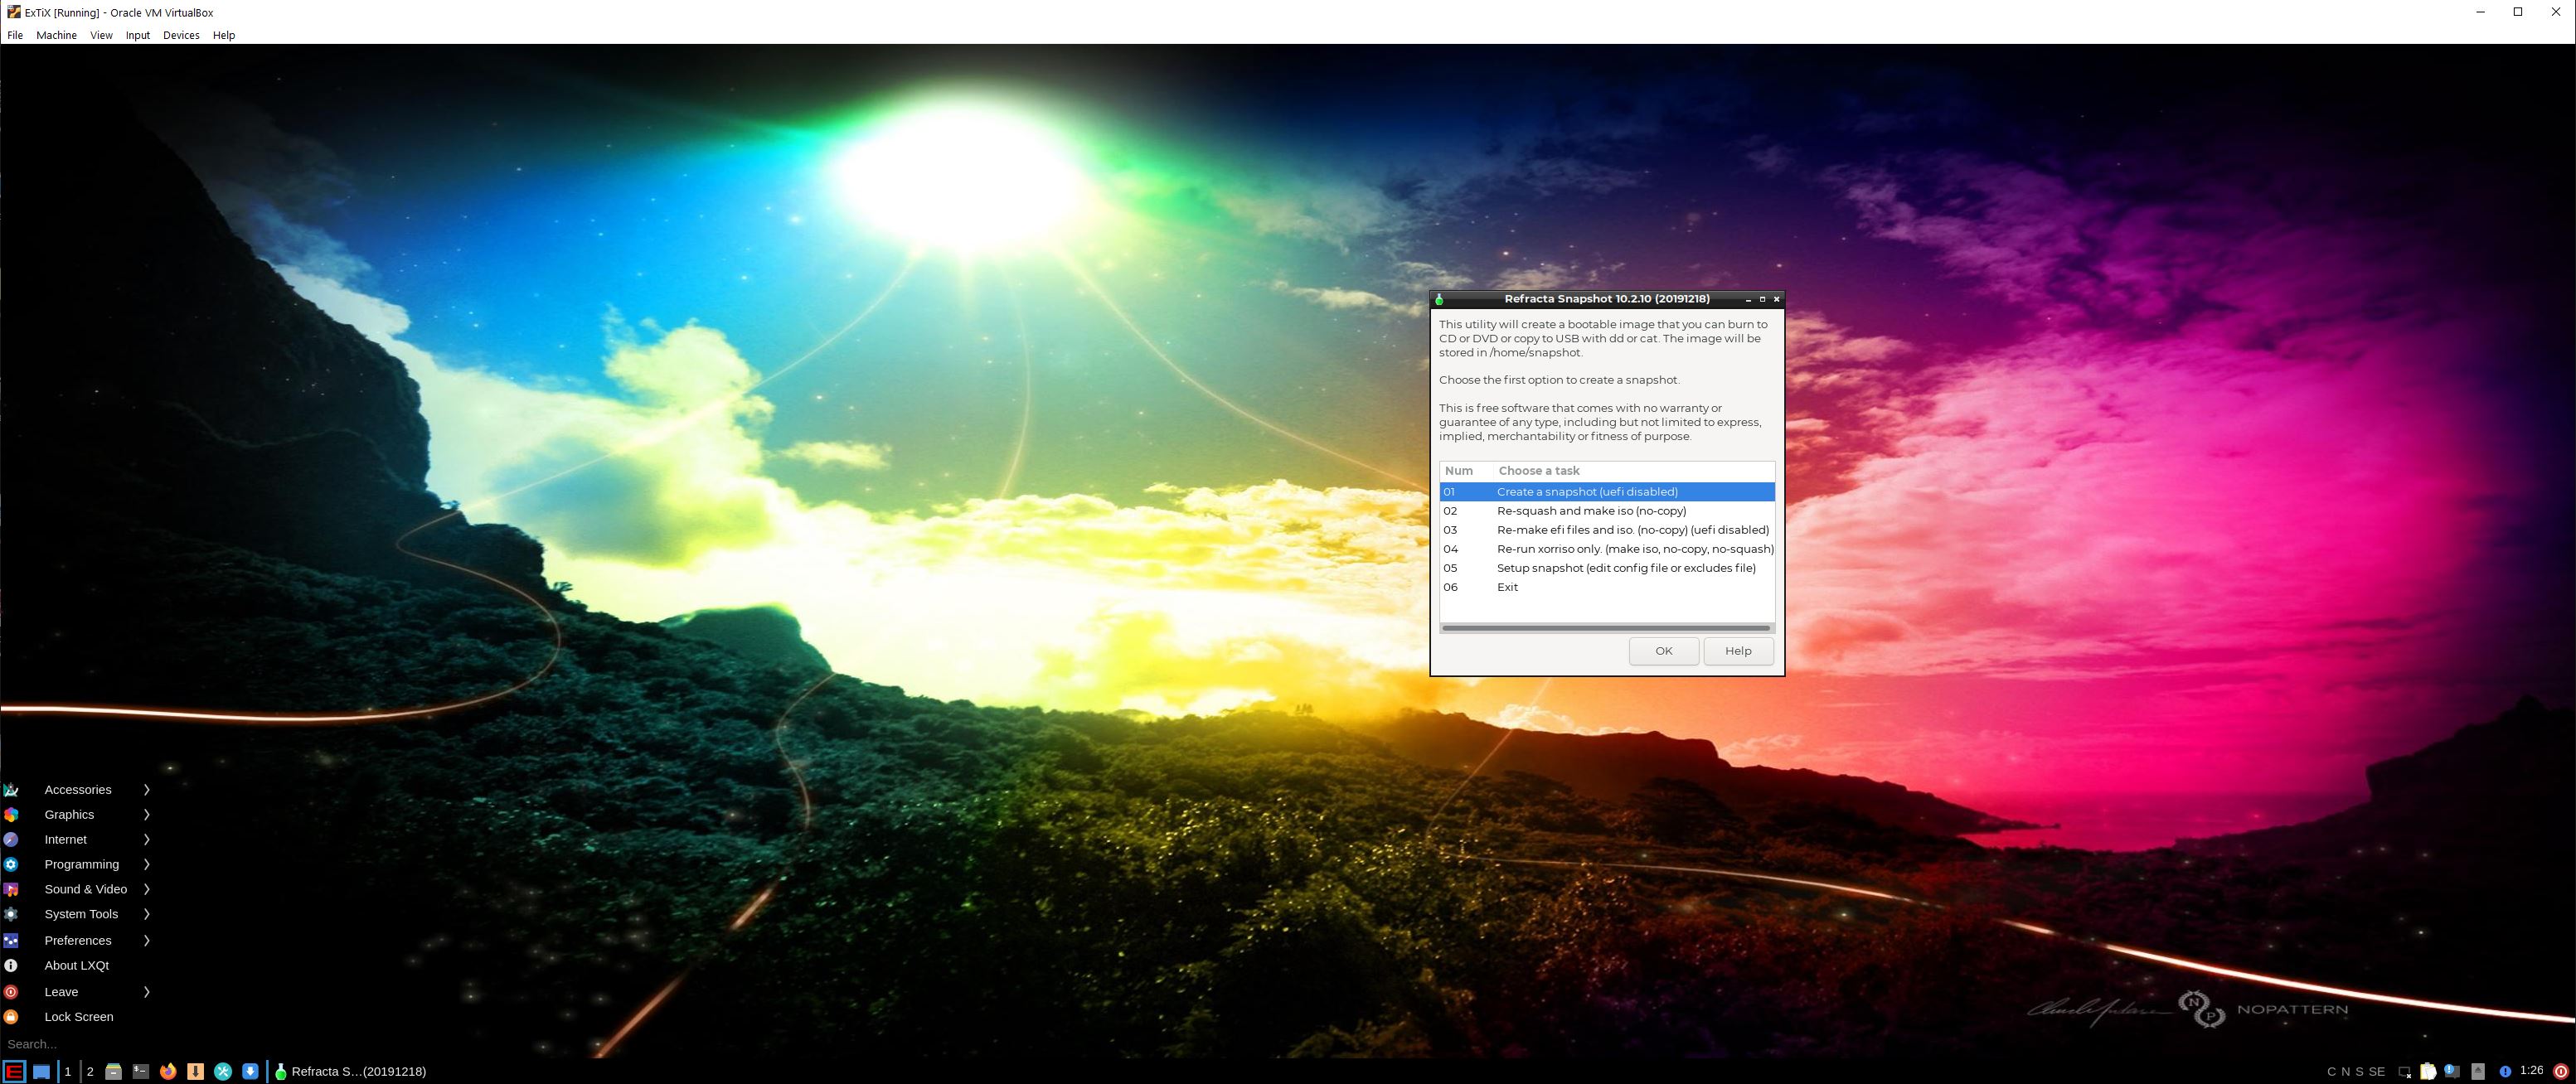
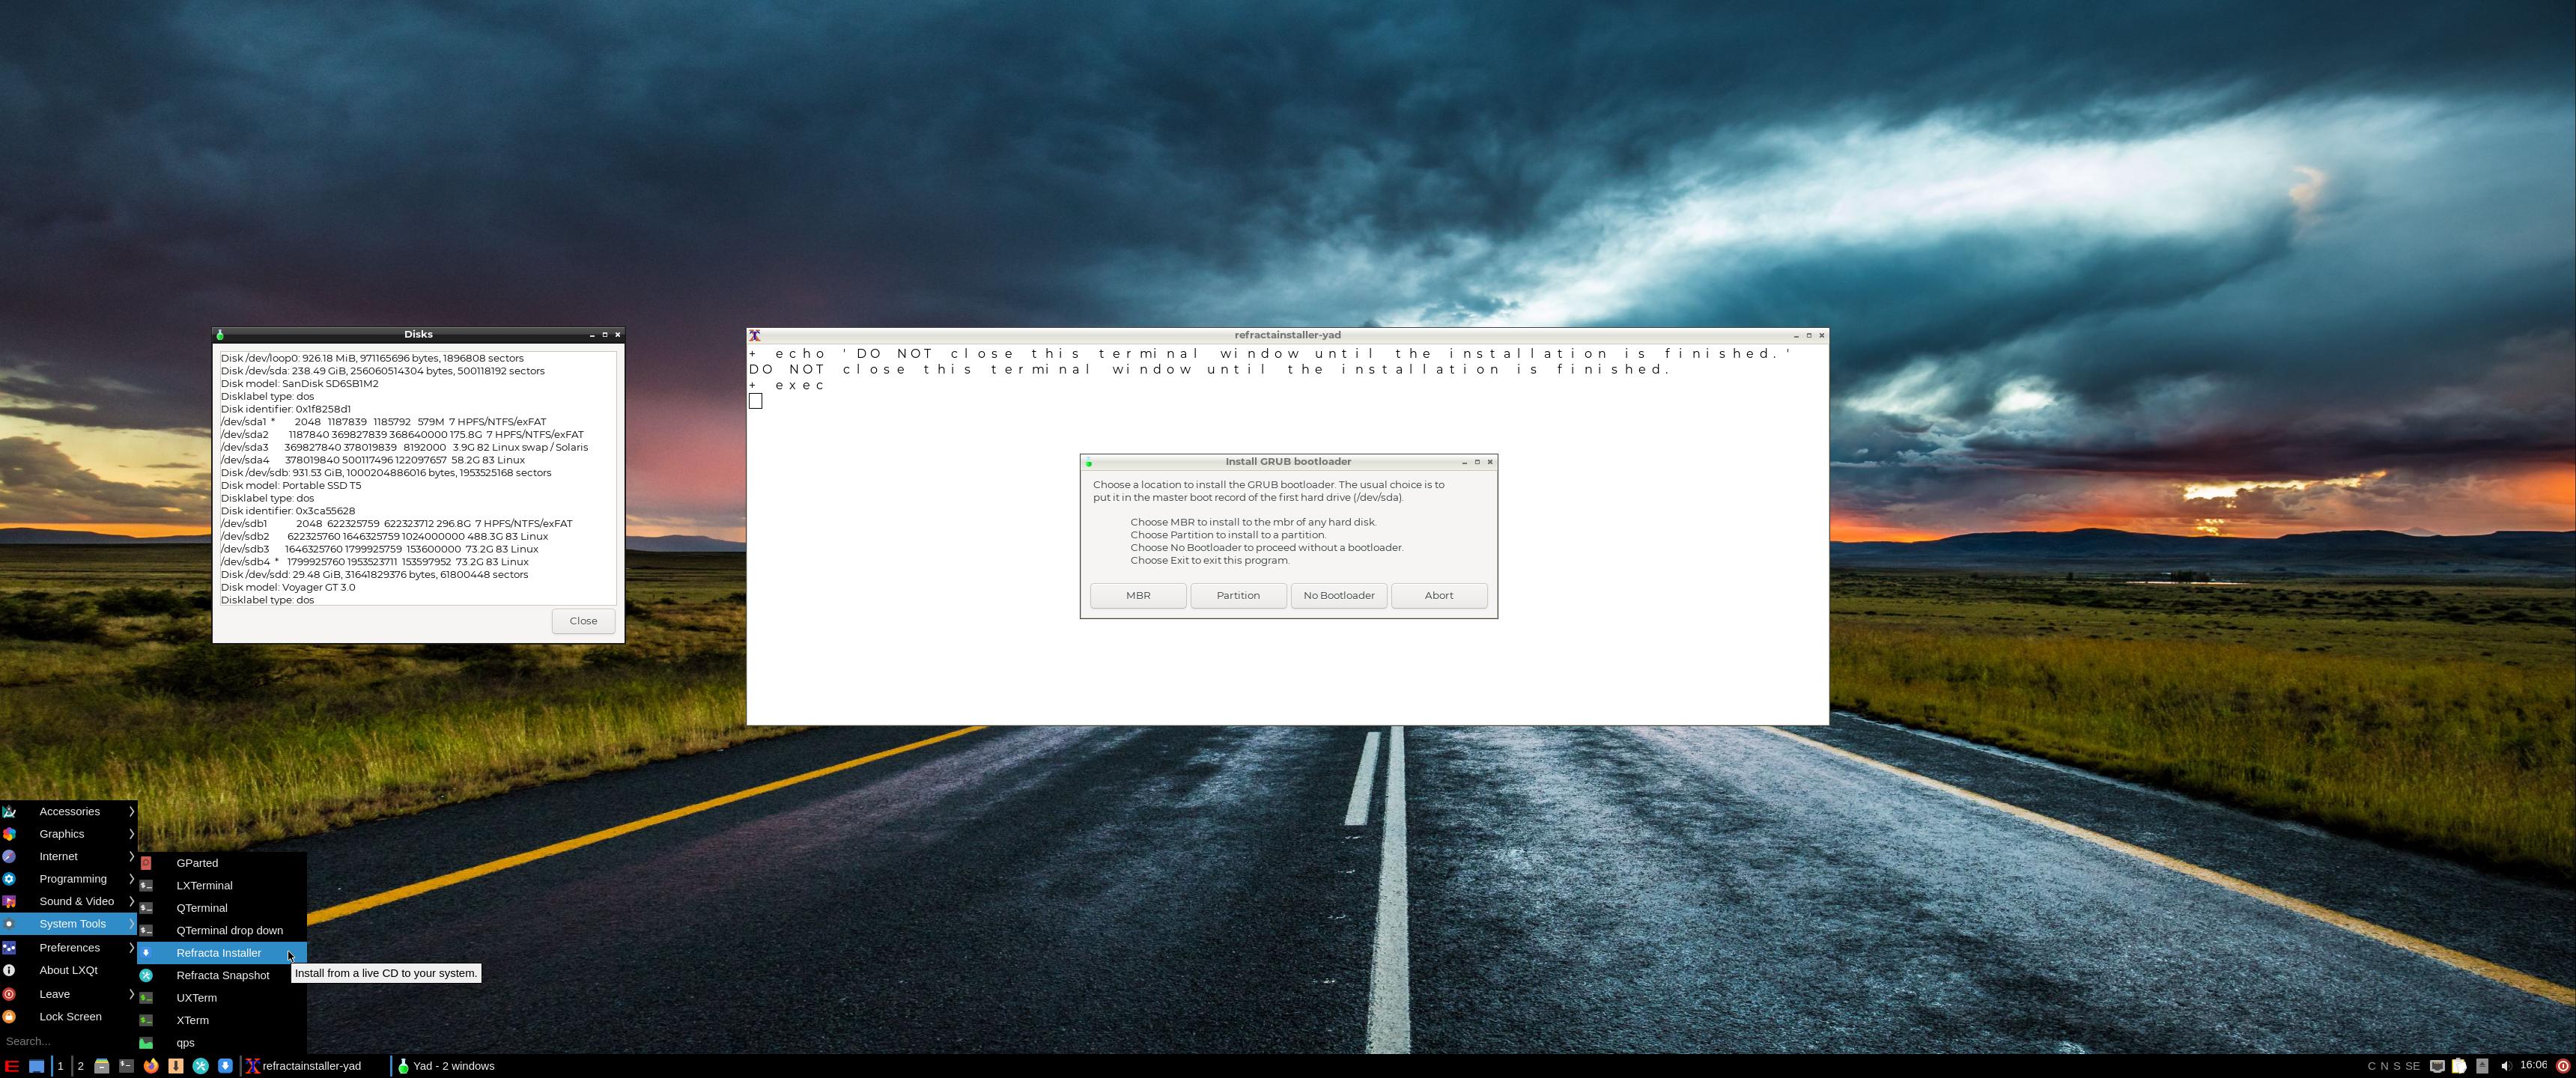
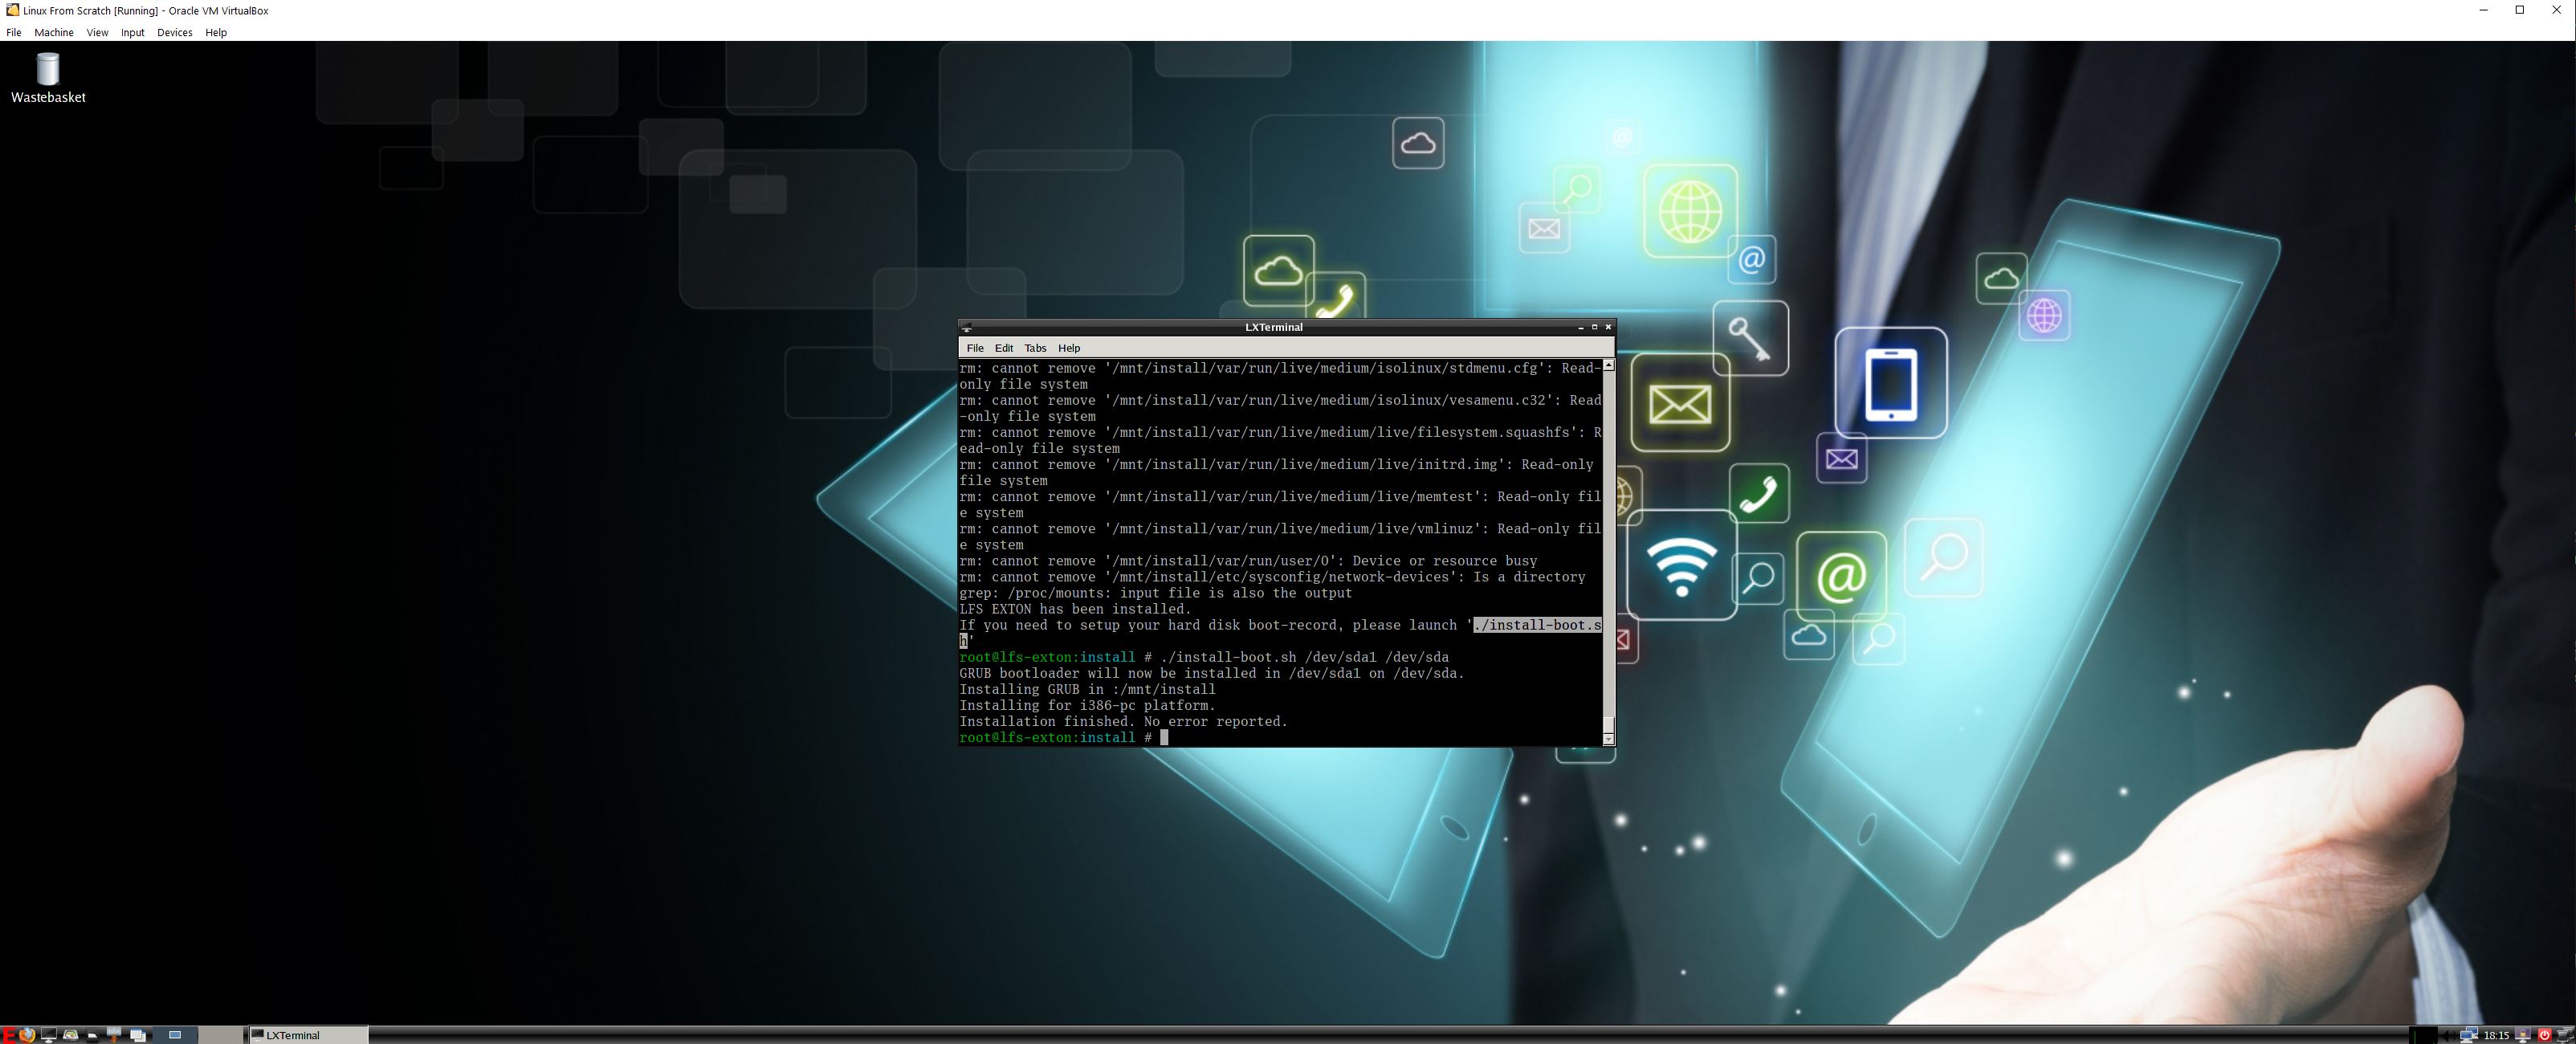
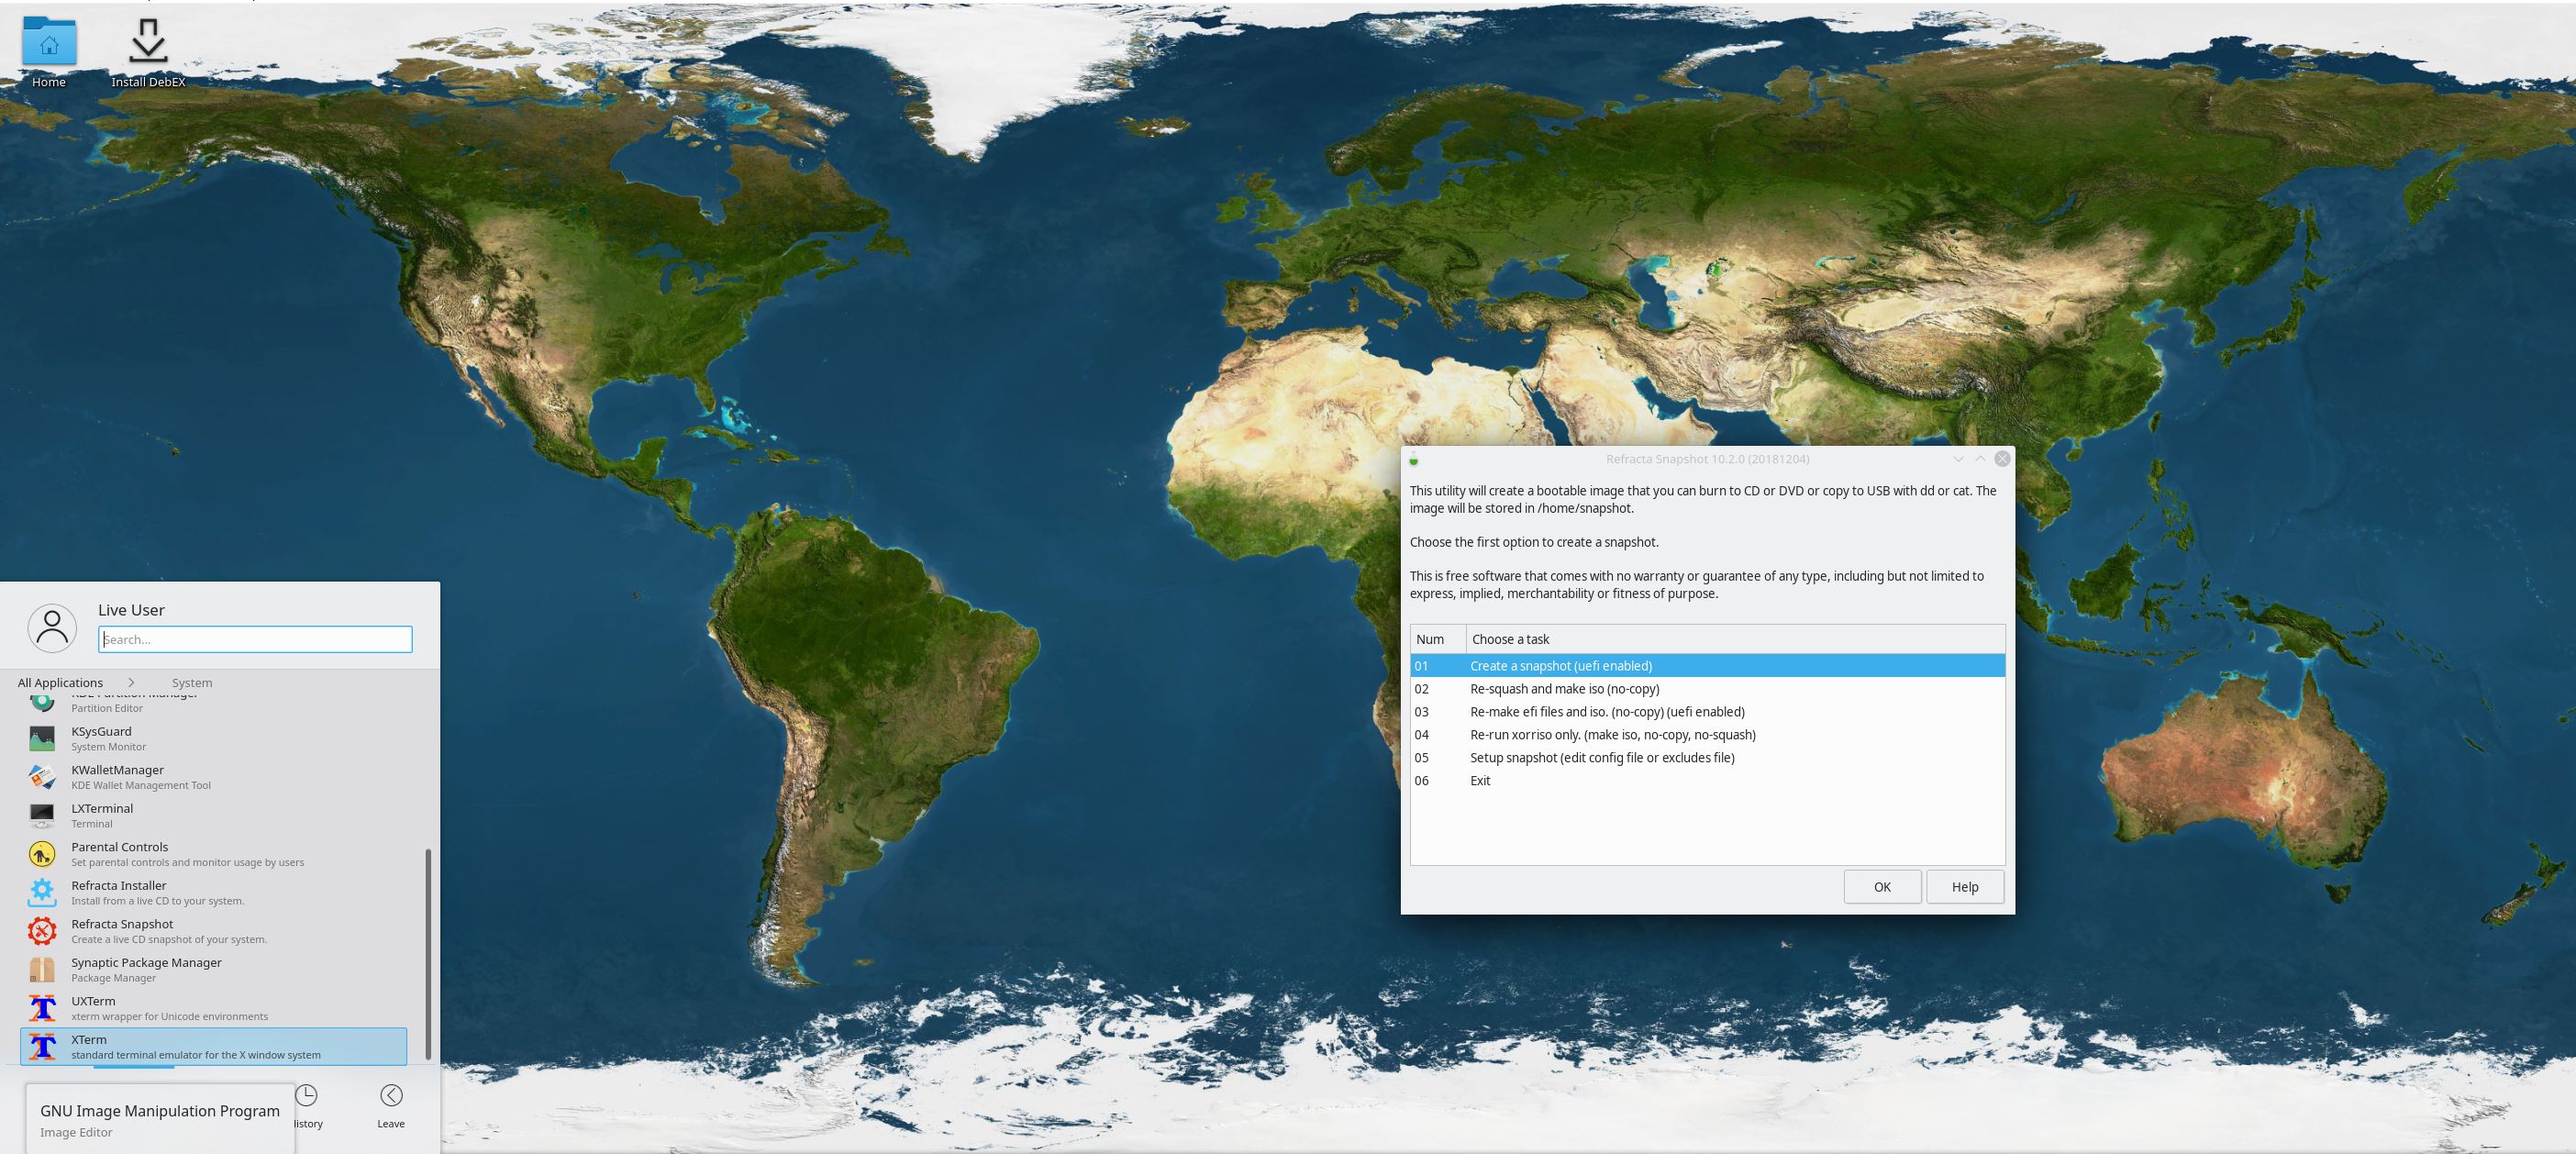
6. The Installer running and installing Grub
7. VLC running
andex.exton.net – latest is AndEX 11 (with GAPPS), AndEX 10 (with GAPPS) and AndEX Pie 9.0 (also with GAPPS)!
and
about my Android 13, 12, 11, 10, Pie, Oreo, Nougat, Marshmallow and Lollipop versions for Raspberry Pi 4 and 3/2 at raspex.exton.se – latest is RaspAnd 13 and 12 (without GAPPS), RaspAnd 11 (with GAPPS) and RaspAnd Oreo 8.1 (also with GAPPS)!