
 About DebEX
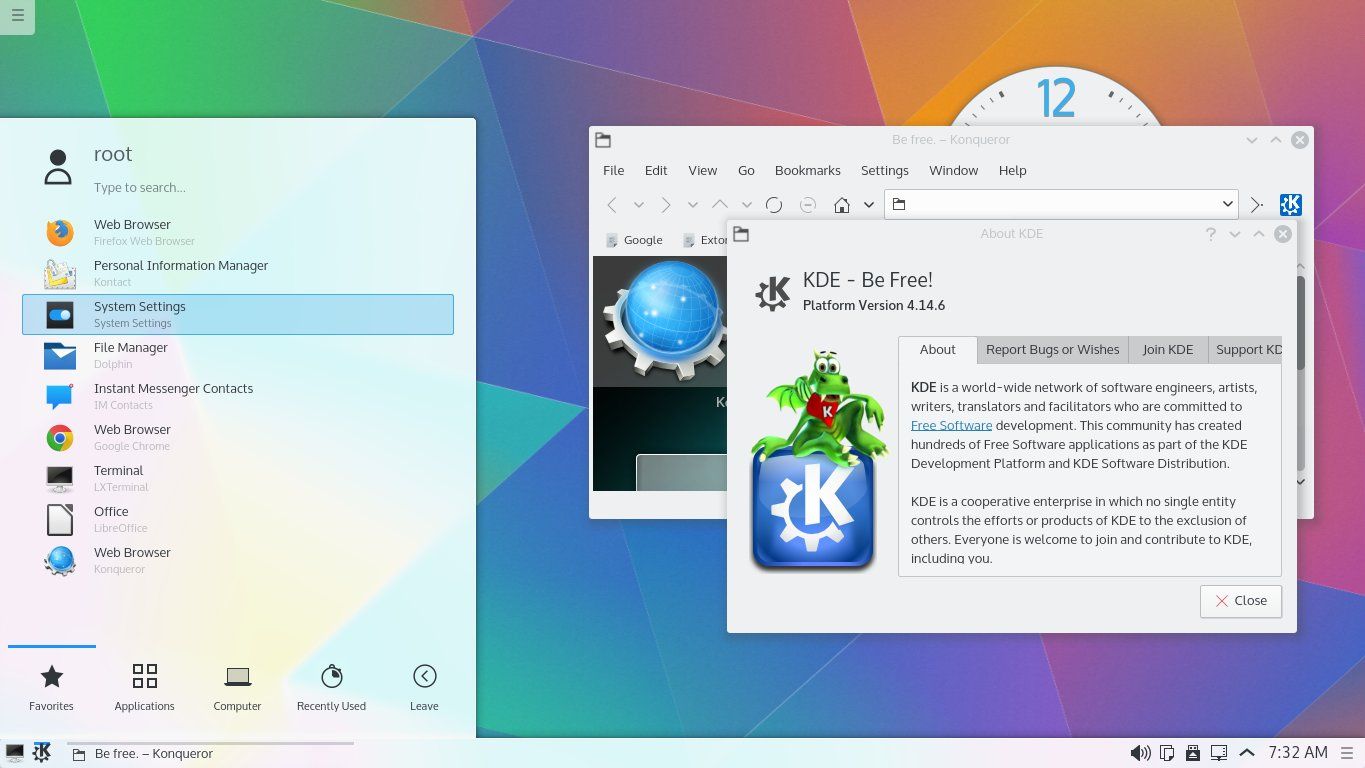
All three systems/distributions are a based on Debian Buster/Sid (upcoming Debian 10). Budgie Desktop 10.4 is used as Desktop environment in DebEX Barebone/Budgie. Gnome 3.30 is used in DebEX Gnome. KDE Plasma Desktop 5:47 is used in DebEX KDE. The system language is English (in all three versions of DebEX).
NEWS 181030 about DebEX Gnome – a Refracta non-efi Build
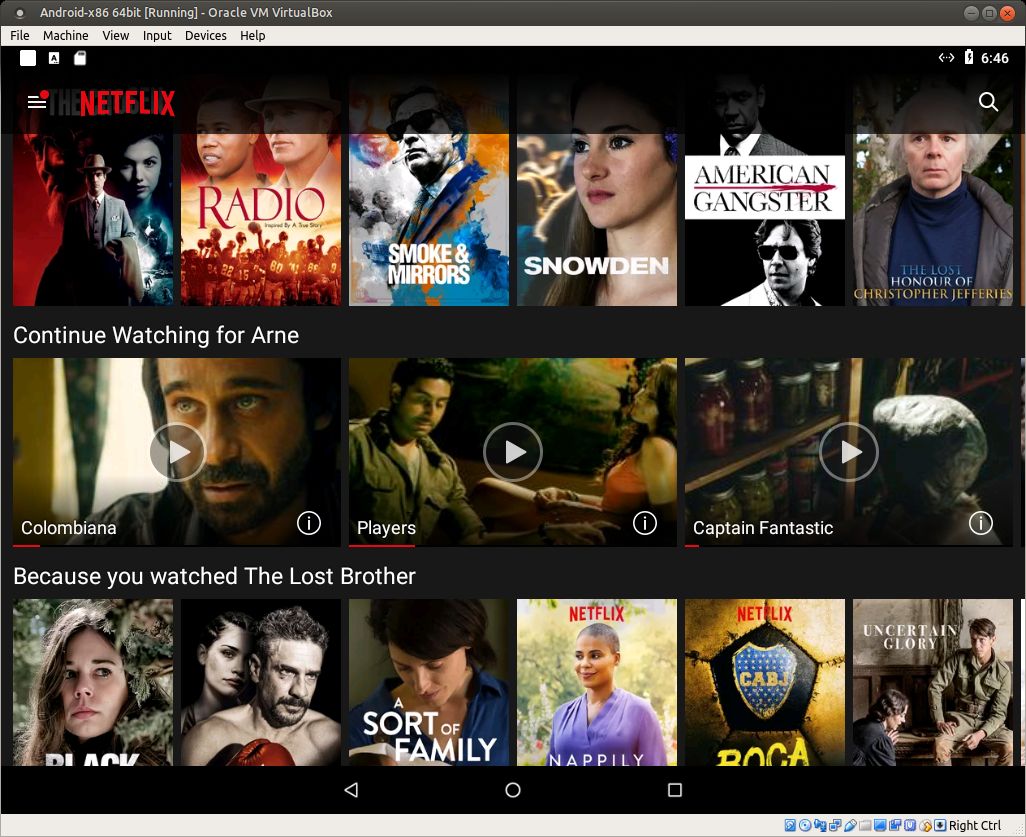
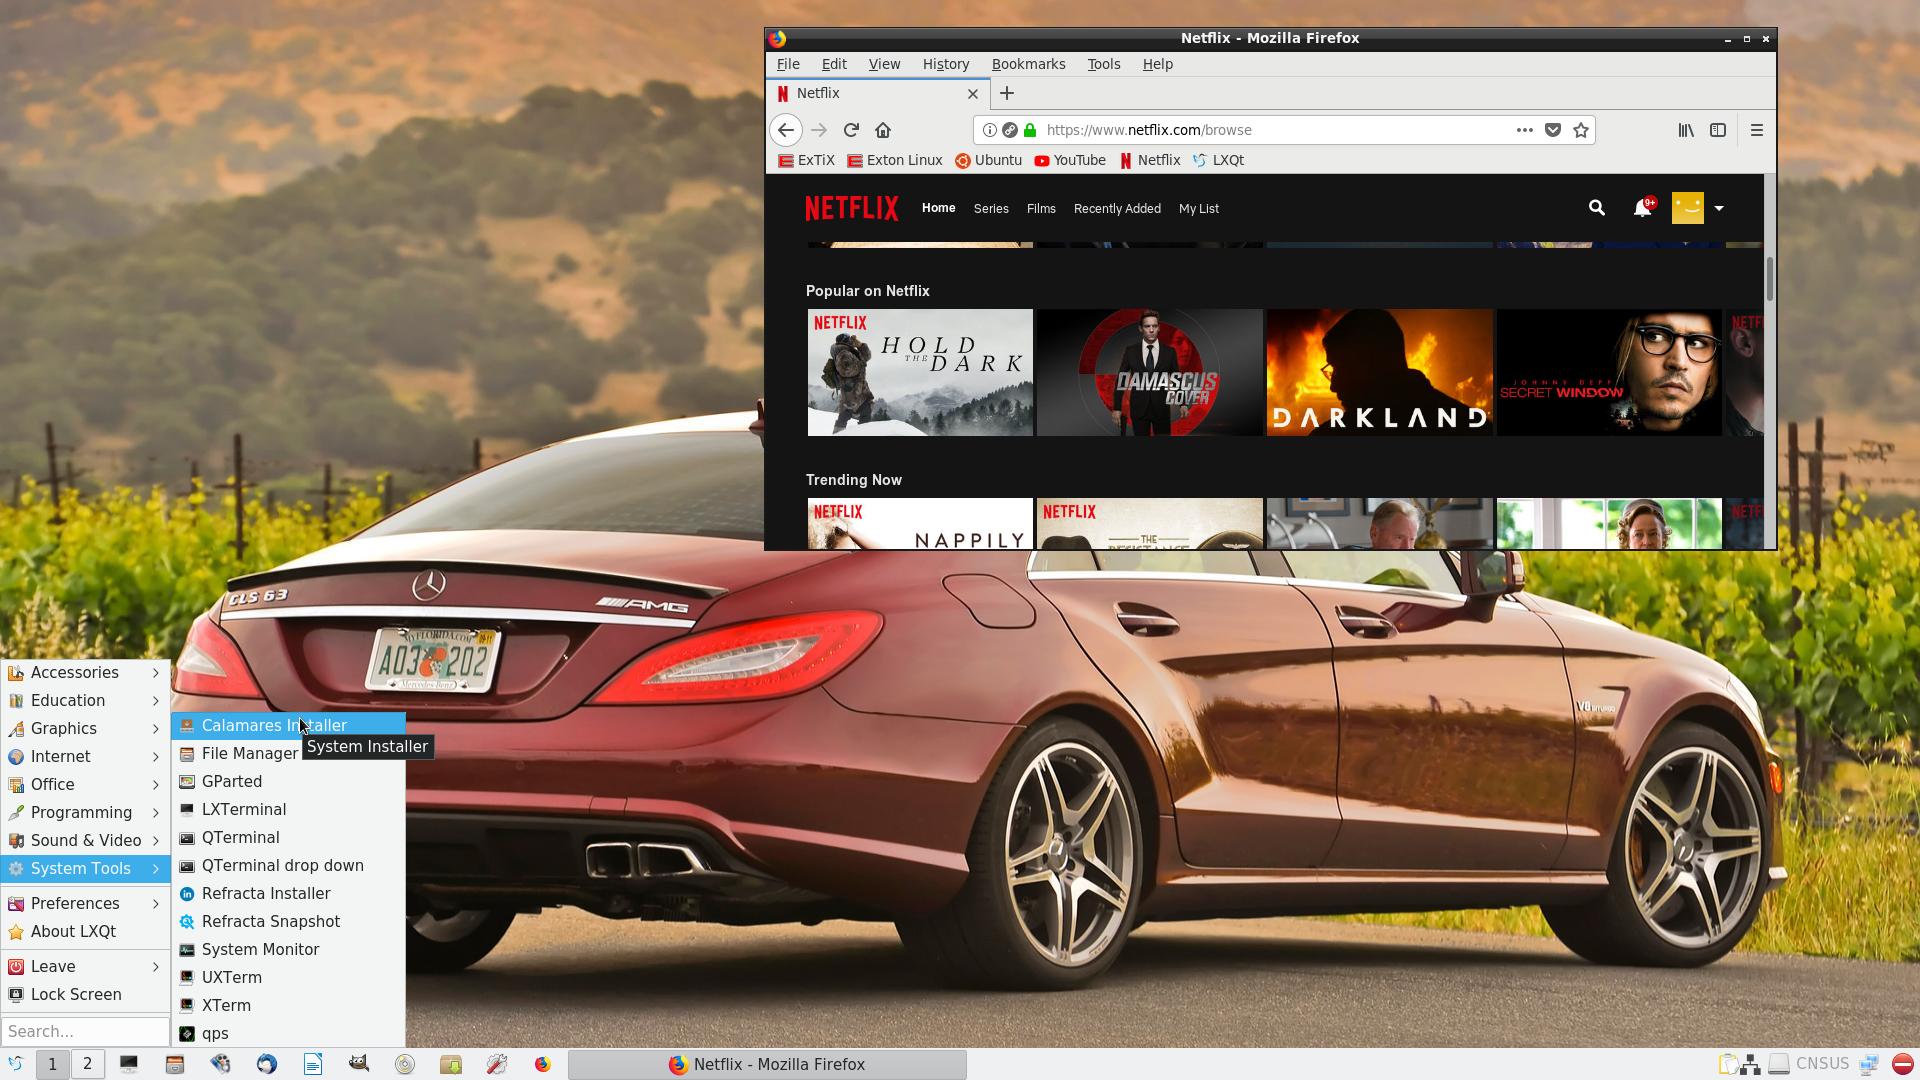
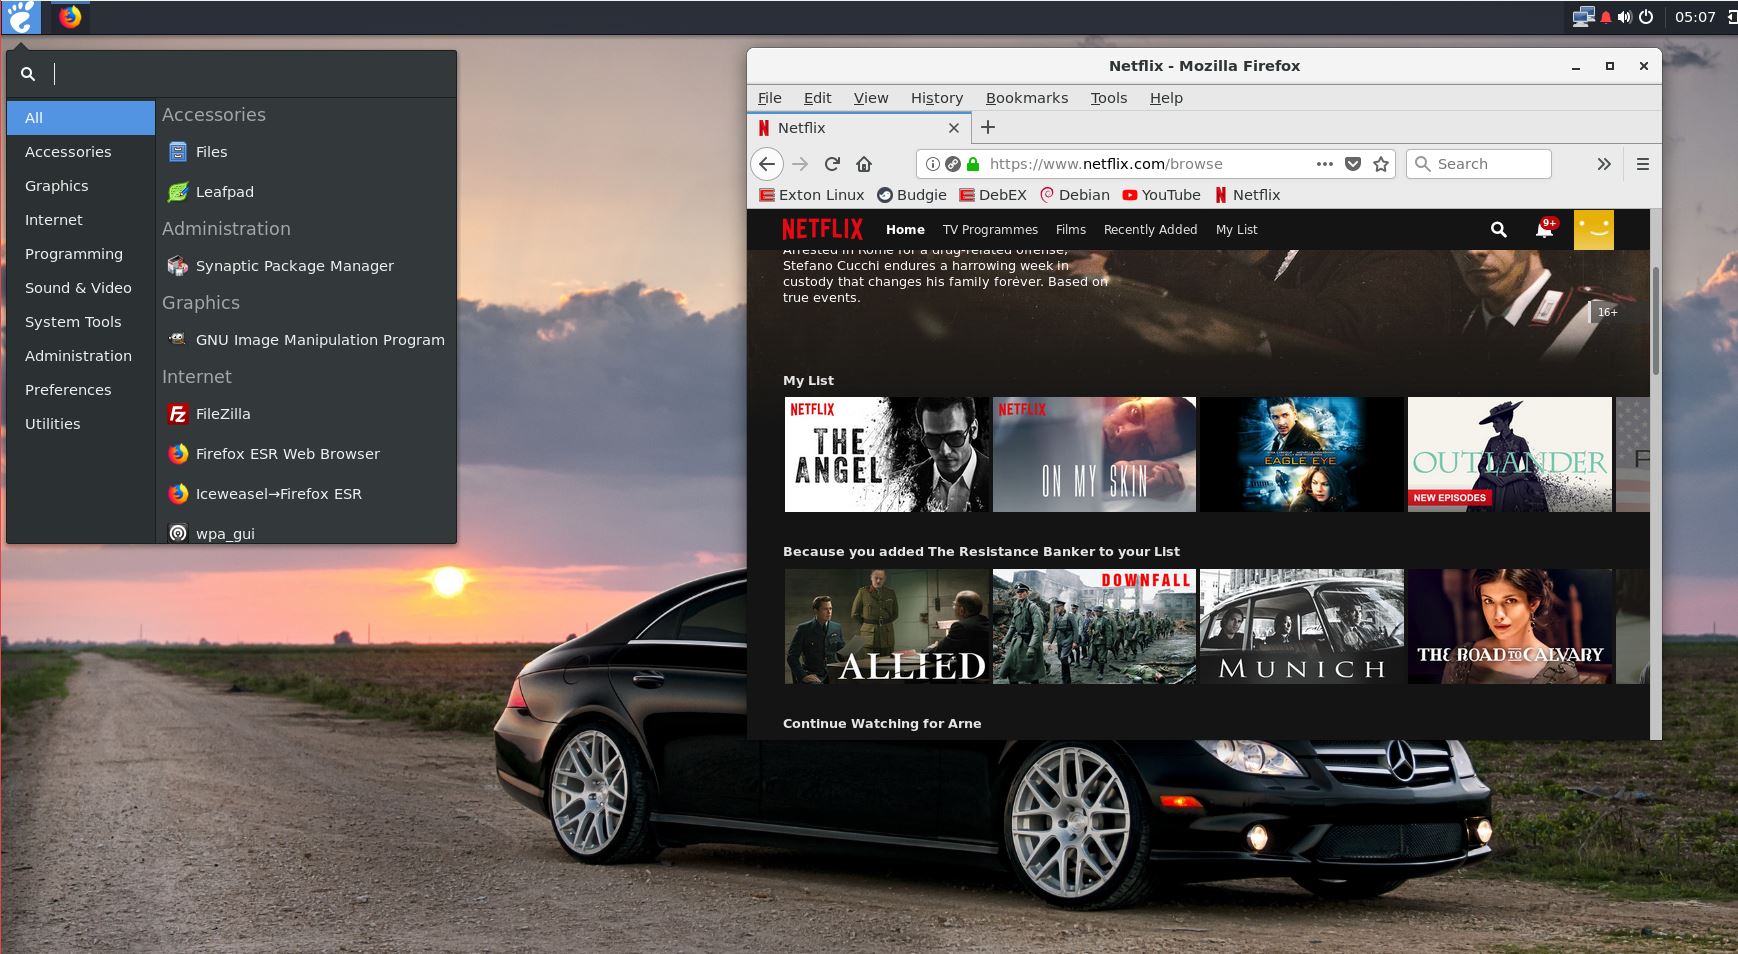
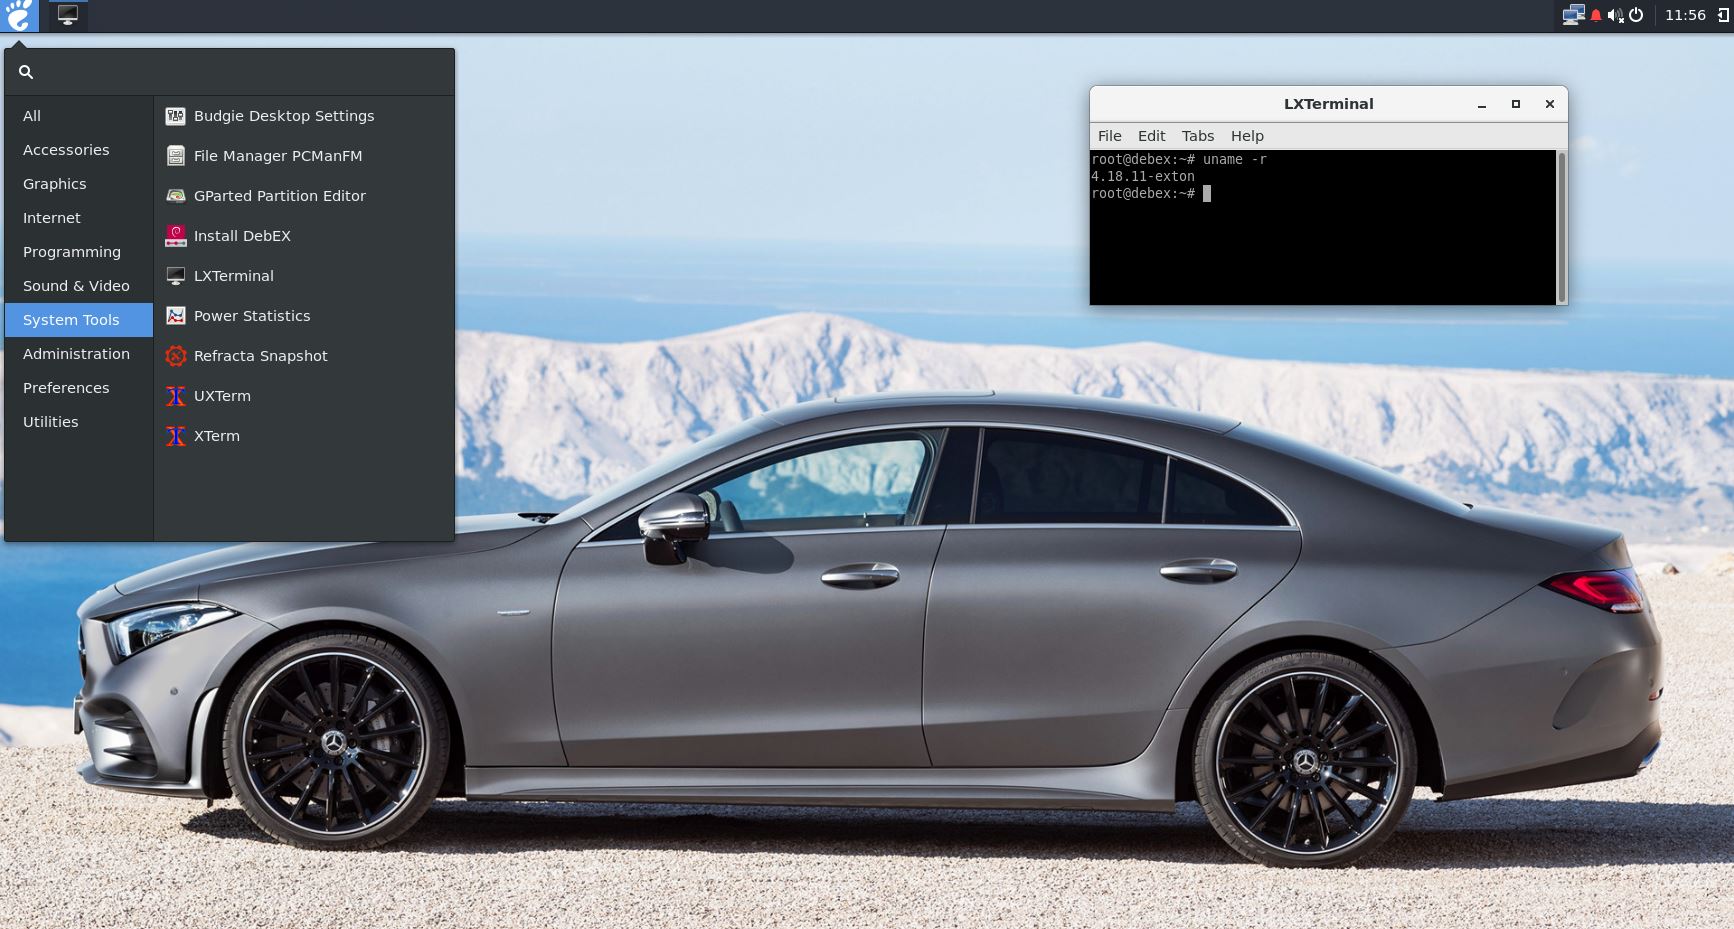
I have made a new extra version of DebEX, which I call DebEX Gnome Live DVD. It’s a pure Debian system using the testing (buster) and unstable (sid) repositories. Gnome 3.30 (latest) is used as Desktop environment. Gnome in combination with Docky is perfect (I think). Watch this screenshot. I have removed the Mate Desktop, since Gnome now can be used on all kind of computers. Also when running DebEX in VirtualBox and VMware. No need for Nvidia’s proprietary graphics drivers when running this new version of DebEX. You can of course install such drivers if you want to. Furthermore I have replaced Google Chrome with Iceweasel 52.6. It is now possible to watch Netflix movies using Iceweasel (Firefox) in Linux. I have also replaced Refracta Installer with Calamares Installer, which makes it possible to install DebEX Gnome in any language. You can even use Calamares in VirtualBox and VMware – i.e. non-efi computers. All installed packages have been updated to the latest version as of 181030. DebEX Gnome uses kernel 4.19.0-exton corresponding Kernel.org’s latest kernel 4.19. You can download “my” kernel if you want to use it in another Debian or Ubuntu system.
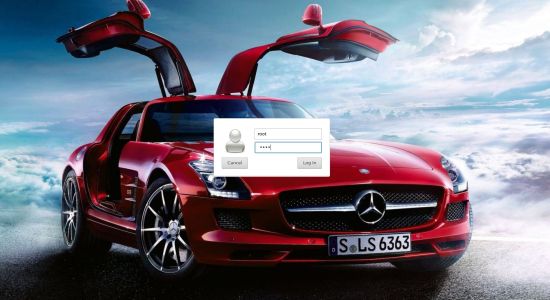
The LightDM login window in DebEX Gnome
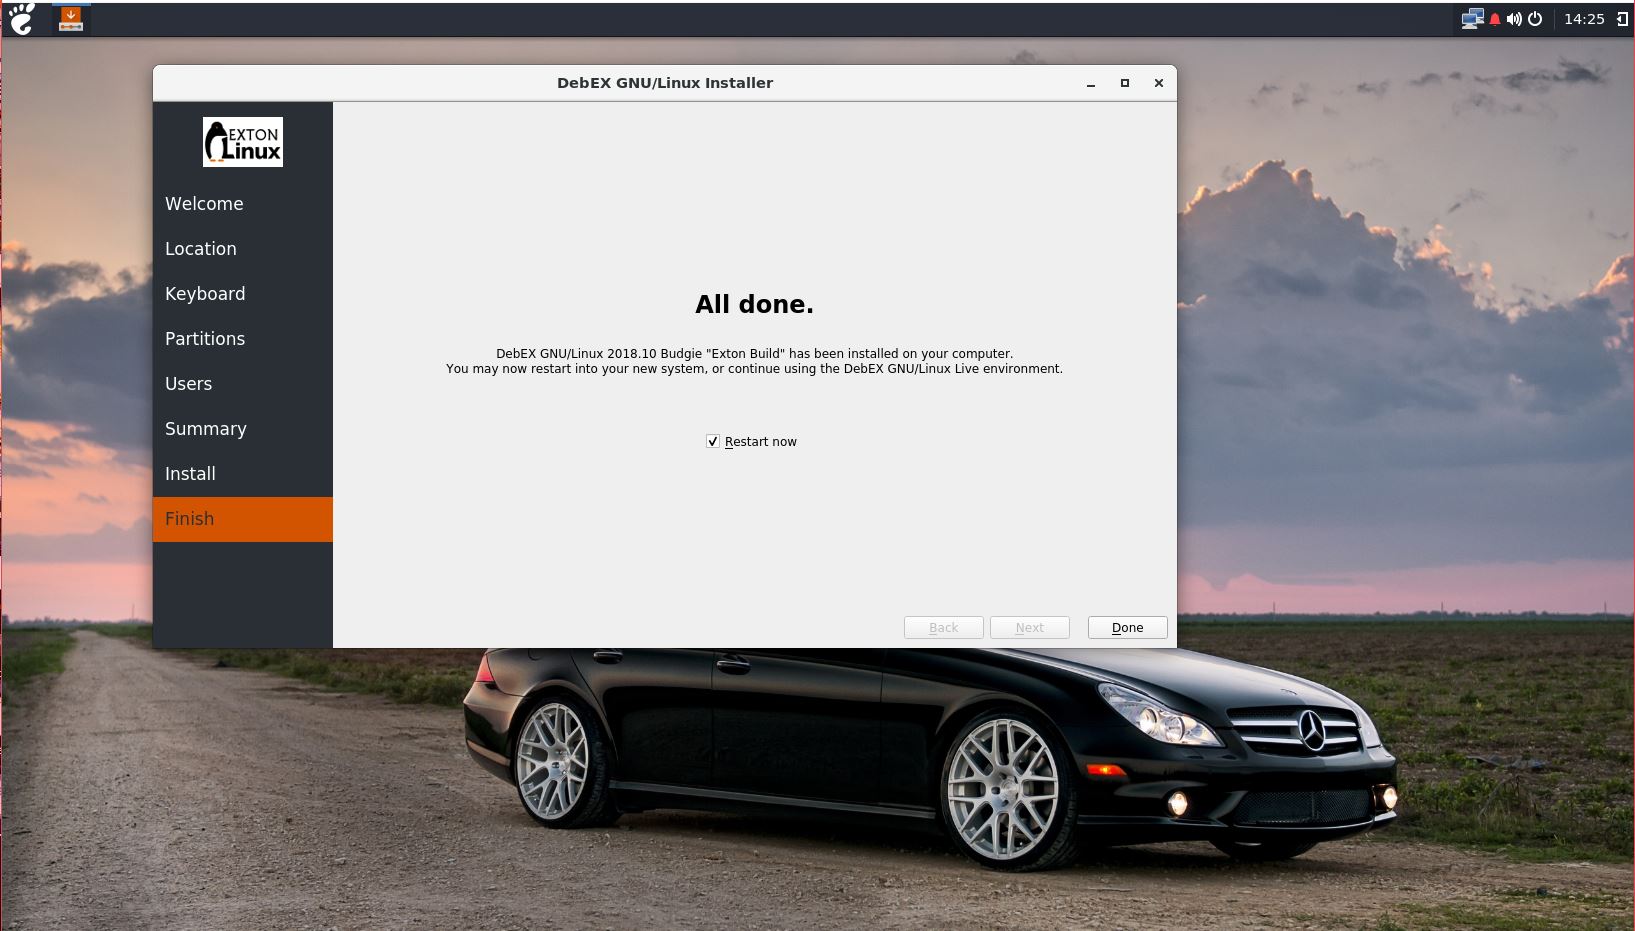
MOVIE about Calamares Installer
Watch a movie about the Calamares installation process in VirtualBox.
SCREENSHOTS
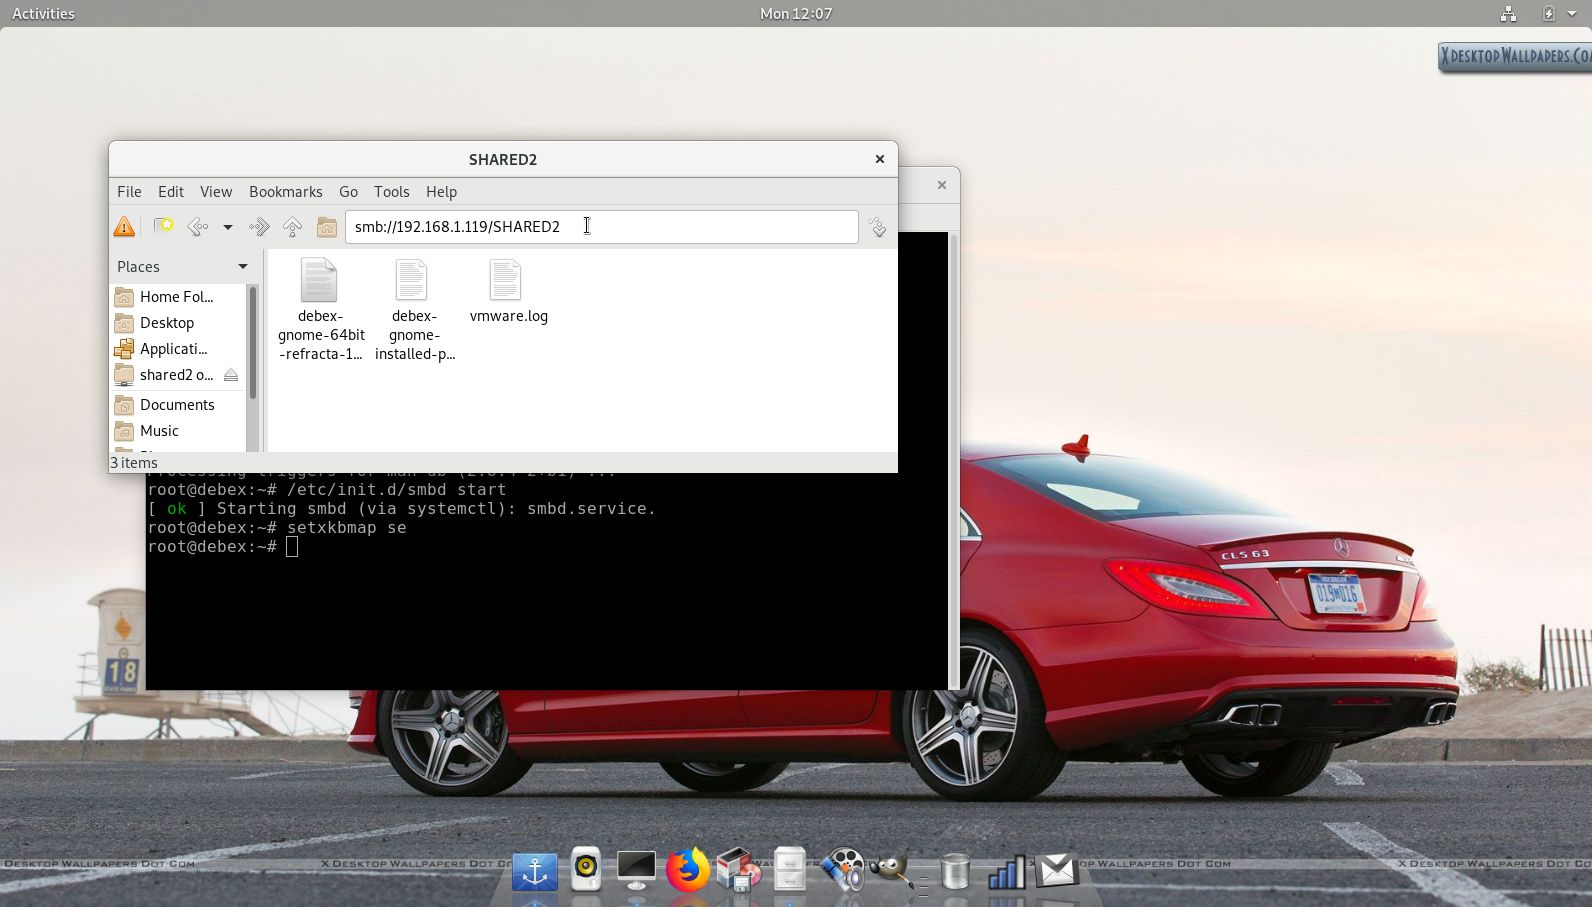
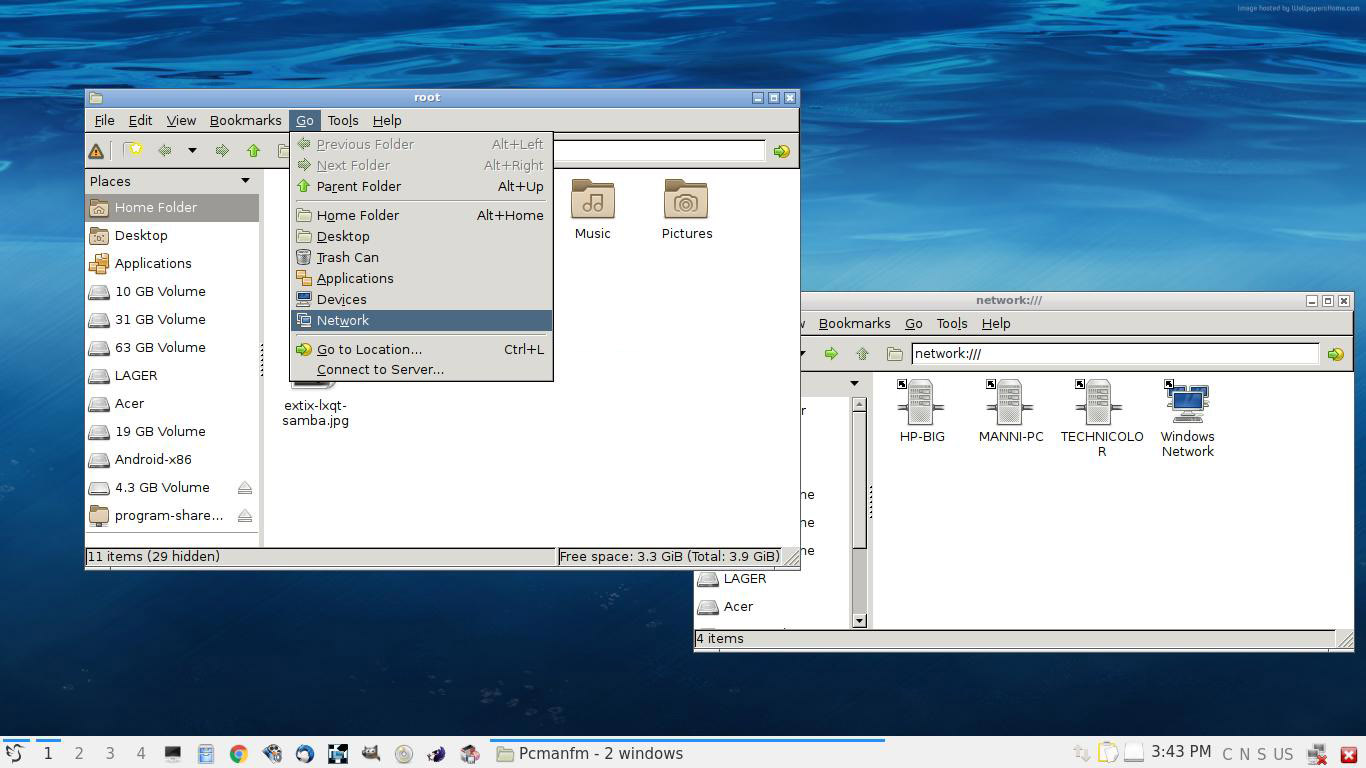
1. Samba running
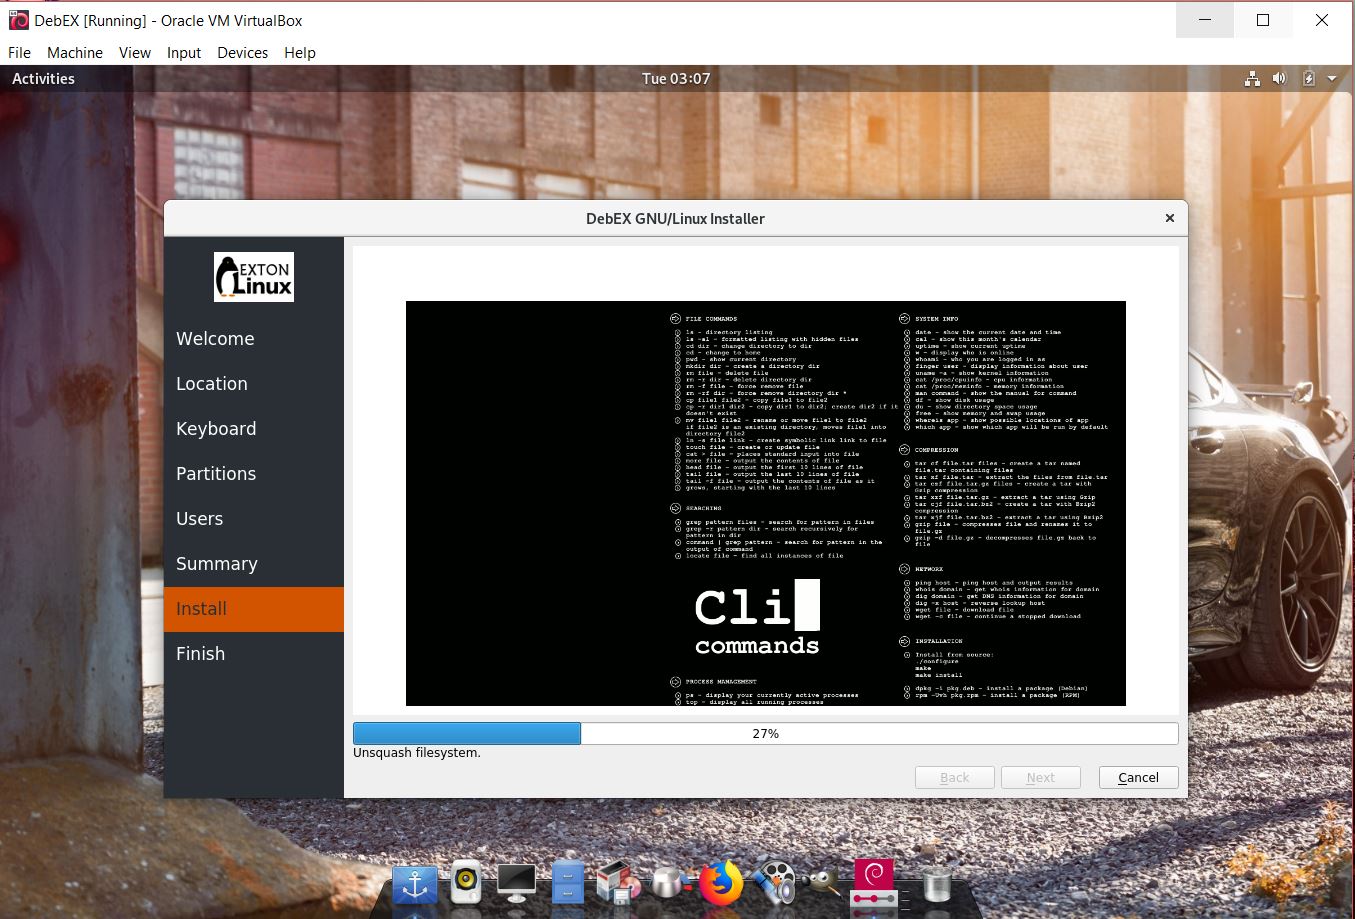
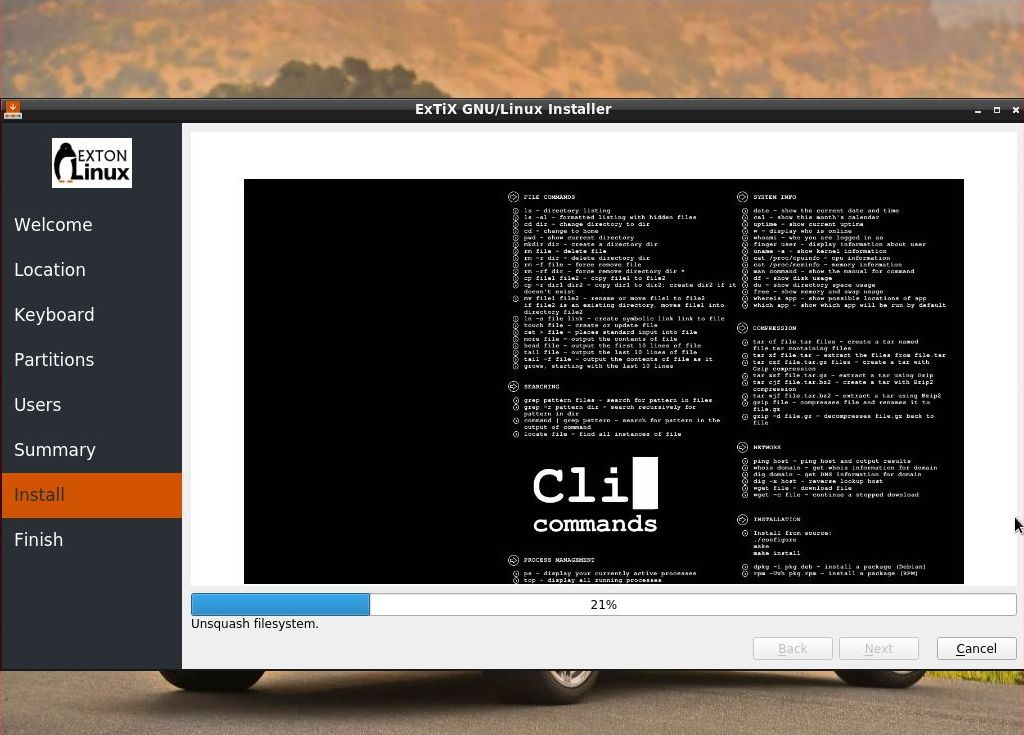
2. Calamares has started in VirtualBox
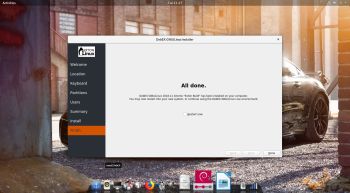
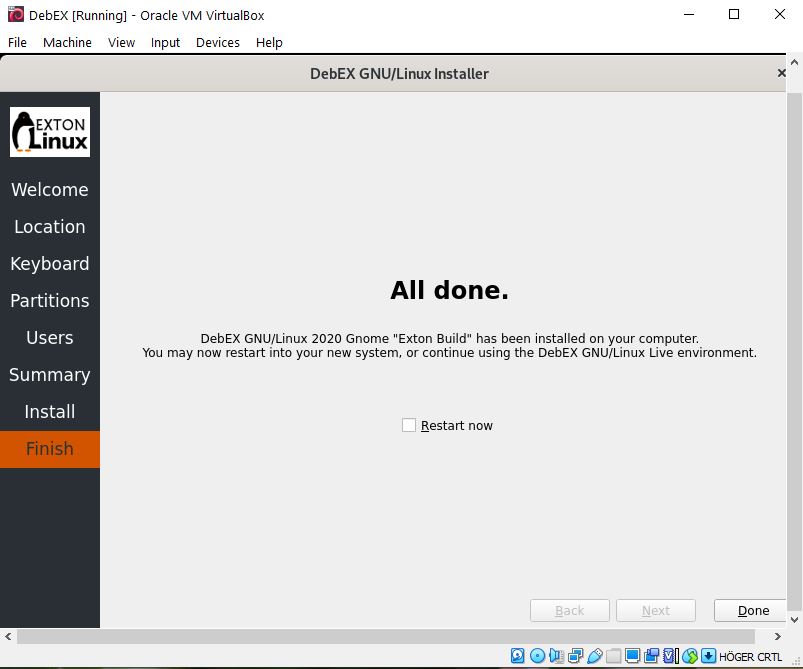
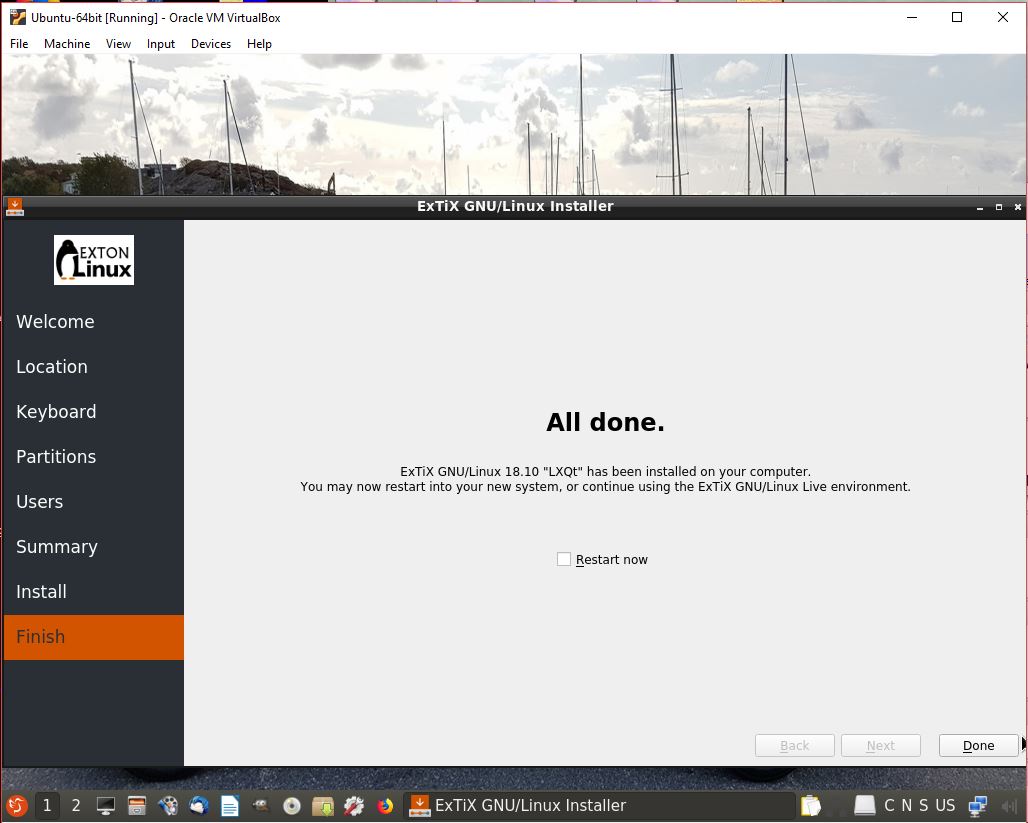
3. Calamares has finished
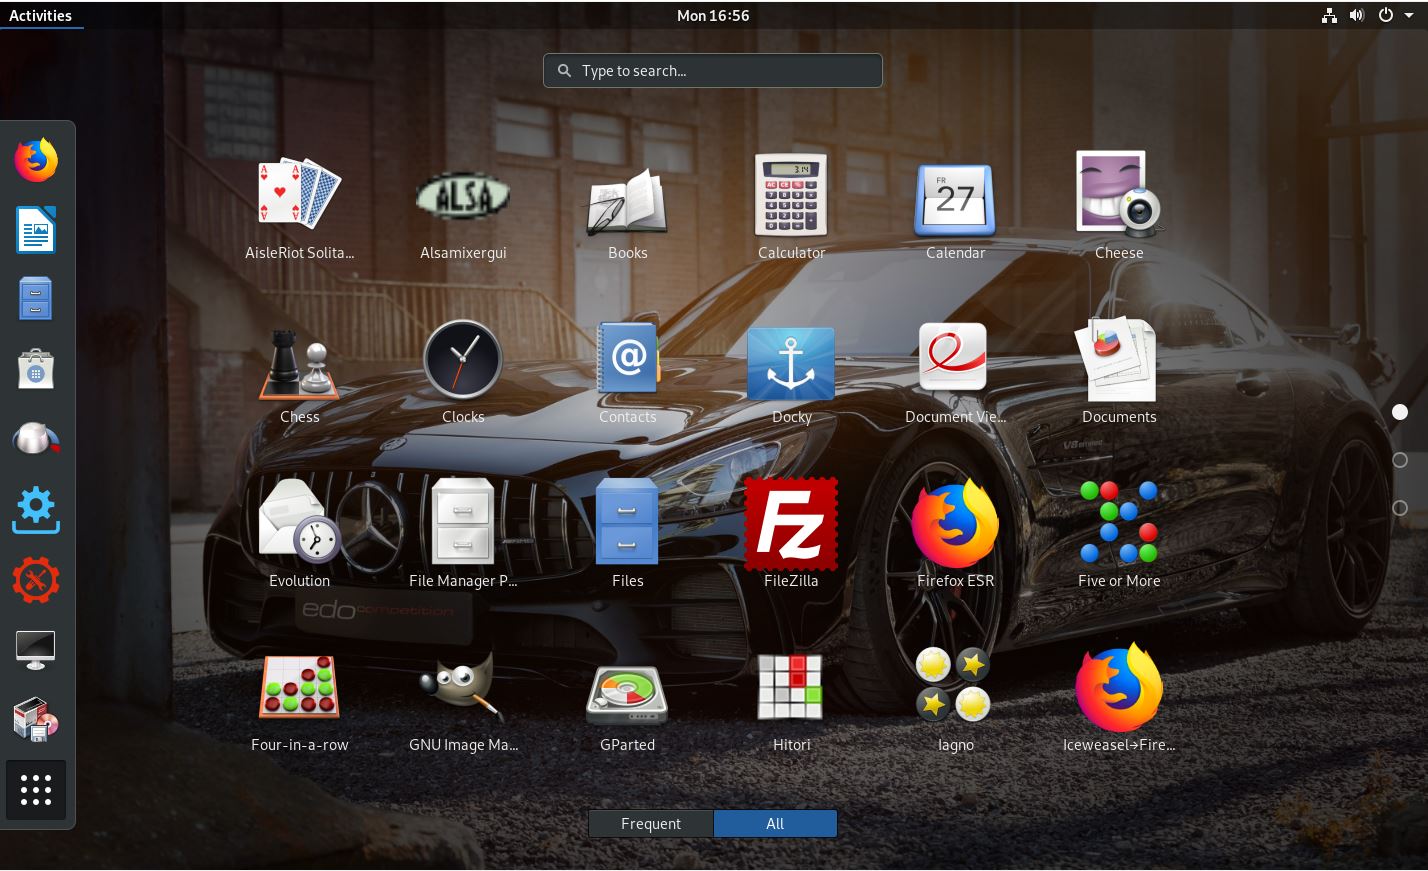
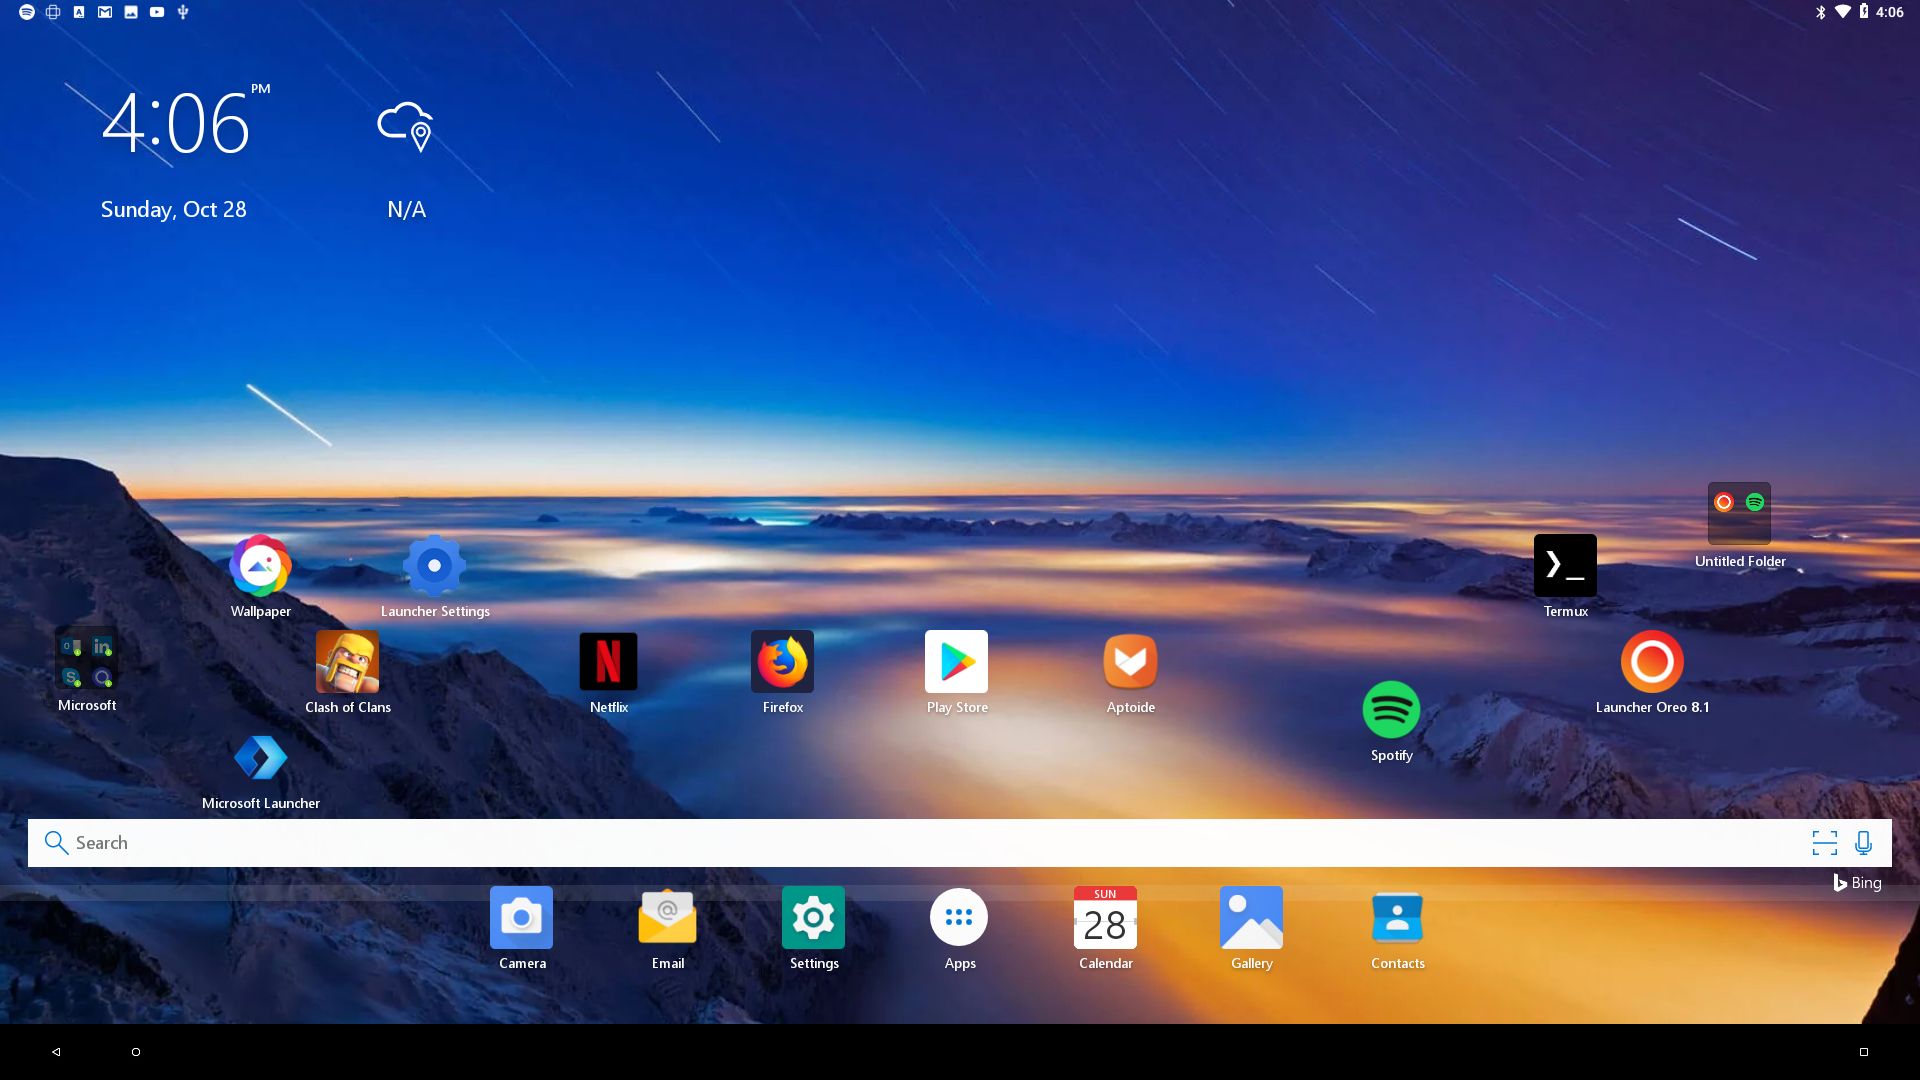
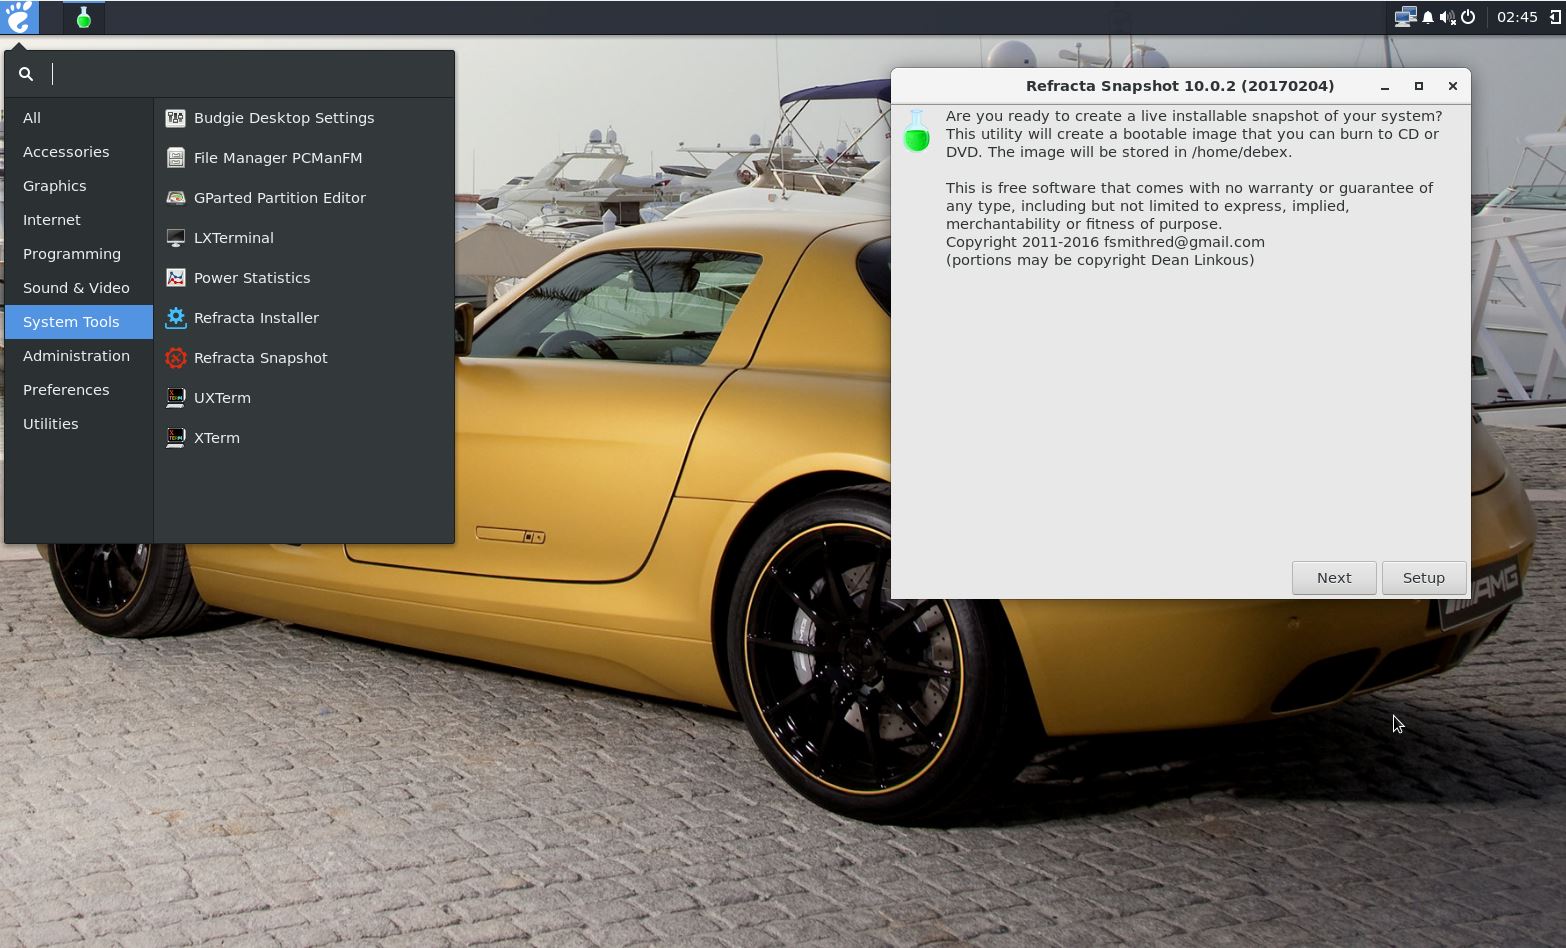
4. Showing all installed applications
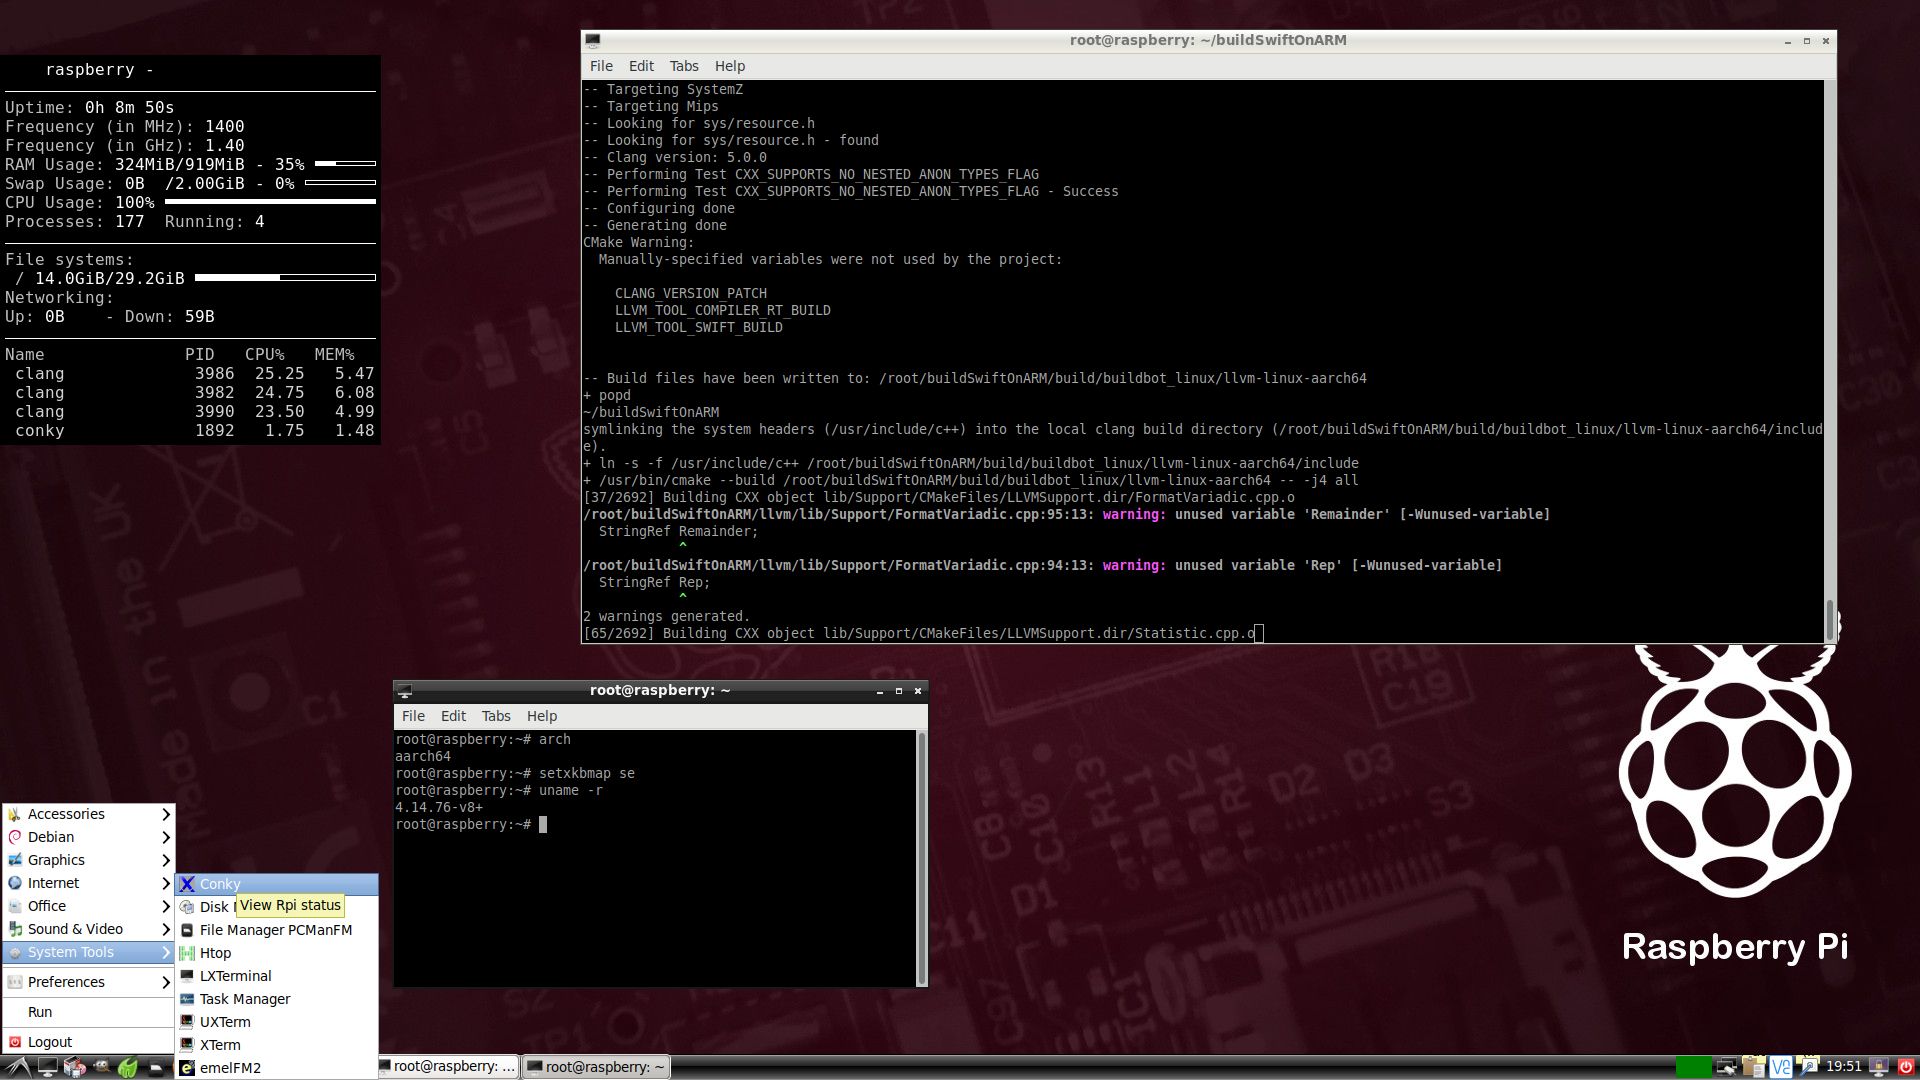
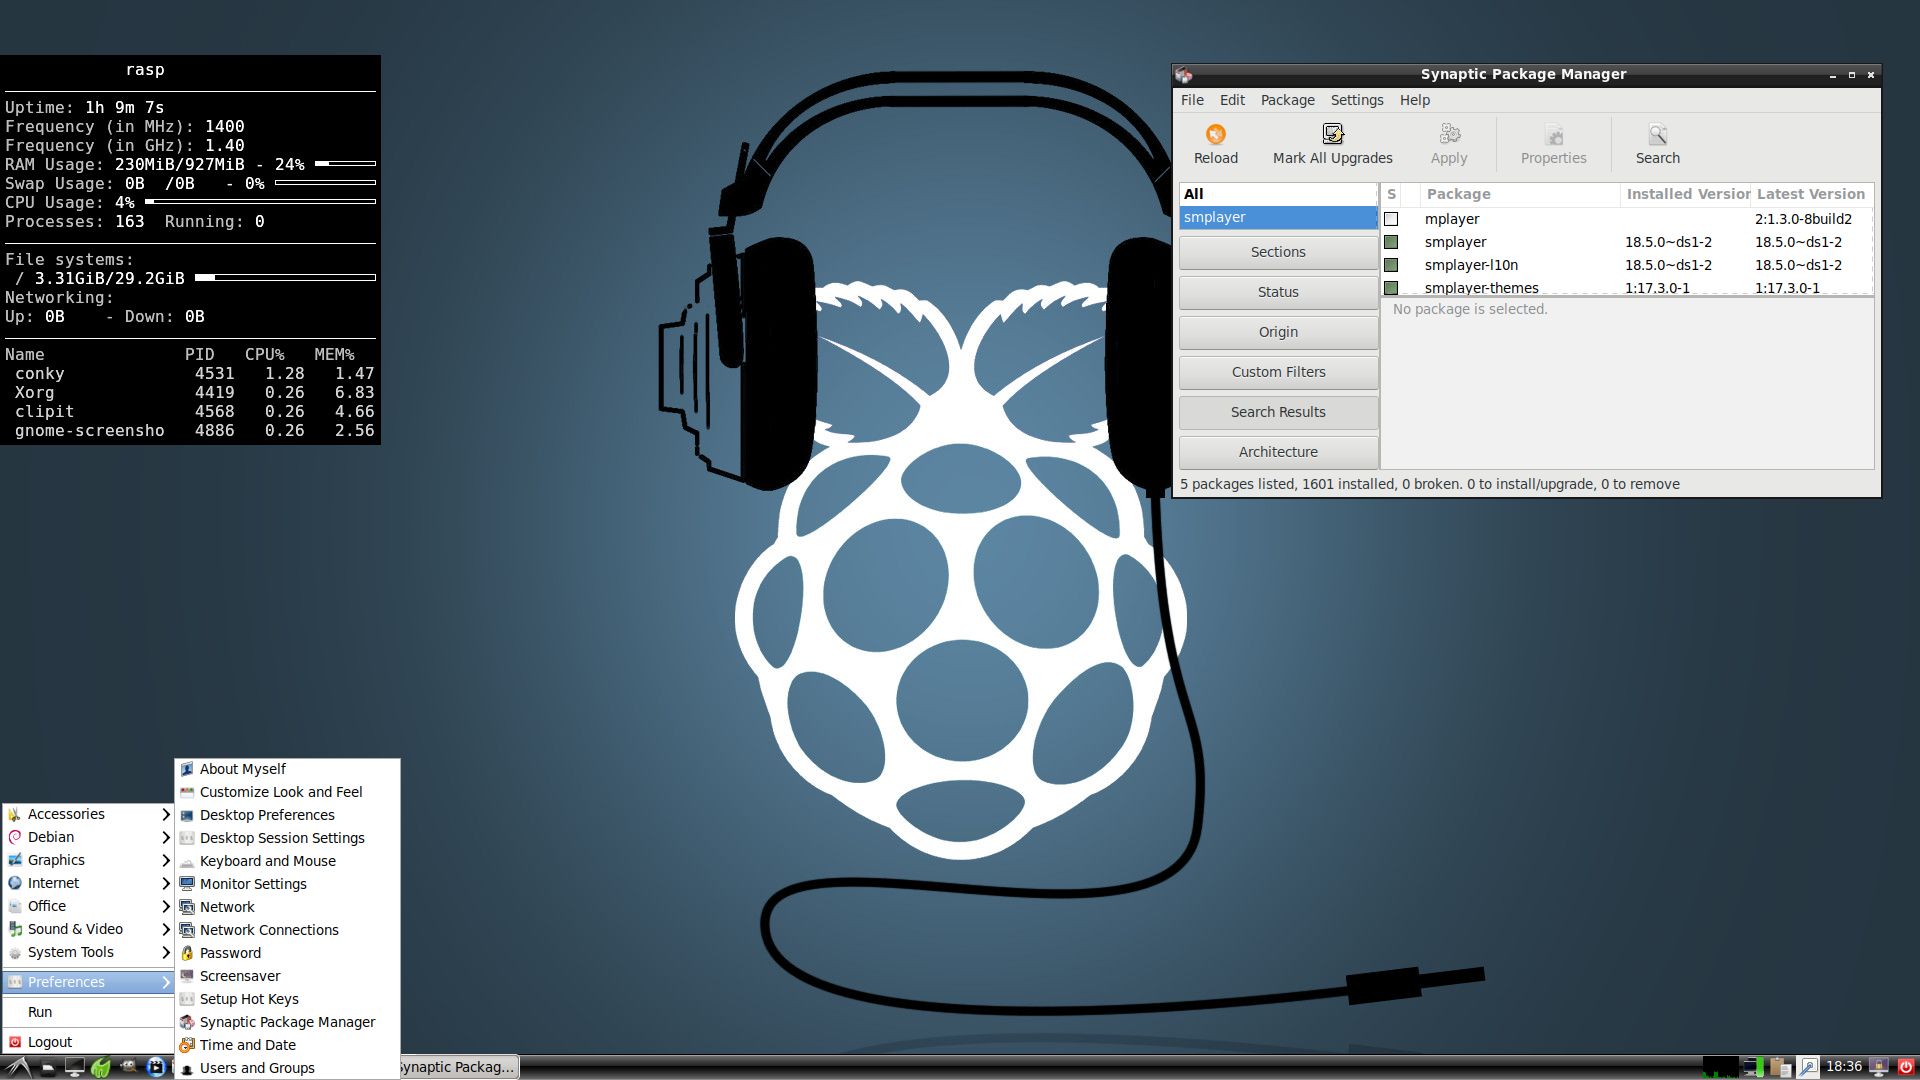
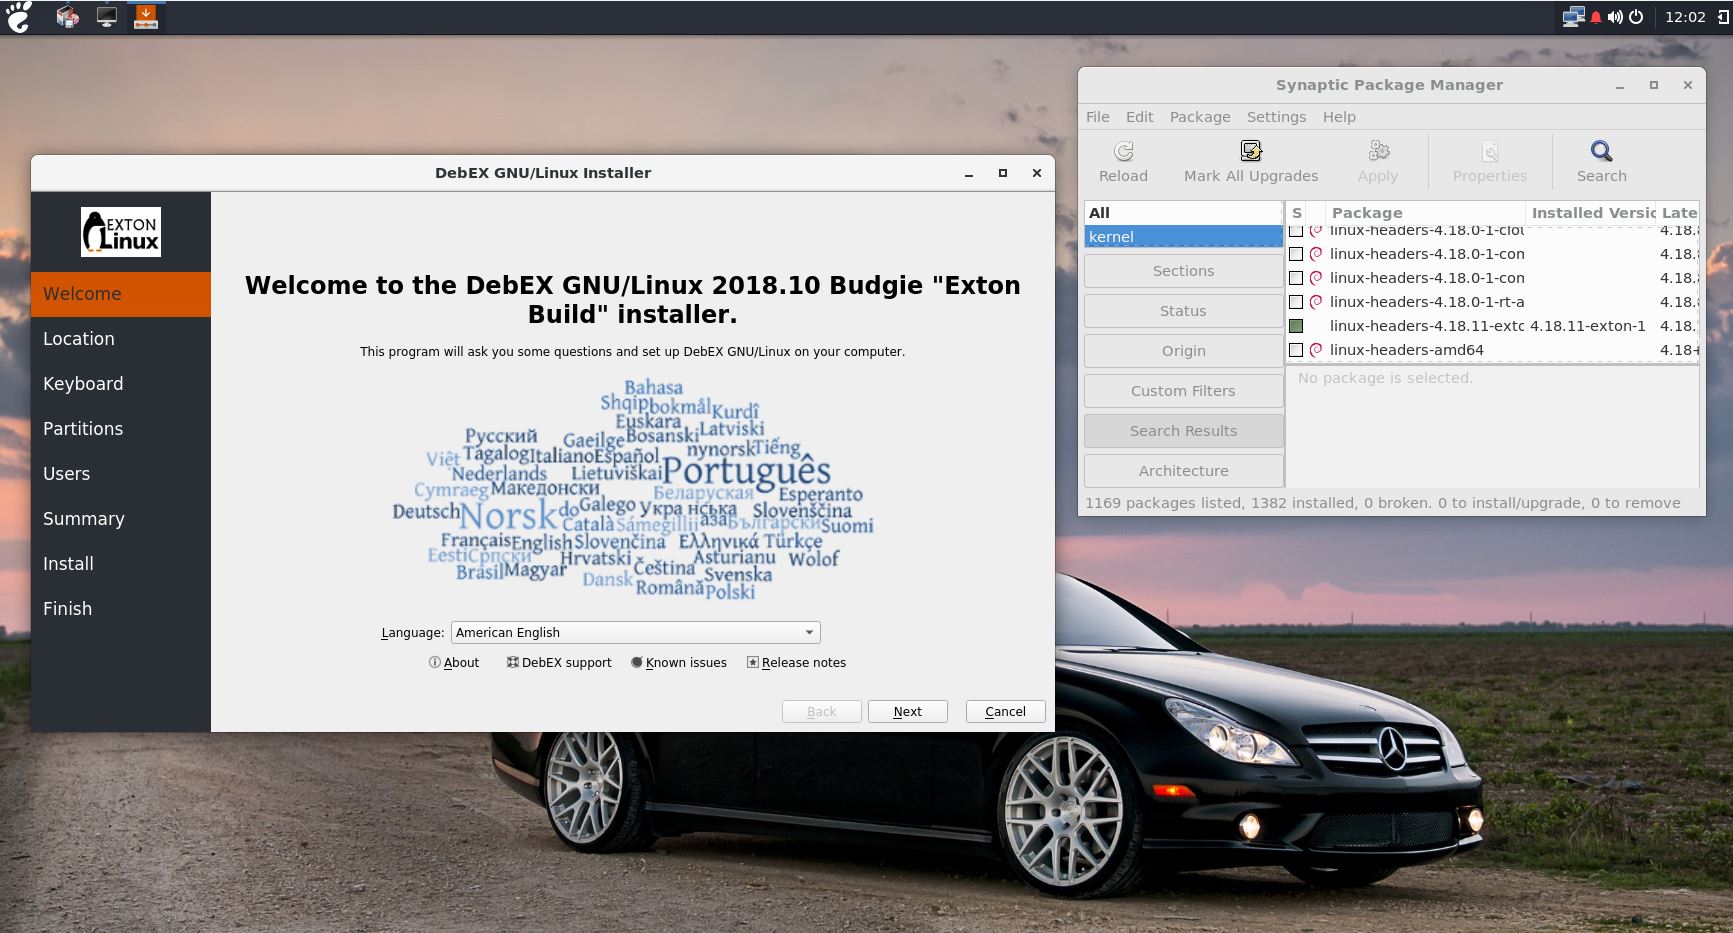
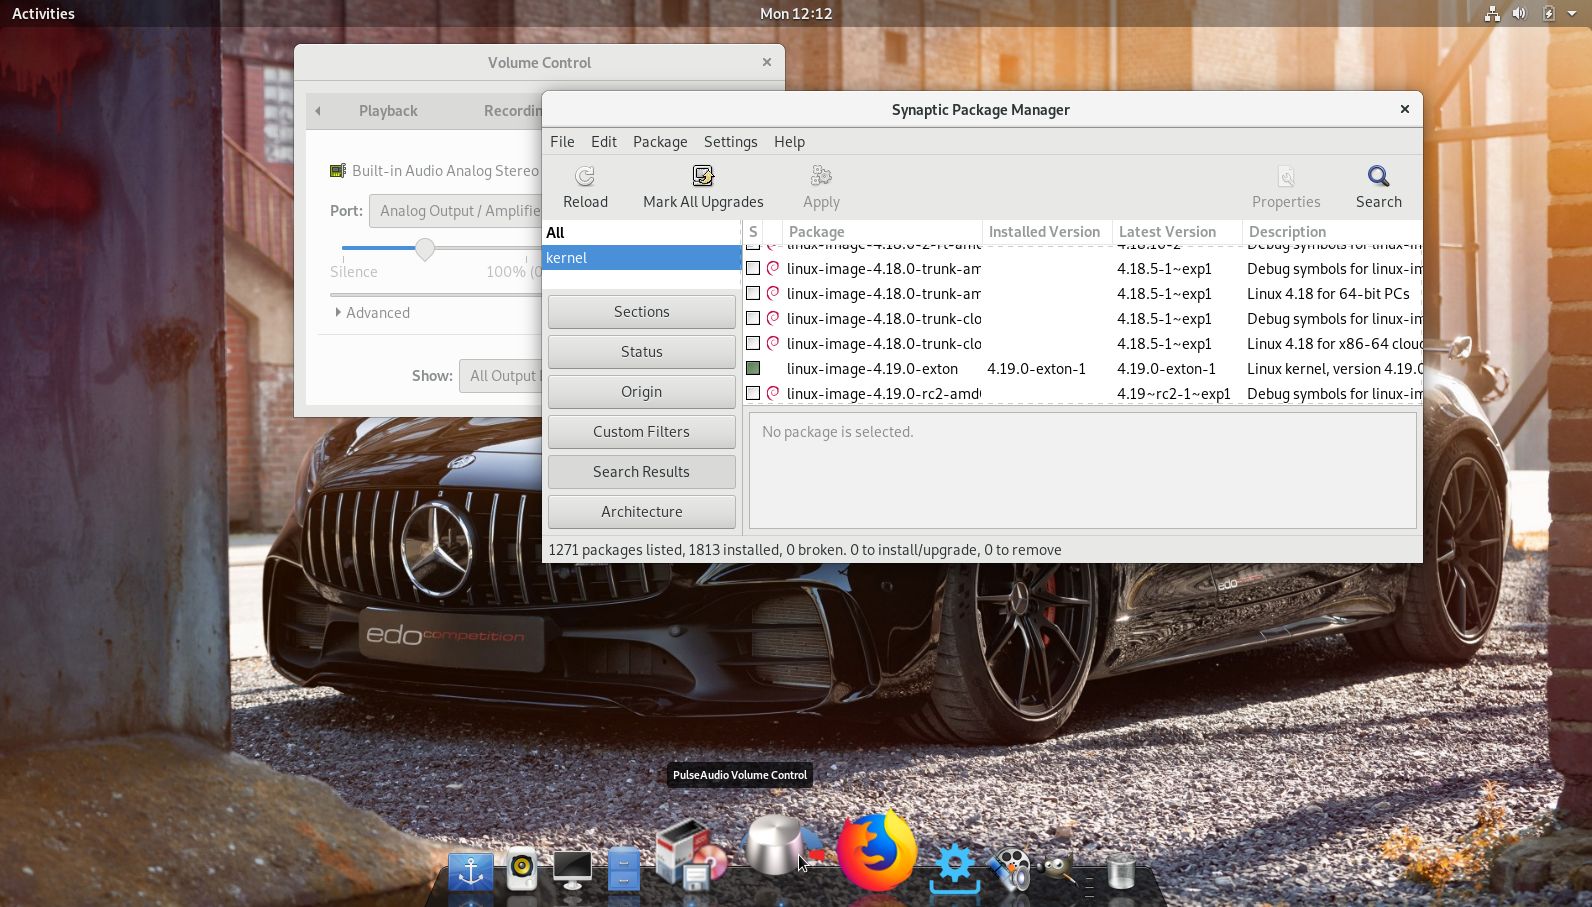
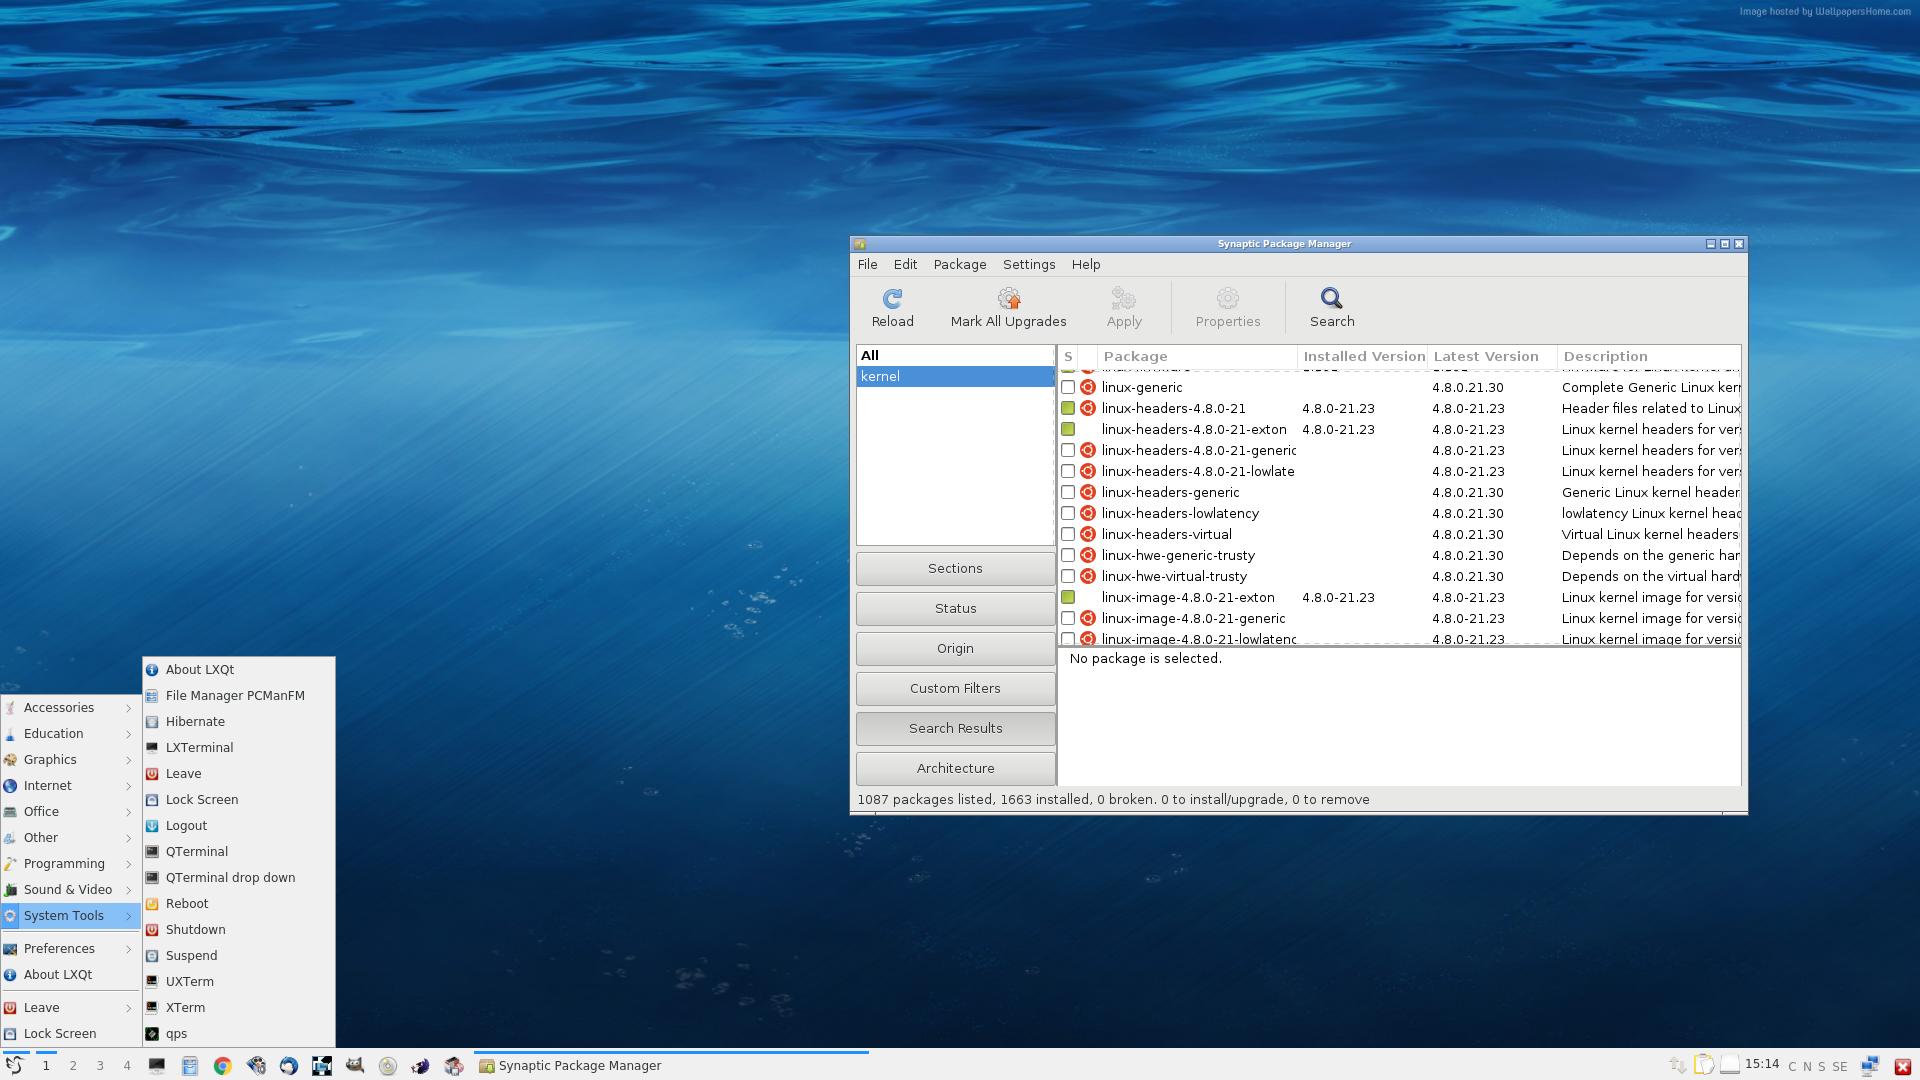
5. Synaptic running
