
 LFS EXTON Linux live DVD/USB is built using Linux From Scratch 10.1 and Beyond Linux From Scratch 10.1 (BLFS) , which has the latest Linux packages and scripts.
NEWS 210706
I finally made Refracta Installer to work in LFS EXTON! Now you can install LFS EXTON to hard drive like any other Linux distribution. Just start Refracta Installer from the menu and follow the instructions. Watch this screenshot.
NOTE: You should create the install partition in advance. Use GParted for that.
LXDE and LightDM
LFS EXTON uses LXDE as Desktop environment. LXDE is designed to be user friendly and slim, while keeping the resource usage low. LFS EXTON has all the tools needed for you to go on and install other Desktop environments or whatever you like (after a hard drive installation of LFS EXTON).
Build your own Linux system
You can also just use LFS EXTON Live DVD/USB as build environment when building your own Linux system from scratch. That can be done in VirtualBox in full screen since VirtualBox Guest Additions are pre-installed.
Install LFS EXTON to a USB stick
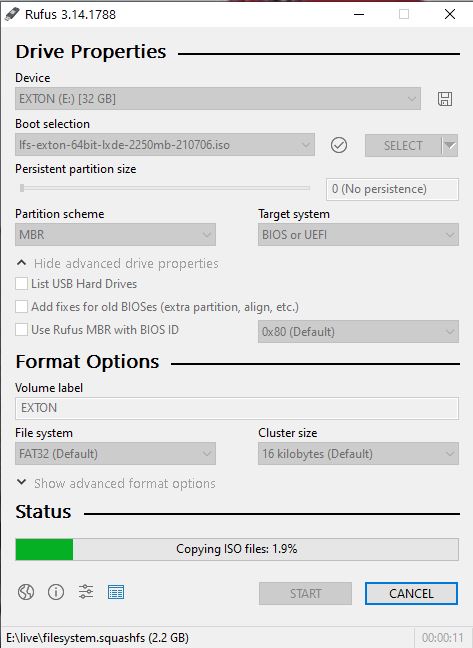
Install the ISO file to a USB stick with Rufus 3.14 in Windows. It will look like this.
LOGIN to LXDE
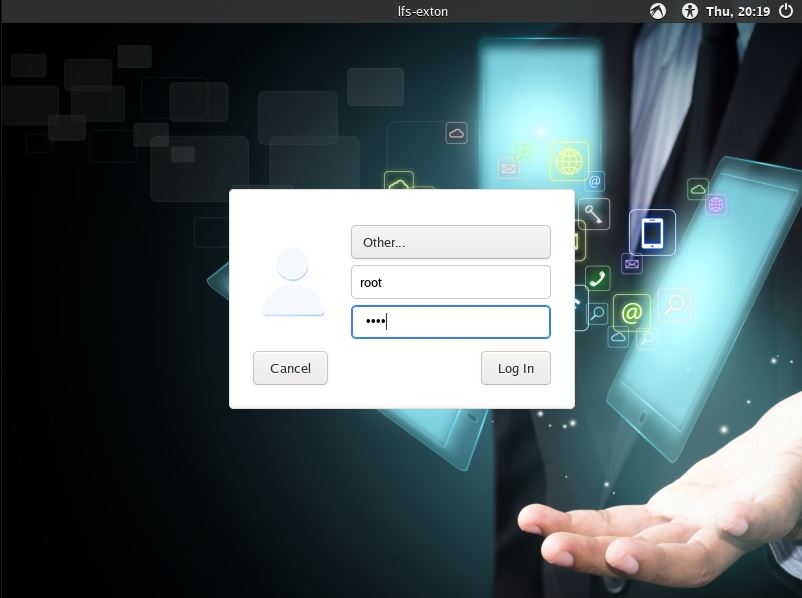
Login as root with password root$$ or as the ordinary user lfs with password linux$$. While logged in as lfs you can use Sudo to become root. Example commands: sudo su and sudo pcmanfm. LightDM‘s login screen will look like this.
Install to hard drive using Refracta Installer
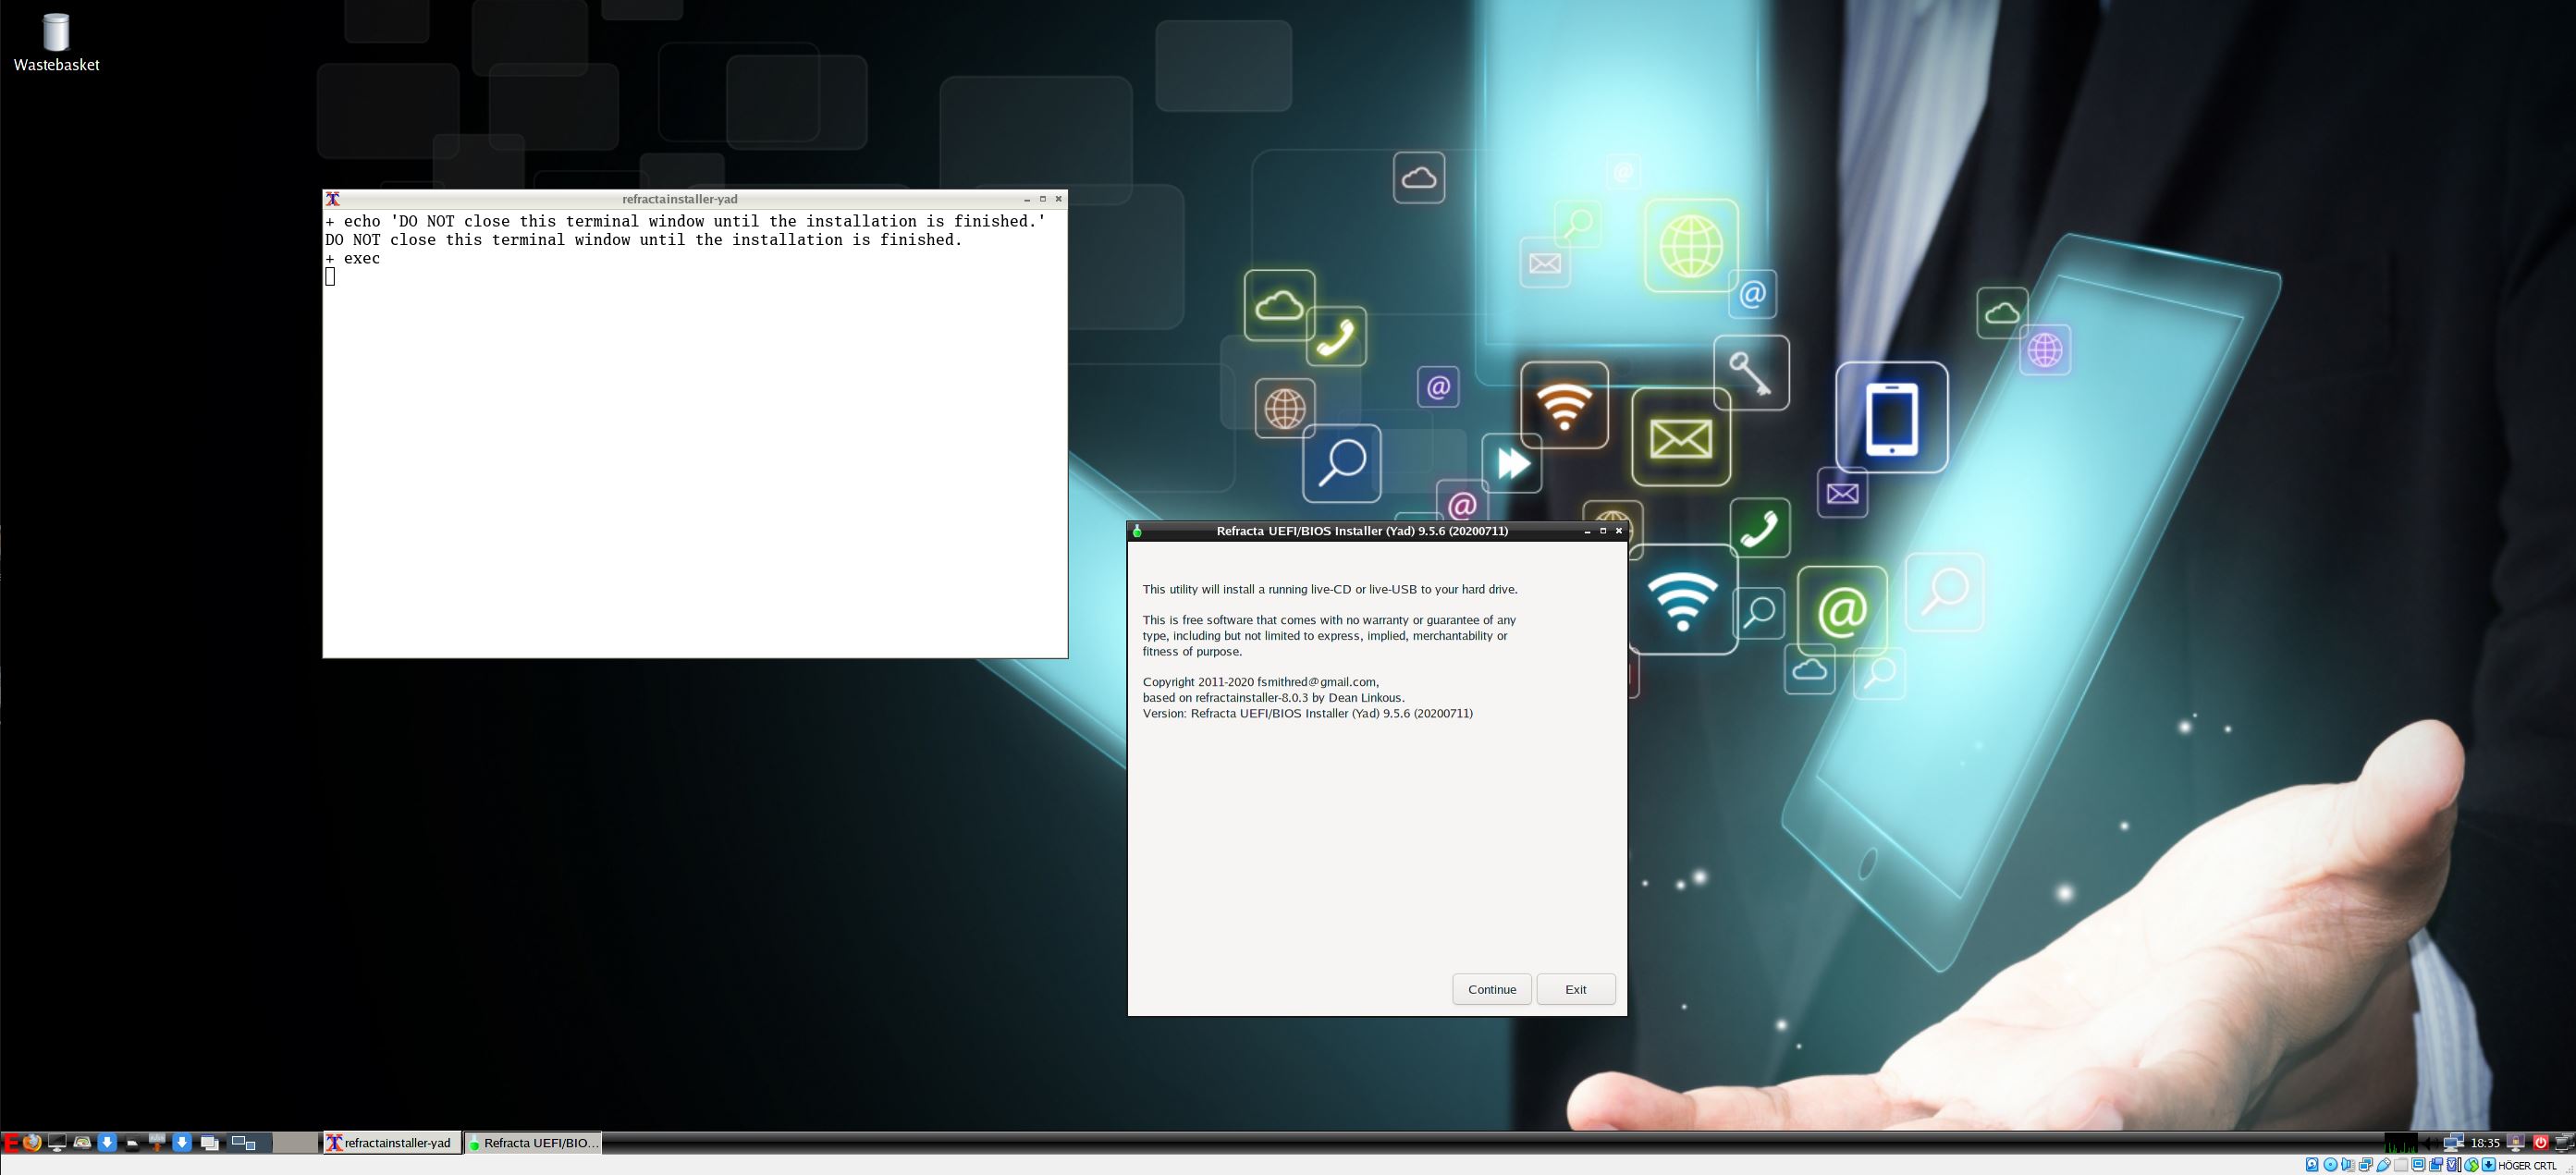
1. Start Refracta Installer from the menu and follow the program instructions. Watch this screenshot.
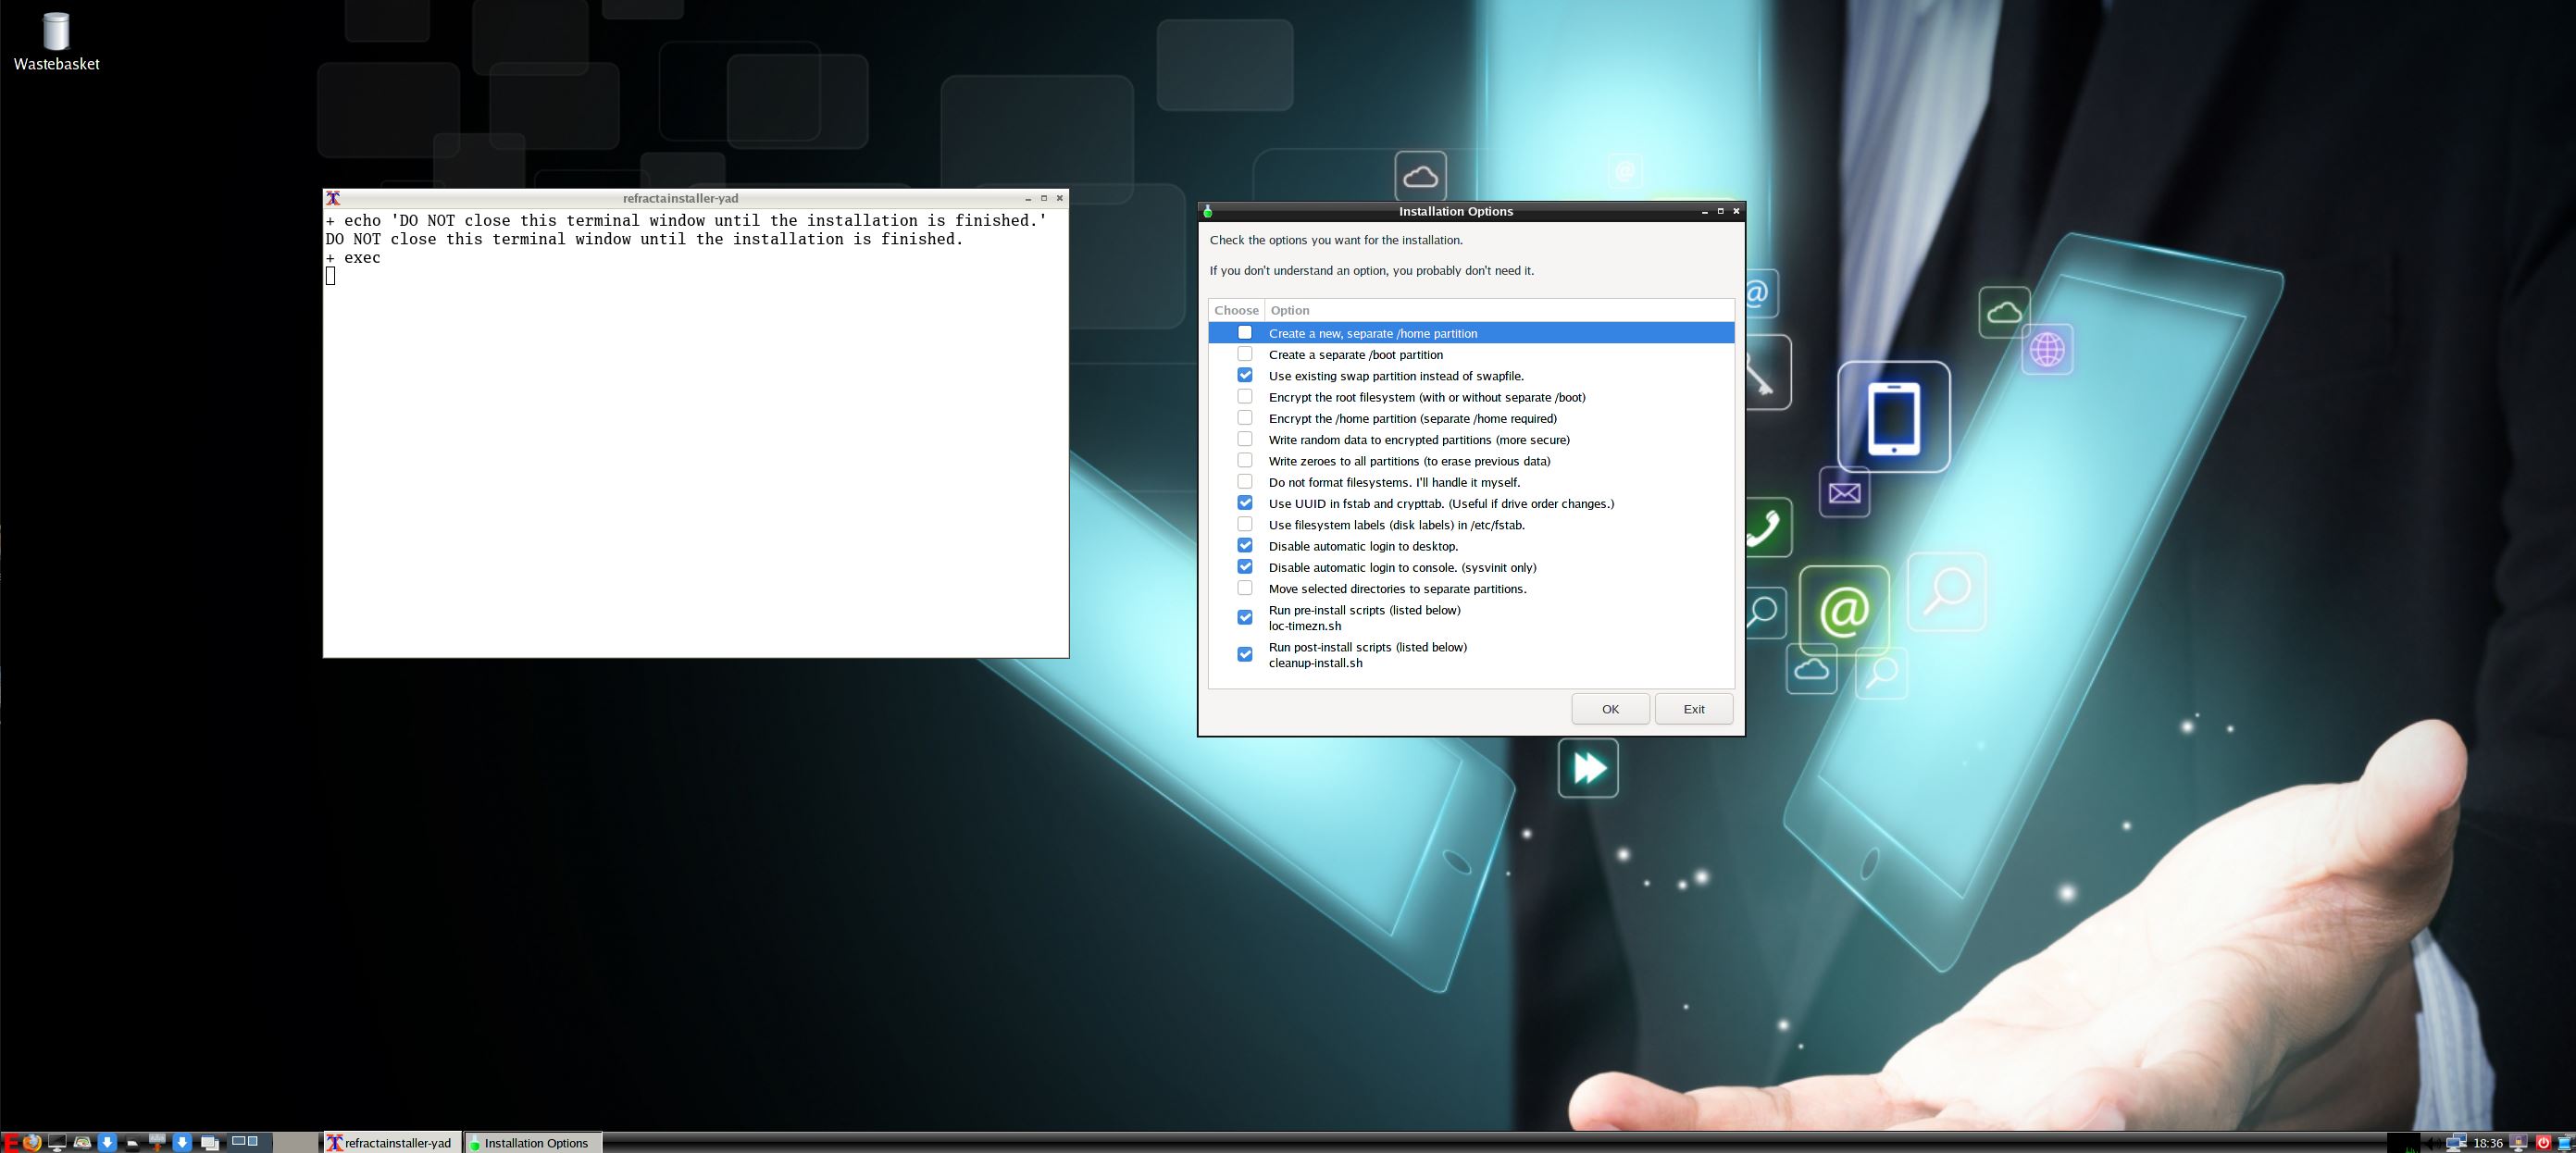
2. Install options – screenshot.
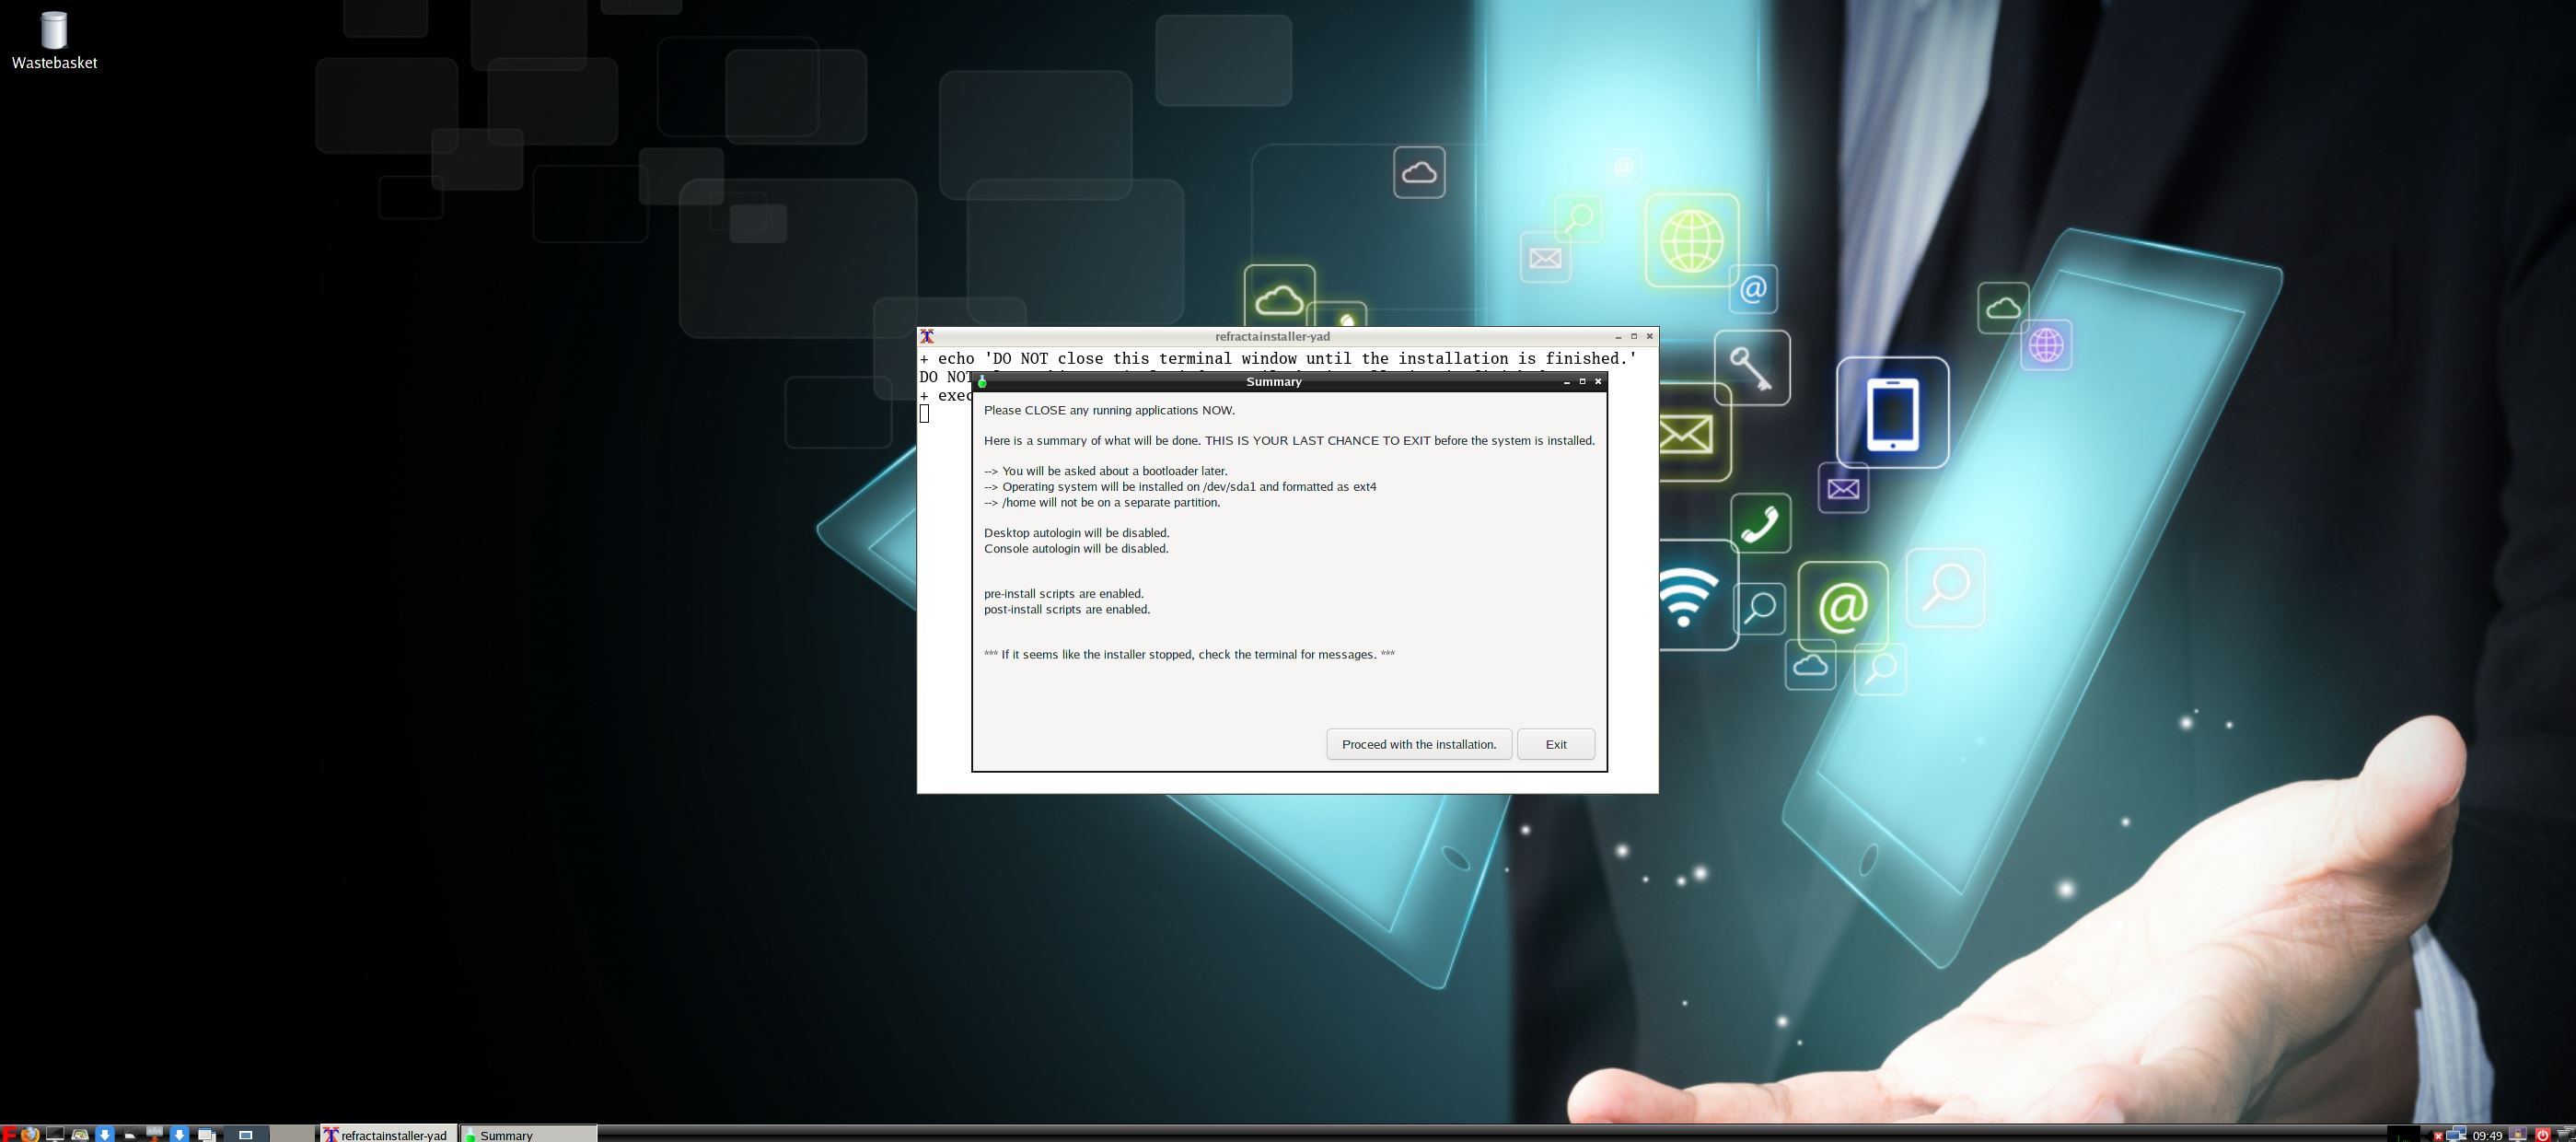
3. Ready to install – screenshot.
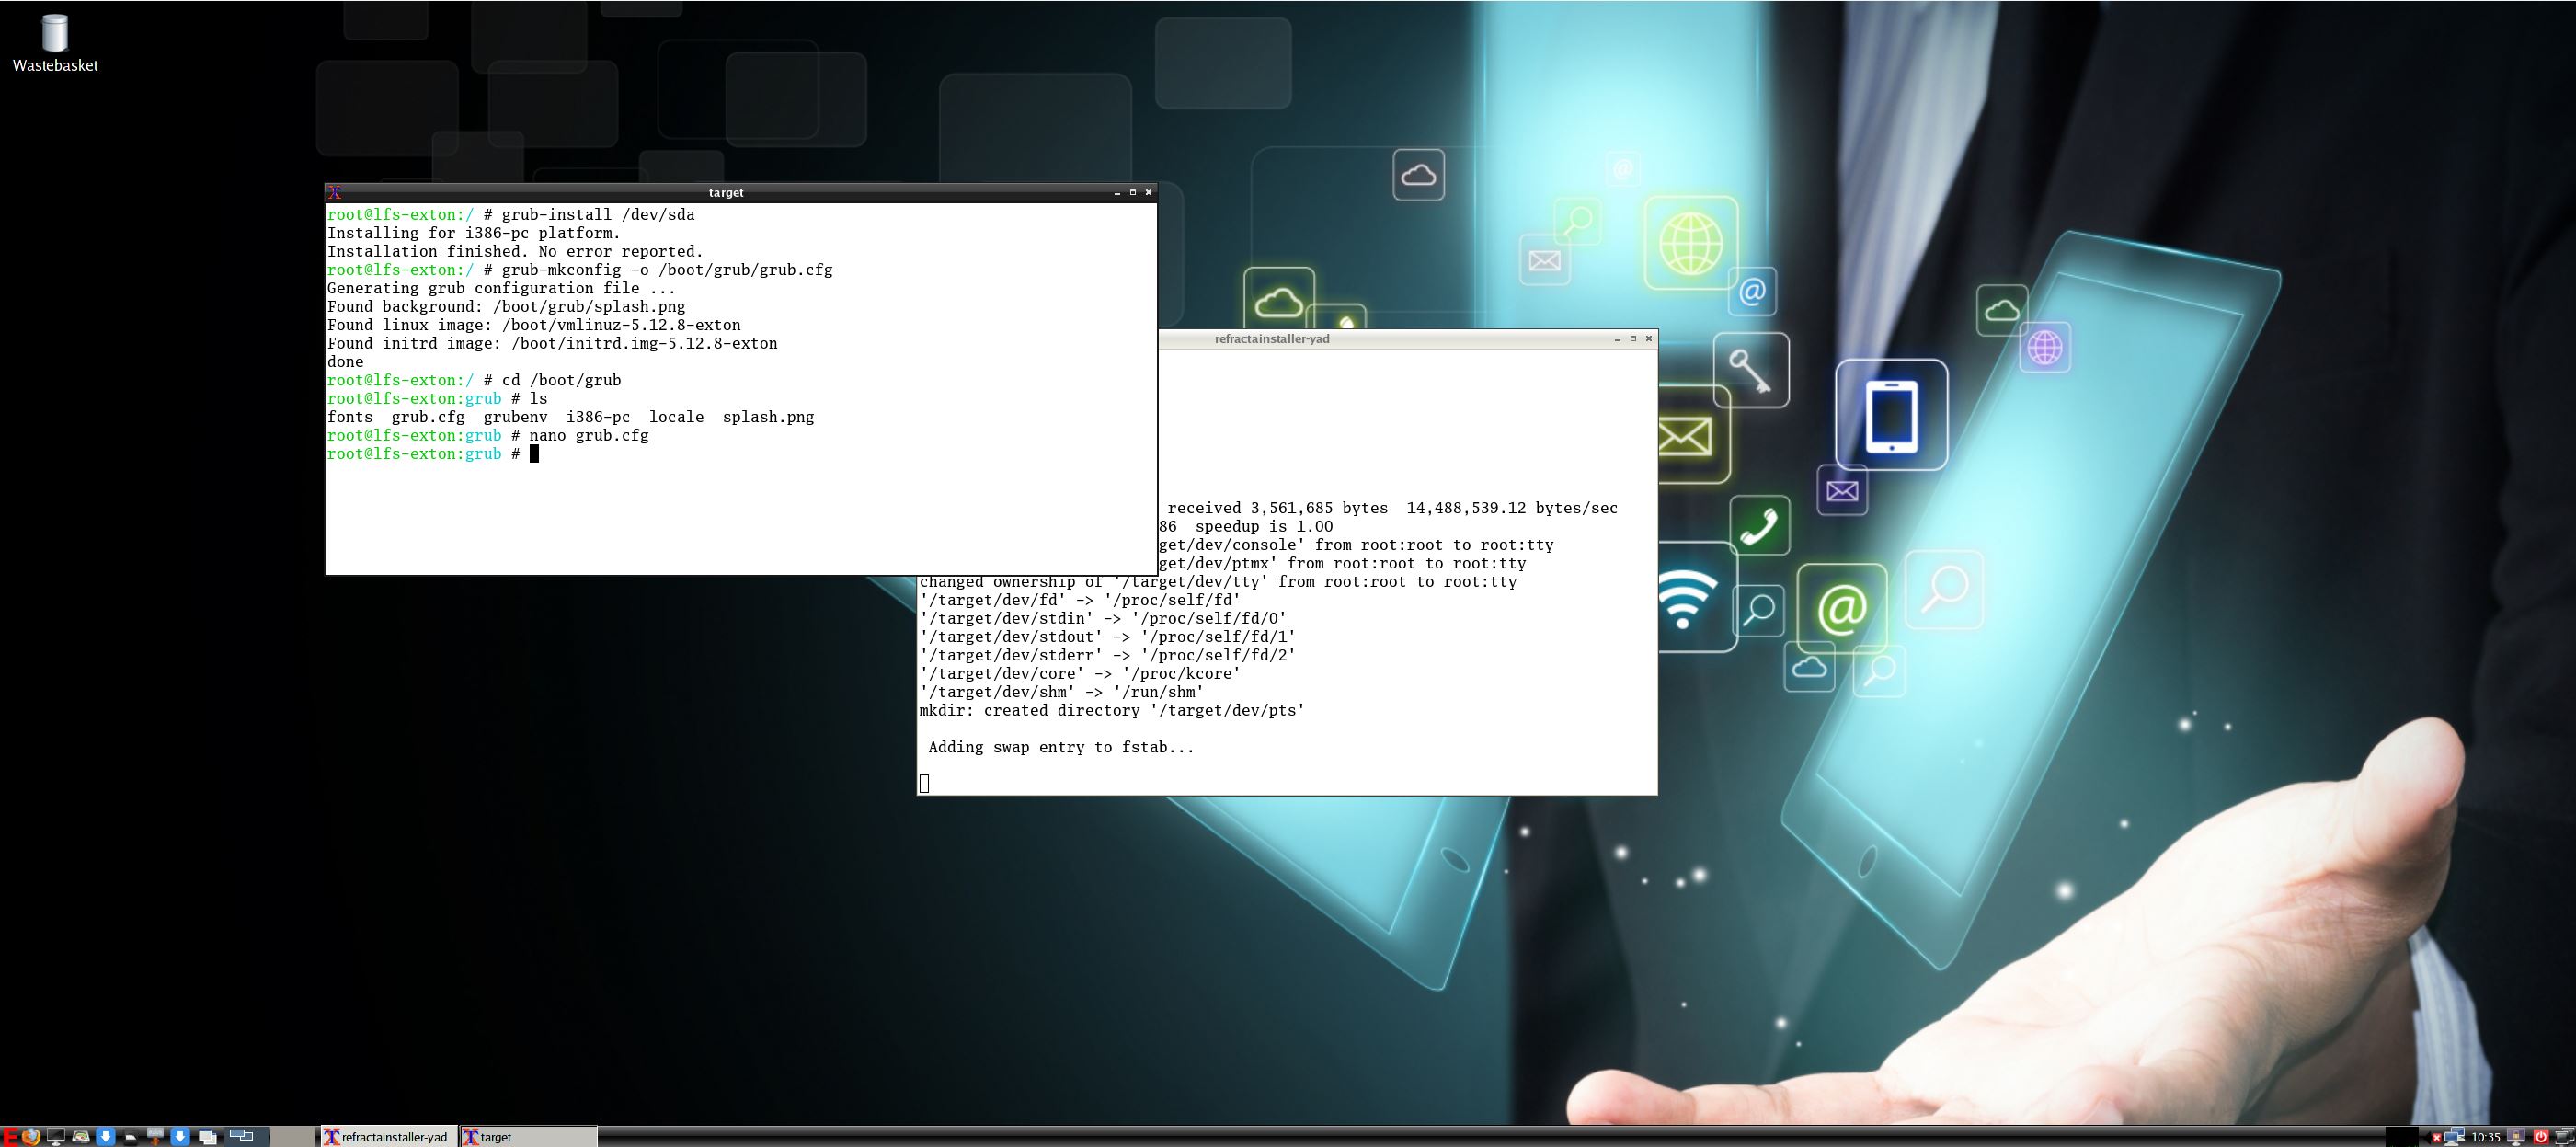
4. When asked to chroot and install Grub – screenshot.
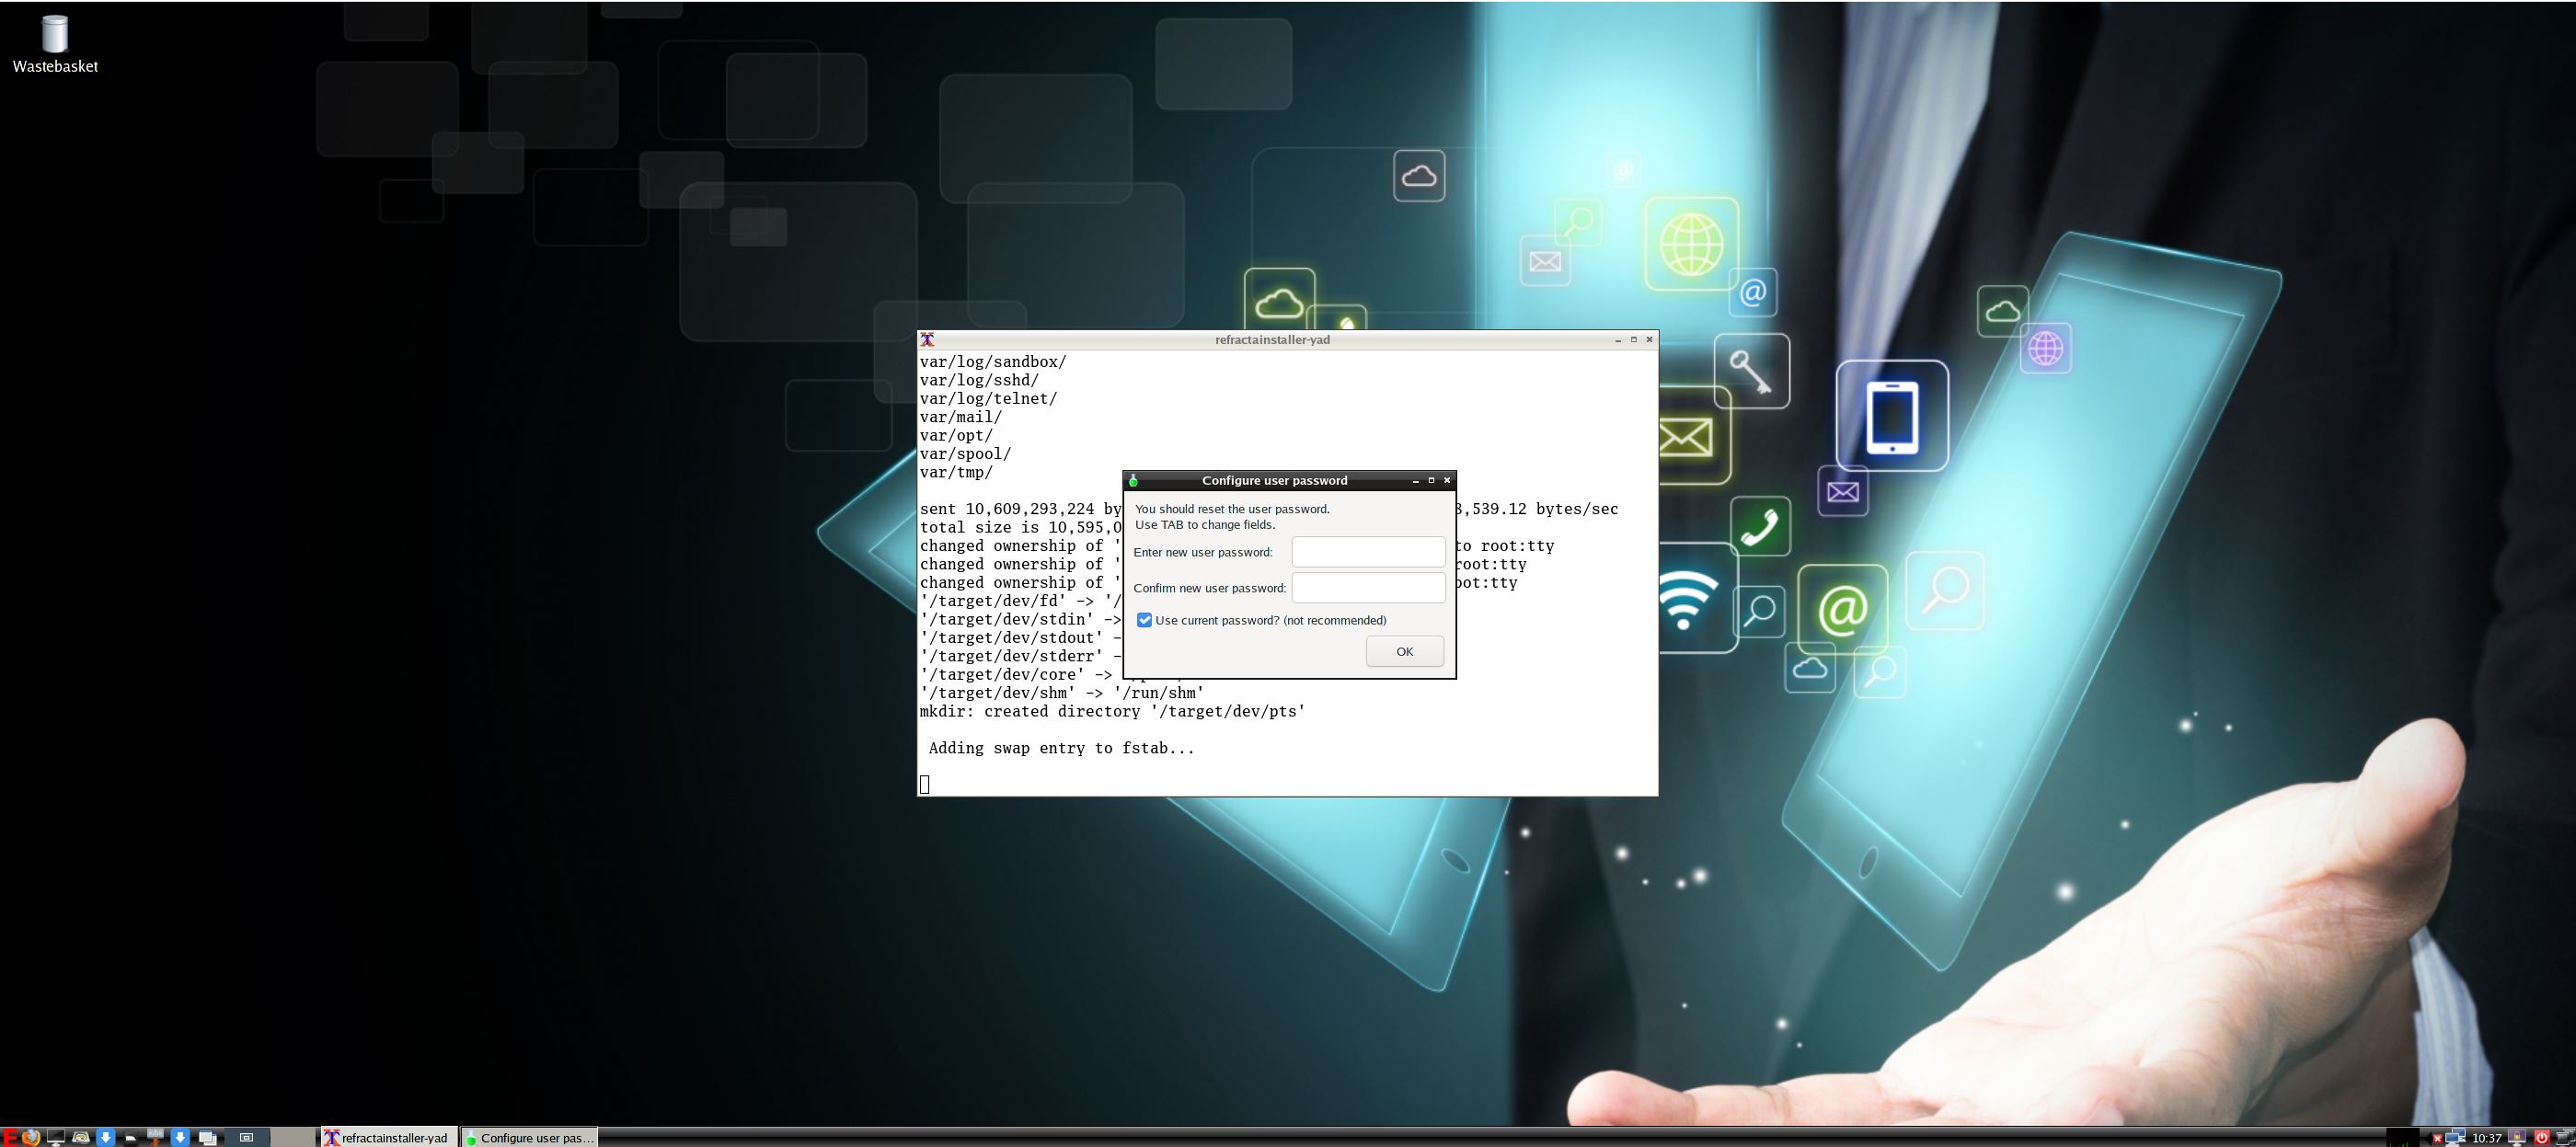
5. Keep current user (lfs) and root passwords – screenshot.
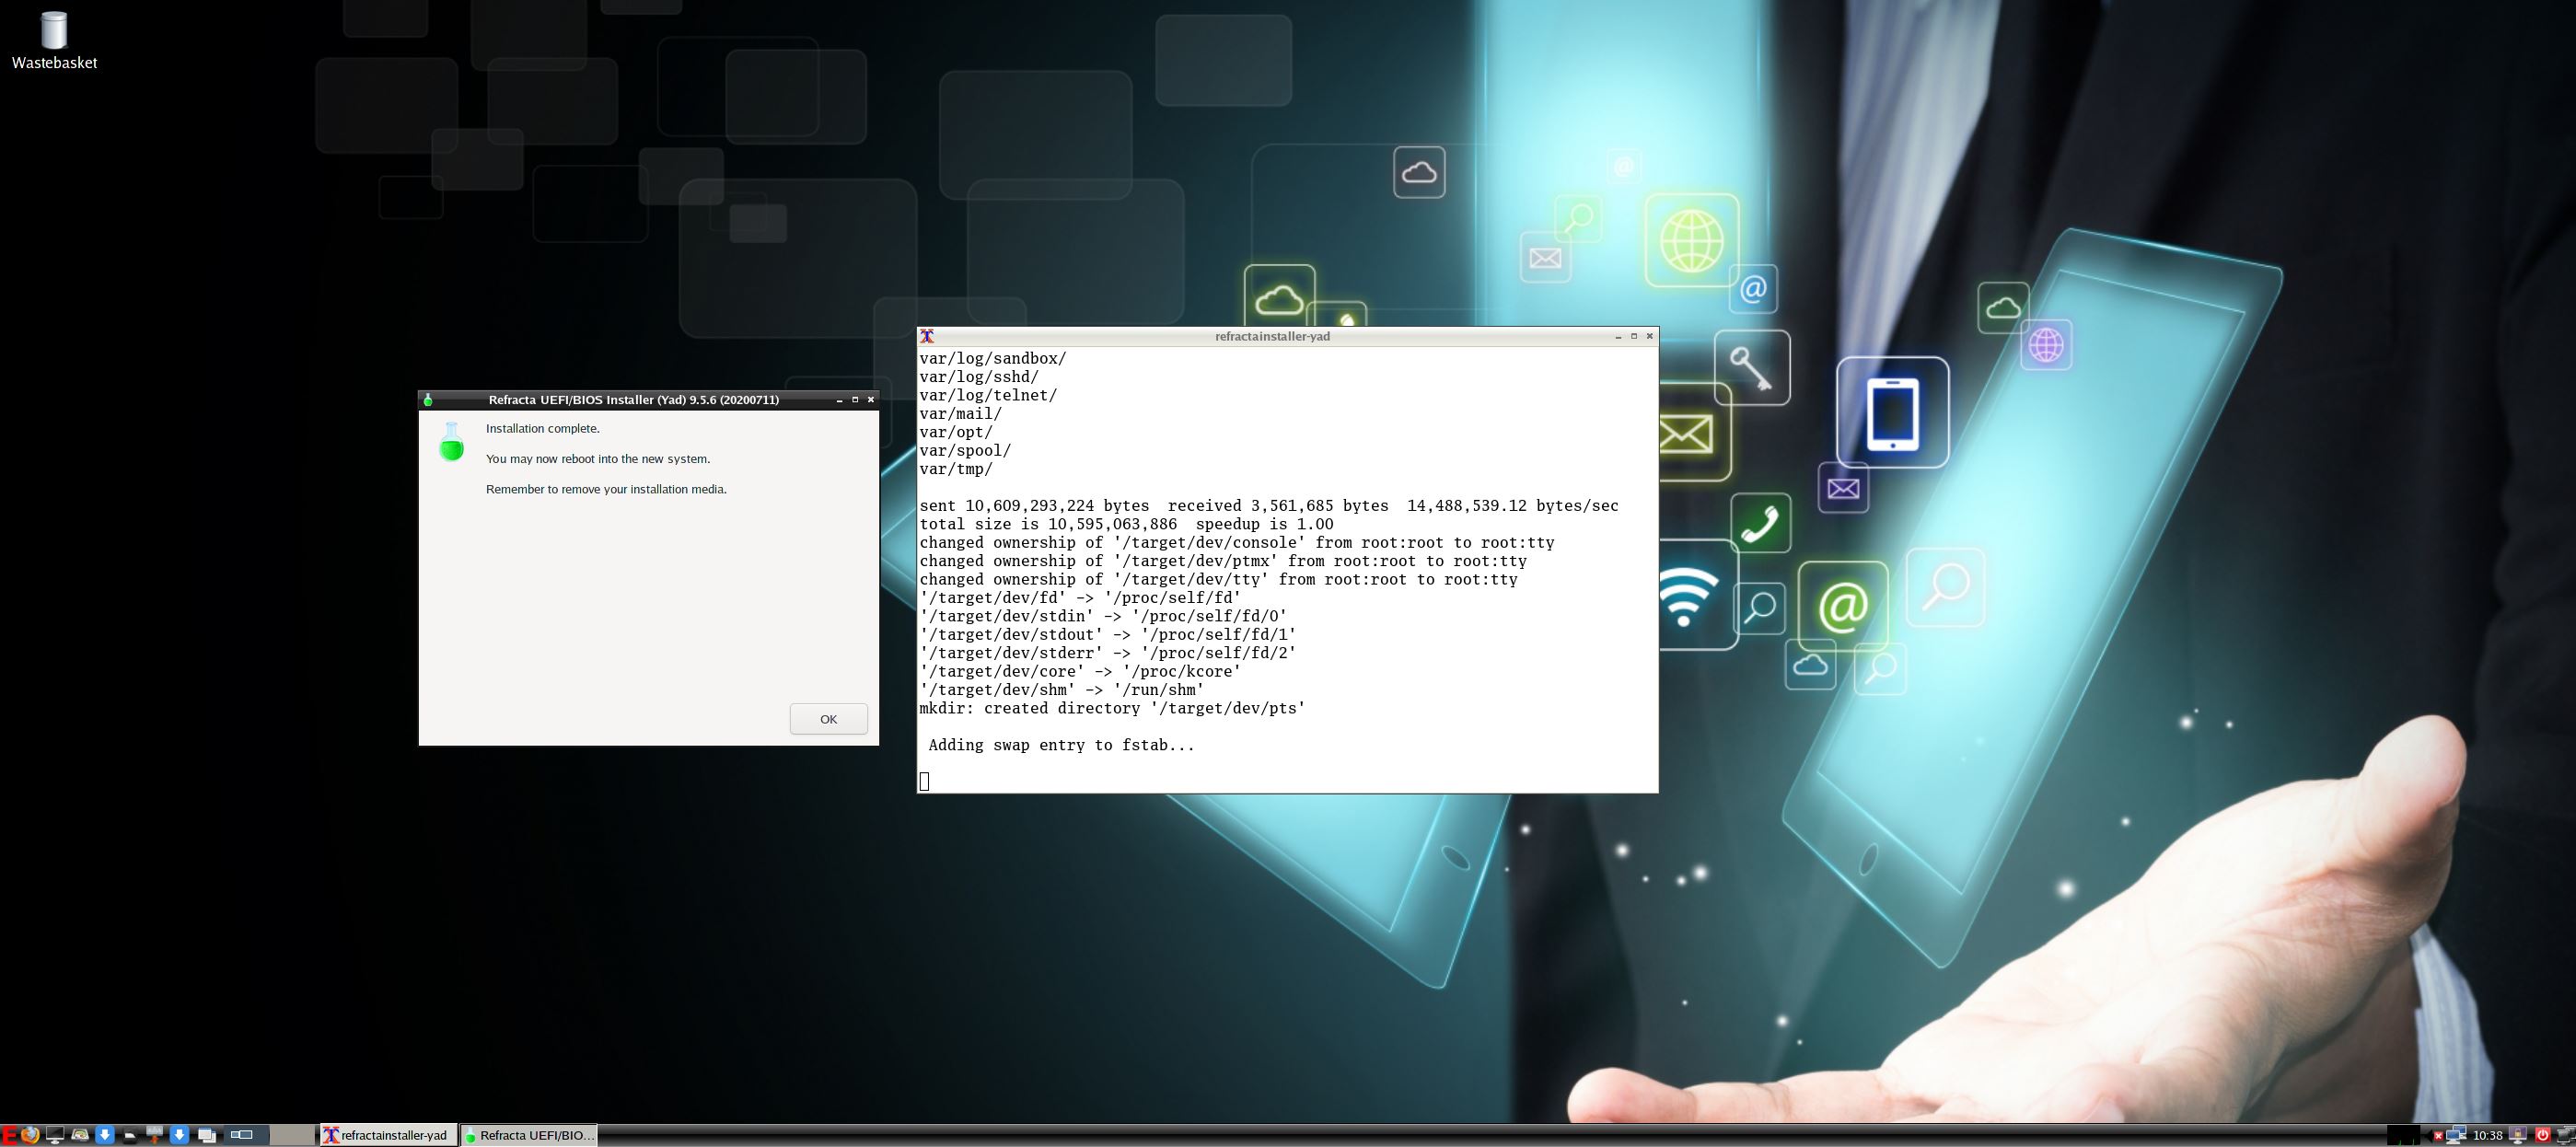
6. When the installation is complete you will see this – screenshot.
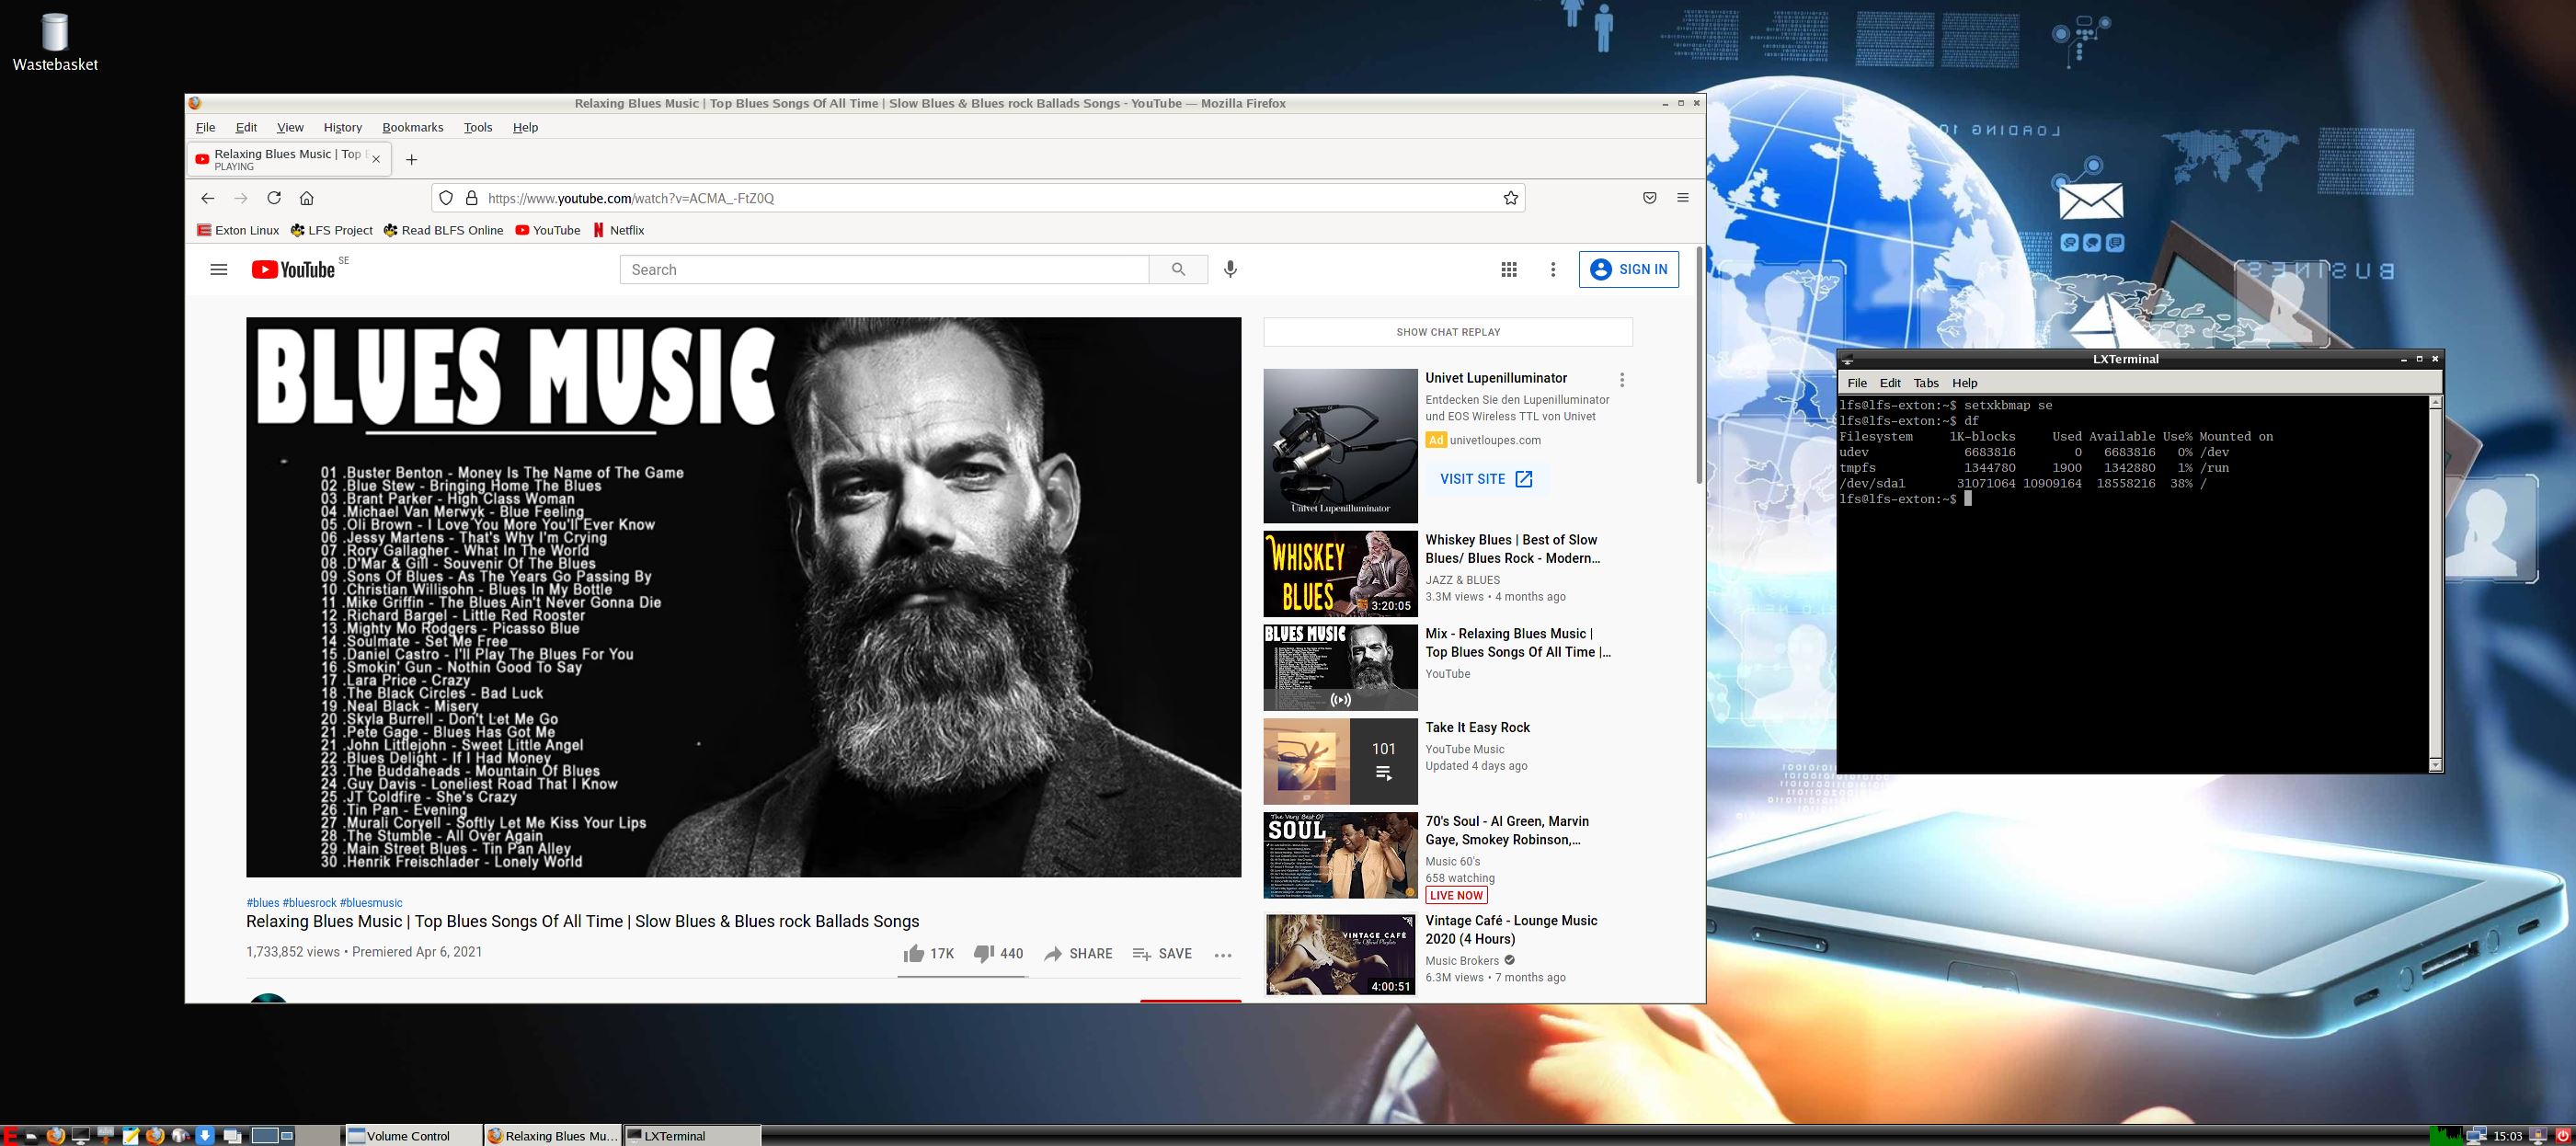
7. Notice the disk space used after installation to hard drive – screenshot.
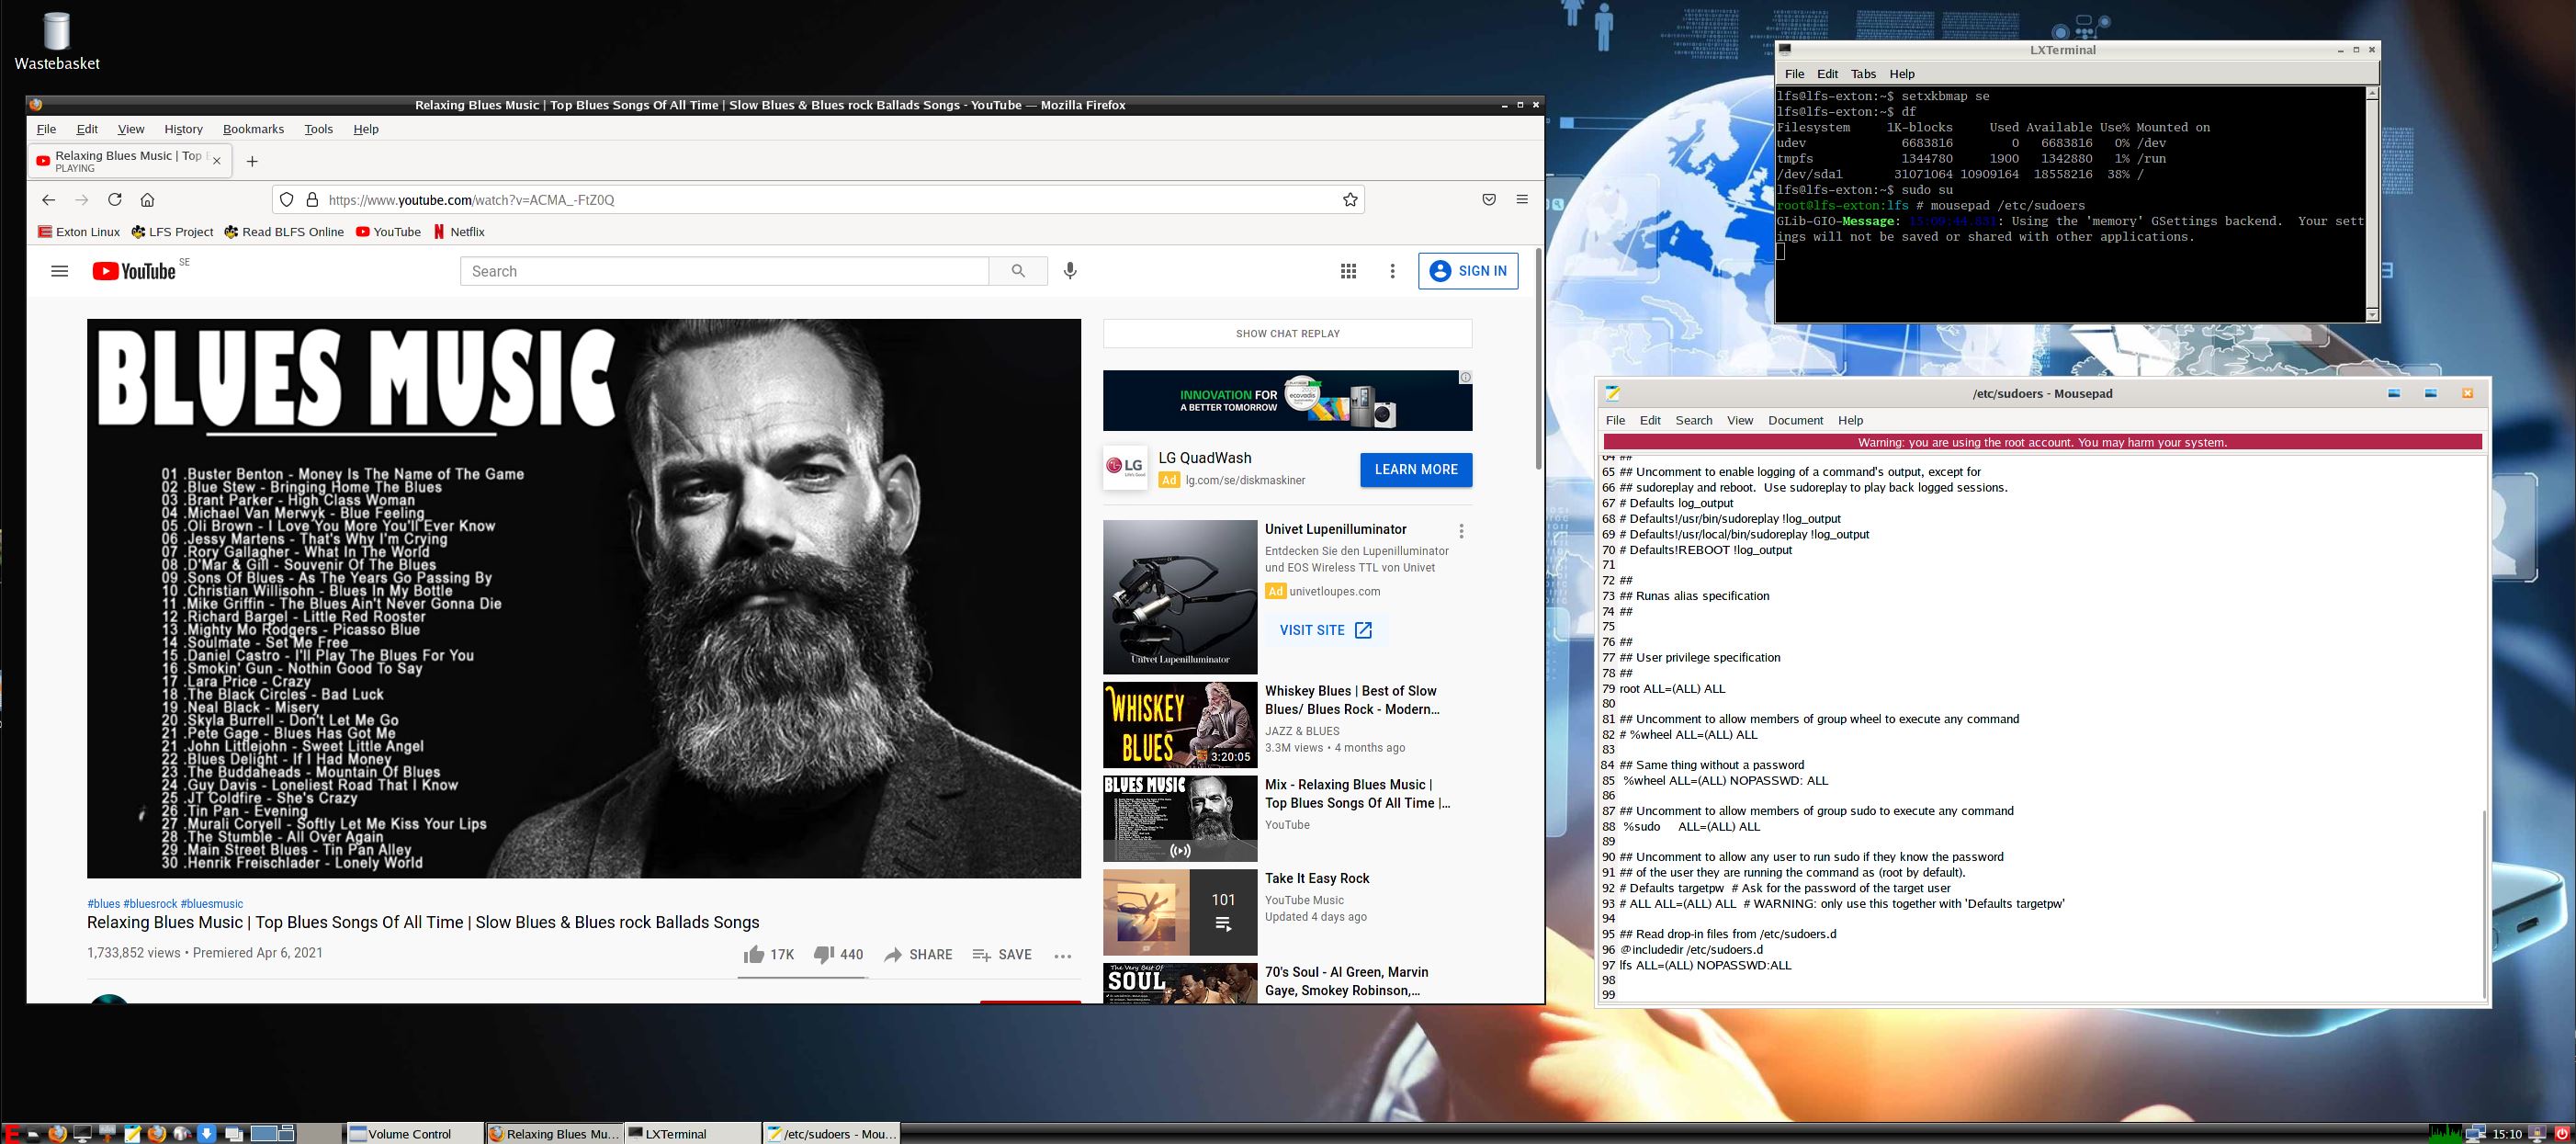
8. For user lfs to be able to use Sudo after a hard drive installation you’ll have to edit /etc/sudoers as root with Nano or Mousepad. Add this line to the end:
lfs ALL=(ALL) NOPASSWD:ALL – screenshot.
NOTE: If you already use Grub as boot loader you shall refrain from installing Grub when installing LFS EXTON to hard drive. Just add the boot lines below to /boot/grub/grub.cfg on the partition where you have Grub installed. You shall (of course) never mess with your current EFI Grub installation. LFS EXTON can run on EFI computers, but you can’t make an EFI Grub installation using LFS EXTON.
Install to hard drive – only as regards LFS EXTON Build 210703
You’ll find the install scripts in /root/install. To perform the installation in VirtualBox follow these instructions.
1. Login to LXDE as root.
2. Create an install partition of at least 30 GB and a swap partition of about 2 GB. The LFS system will only use about 10 GB, but you’ll need 30 GB at first anyway. See why below. Use GParted for the creation of the partitions.
3. Run the command cd /root/install
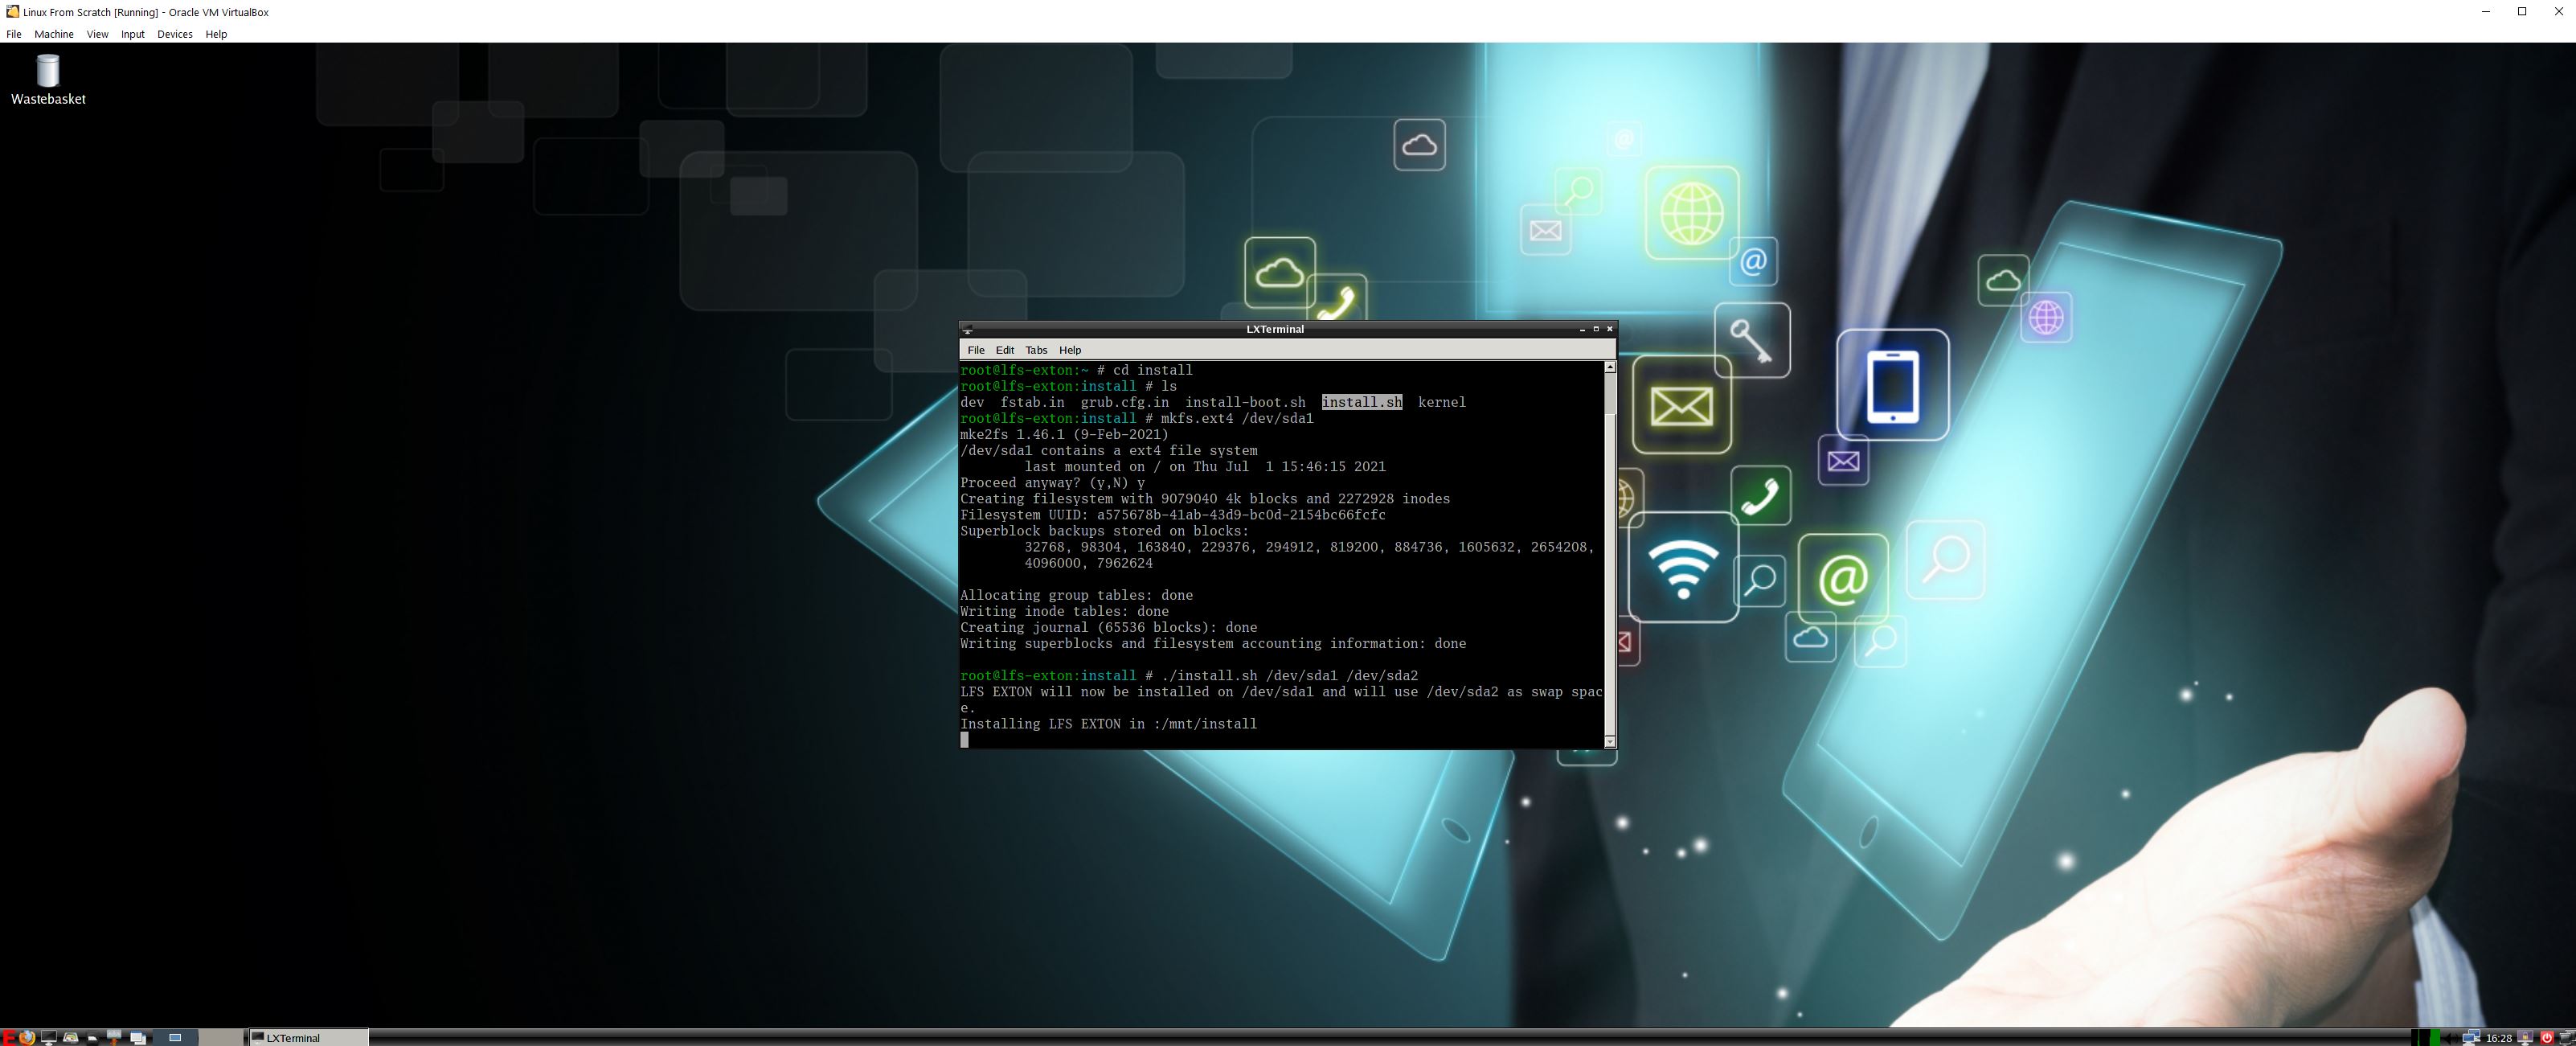
4. Run the install command ./install.sh /dev/sda1 /dev/sda2 – watch this screenshot.
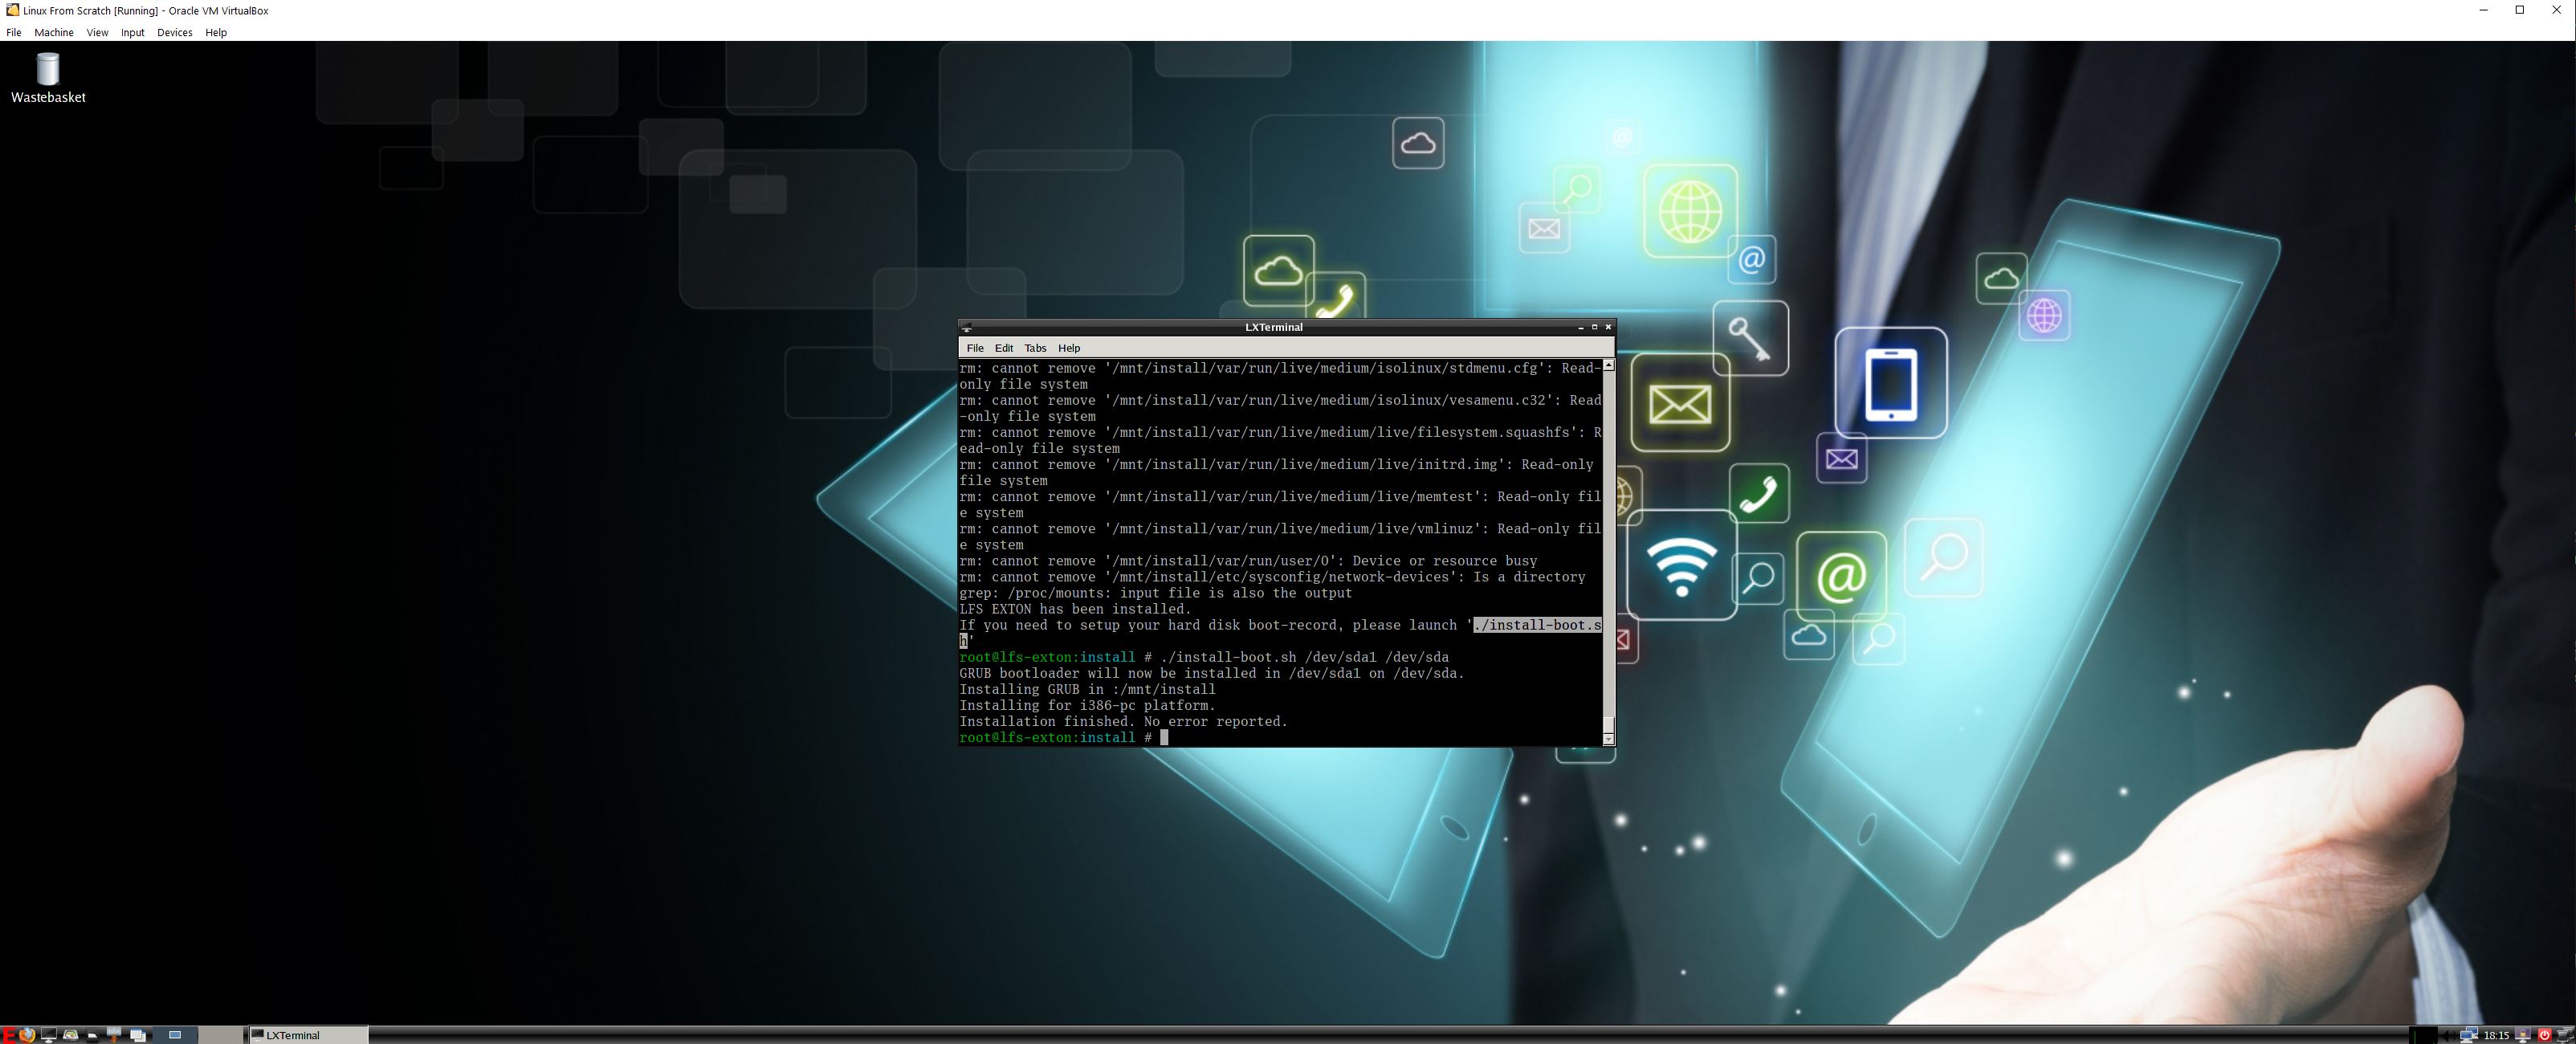
5. Install the boot manager Grub when the installation is ready. You will see a lot of error messages, but don’t worry. Everything is alright. Install Grub with the command ./install-boot.sh /dev/sda1 /dev/sda – watch this screenshot.
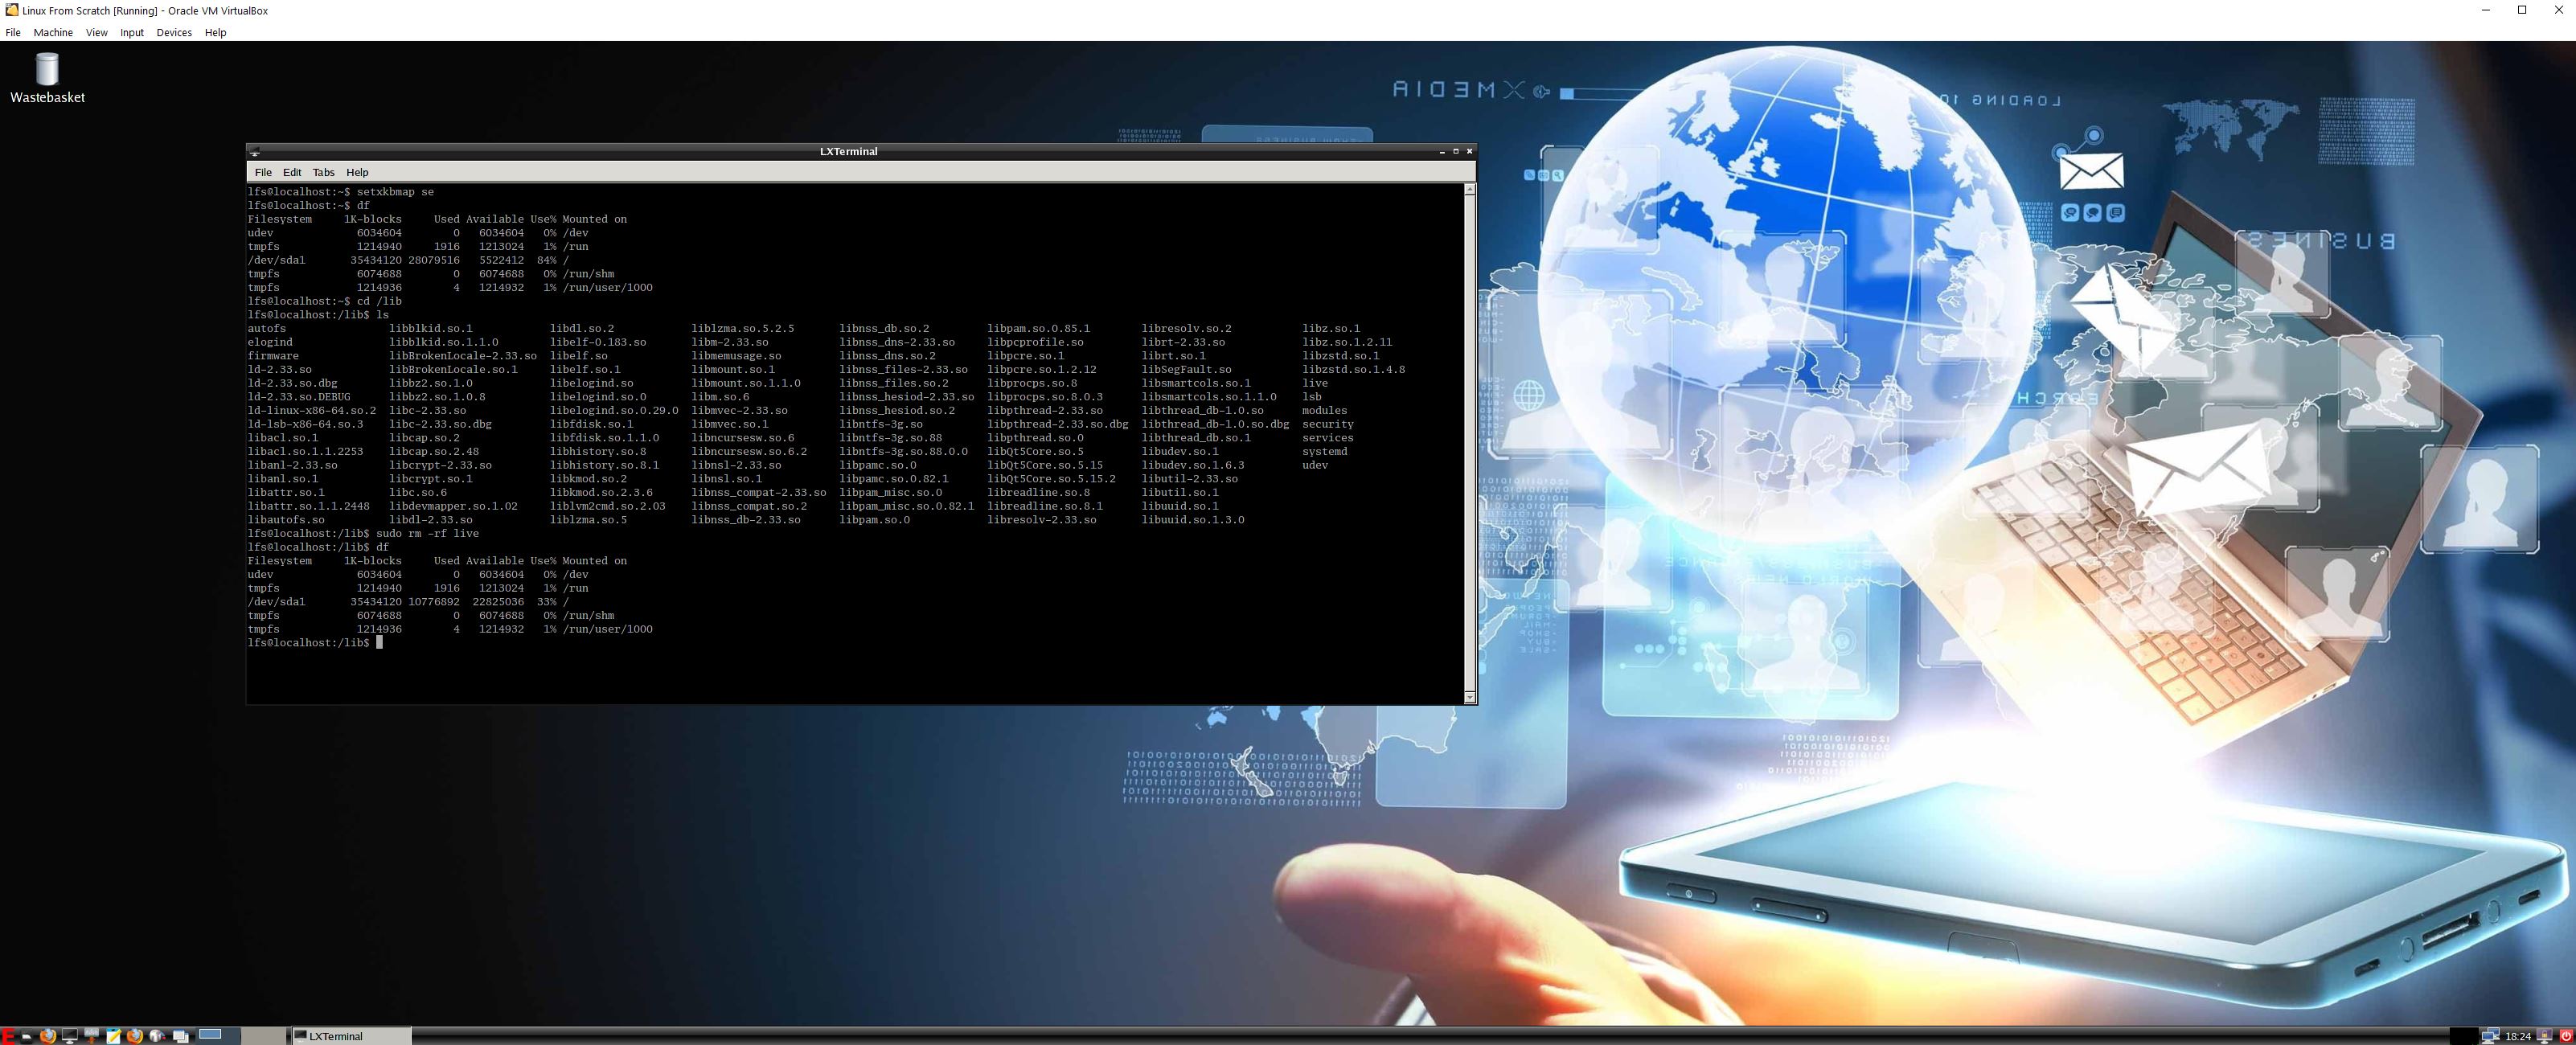
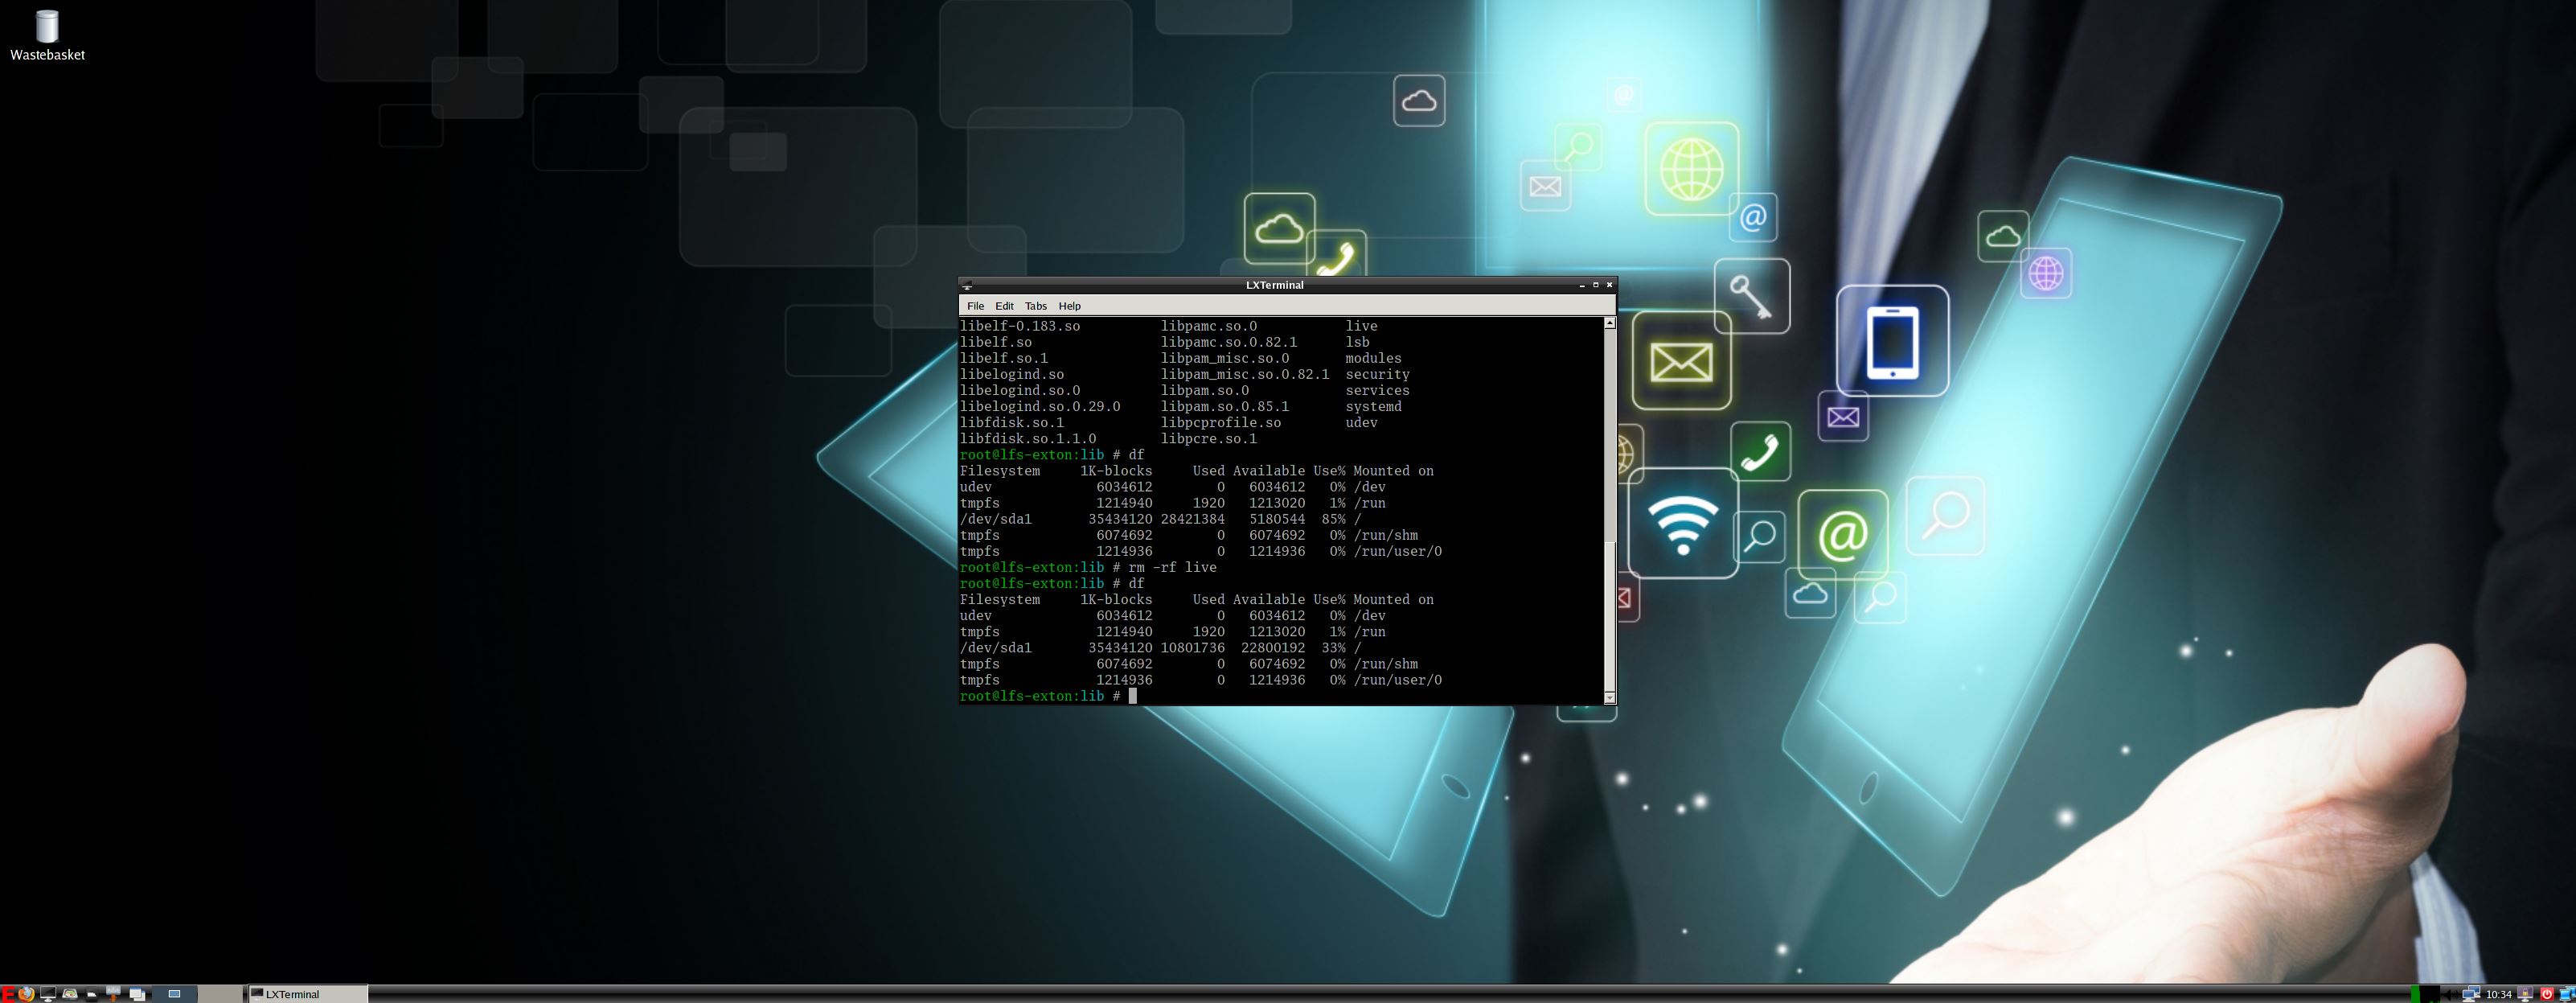
6. Start up LFS EXTON from your virtual hard drive. You will notice that the install partition (/dev/sda1) is about 30 GB. That’s because the folder /lib/live wasn’t removed during the installation. Remove it with the command sudo rm -rf /lib/live – watch this screenshot. After that everything is back to normal. Watch a screenshot showing used disk space before and after the delete command. (85 % respectively 33 %).
NOTE: You can of course also install LFS EXTON on any normal computer. If you want to do that you should at first read my instruction How To dual boot, triple boot or multi boot Linux with Windows in a simple way and be happy. The Grub boot lines for LFS EXTON in /boot/grub/grub.cfg can look like this:
#################################################
menuentry ‘LFS EXTON 210703 (/dev/sda6)’ –class lfs –class gnu-linux –class gnu –class os $menuentry_id_option ‘gnulinux-simple-191fccec-4ecc-48b2-879d-504f9a2ad365’ {
recordfail
load_video
insmod gzio
if [ x$grub_platform = xxen ]; then insmod xzio; insmod lzopio; fi
insmod part_gpt
insmod ext2
if [ x$feature_platform_search_hint = xy ]; then
search –no-floppy –fs-uuid –set=root 191fccec-4ecc-48b2-879d-504f9a2ad365
else
search –no-floppy –fs-uuid –set=root 191fccec-4ecc-48b2-879d-504f9a2ad365
fi
linux /boot/vmlinuz-5.12.8-exton root=/dev/sda6 ro
initrd /boot/initrd.img-5.12.8-exton
}
###############################################
Kernel
LFS EXTON uses my “special” kernel 5.12.8-exton. You can of course compile you own LFS kernel if you want.
“Normal” use of the system
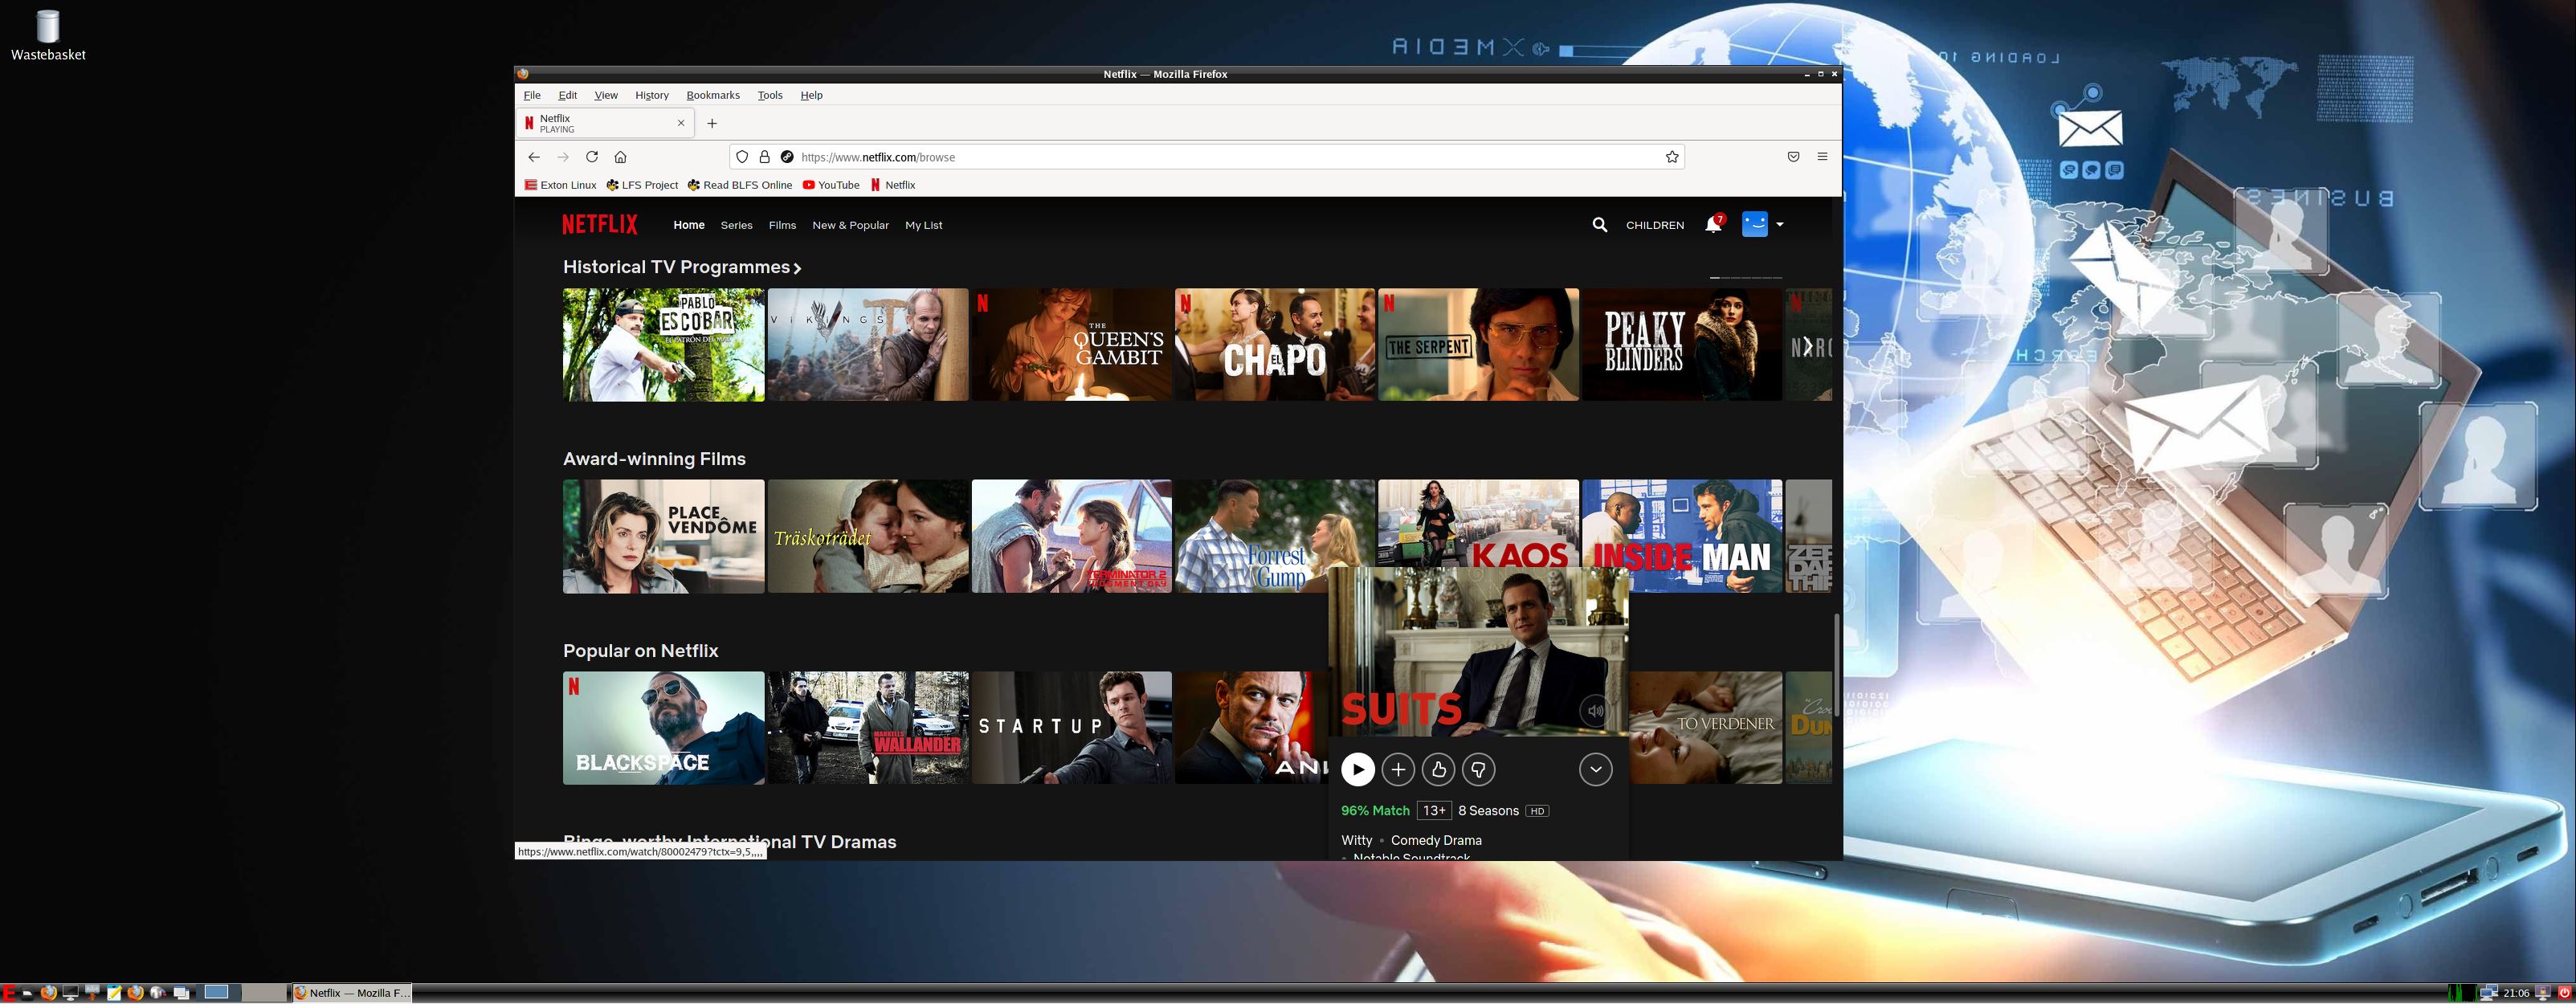
You can also use LFS EXTON as any other “normal” Linux system. You can for example run Netflix in Firefox.
Sound in LFS EXTON
You will only have sound when logged in to LXDE as the normal user lfs.
Run it fast!
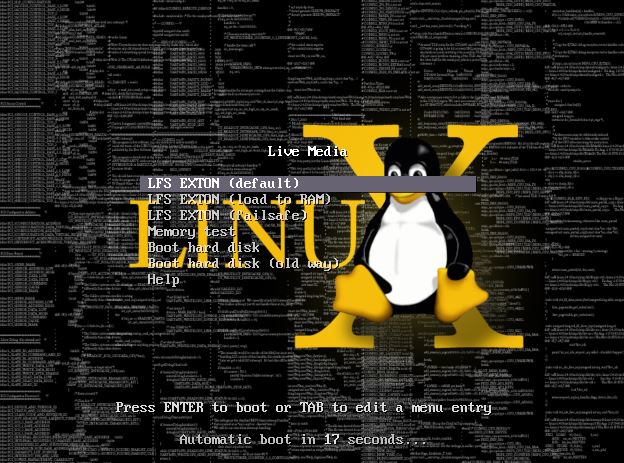
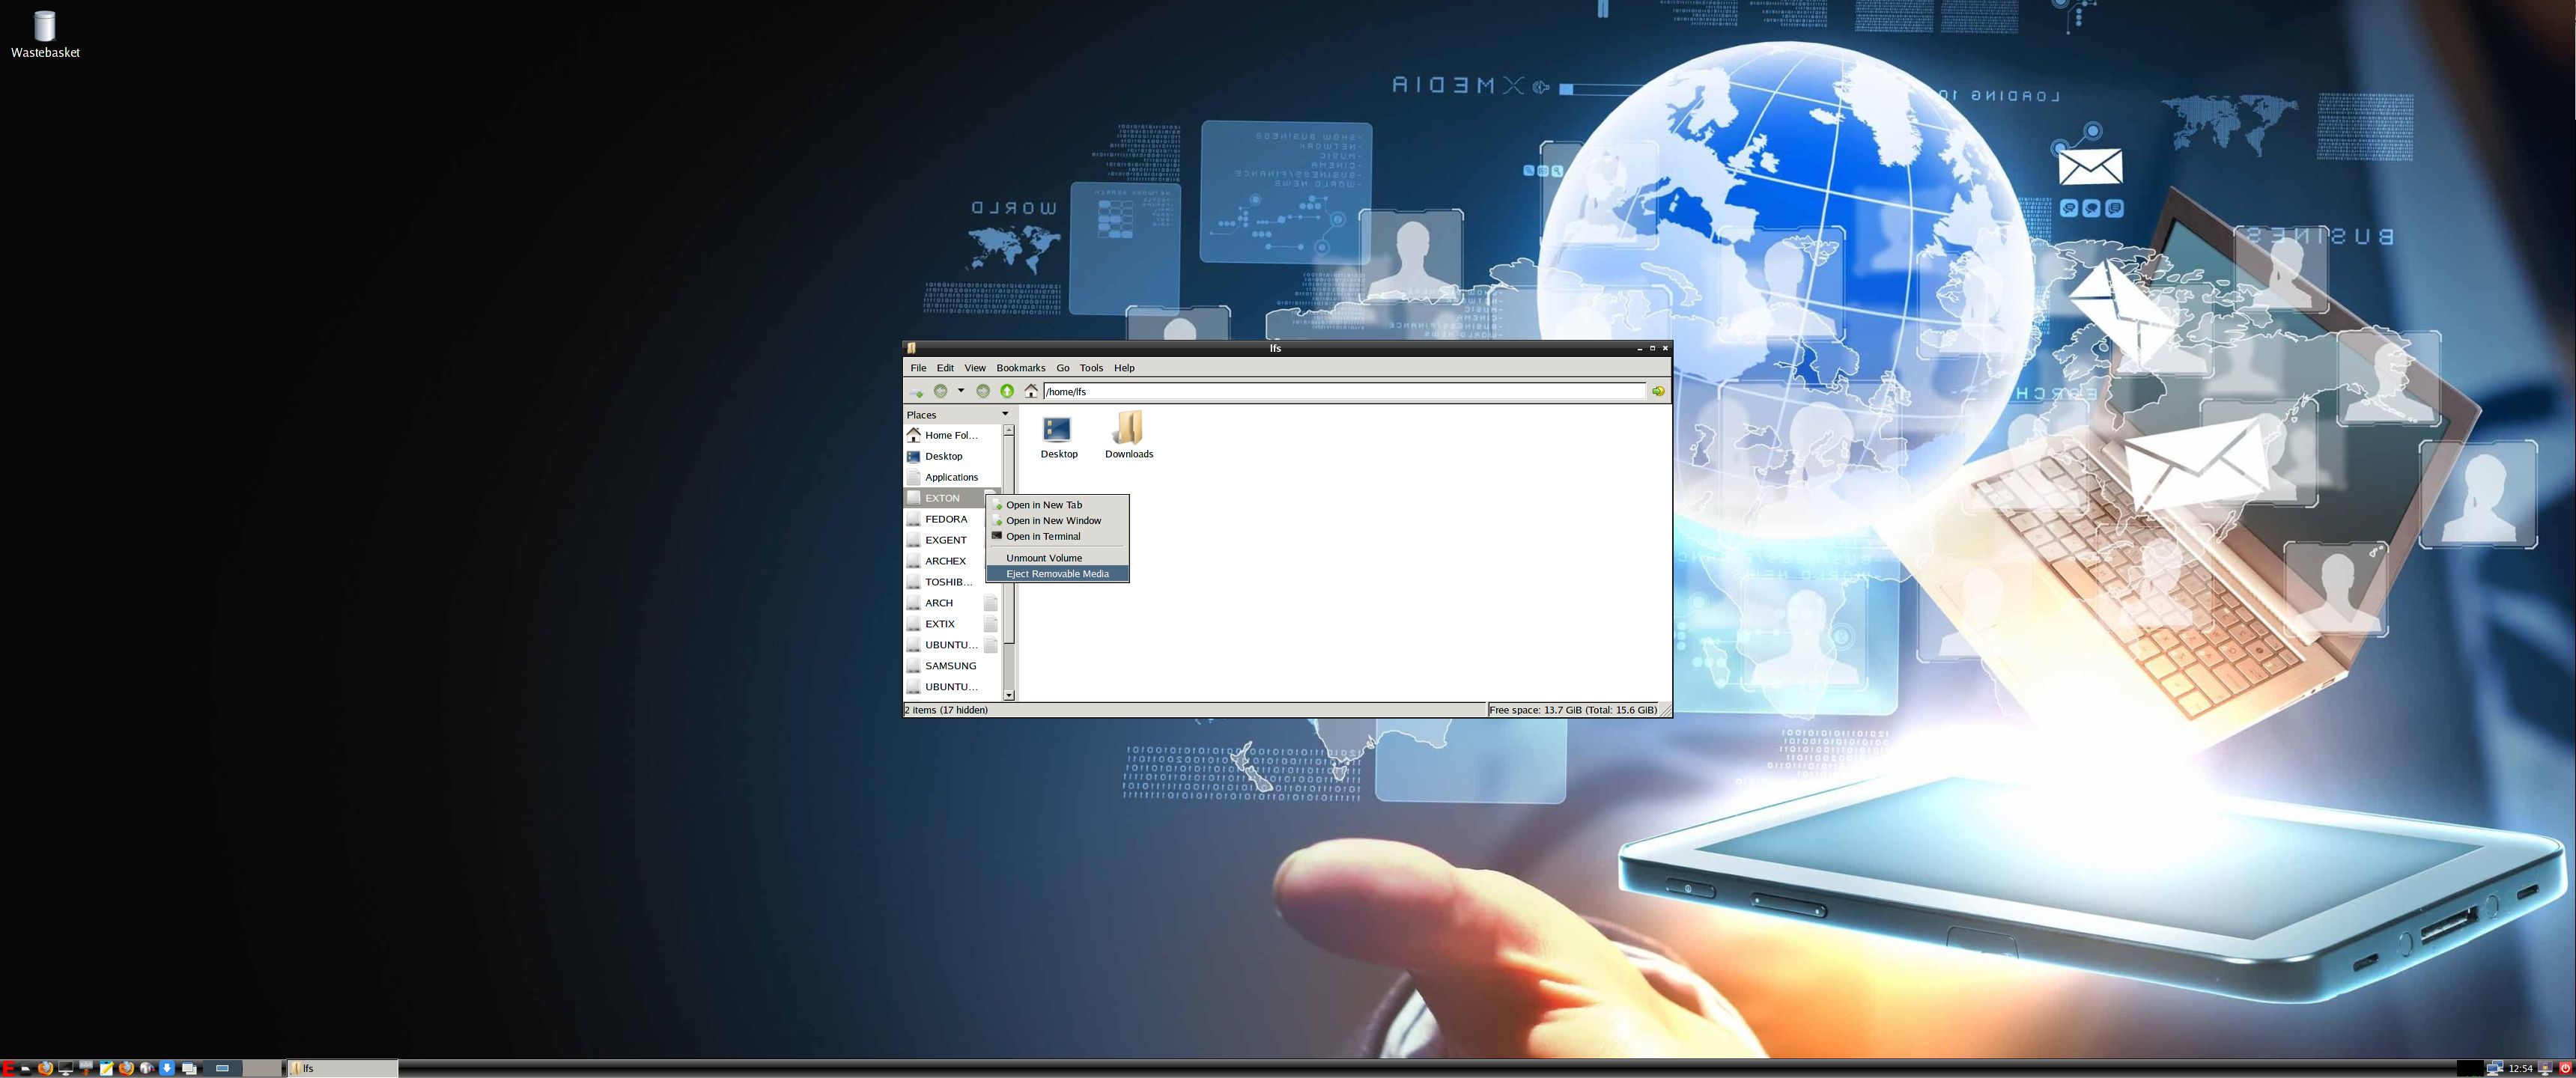
The system is quite fast and responsive. You can run LFS EXTON live super fast from RAM. When the boot process is ready you can eject the DVD or USB stick – screenshot. Use Boot alternative 2 or Advanced options… >> load to RAM. Watch the live boot screen below.
DOWNLOAD
This version of LFS EXTON has been replaced by Build 221103…

andex.exton.net – latest is AndEX 10 (with GAPPS) and AndEX Pie 9.0 (also with GAPPS)!
and
about my Android 12, 11, 10, Pie, Oreo, Nougat, Marshmallow and Lollipop versions for Raspberry Pi 4 and 3/2 at
raspex.exton.se – latest is RaspAnd 12 (without GAPPS), RaspAnd 11 (with GAPPS) and RaspAnd Oreo 8.1 (also with GAPPS)!