
 CruxEX 2024/2022 64 bit Linux Live CD/USB is based on CRUX 3.7 (latest version, released 220926), which is all Linux enthusiasts/nerds favorite OS. (CRUX is a lightweight Linux distribution for the x86_64 architecture targeted at experienced Linux users. The primary focus of this distribution is keep it simple, which is reflected in a straightforward tar.gz-based package system, BSD-style initscripts, and a relatively small collection of trimmed packages. The secondary focus is utilization of new Linux features and recent tools and libraries. CRUX also has a ports system which makes it easy to install and upgrade applications). CruxEX 3.7 2024/2022 uses the LXDE Desktop environment. I have replaced the original CRUX kernel 5.15 with “my” special kernel 6.11.0-rc5-amd64-exton/6.6.1-amd64-exton respectively 6.0.6-aufs-exton, with support for “extra everything”.
NEWS ABOUT CruxEX BUILD 240910
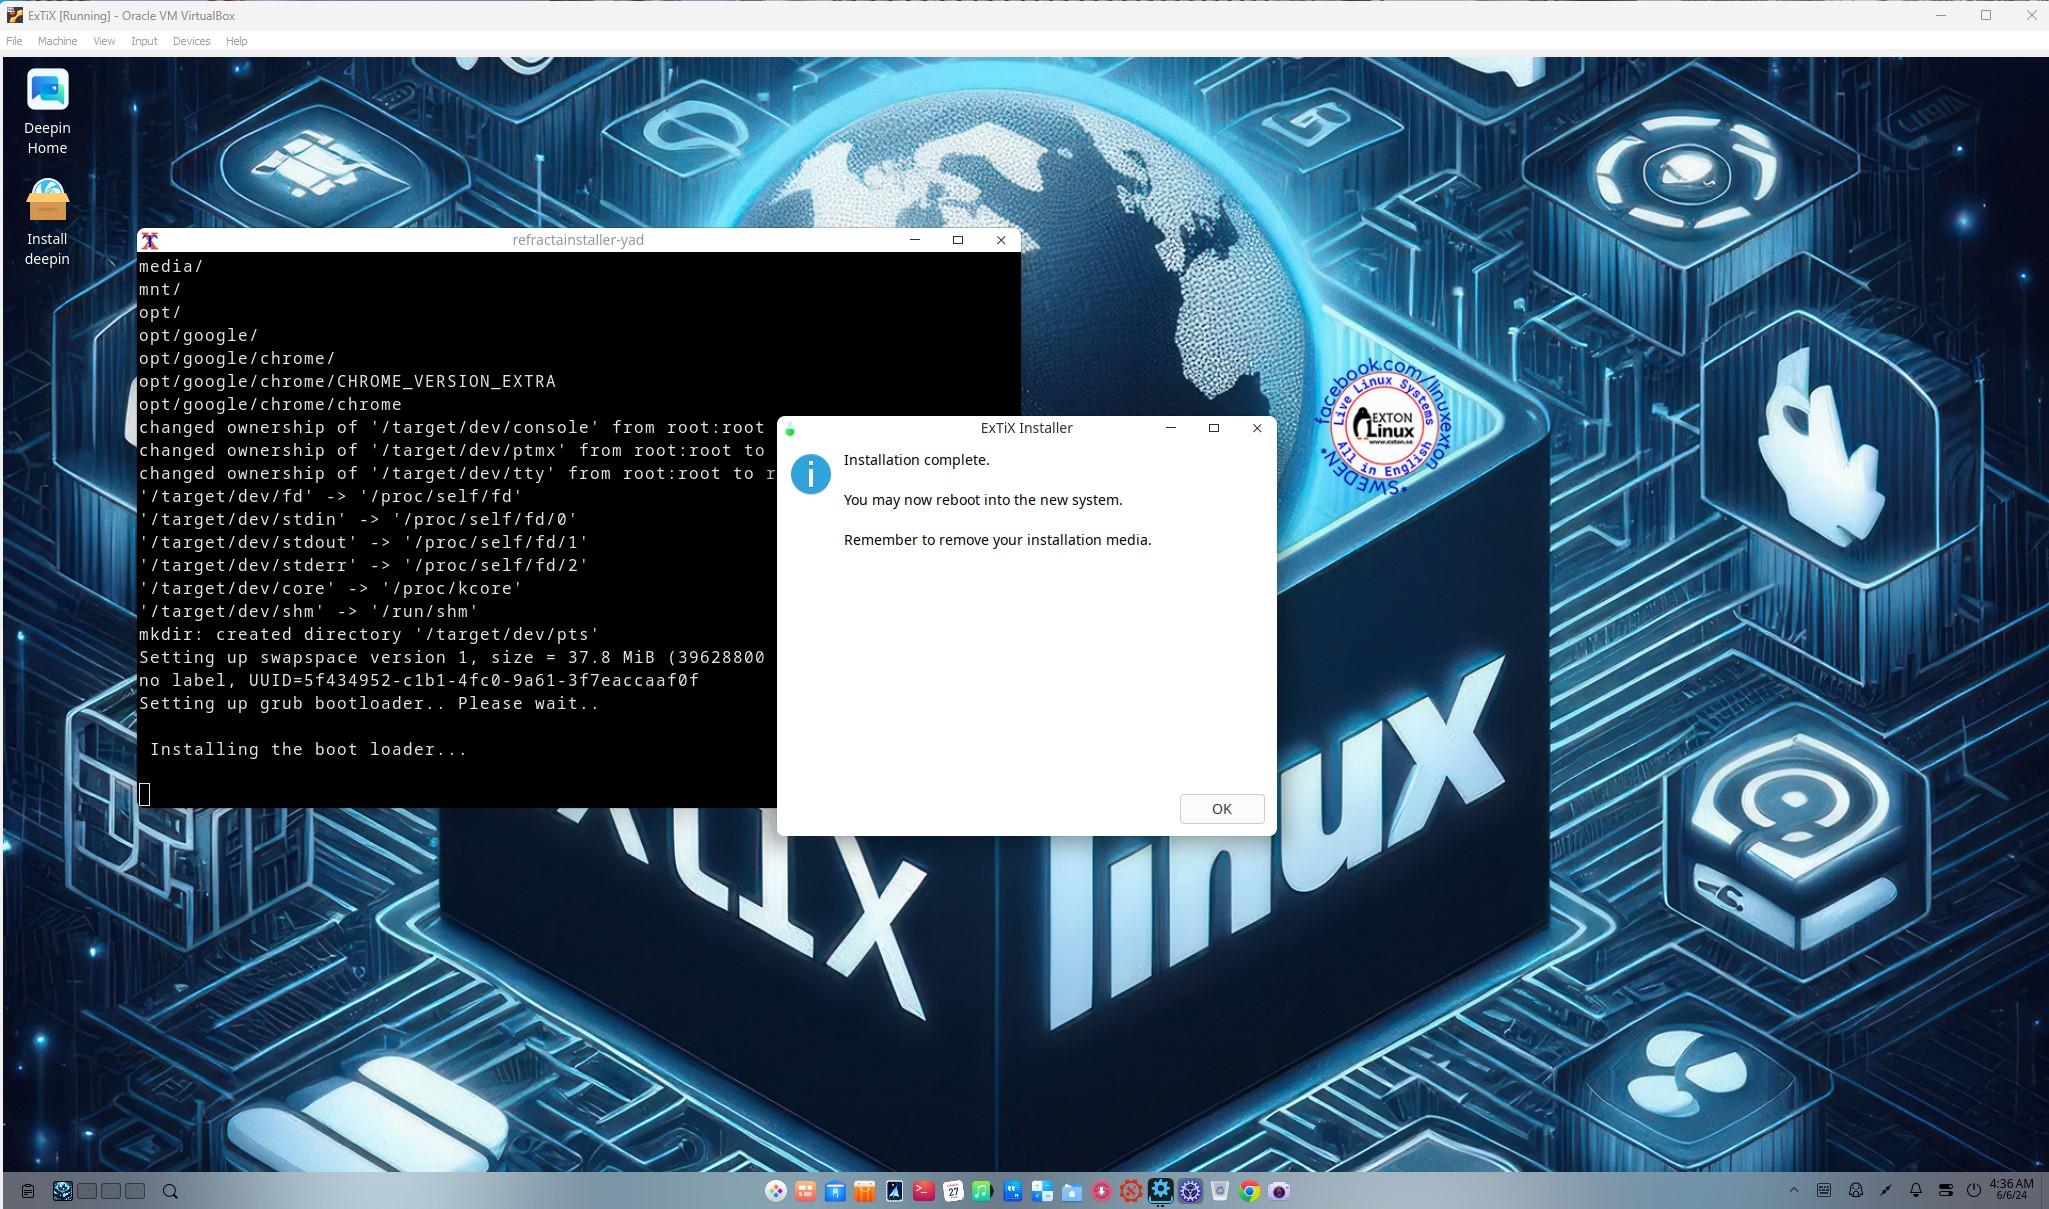
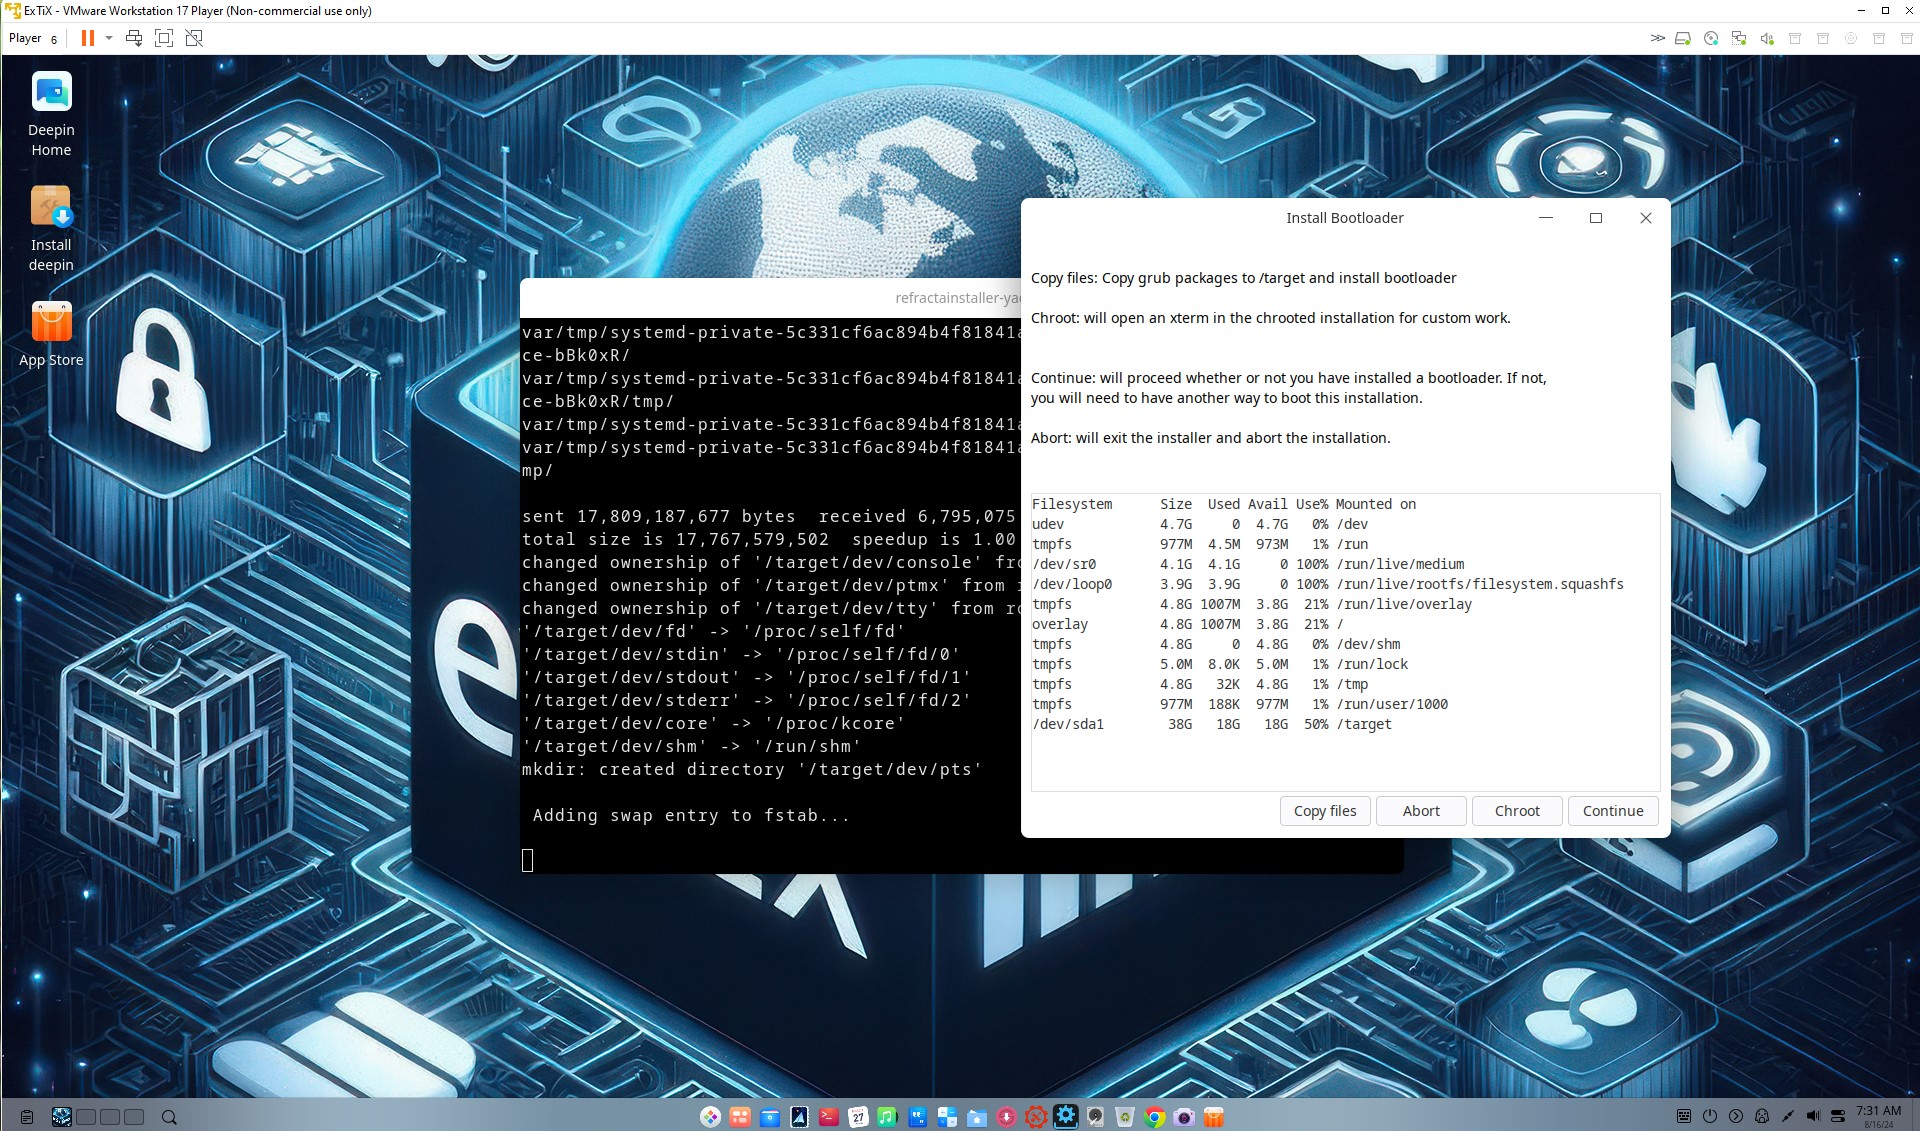
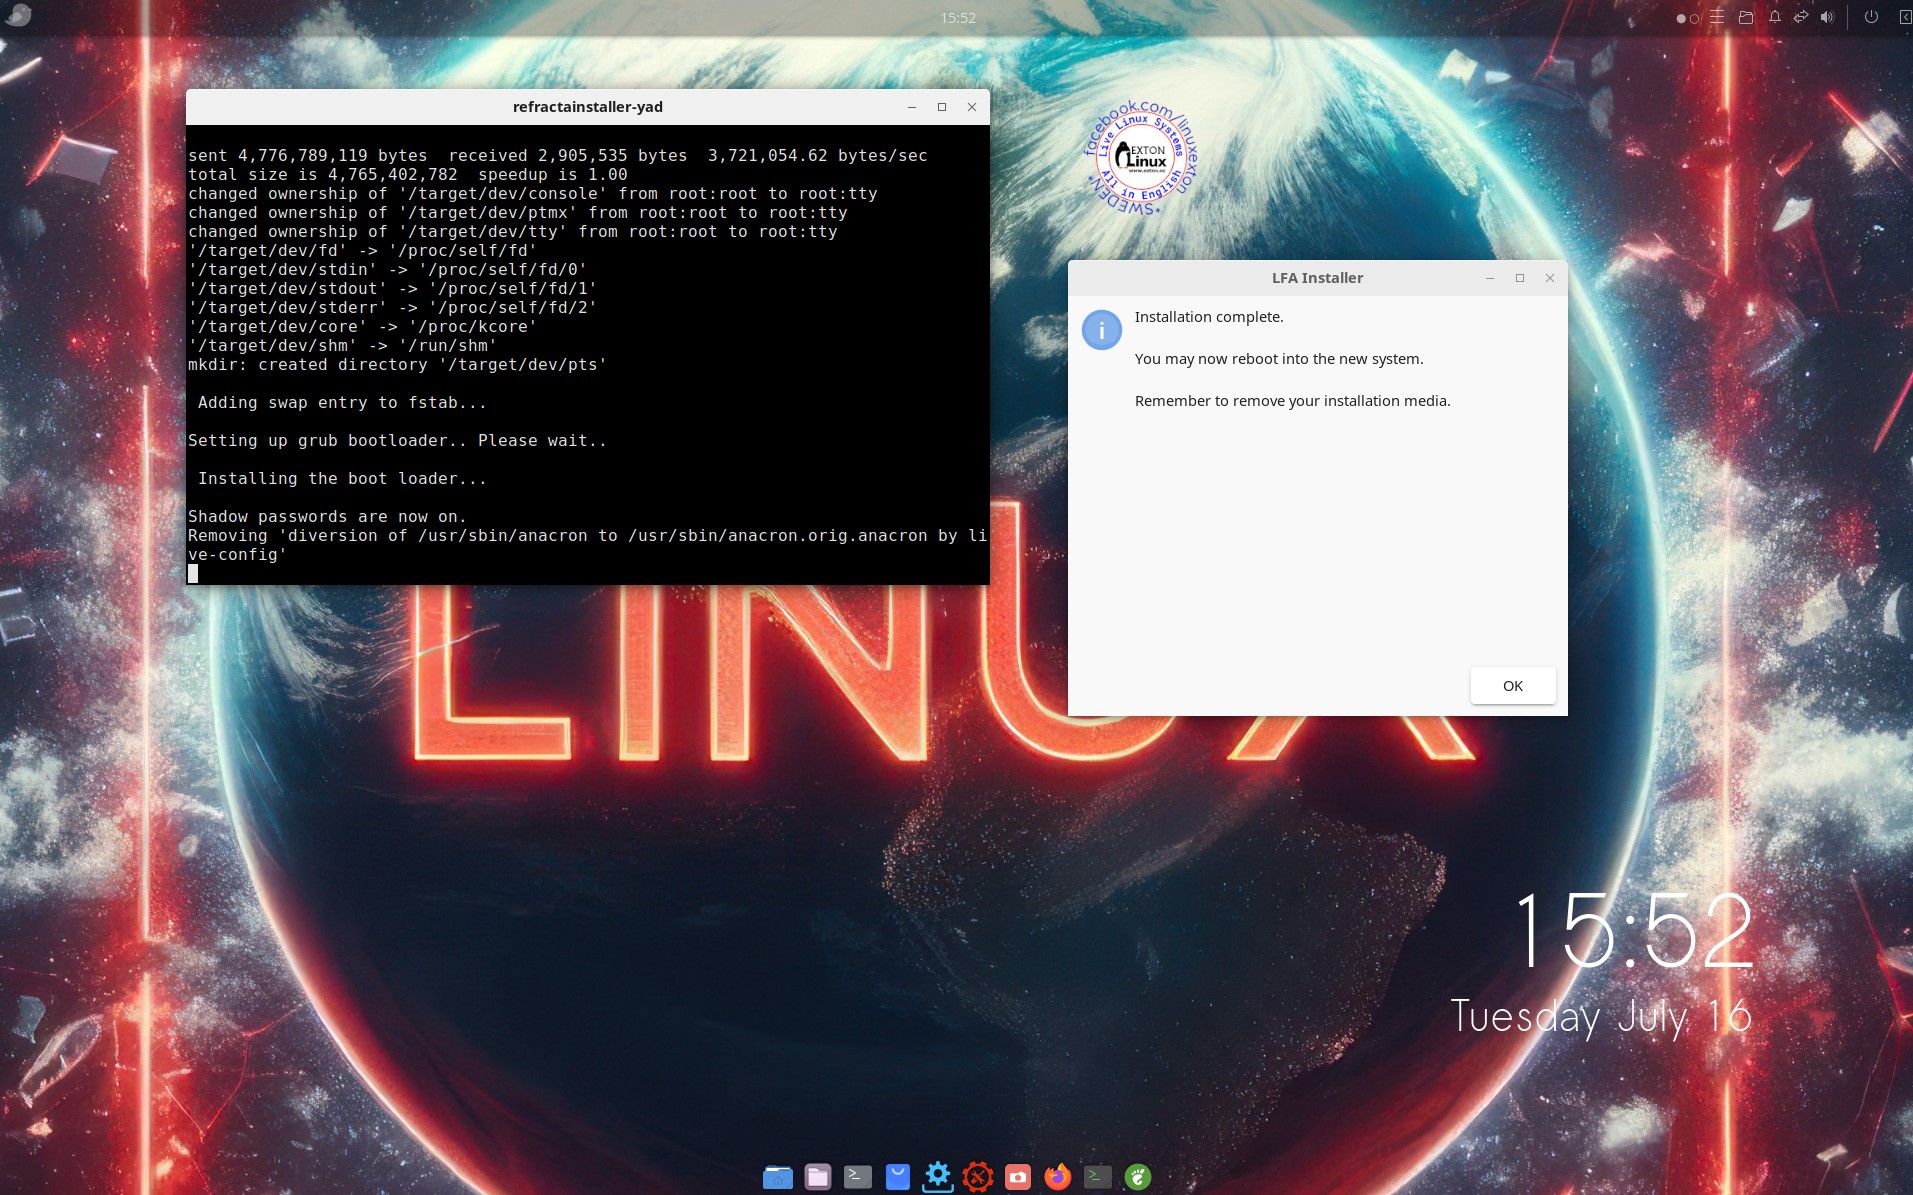
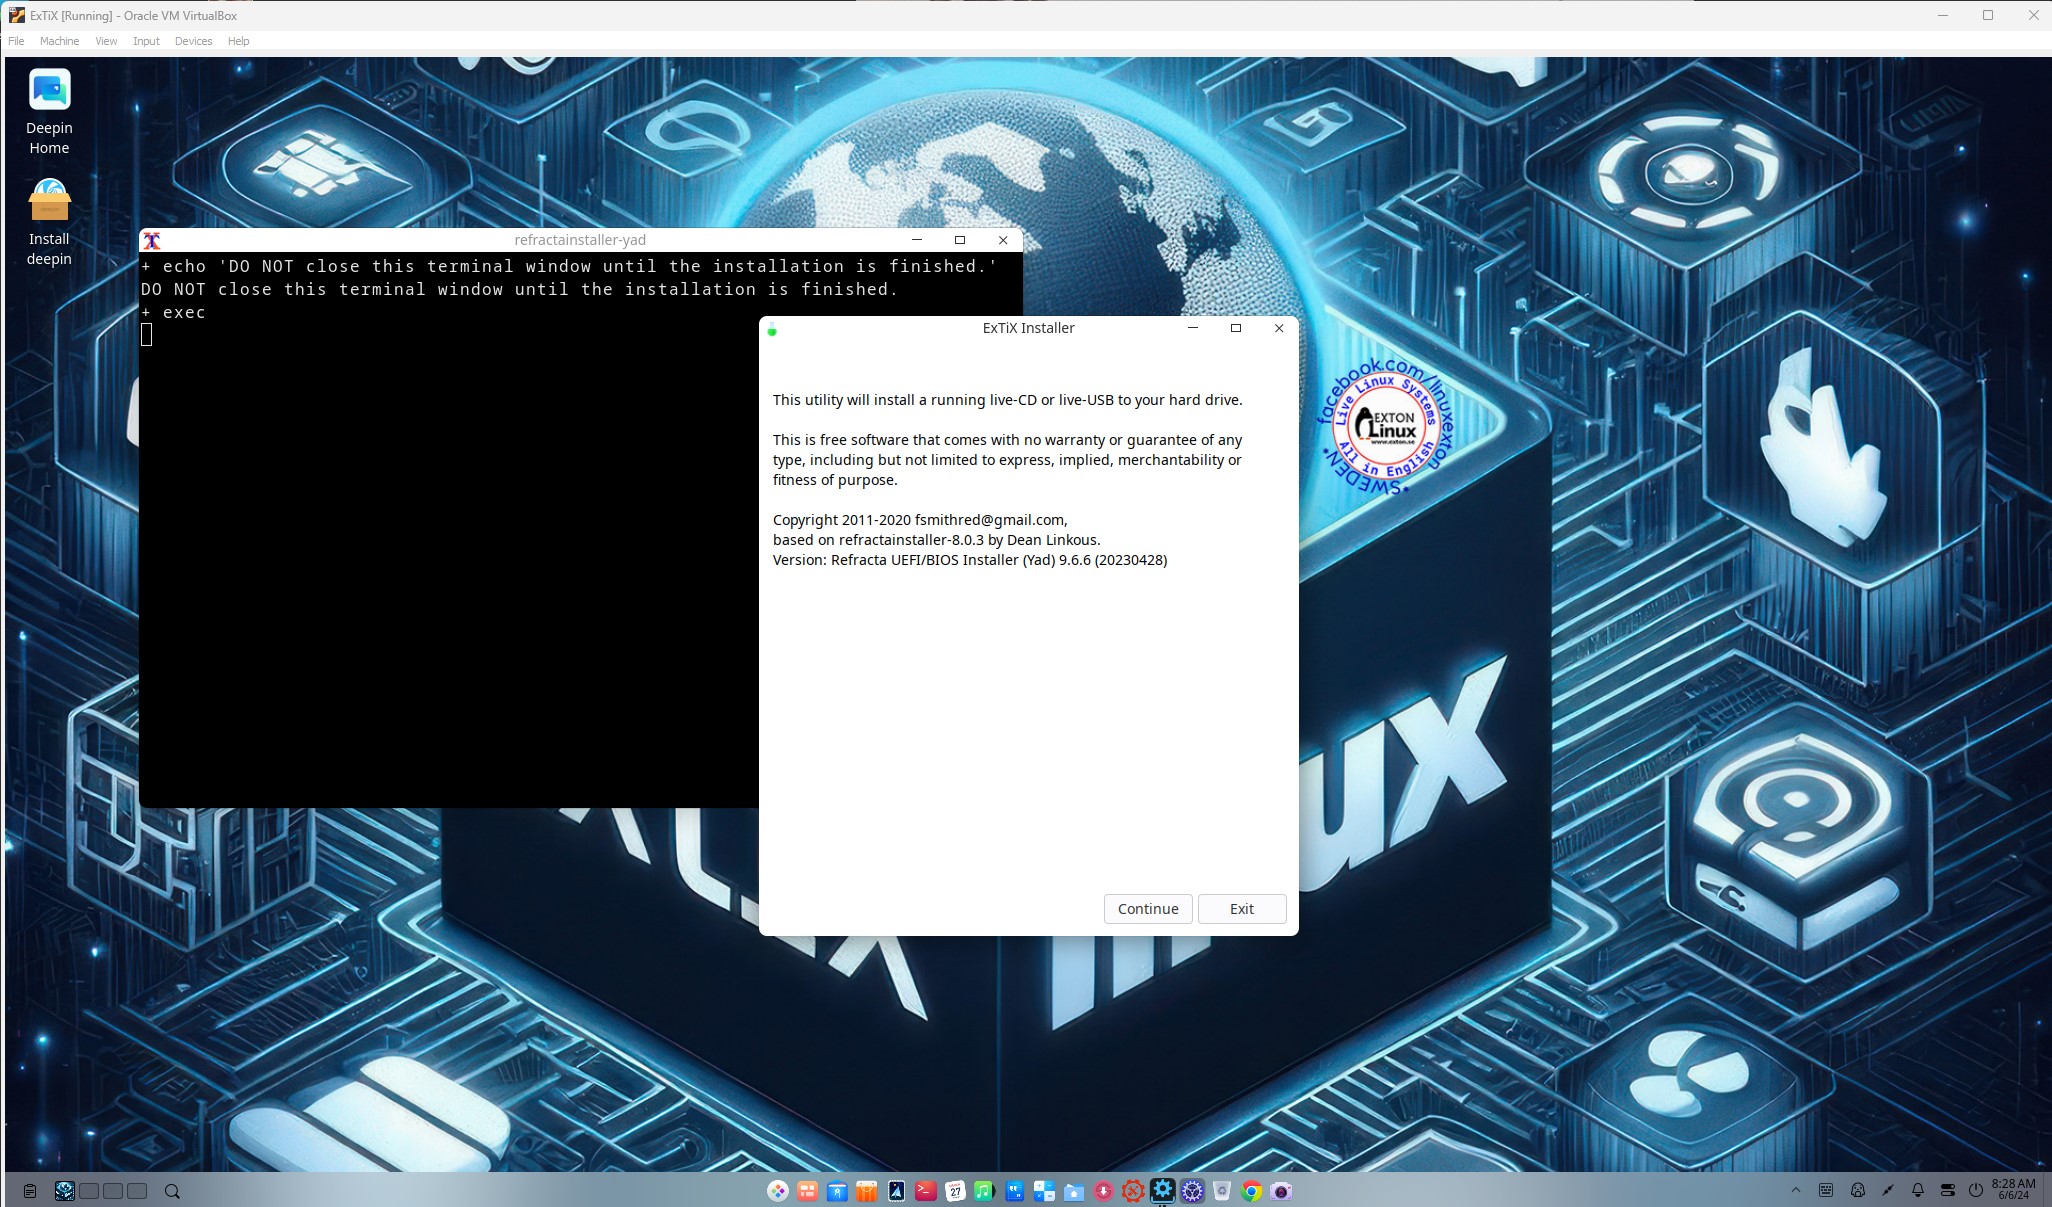
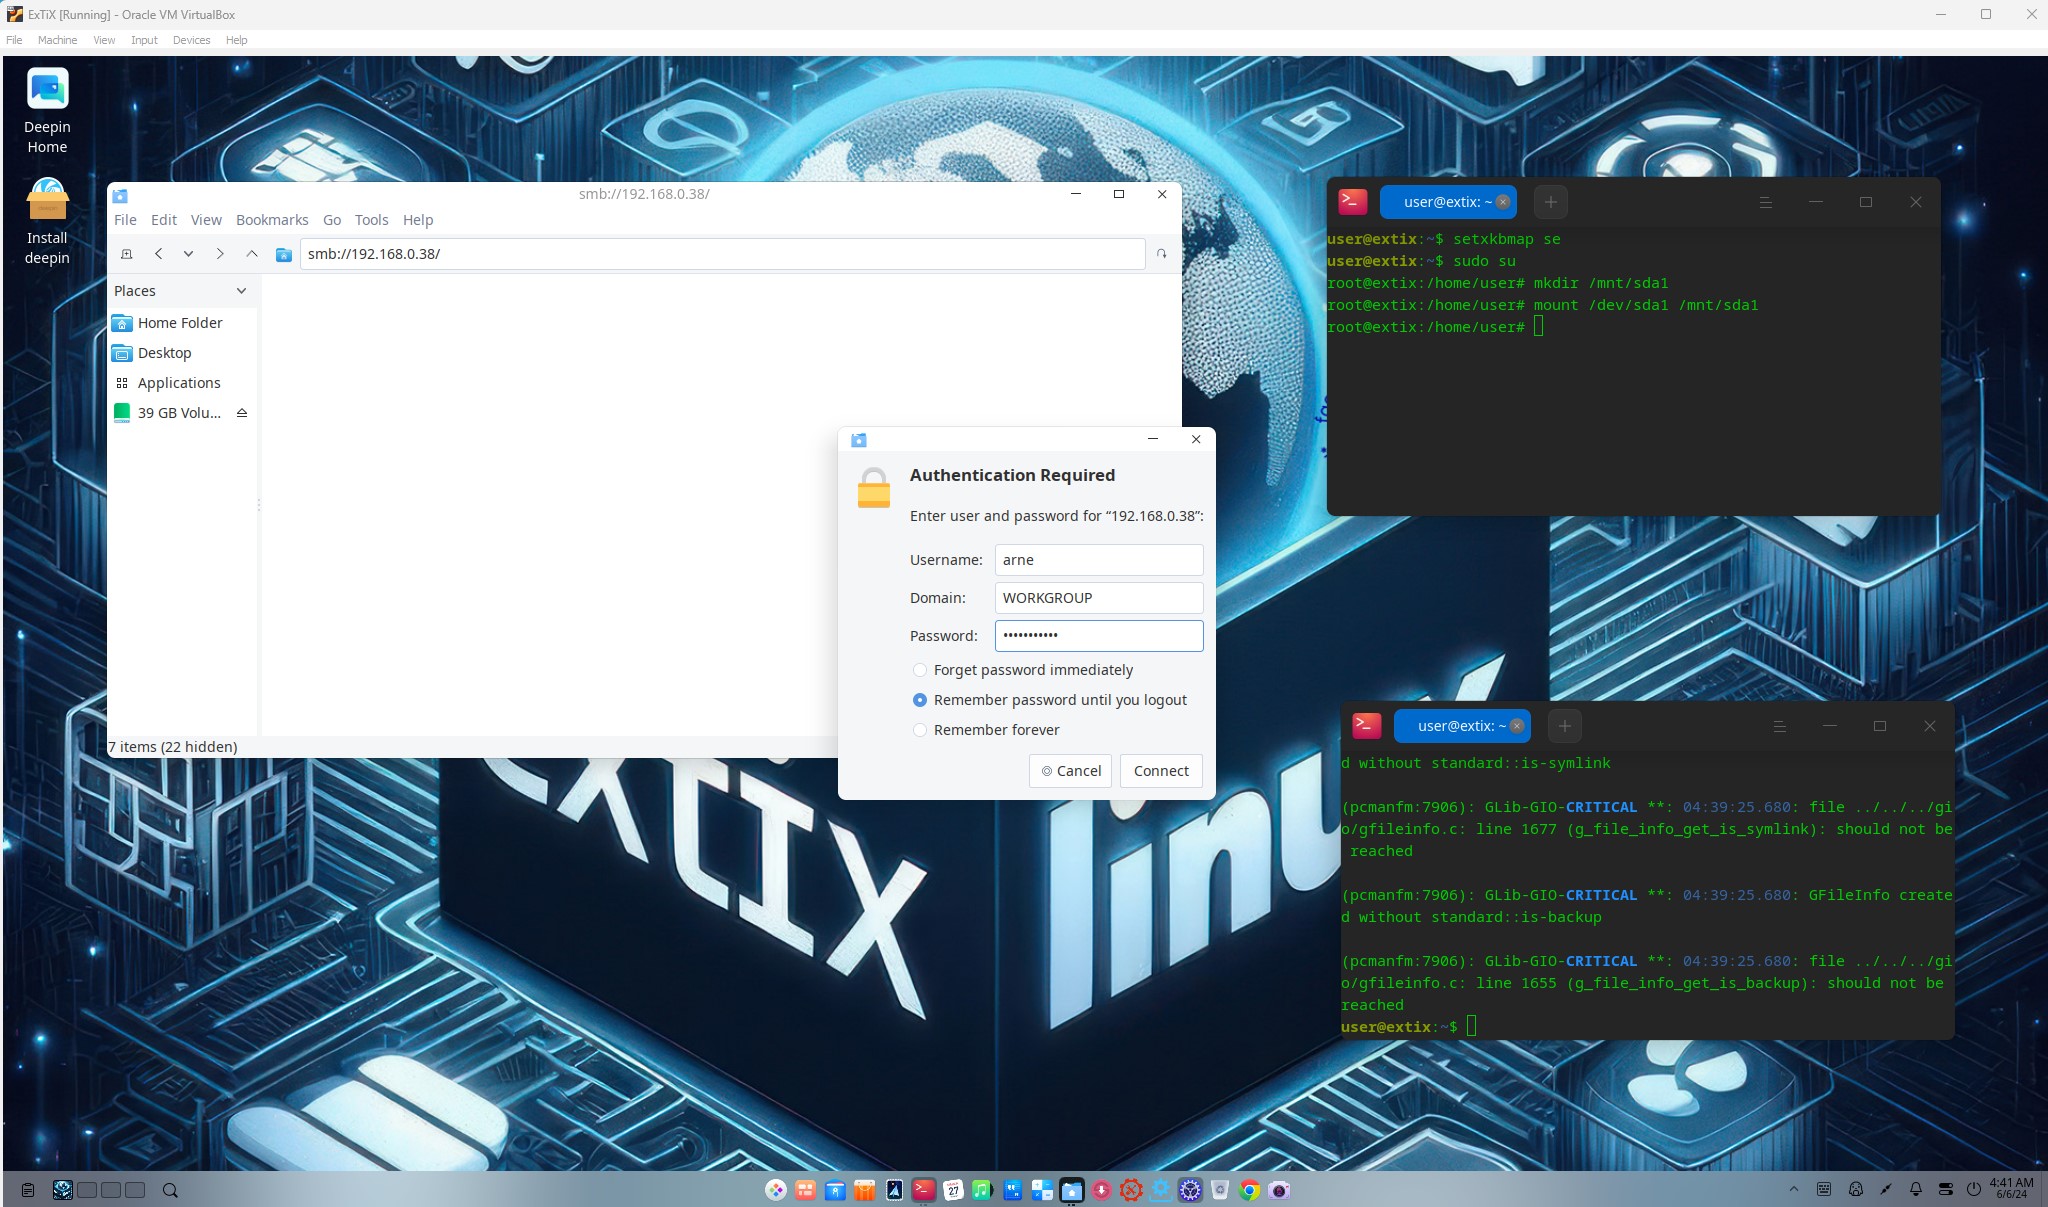
I’ve made a new extra version of CruxEX which I call CruxEX Linux Live System. It replaces version 231208. This CruxEX version is distributed as a “normal” ISO file. (Build 221031 is distributed as a Zip file only to be installed on a USB stick). I have kept CruxEX Build 221031 on SourceForge’s server because that version can run from a USB stick with PERSISTENCE. I.e. all system changes will be saved directly on the USB stick. In CruxEX Build 240910 I have managed to install Refracta Snapshot and Refracta Installer. With Refracta Snapshot you can very easy create you own CRUX Live Installable System. I mean change everything to your liking and then create a new ISO. That can be done after a hard drive installation using Refracta Installer. If you have plenty of RAM you can even create a new ISO while running CruxEX live! In that case you may have to change the place where the new ISO will be saved. Just edit /etc/refractasnapshot.conf. Watch this screenshot. Change home to (for example) /mnt/sdd2 (which has to be a Linux partition). You’ll have to mount /dev/sdd2 before starting Refracta Snapshot from the menu. Command: mount /dev/sdd2 /mnt/sdd2.
IMPORTANT NOTE: Kernel 6.11.0-rc5-amd64-exton will be used after a hard drive installation of CruxEX Build 240910. If you want to build your own CruxEX version/system you’ll have to use kernel 6.6.1-amd64-exton while running Refracta Snapshot.
Unique
CruxEX 3.7 2024/2022 Build 240910/221031 is – as my previous CRUX-remasters – unique in the world. I.e. there is no other CRUX Live CD/USB (as far as I know). In any case, not for downloading. The good thing with CruxEX is that it is a live system (which CRUX original isn’t) and that you can run CruxEX super fast from RAM. Also that you can install CruxEX to hard drive in about 5 minutes and then have a ready-to-go CRUX desktop system. You can after that install any (extra) desktop environment you like. NOTE: You can (of course) install new Desktops environments and other stuff also when running CruxEX from a USB stick – PERSISTENCE! (Only as regards Build 221031). Note also: To make CRUX original ready for everyday use will normally take 2 – 3 days!
RUNS FROM RAM
Run both versions super fast from RAM! The best way to run a Linux Live System!
Study ALL INSTALLED packages in CruxEX 3.7
1) Build 240910
2) Build 221031
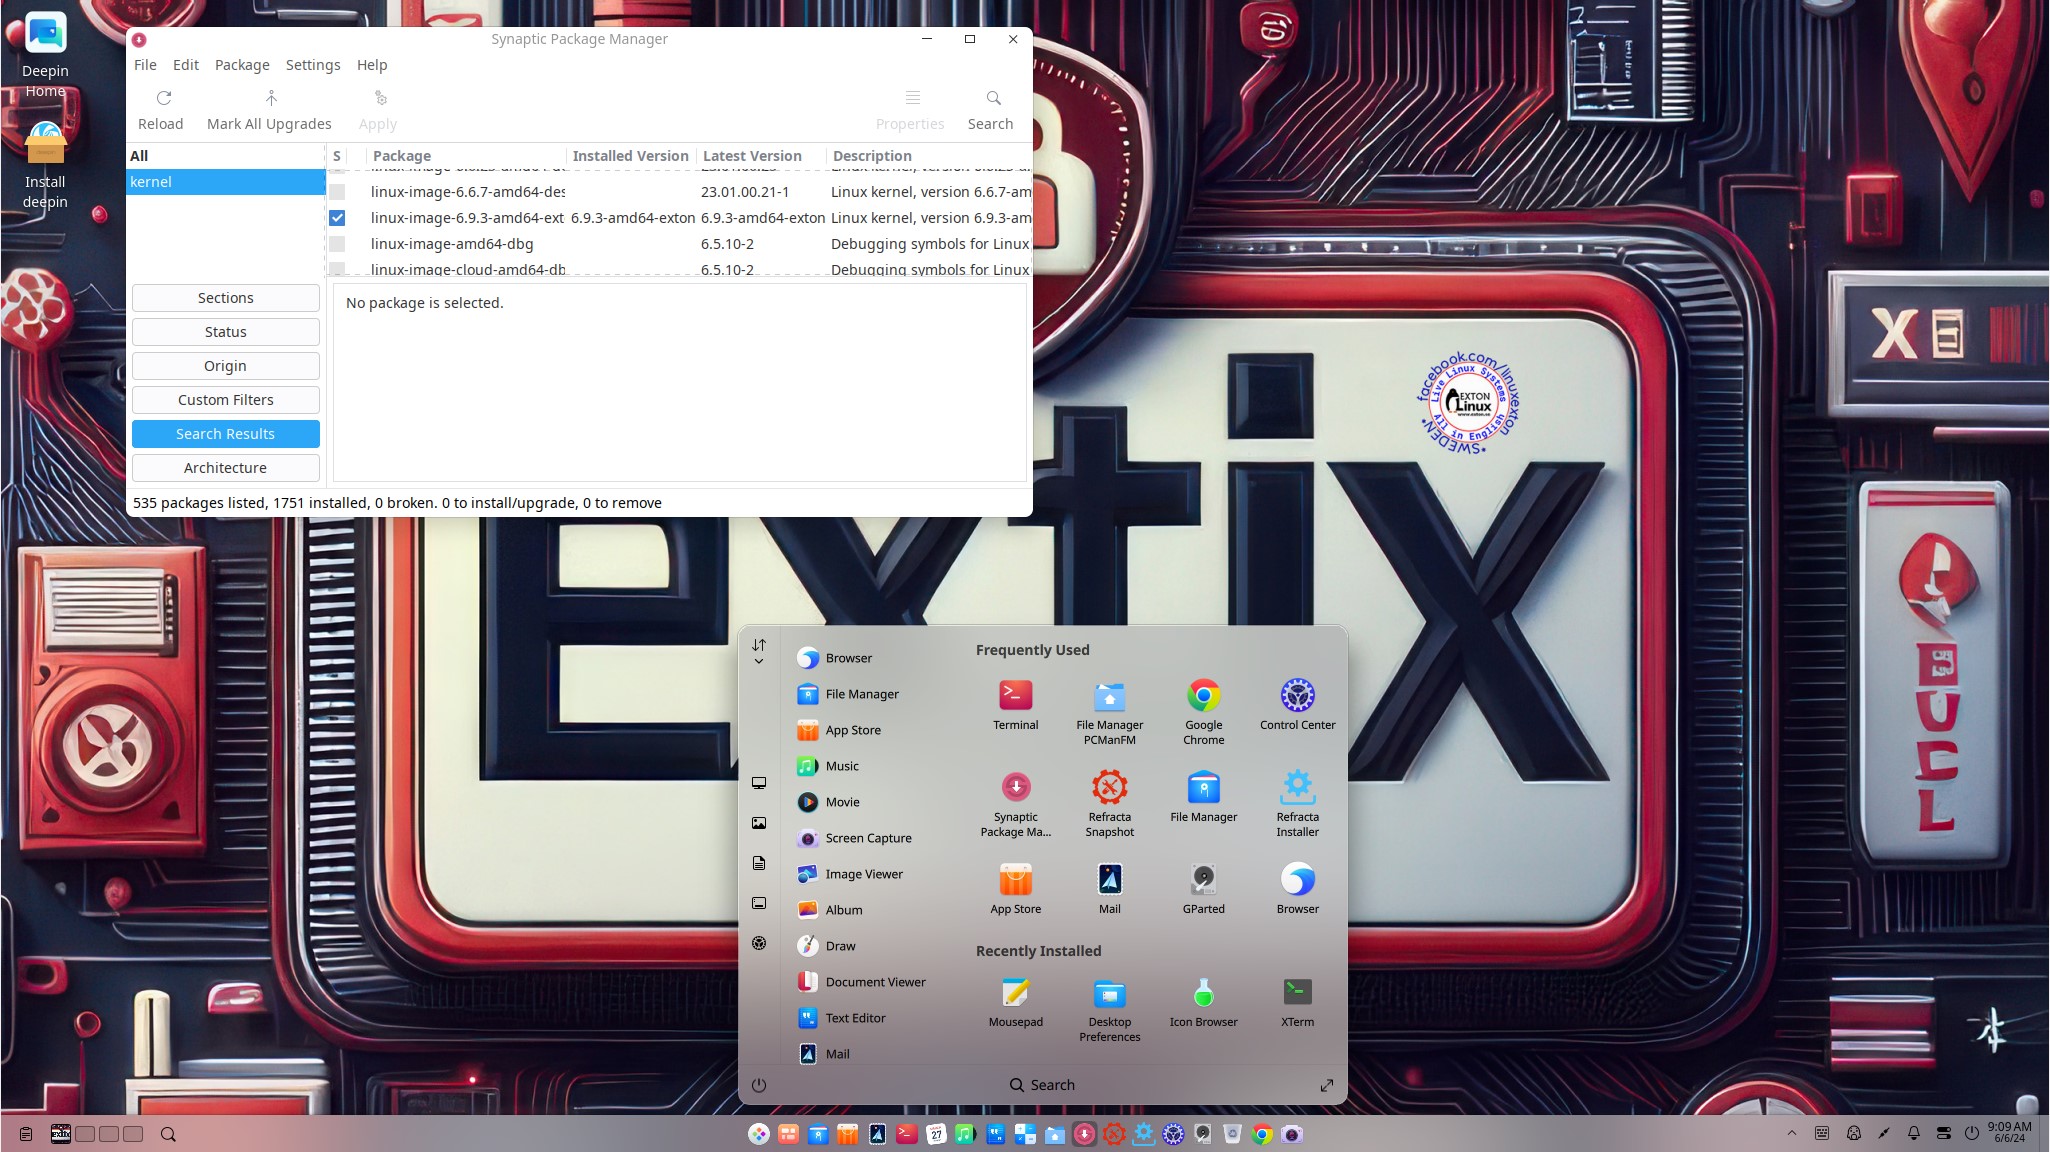
Study ALL UPDATED packages in Build 240910…
SCREENSHOTS
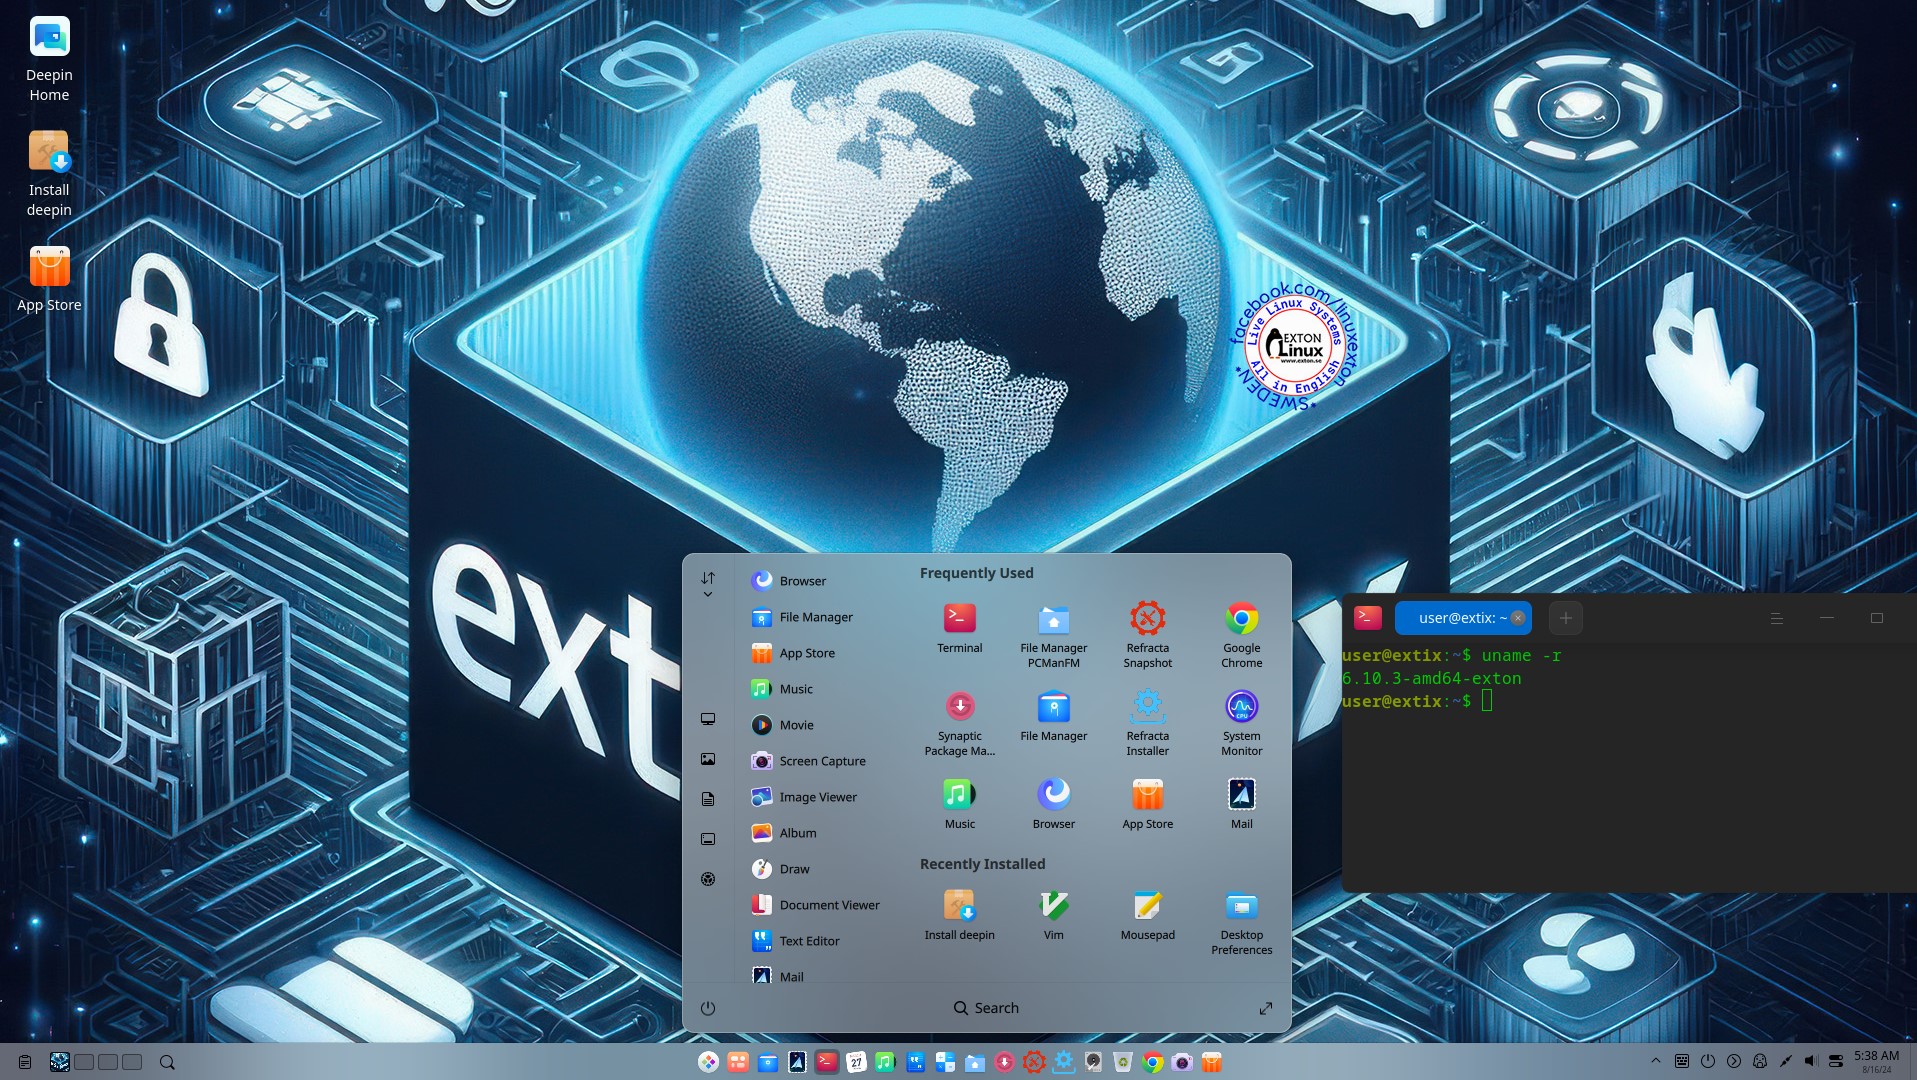
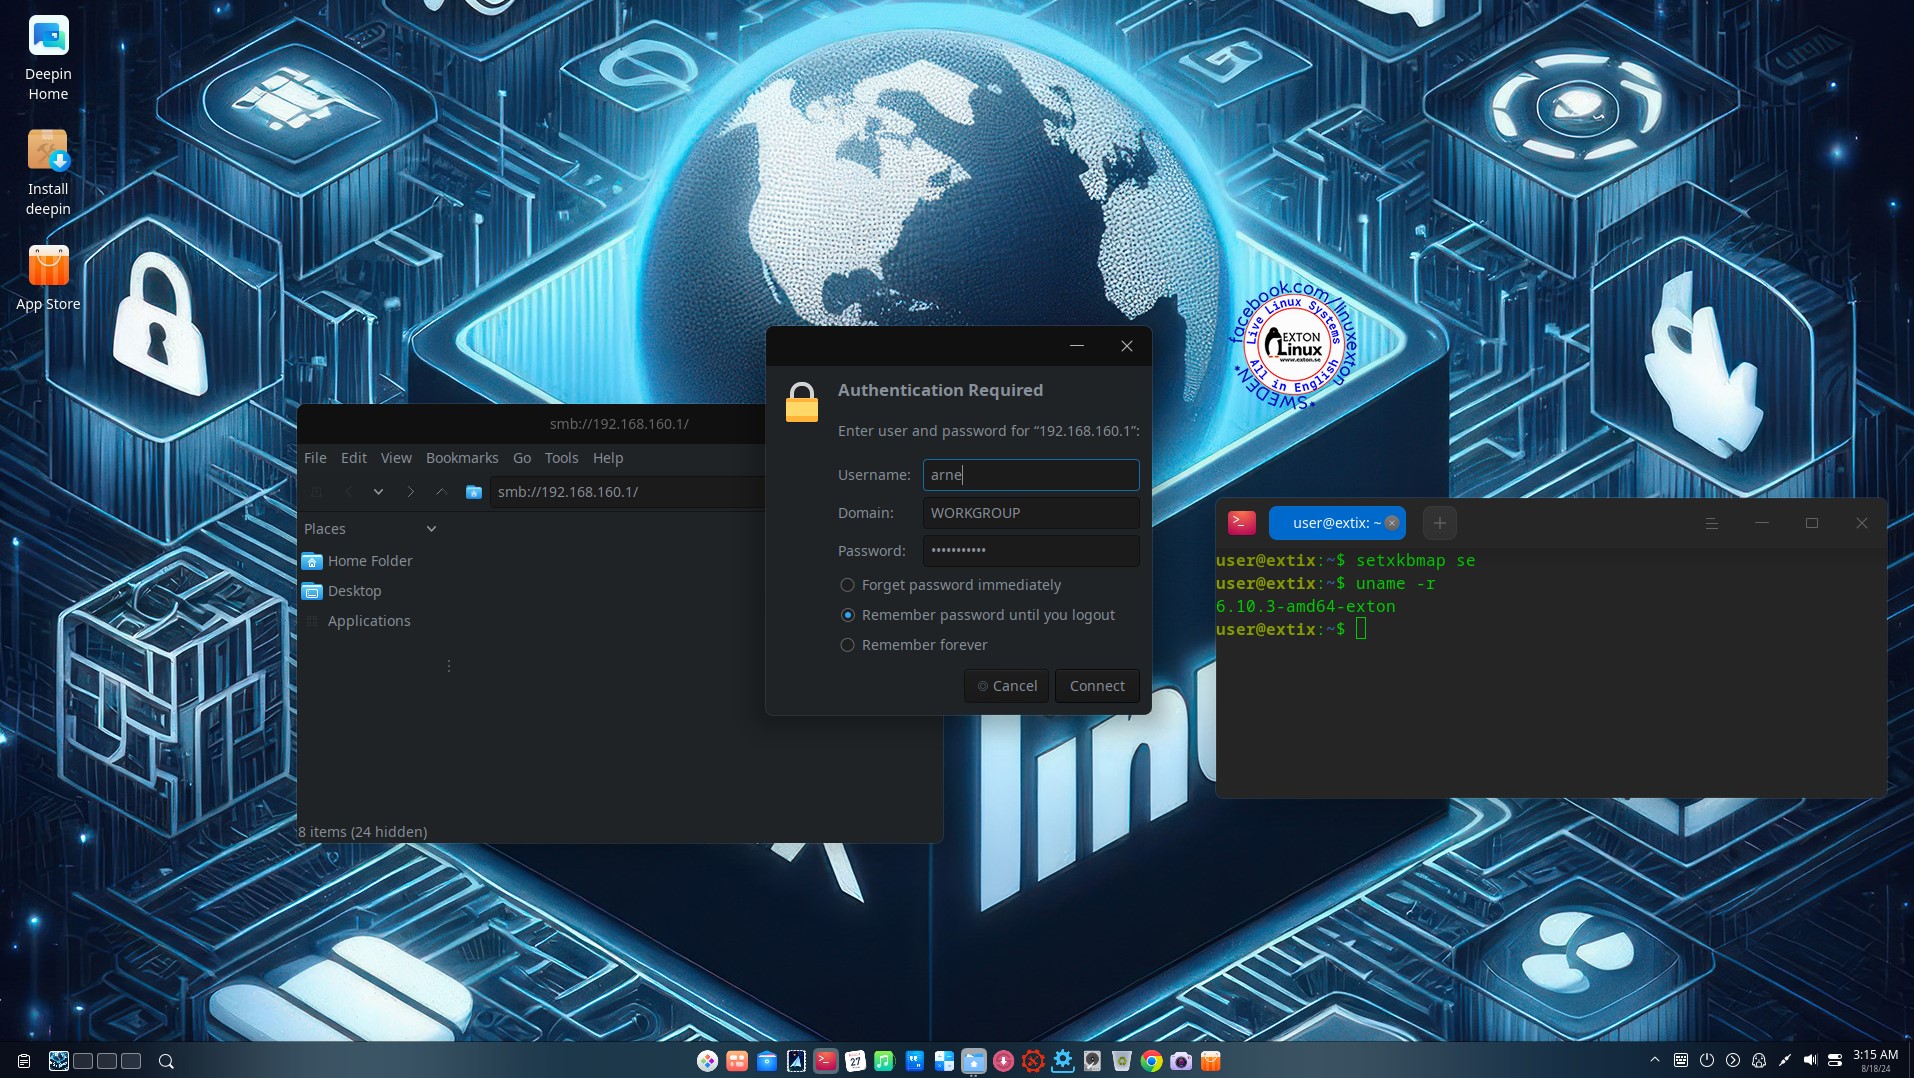
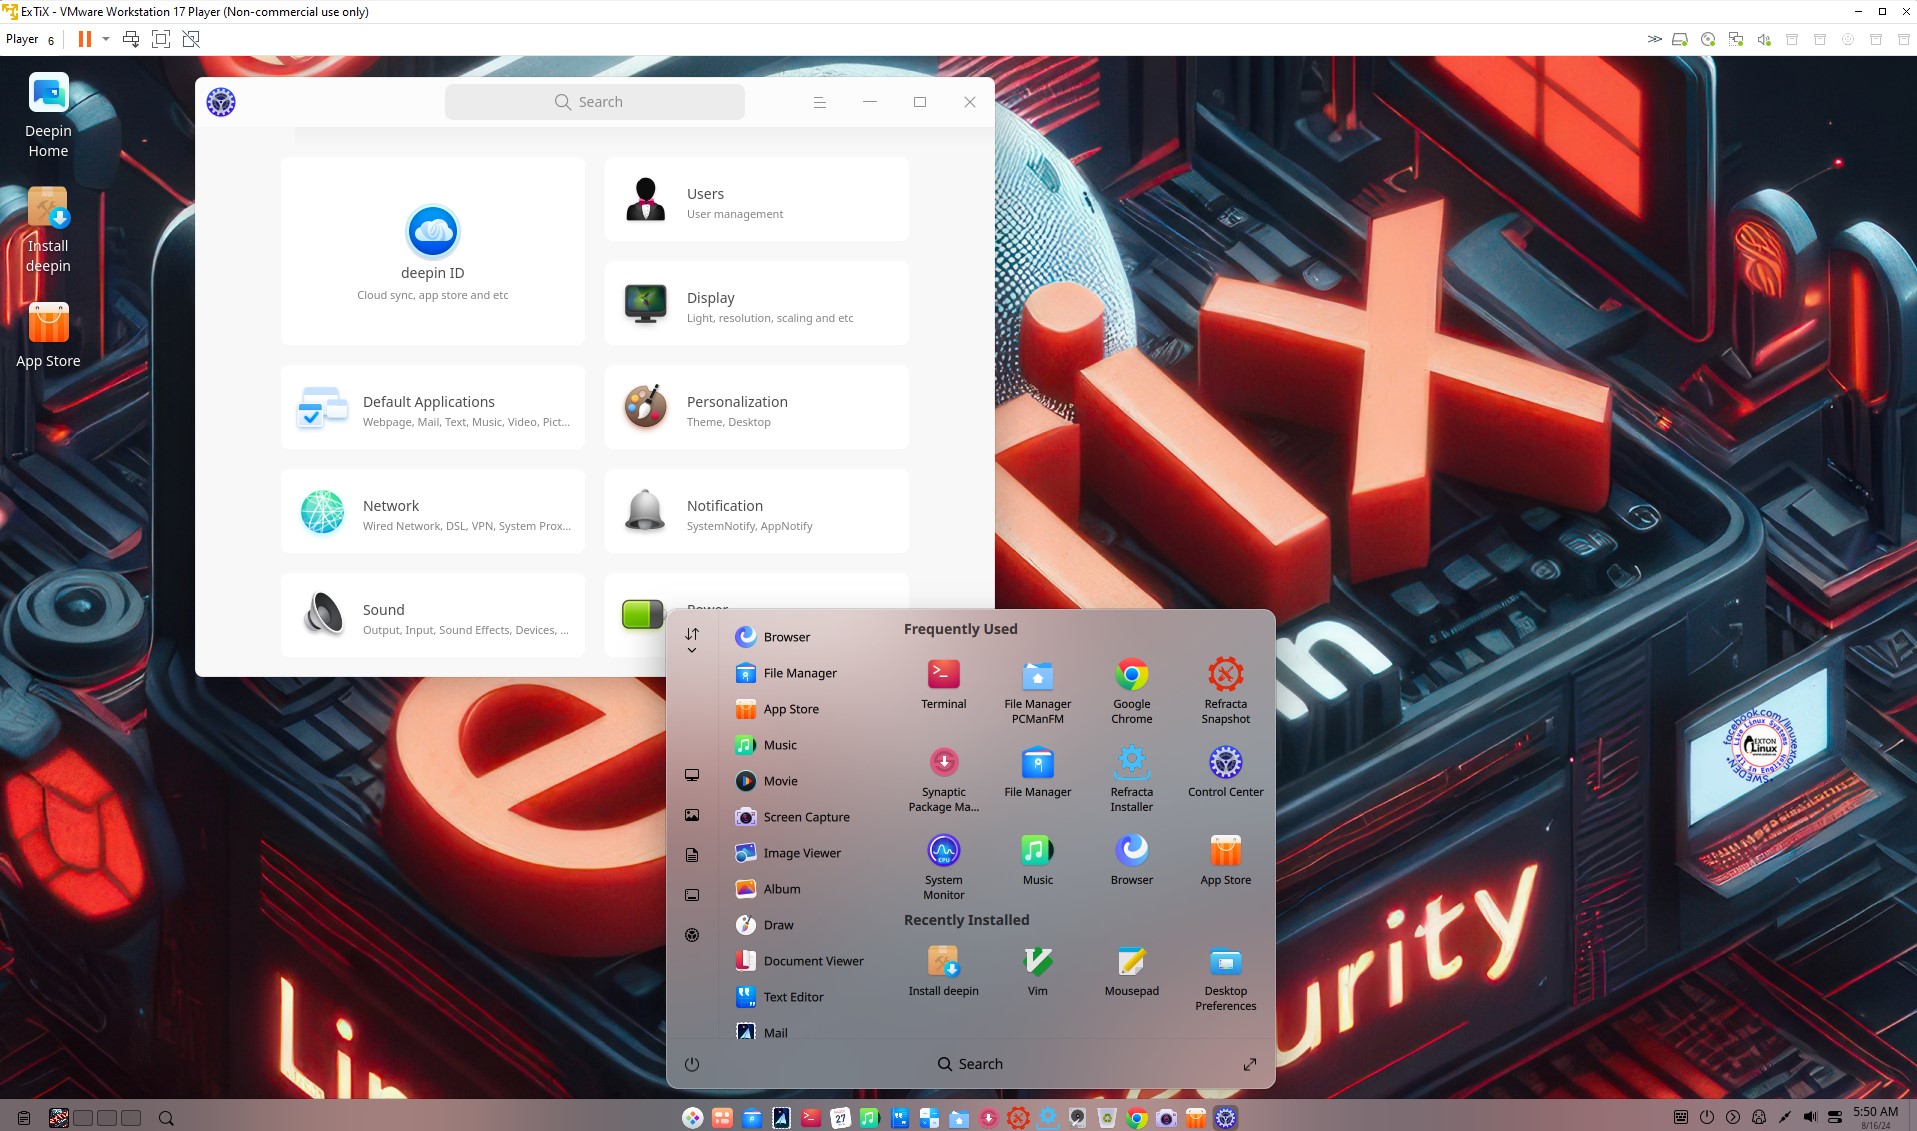
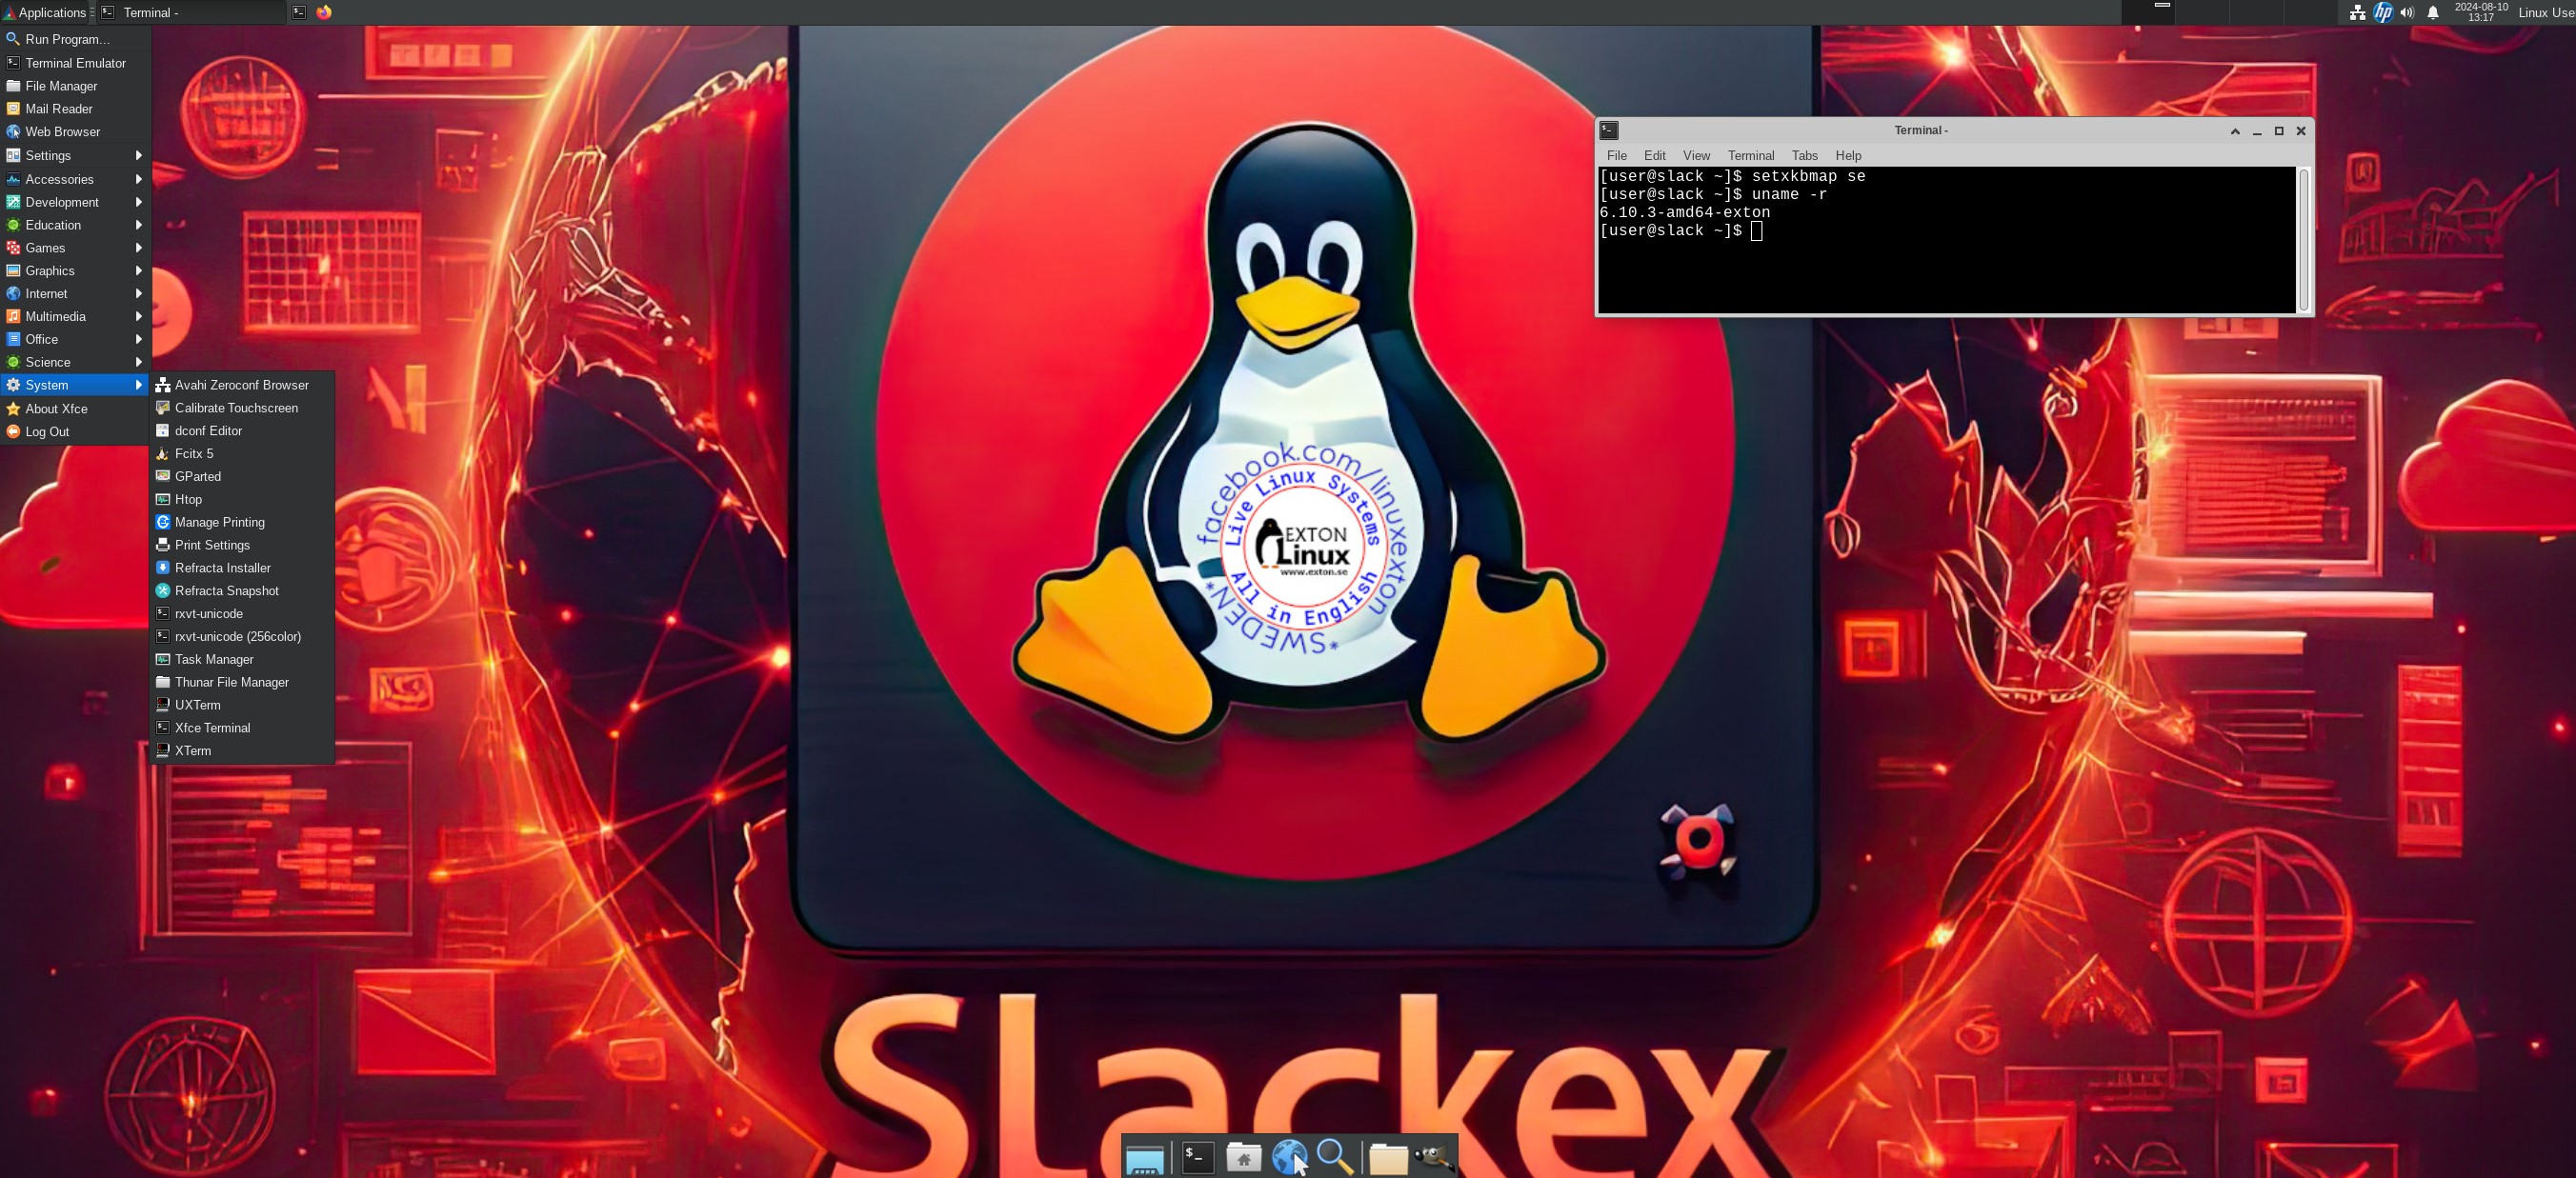
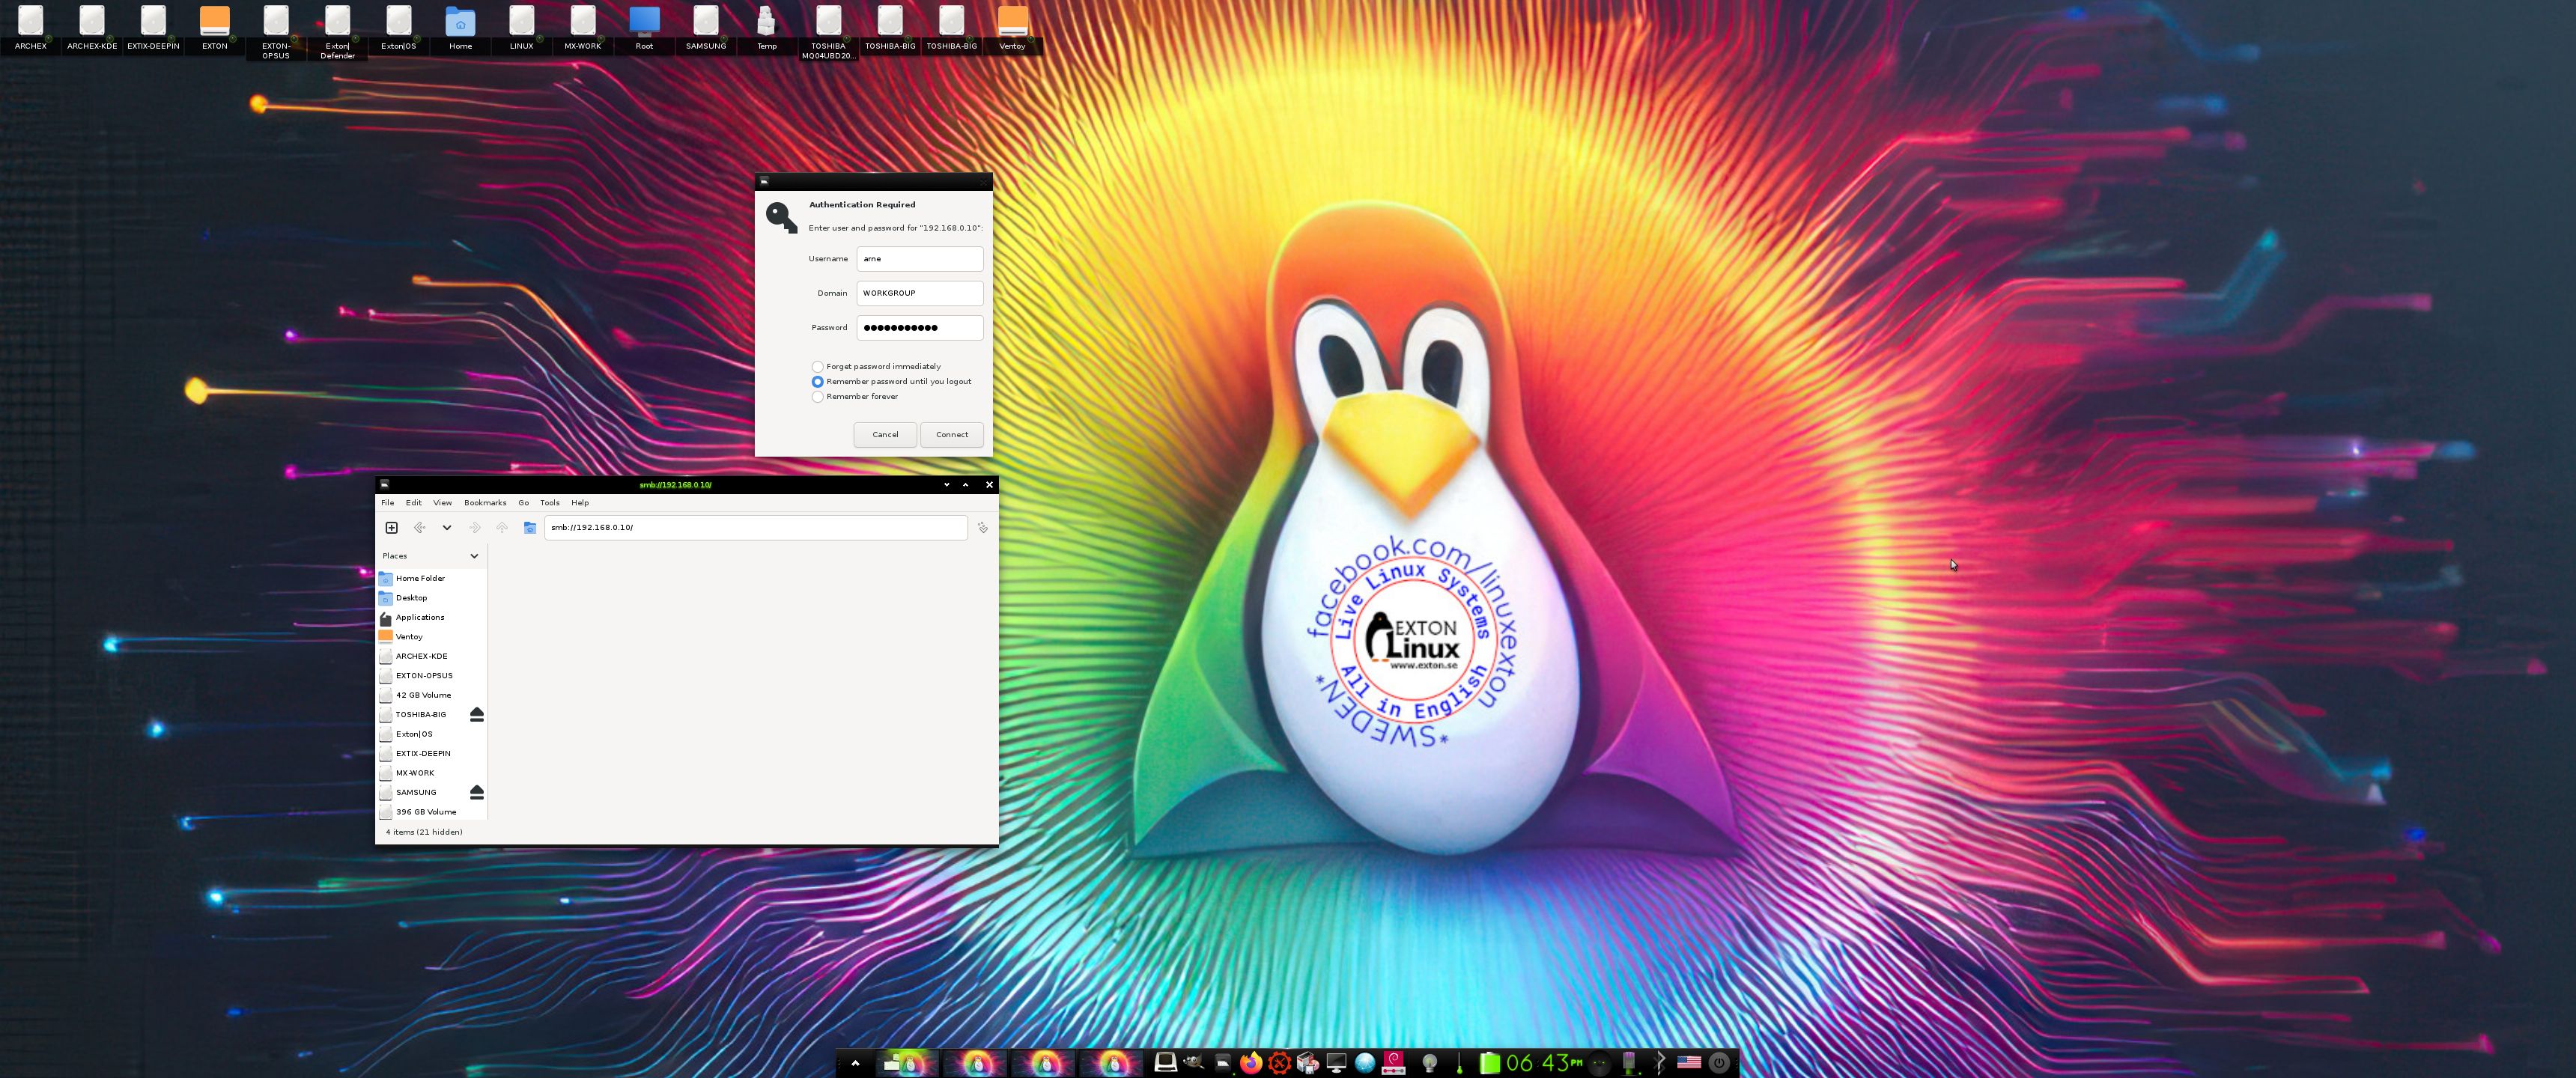
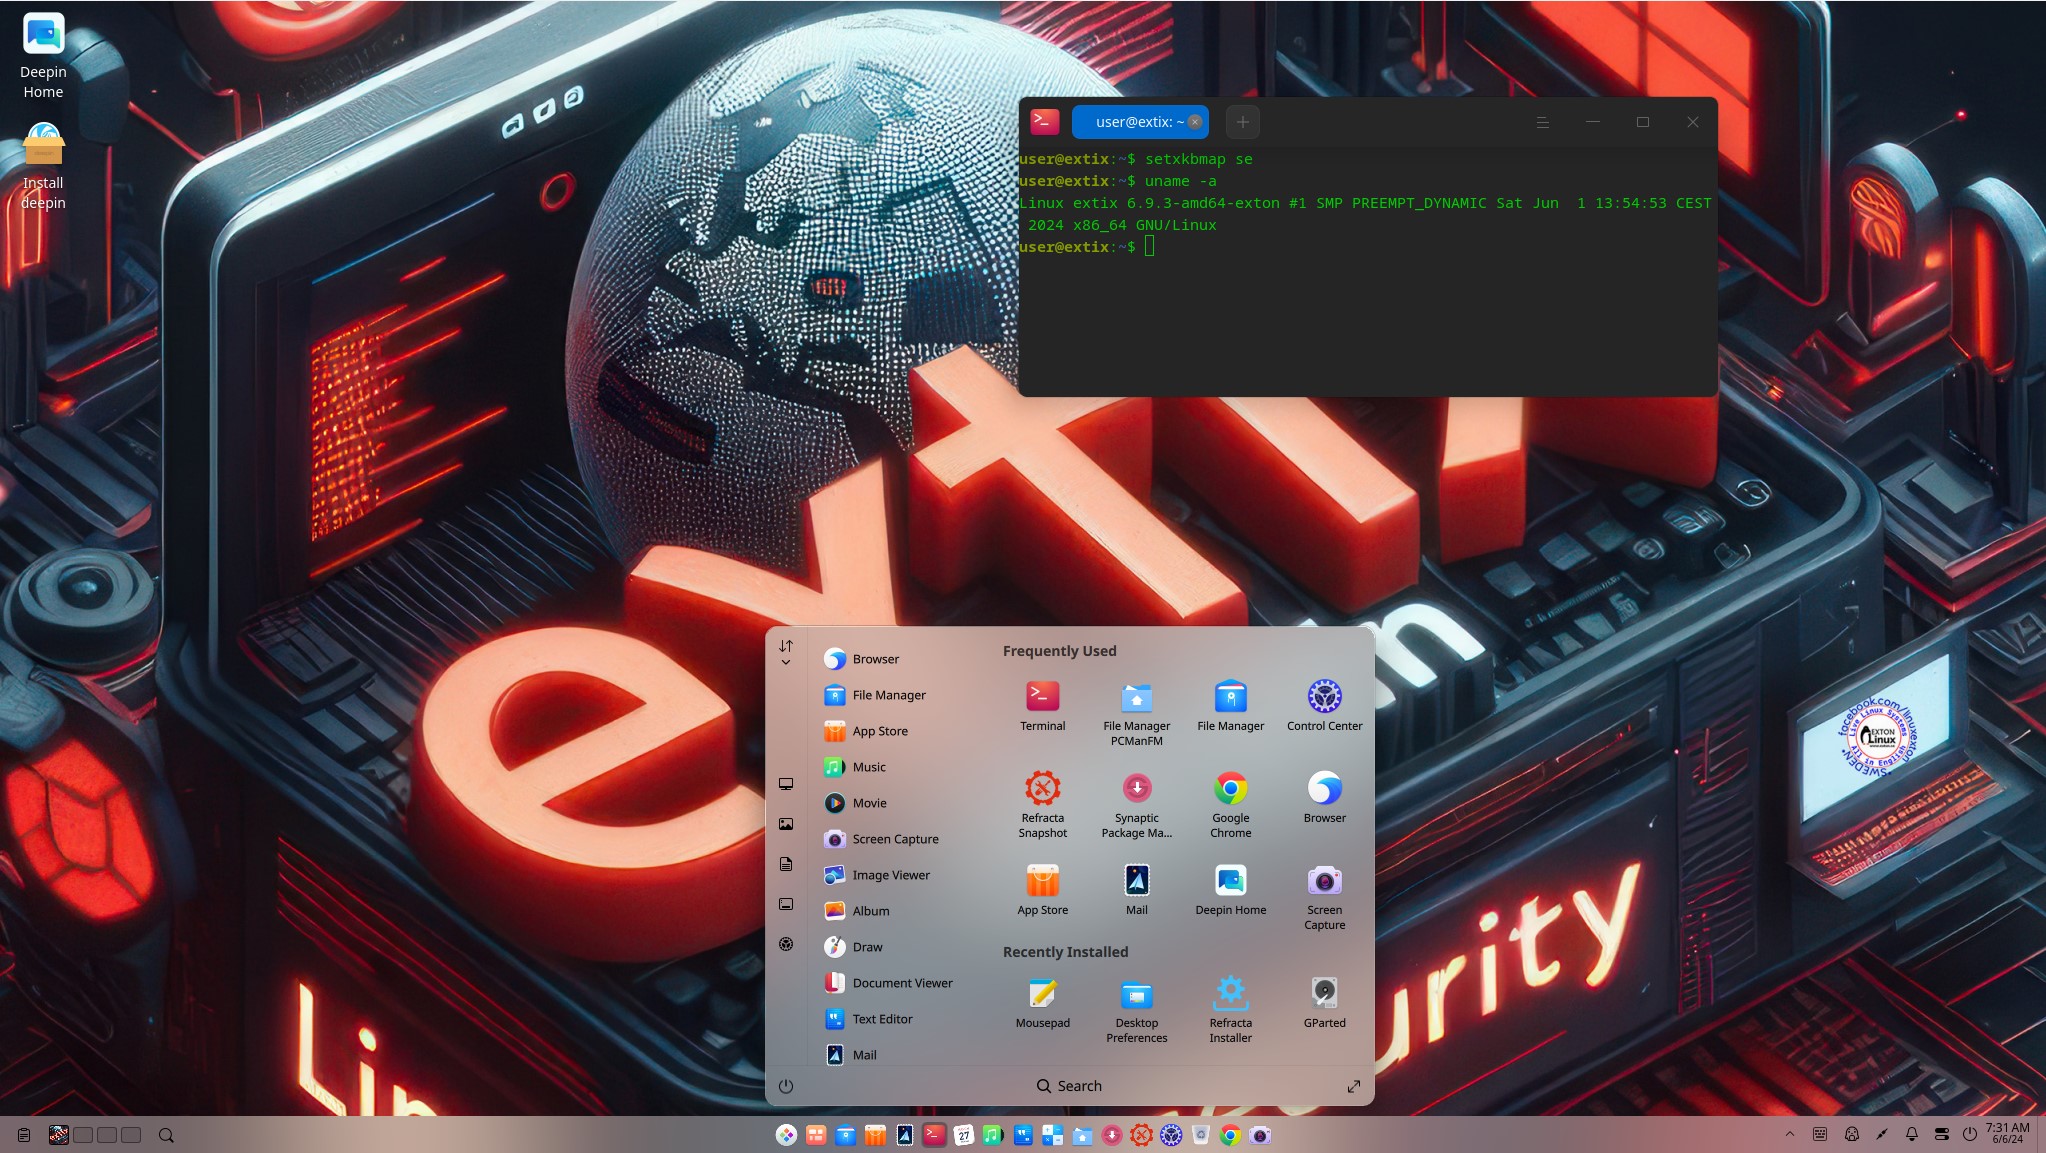
1. The LXDE Desktop for the live user in Build 240910
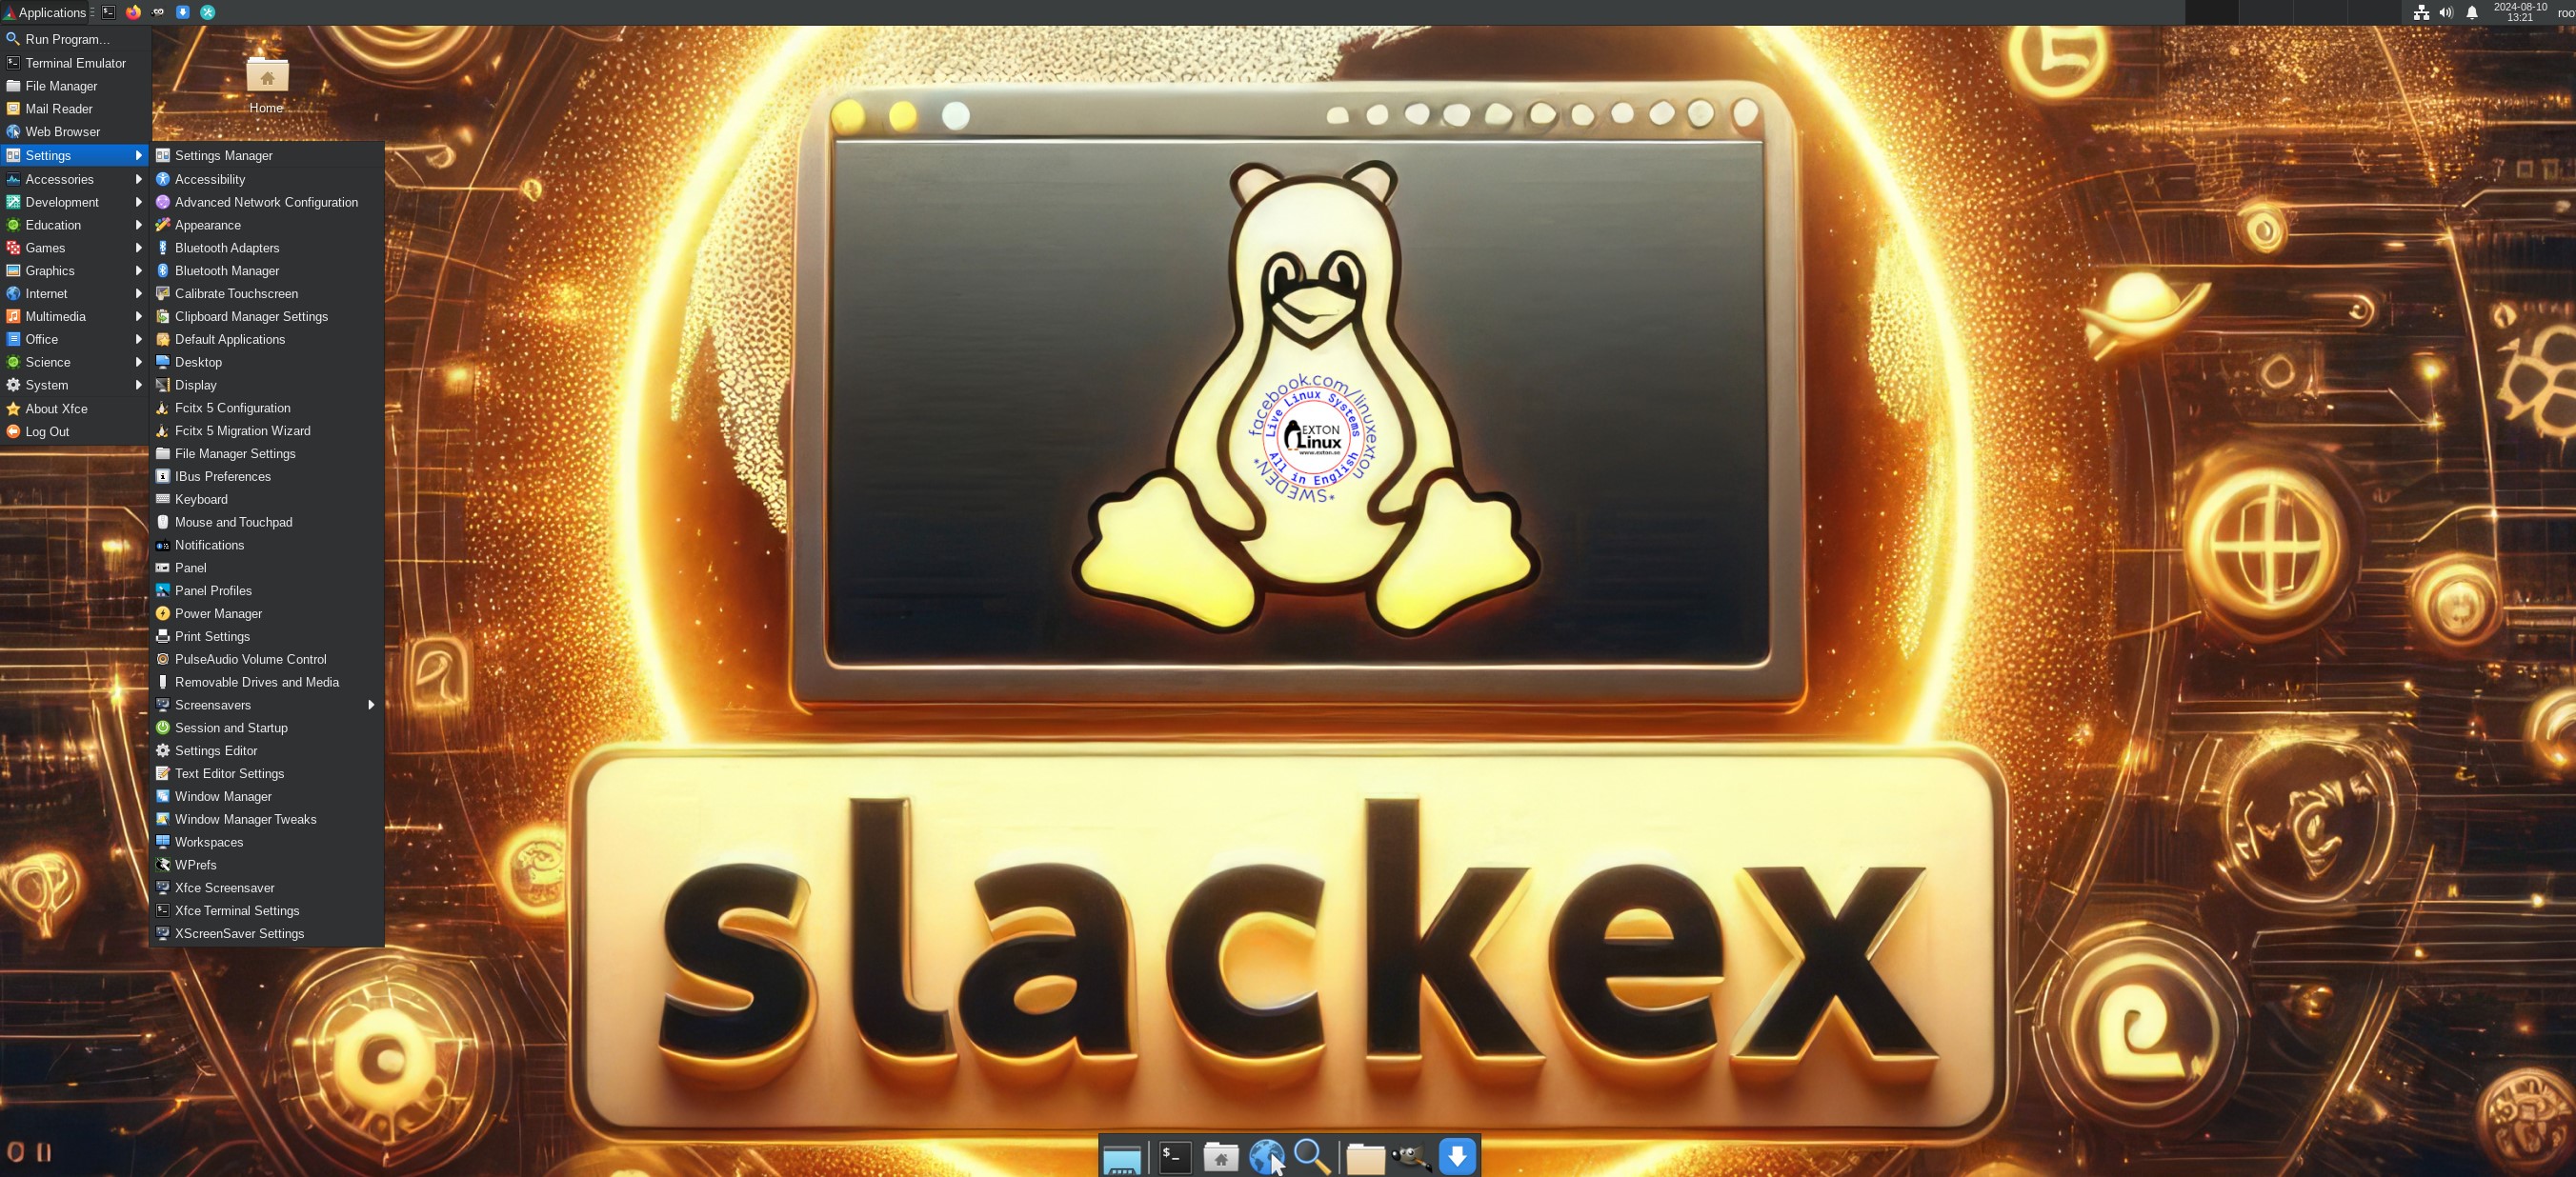
2. The LXDE Desktop for root in Build 240910 (UEFI disabled? No it is enabled by me)
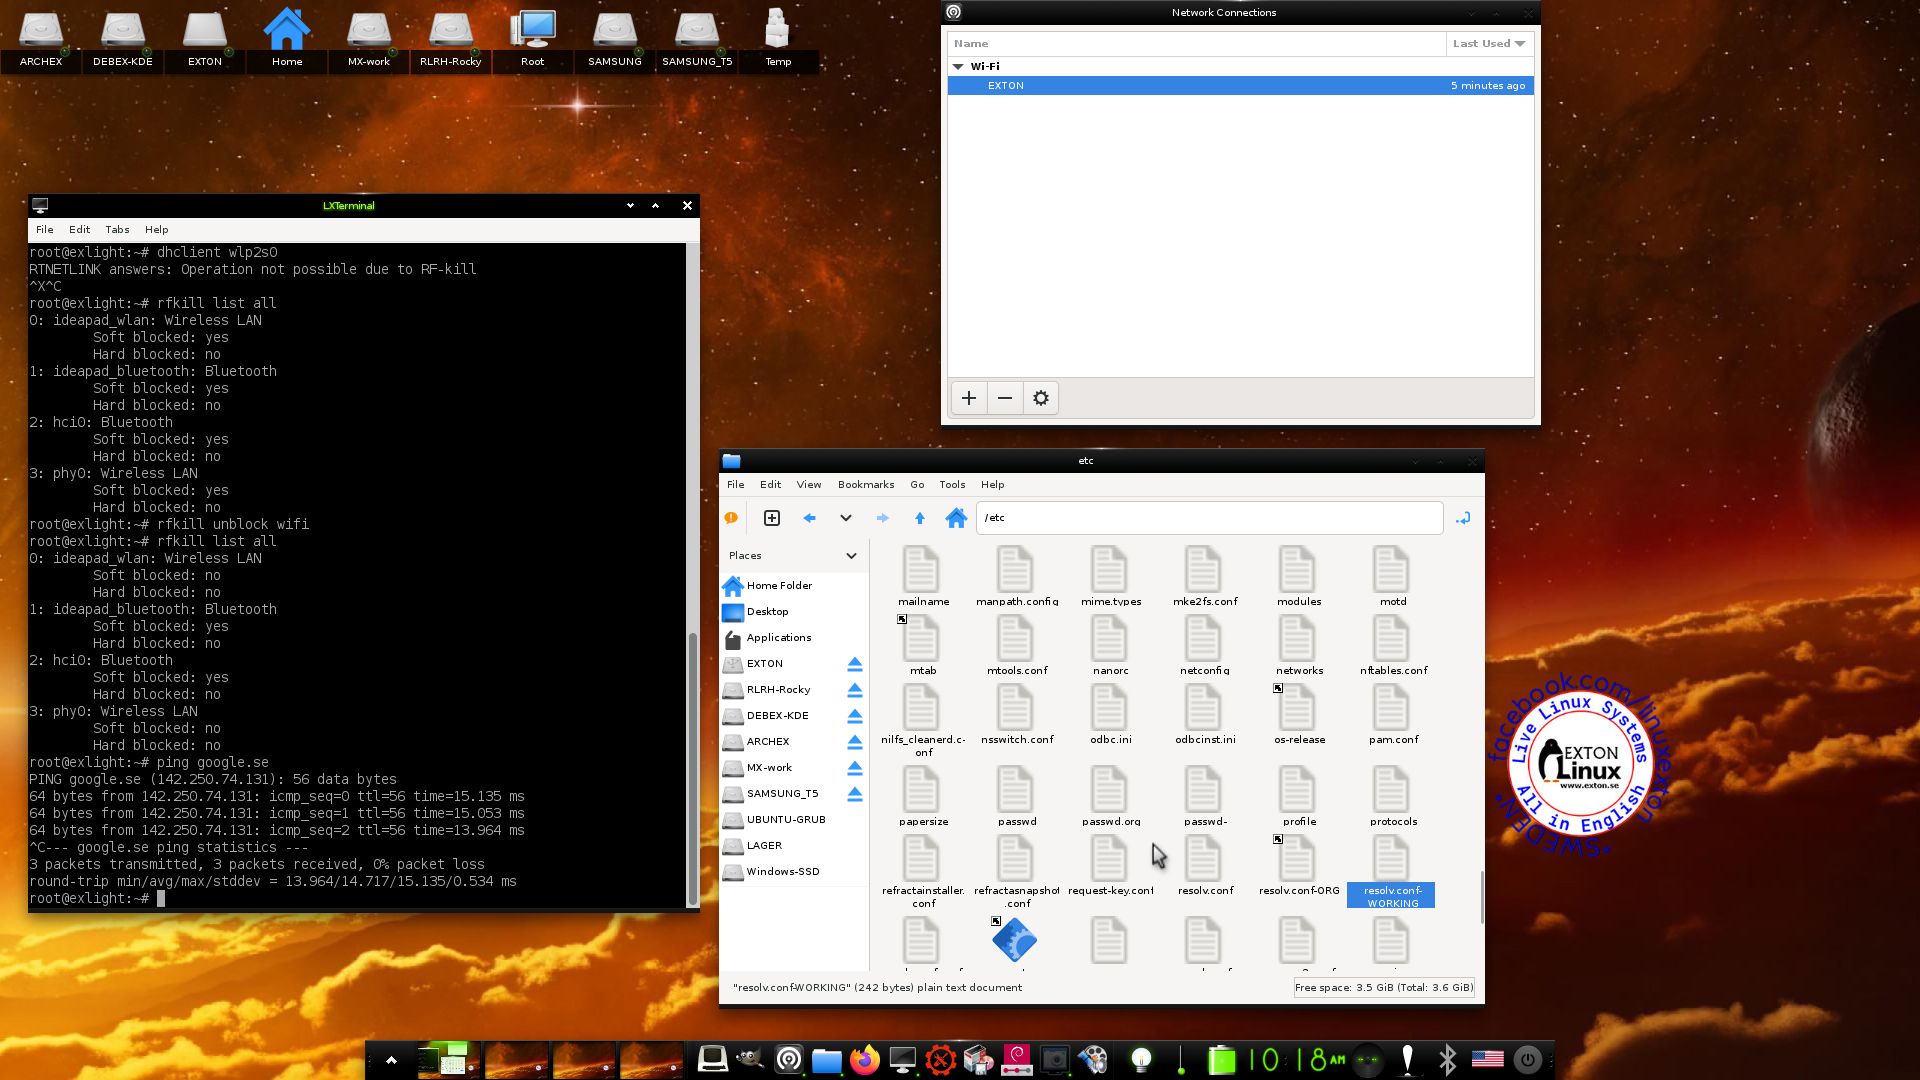
3. A Wireless connection in Build 240910
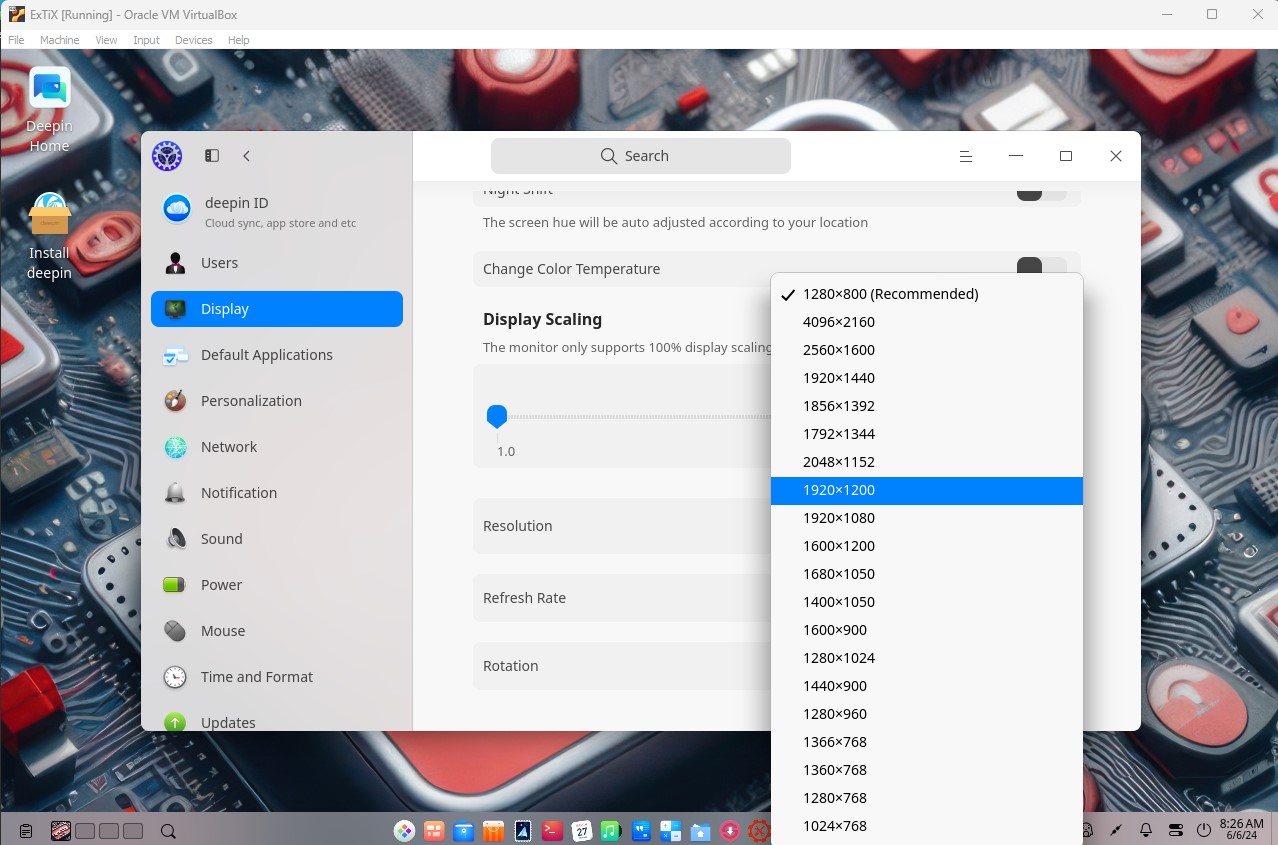
4. CruxEX running in full screen in VirtualBox – Build 240910
andex.exton.net – latest is AndEX 11 (with GAPPS), AndEX 10 (with GAPPS) and AndEX Pie 9.0 (also with GAPPS)!
and
about my Android 14, 13, 12, 11, 10, Pie, Oreo, Nougat, Marshmallow and Lollipop versions for Raspberry Pi 5, Pi 4 and Pi 3/2 at
raspex.exton.se – latest is RaspAnd 14 (with GAPPS), 13 and 12 (without GAPPS), RaspAnd 11 (with GAPPS) and RaspAnd Oreo 8.1
(also with GAPPS)!


