
![]() NEWS 240414 about Raspberry Pi Debian 12 Pixel – 32bit – an Exton Build
NEWS 240414 about Raspberry Pi Debian 12 Pixel – 32bit – an Exton Build
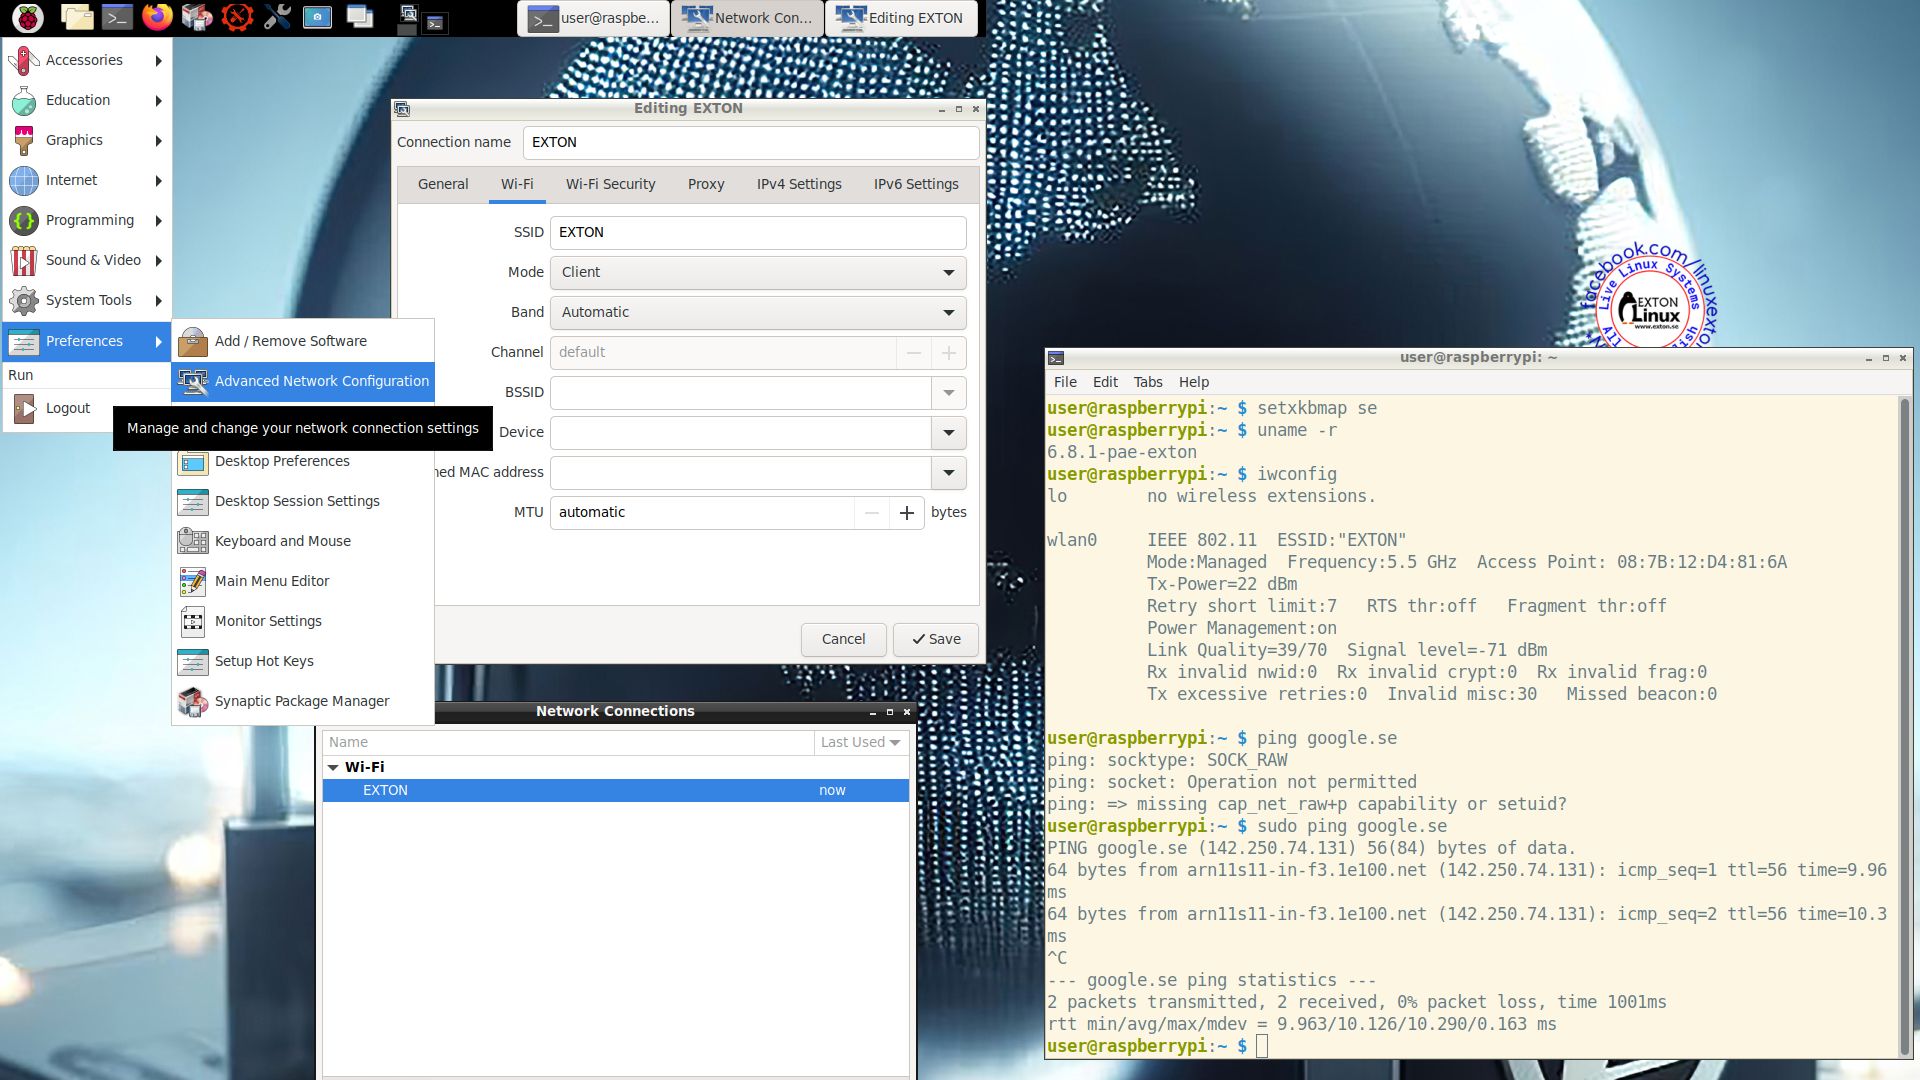
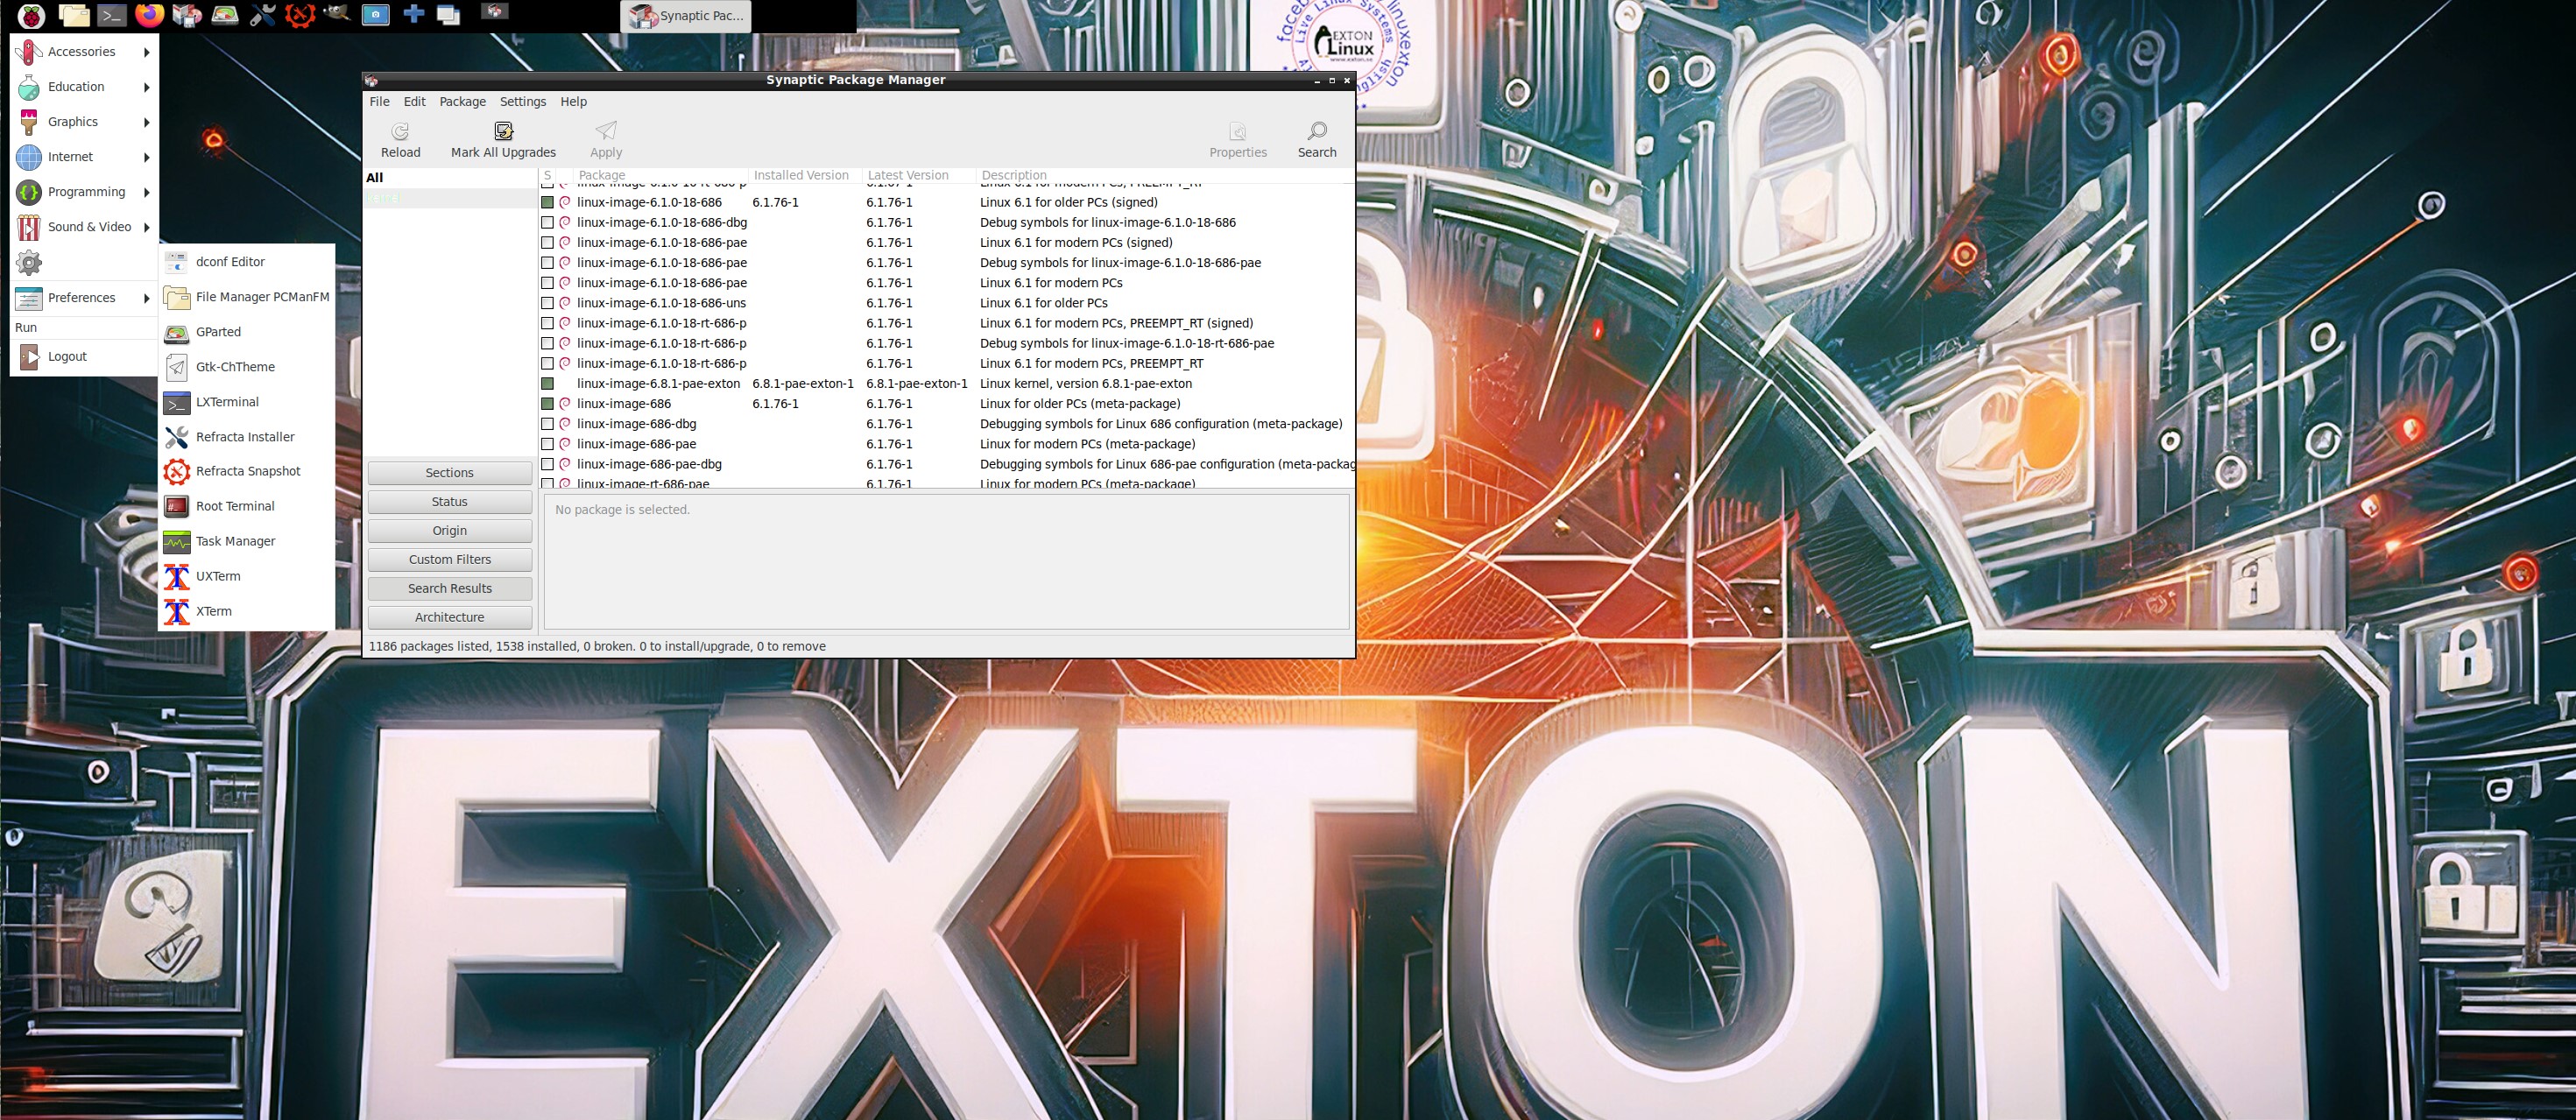
Study all included packages in Build 240414 – latest by 240414. I’ve added NetworkManager and also Wicd, which makes it easier to configure wireless connections. Choose the one which works for you.
Most important changes in Build 240414
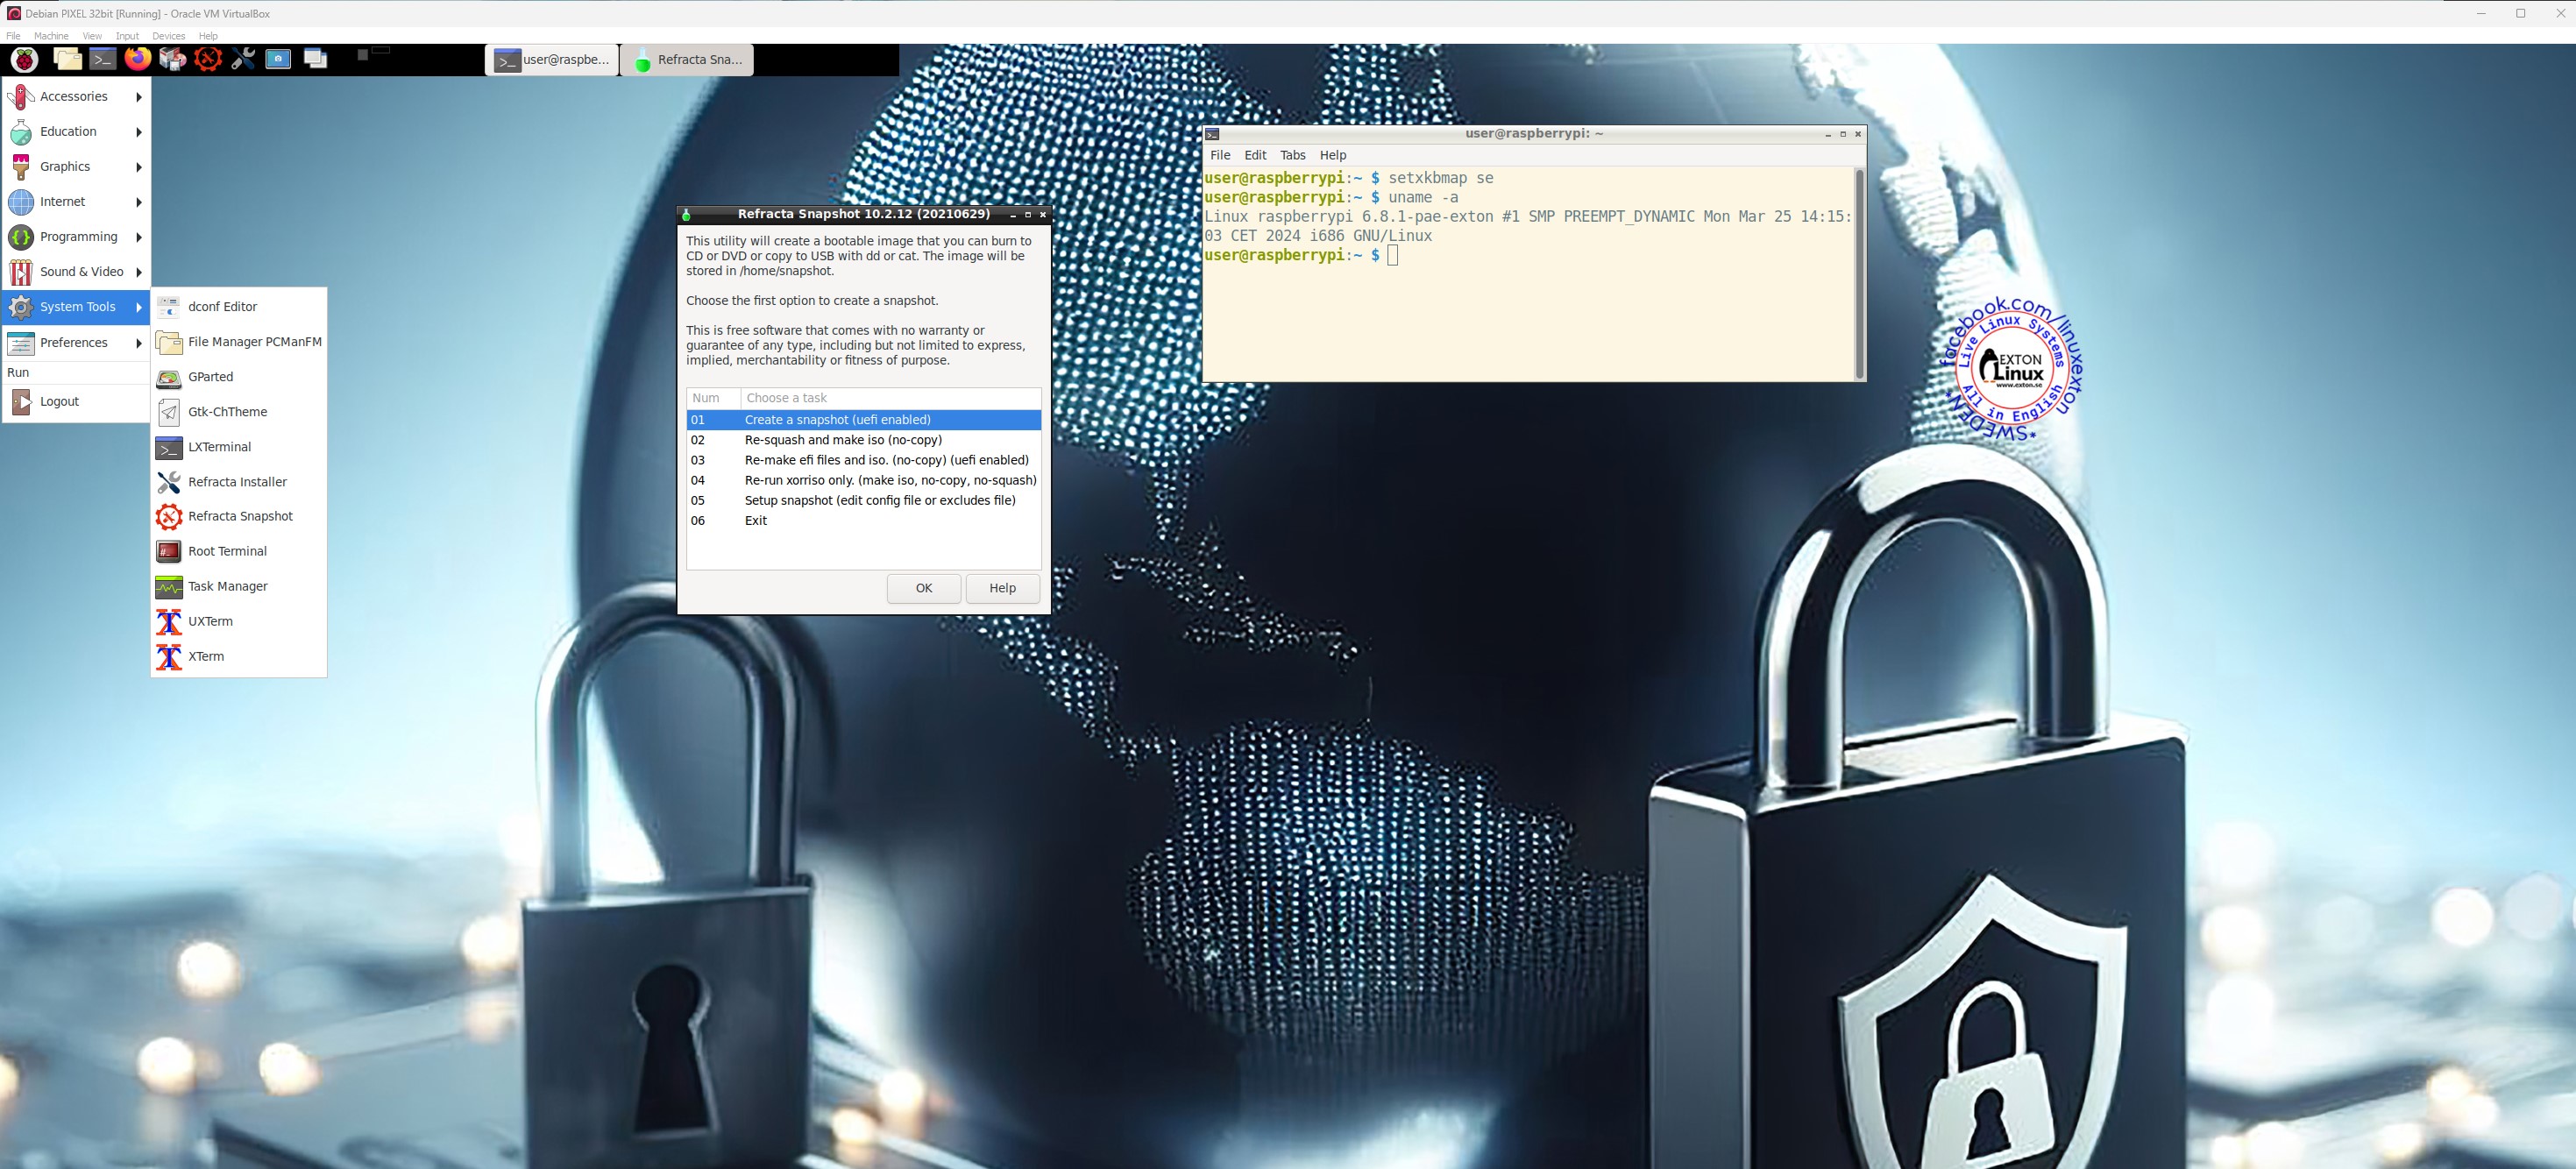
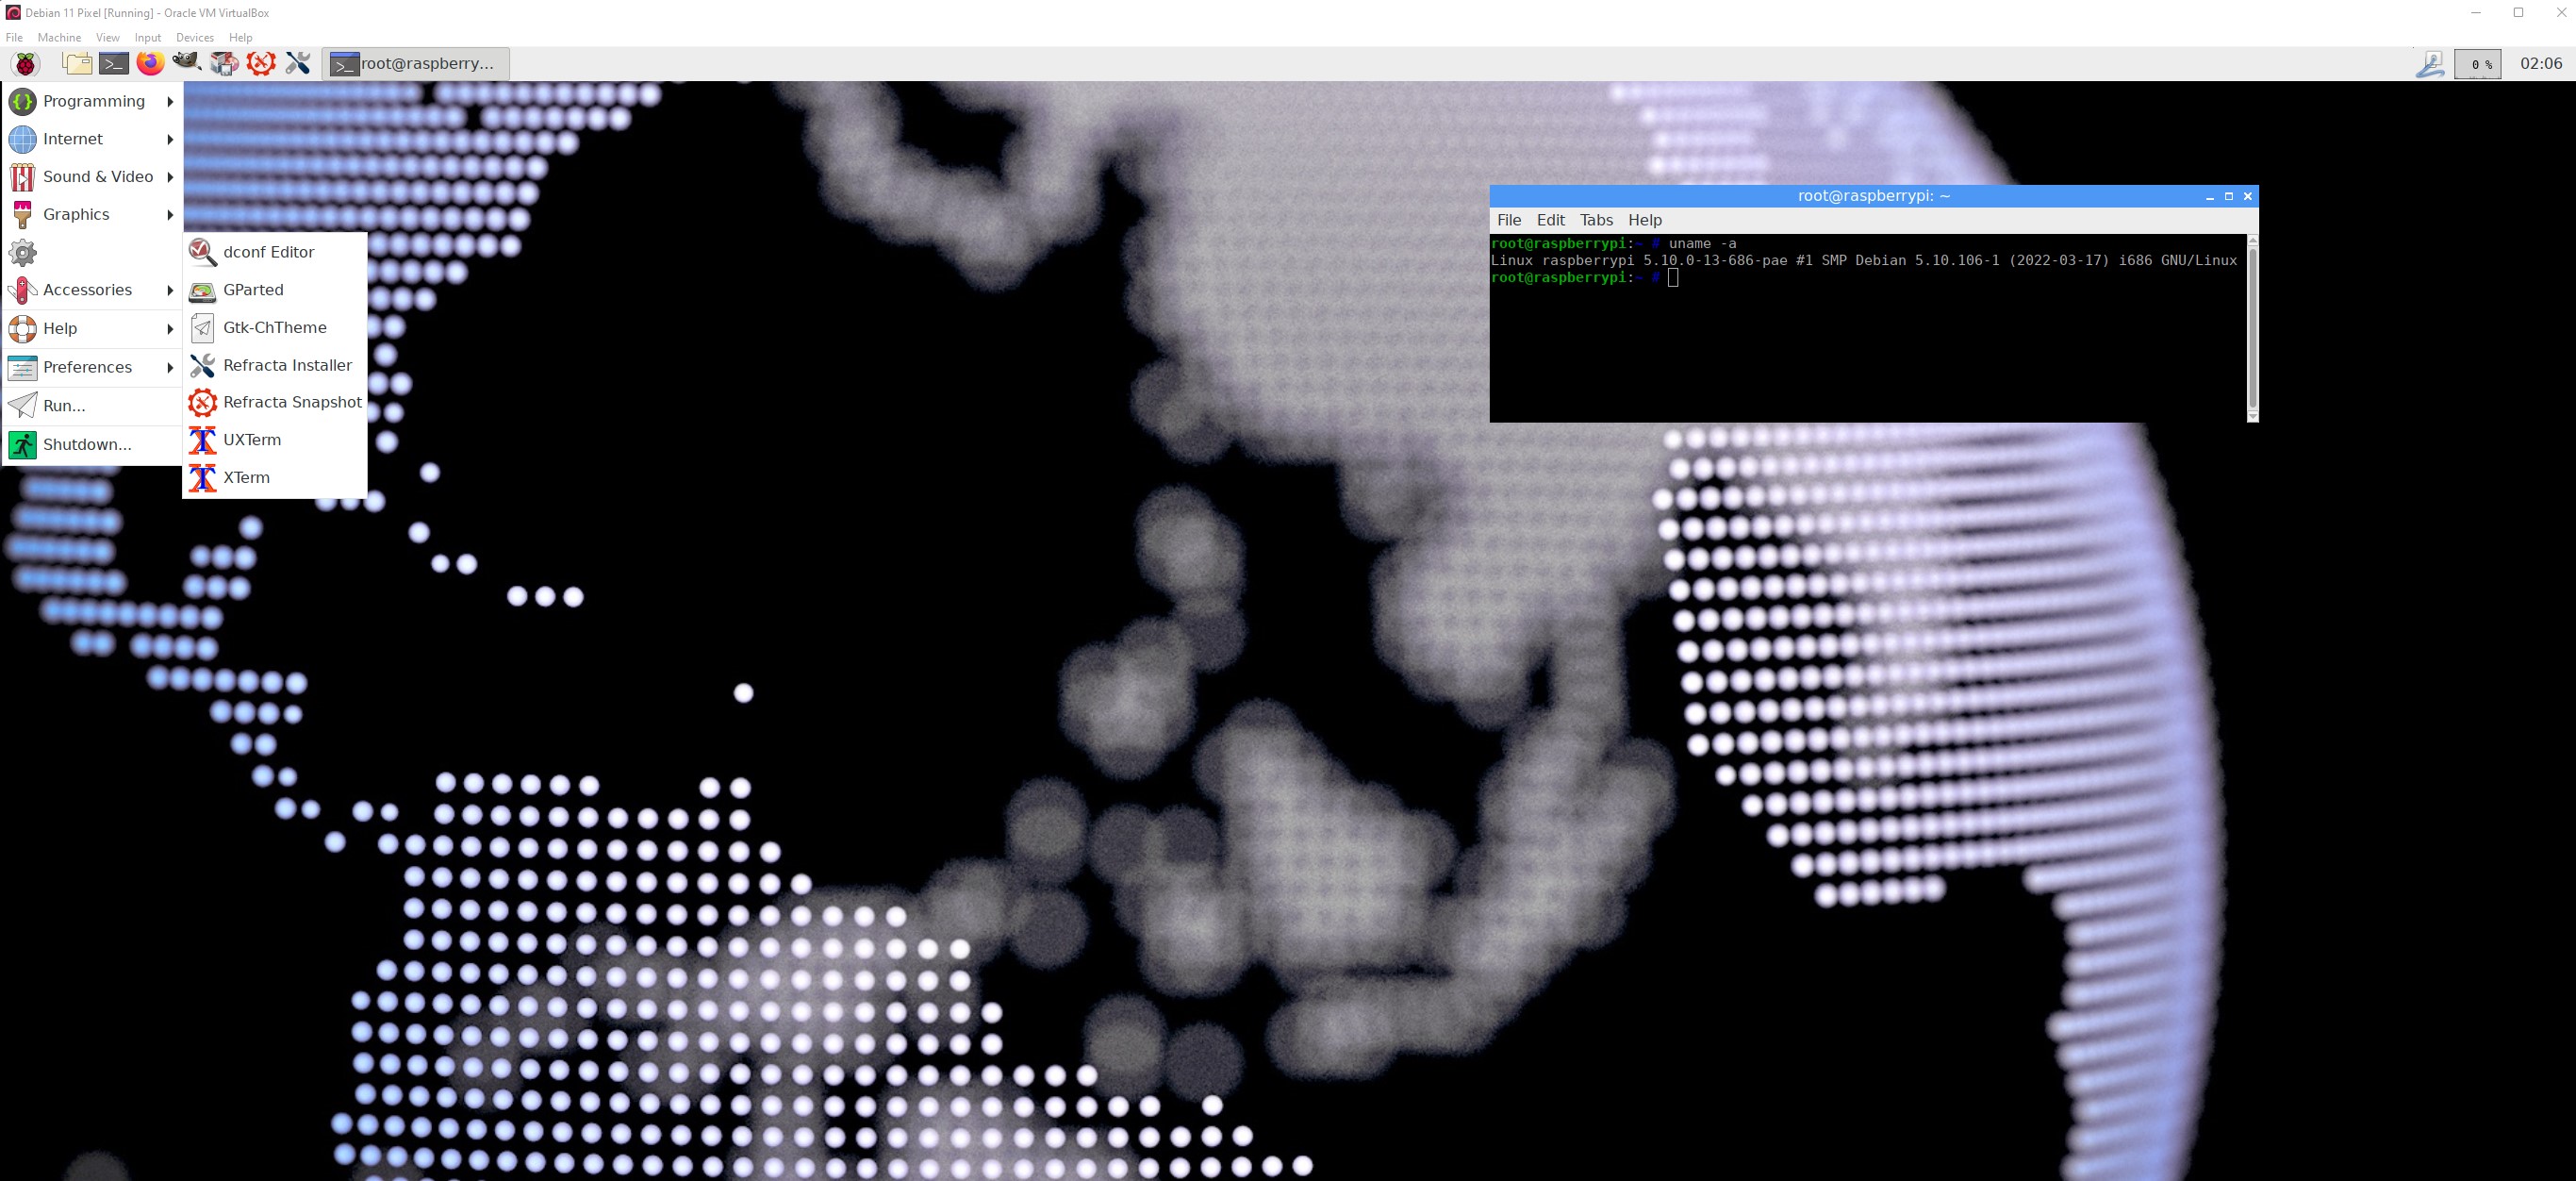
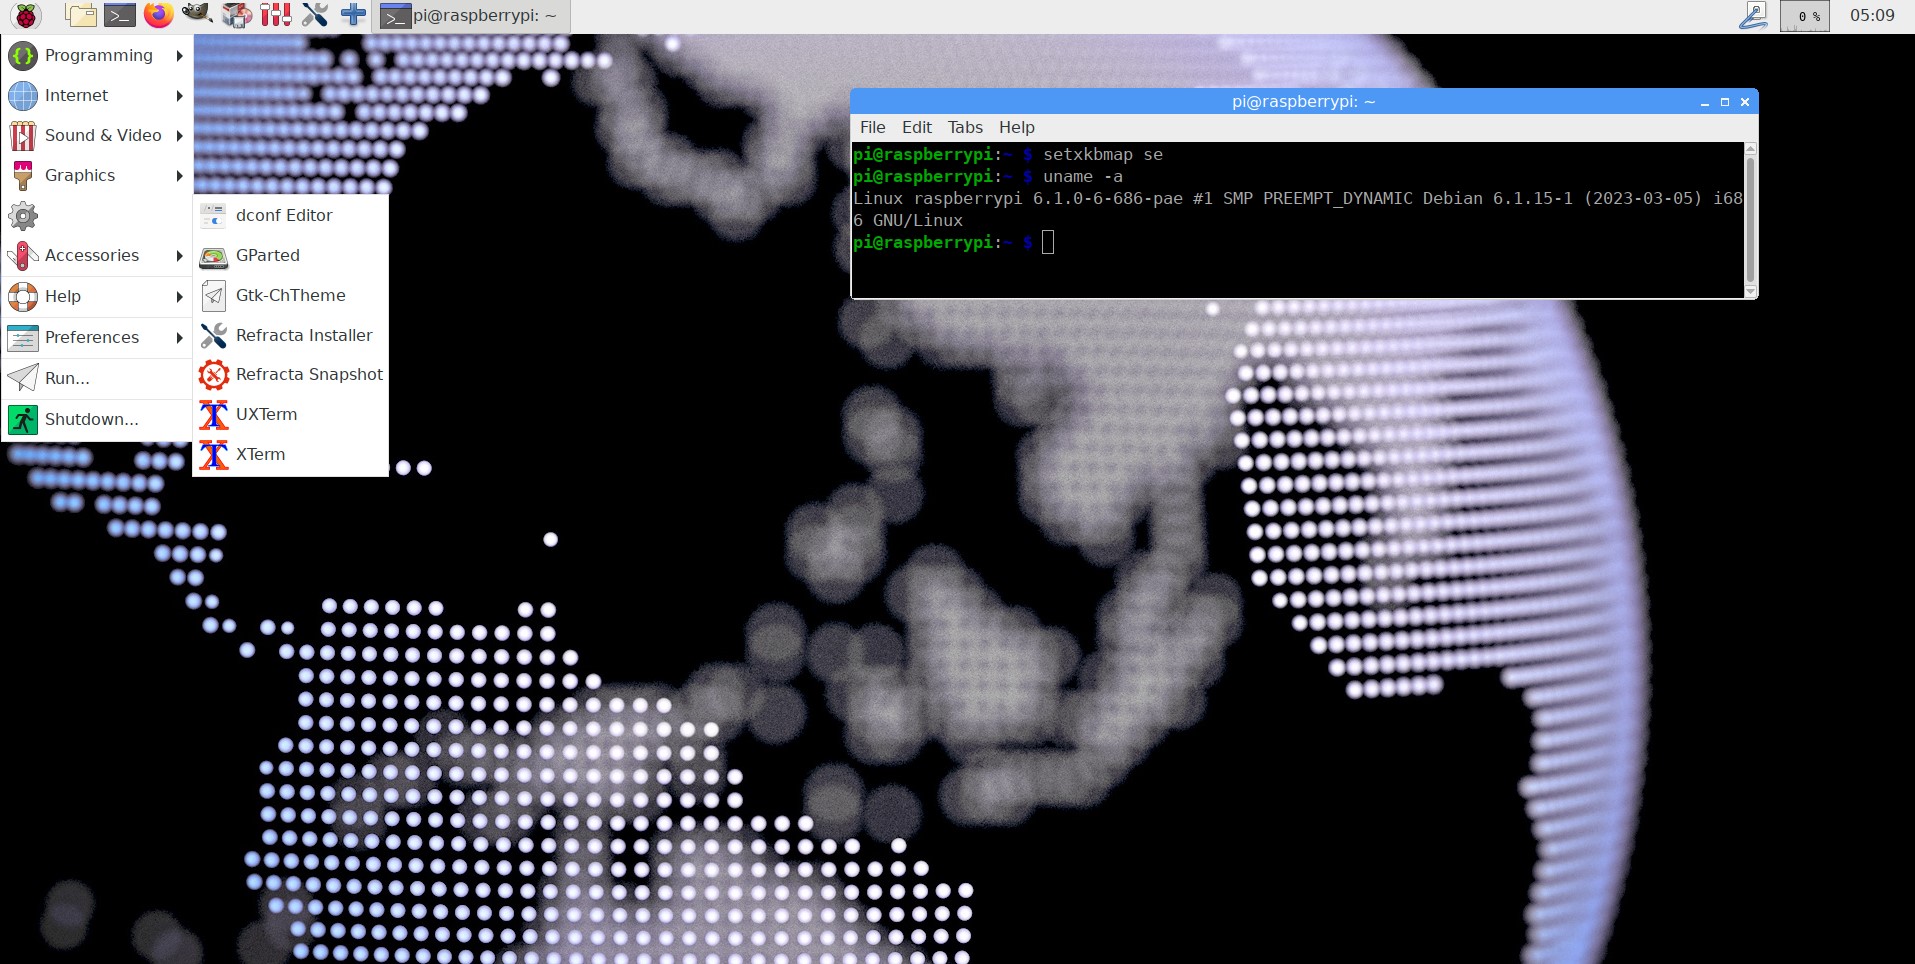
This build replaces version 161223 , 170425, 180316, 180928, 190705, 191102, 201108, 220505 and 230319. I’ve upgraded Raspbian/Debian from Bullseye to Bookworm – Debian 12. I’ve also upgraded the kernel from 6.1.0-6-686-pae to 6.8.1-pae-exton. I’ve also included kernel 6.1.0-6-686, which shall be used on older computers. PAE (Physical Address Extension) increases the physical memory addressable by the system from 4 GB to 64 GB. Firefox have been installed so you’ll have a browser when logged in as root. You can’t run Chromium as root. In Build 240414 I have removed Chromium. I saw no advantage in keeping it. You can run the system in full screen in VirtualBox. That’s because VirtualBox’s Guest Additions are pre-installed. Watch this screenshot. I’ve also installed Samba so that you can reach your Windows computers in your home network.
NOTE 1
This Debian PIXEL 32bit build is for UEFI and non-efi computers. So you can boot Debian PIXEL in both UEFI and Legacy mode.
NOTE 2
On certain Desktop computers you may have to start Debian PIXEL in “failsafe” graphics mode. I.e. nomodeset.
NOTE 3: Version 240414 of Debian PIXEL can run on really old computers. As an example I could run it on my 17 years old laptop Acer Aspire 5102 WLMi.
NEWS 180928 – a YouTube video about Debian Pixel
I’ve discovered a YouTube video about my Debian Pixel Build 170425. The video is called Debian Pixel..Exton forks it for you..
This video is of course also valid for Build 240414. By watching the video you can learn a lot about Debian Pixel’s features.
OLD NEWS FROM 161223
On December 22, 2016 I read that the Raspberry Pi Foundation had announced the release of a new PIXEL image that can be booted on a PC or Mac. Study this site. I saw immediately that there was no installer included, which I thought was a little disappointing. Come to think of Refracta Tools, which work very well in Debian and Ubuntu. I quickly made a “remix” of the Raspberry Pi Foundation PIXEL image. My remix thus include Refracta Tools. This means that you can easily install the system to hard drive and you can just as easily make your own remix of the Raspberry Pi Foundation PIXEL image. I’ve added a few packages. Most important Synaptic, which I find essential.
About the PIXEL Desktop
Raspbian (Raspberry Pi OS) had its biggest update ever in September, 2016, thanks to a dazzling new desktop environment called PIXEL. Raspbian with PIXEL (which stands for “Pi Improved Xwindow Environment, Lightweight”) is a huge software update to the desktop environment. It introduces a crisp new interface, and is brimming with new programs and features.
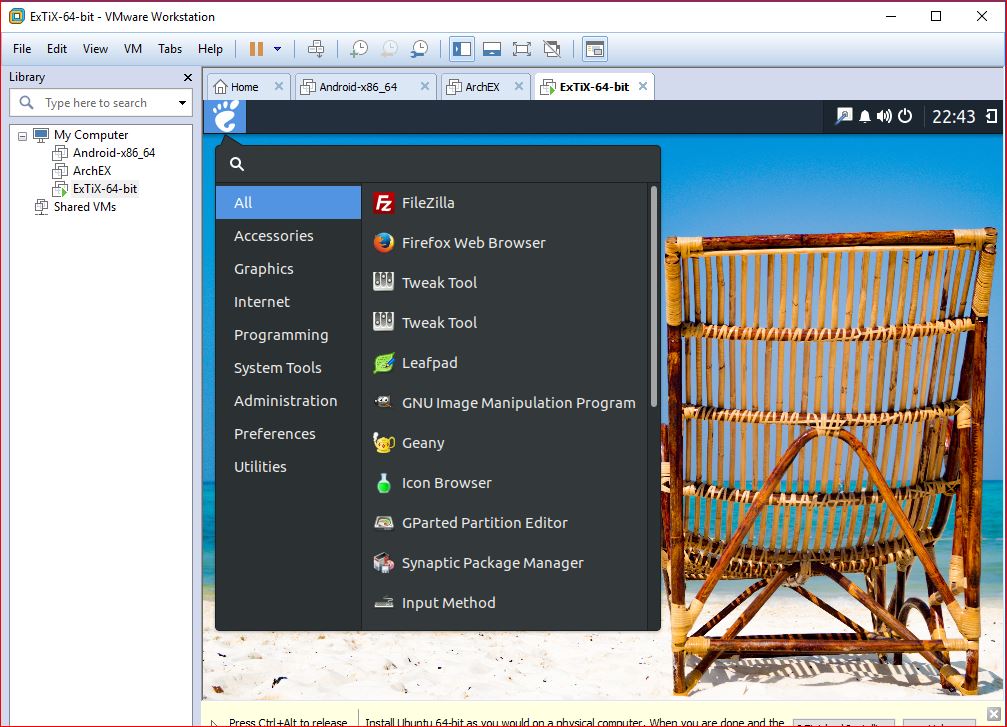
VirtualBox and VMware
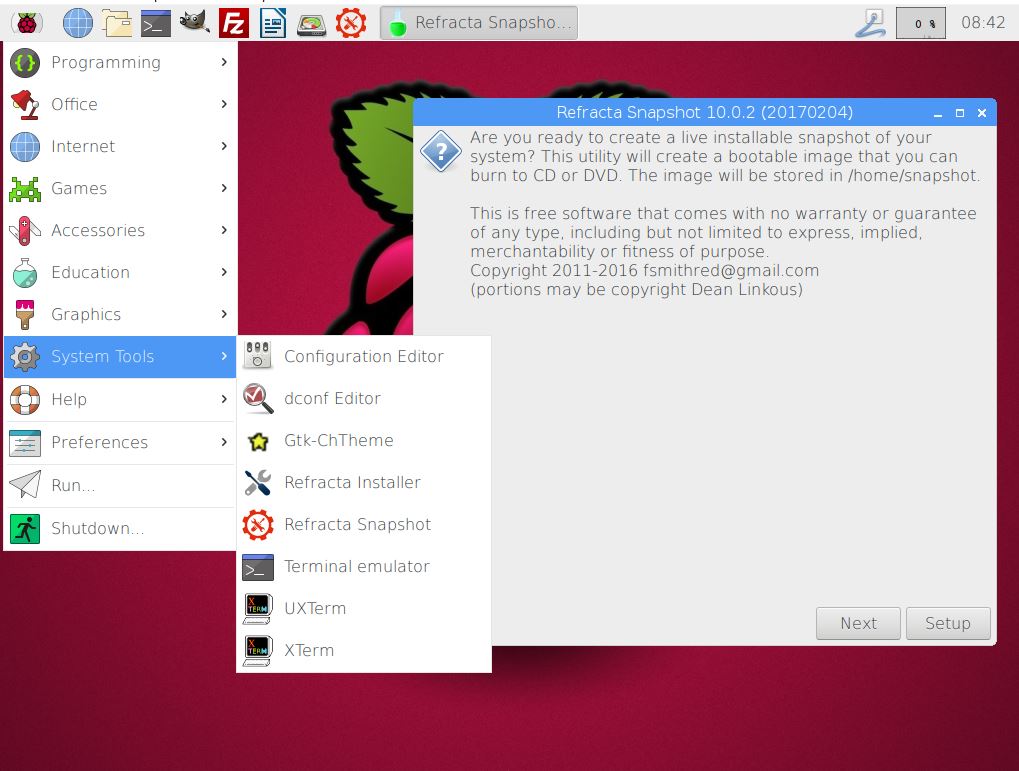
My build/image works very well in VirtualBox and VMware. I.e. you can run the system directly from the ISO file and also install it to a virtual hard drive. You can of course also make your own Raspbian/Debian system with the the PIXEL Desktop using Refracta Snapshot (pre-installed). NOTE: As regards Build 240414 you can run the system in full screen in VirtualBox. That’s because VirtualBox Guest Additions are pre-installed. Watch this screenshot.
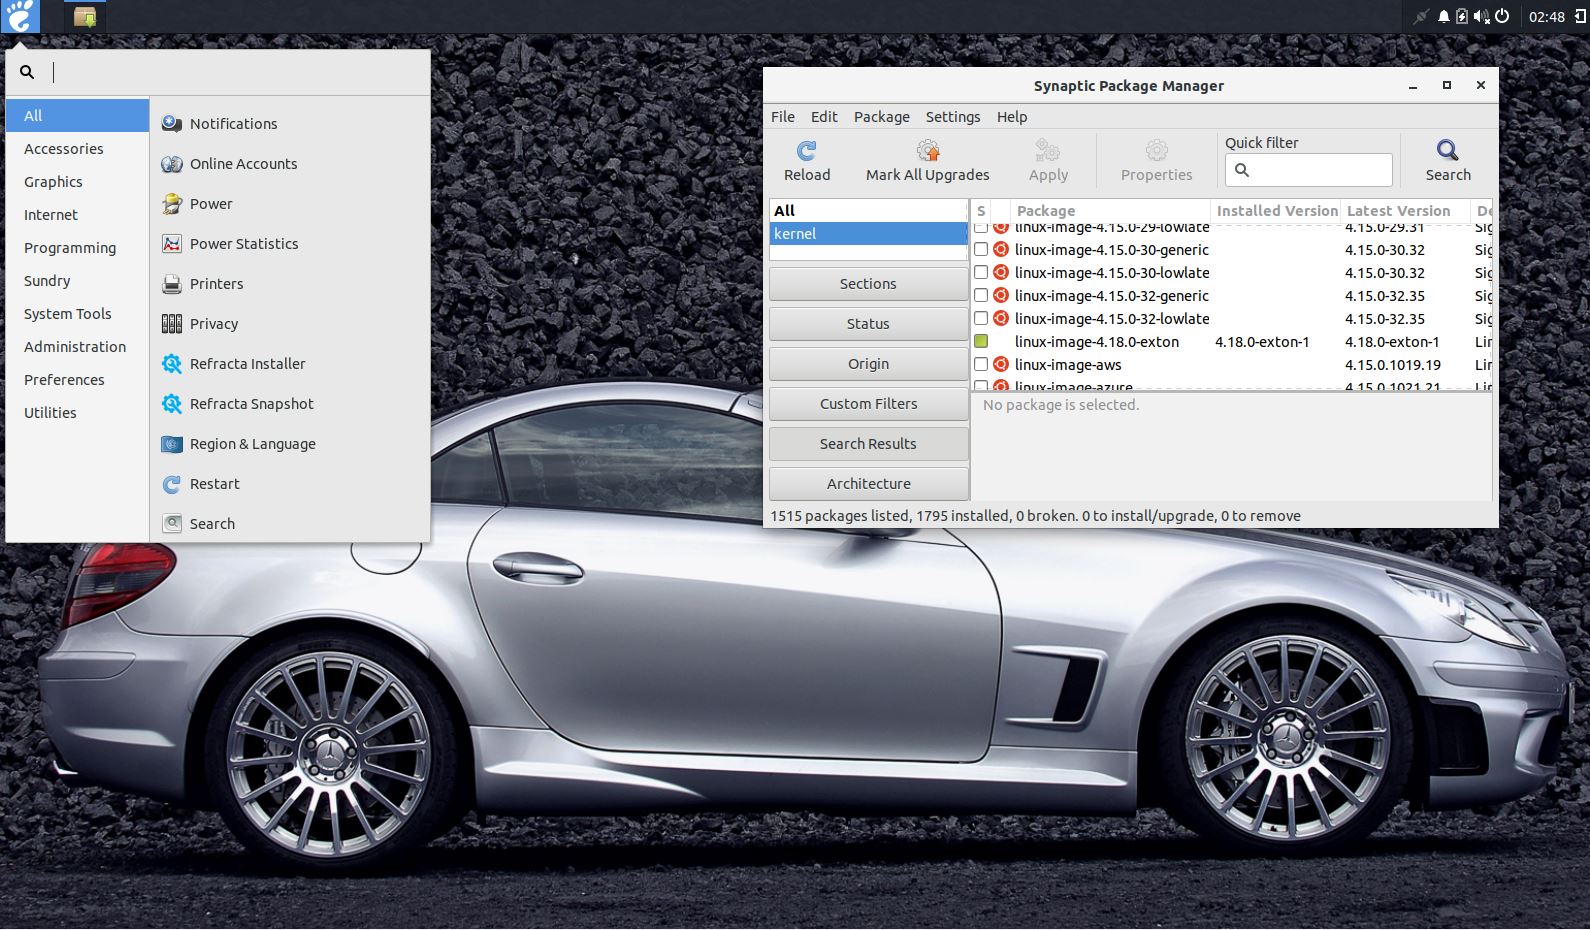
KERNELS
Kernel 6.8.1-pae-exton is used in Build 240414. PAE (Physical Address Extension) increases the physical memory addressable by the system from 4 GB to 64 GB. If you want to run the system (which is 32bit) on older computers you shall use kernel 6.1.0-18-686, which also is included.
Login and passwords
Log in to the PIXEL Desktop as the ordinary user user or as root. The passwords are raspberry respectively root. When logged in as user you can use Sudo to become root. (Command: sudo su). When running Debian Pixel live (from a DVD or a USB stick) you’ll end up (after the boot process) logged in automatically as the user user in X (PIXEL Desktop). You can log out and log in again as root (other) if you want – see below.
![]()
Windows Virtual Desktop on Azure
For smoother Raspberry PI performance a virtual PC such as azure windows virtual desktop which can be the best option due to its high end functionality and 24*7 top-notch support from a reliable desktop as a service provider.
Runs from RAM
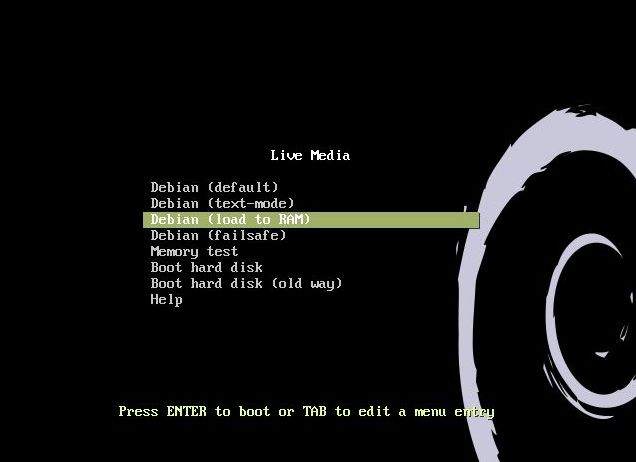
Another great thing is that this build can run from RAM. Use Boot alternative 2 (load to RAM). When running Debian Pixel on an UEFI computer you shall go to “Advanced – load to RAM”. When the system has booted up you can remove the disc (DVD) or the USB stick. You’ll need at least 4 GB RAM to run the system that way. I.e. super fast!
![]()
Spotify
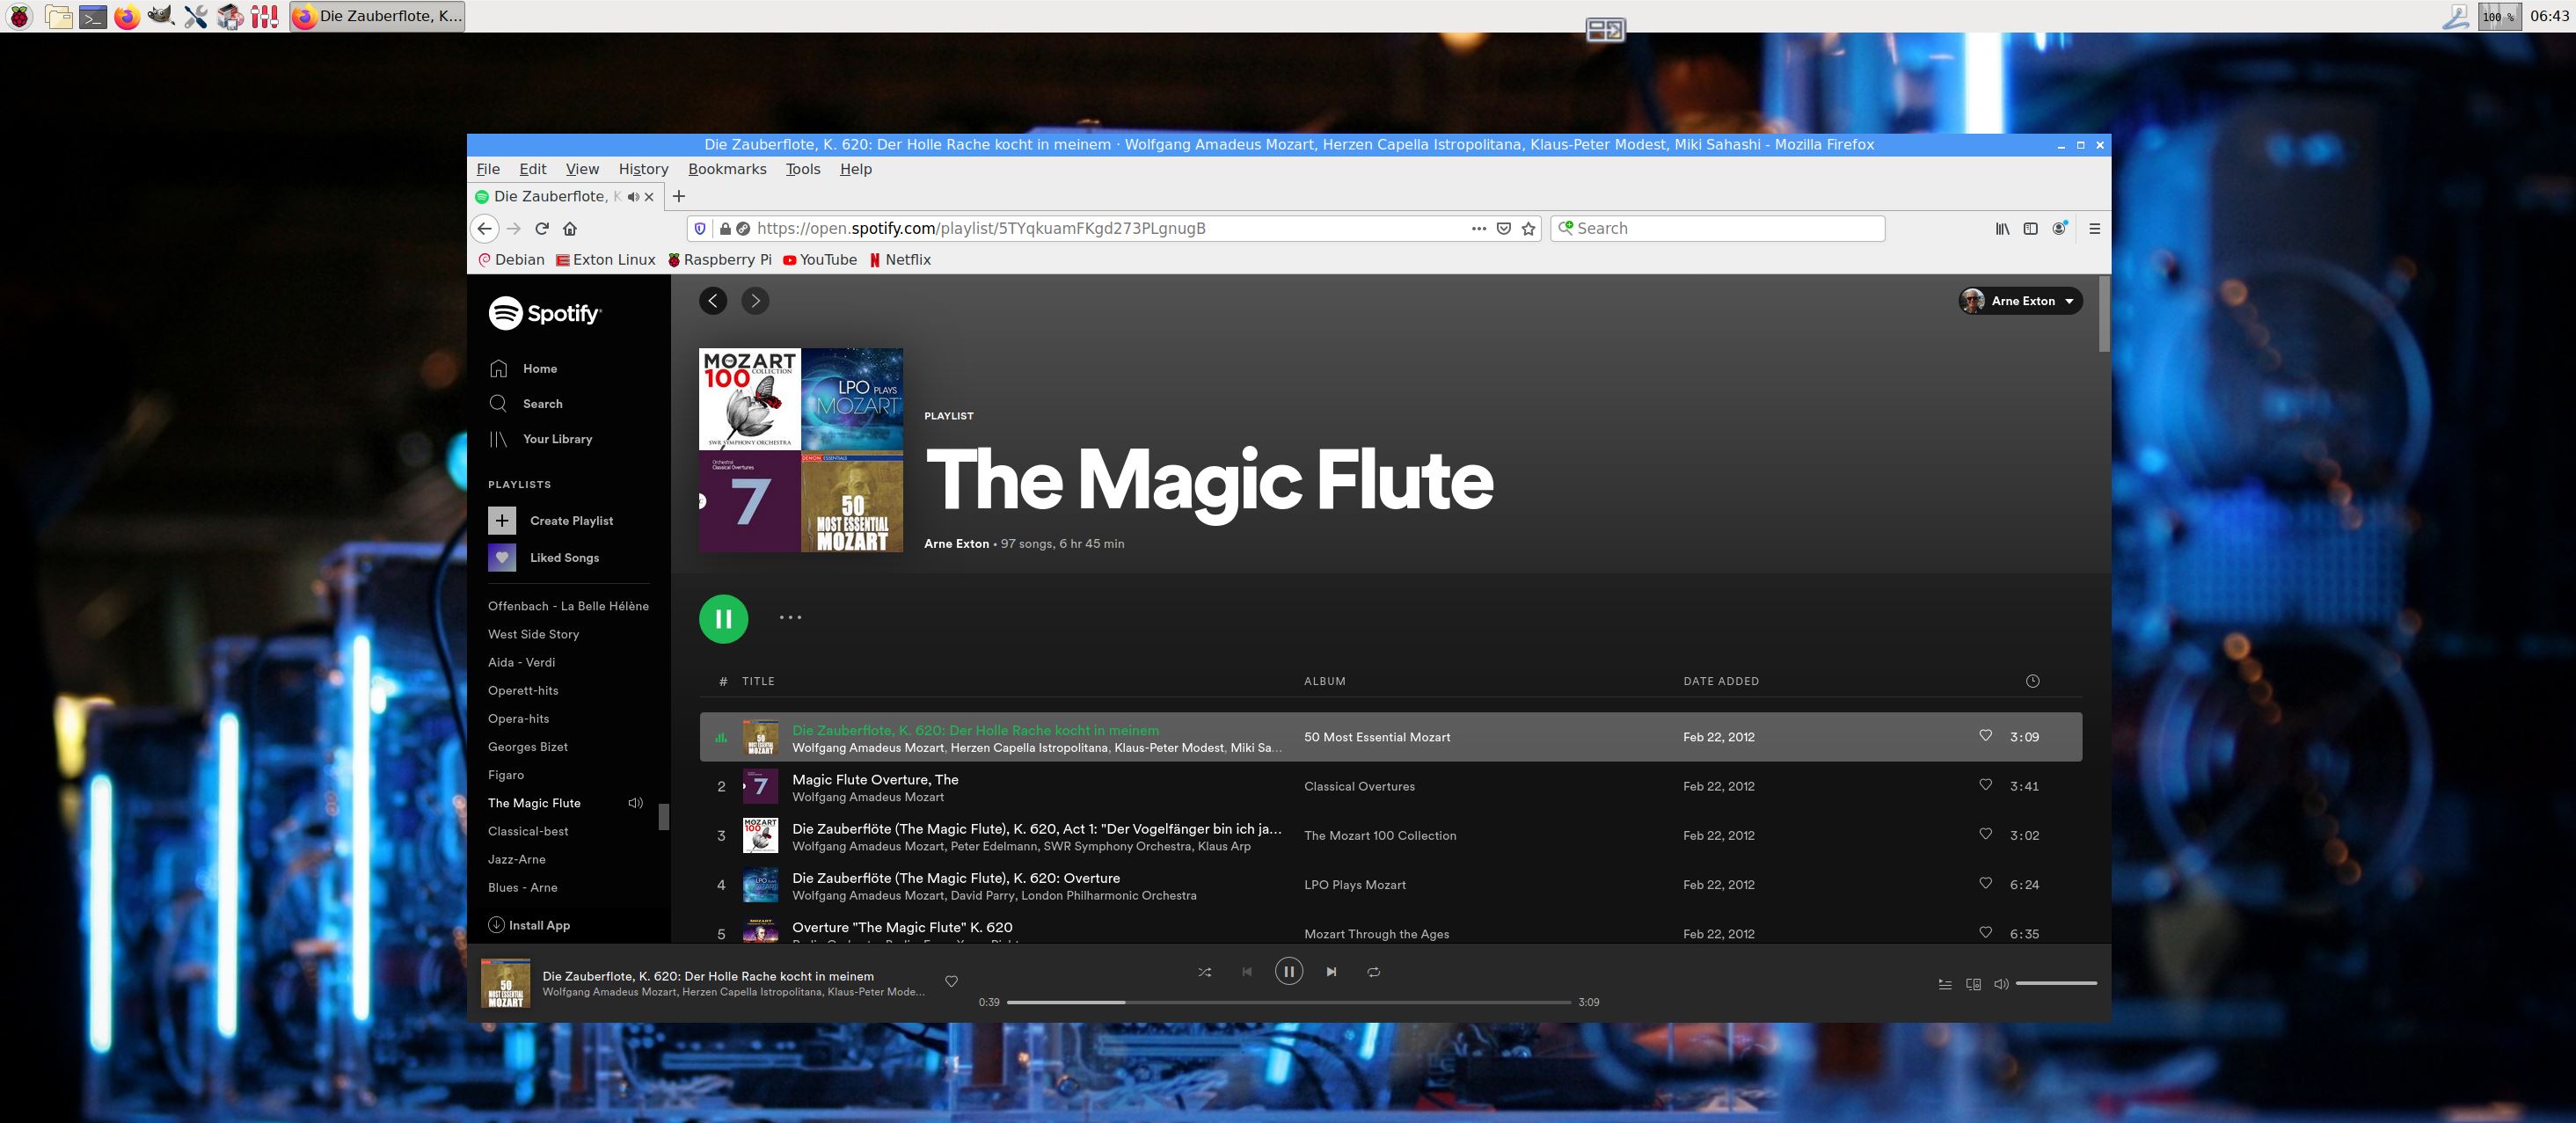
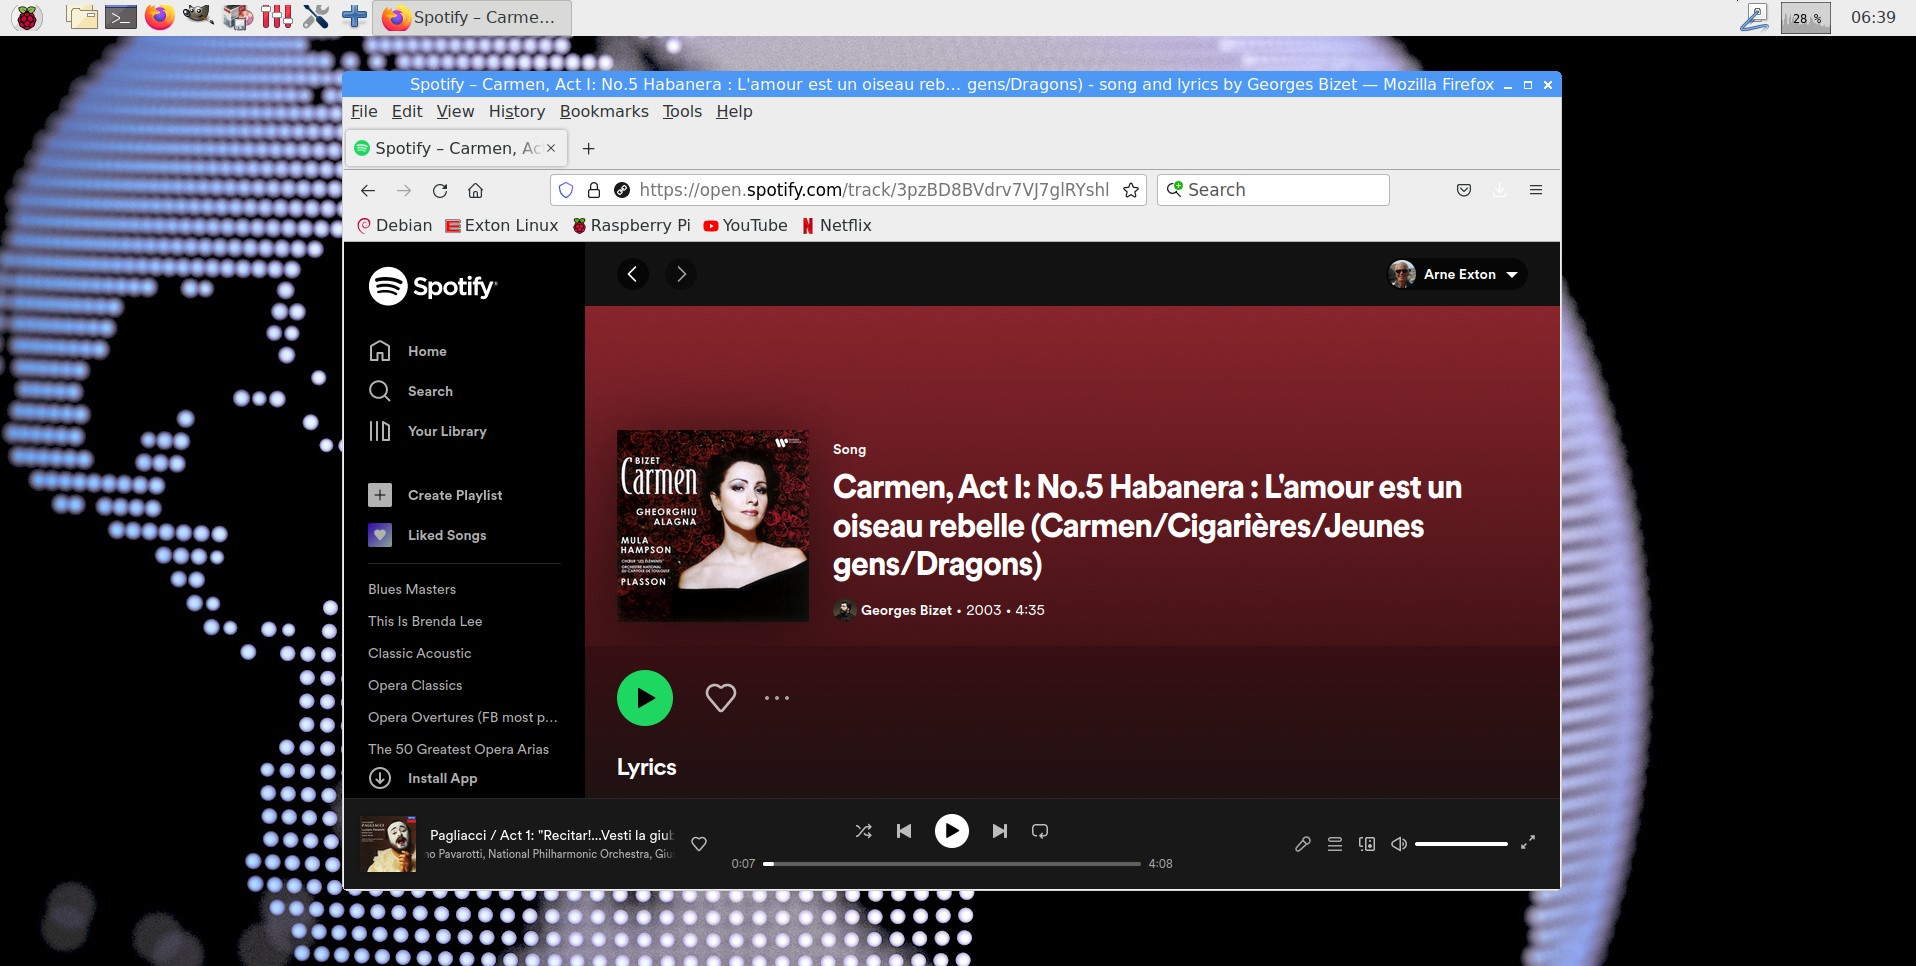
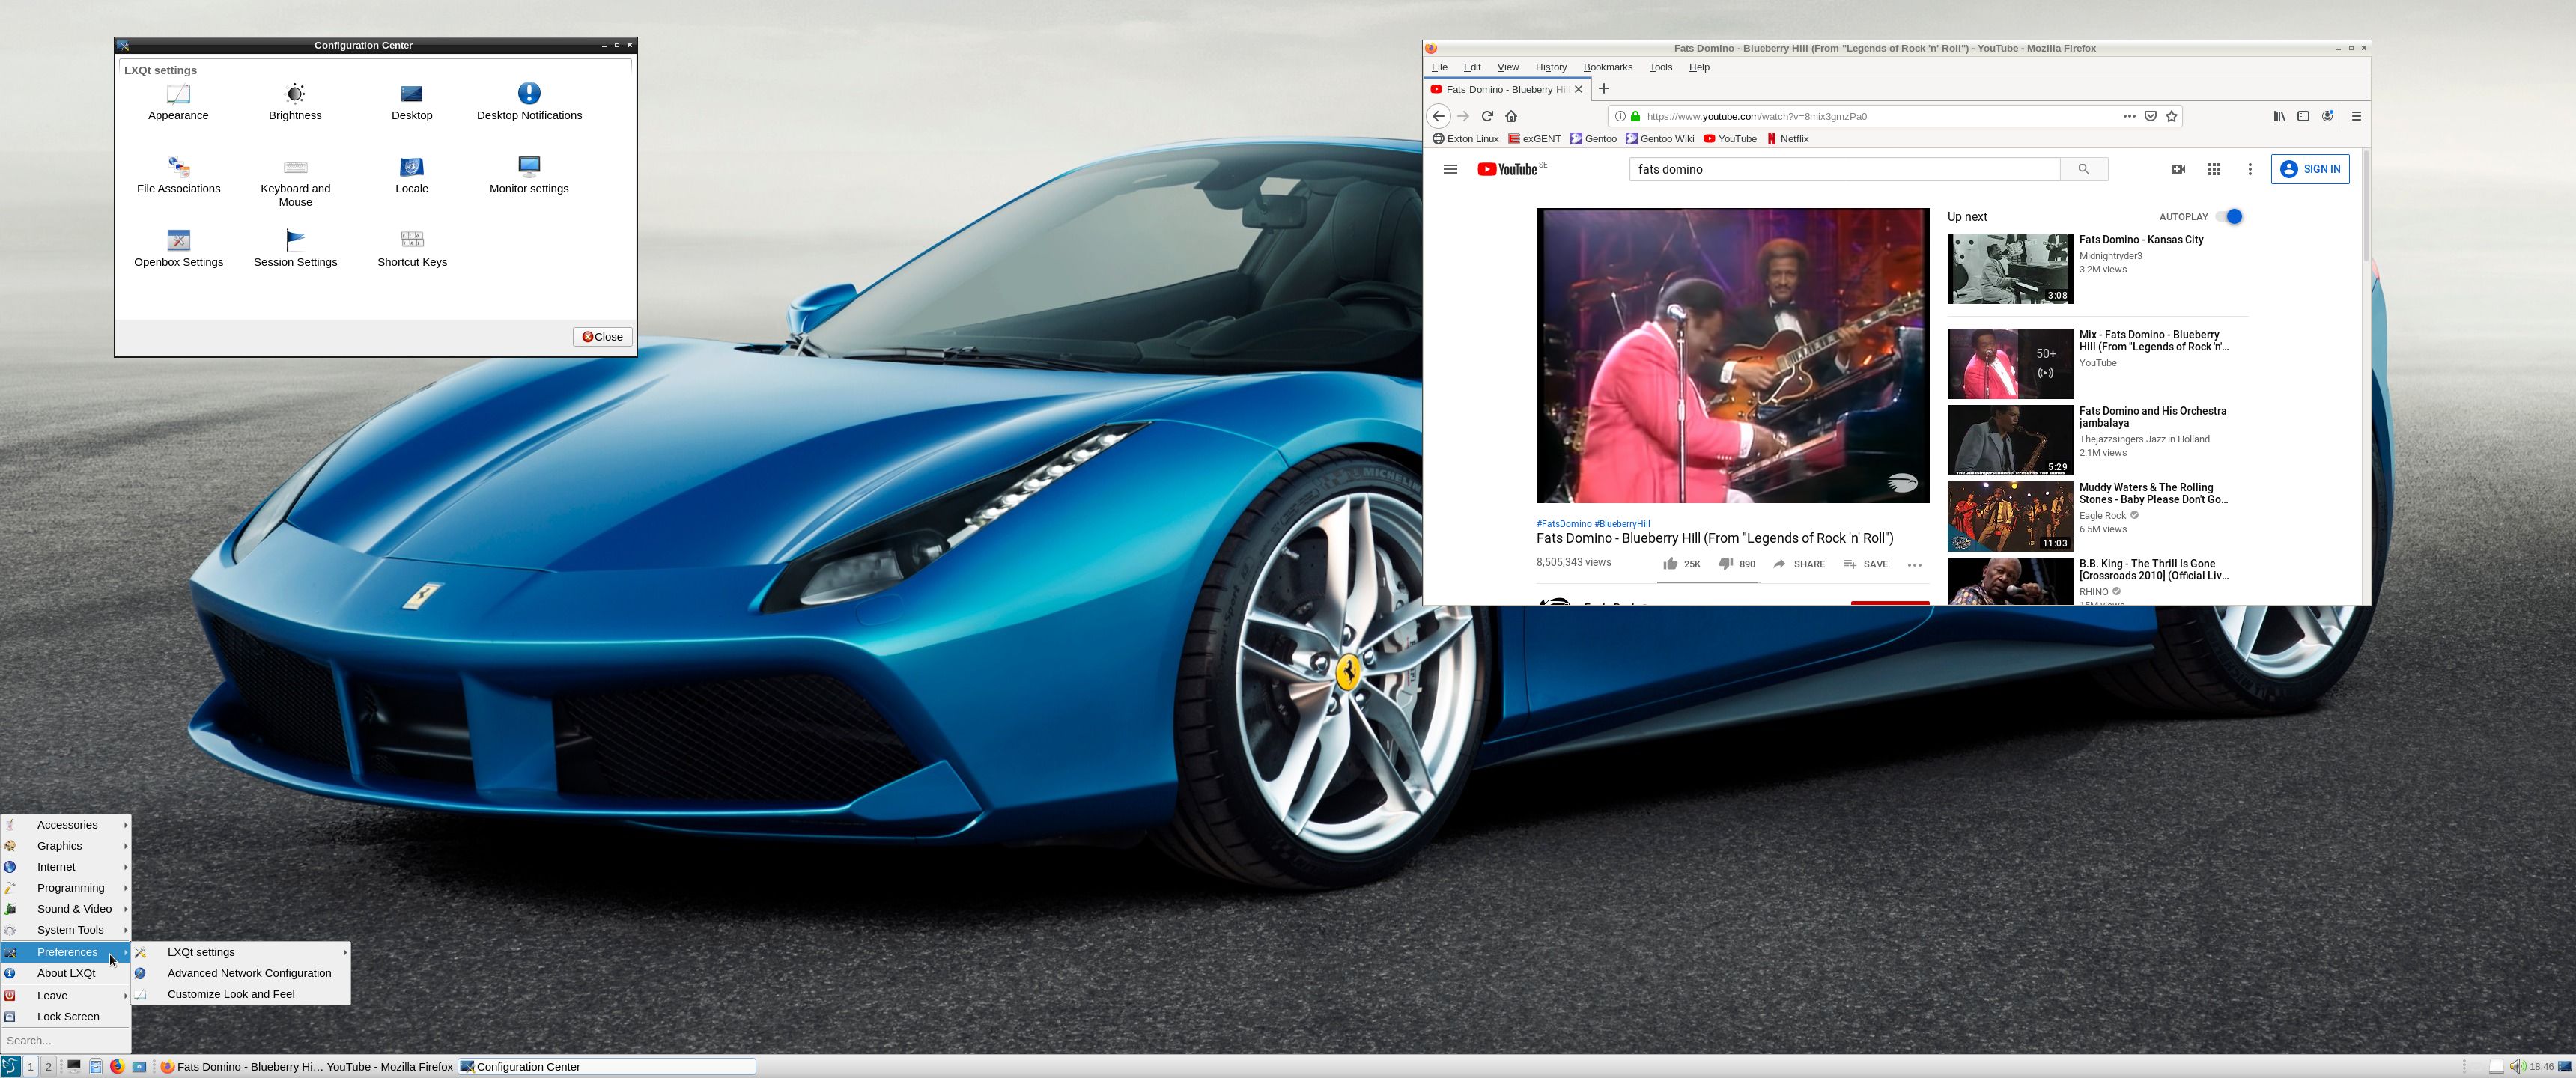
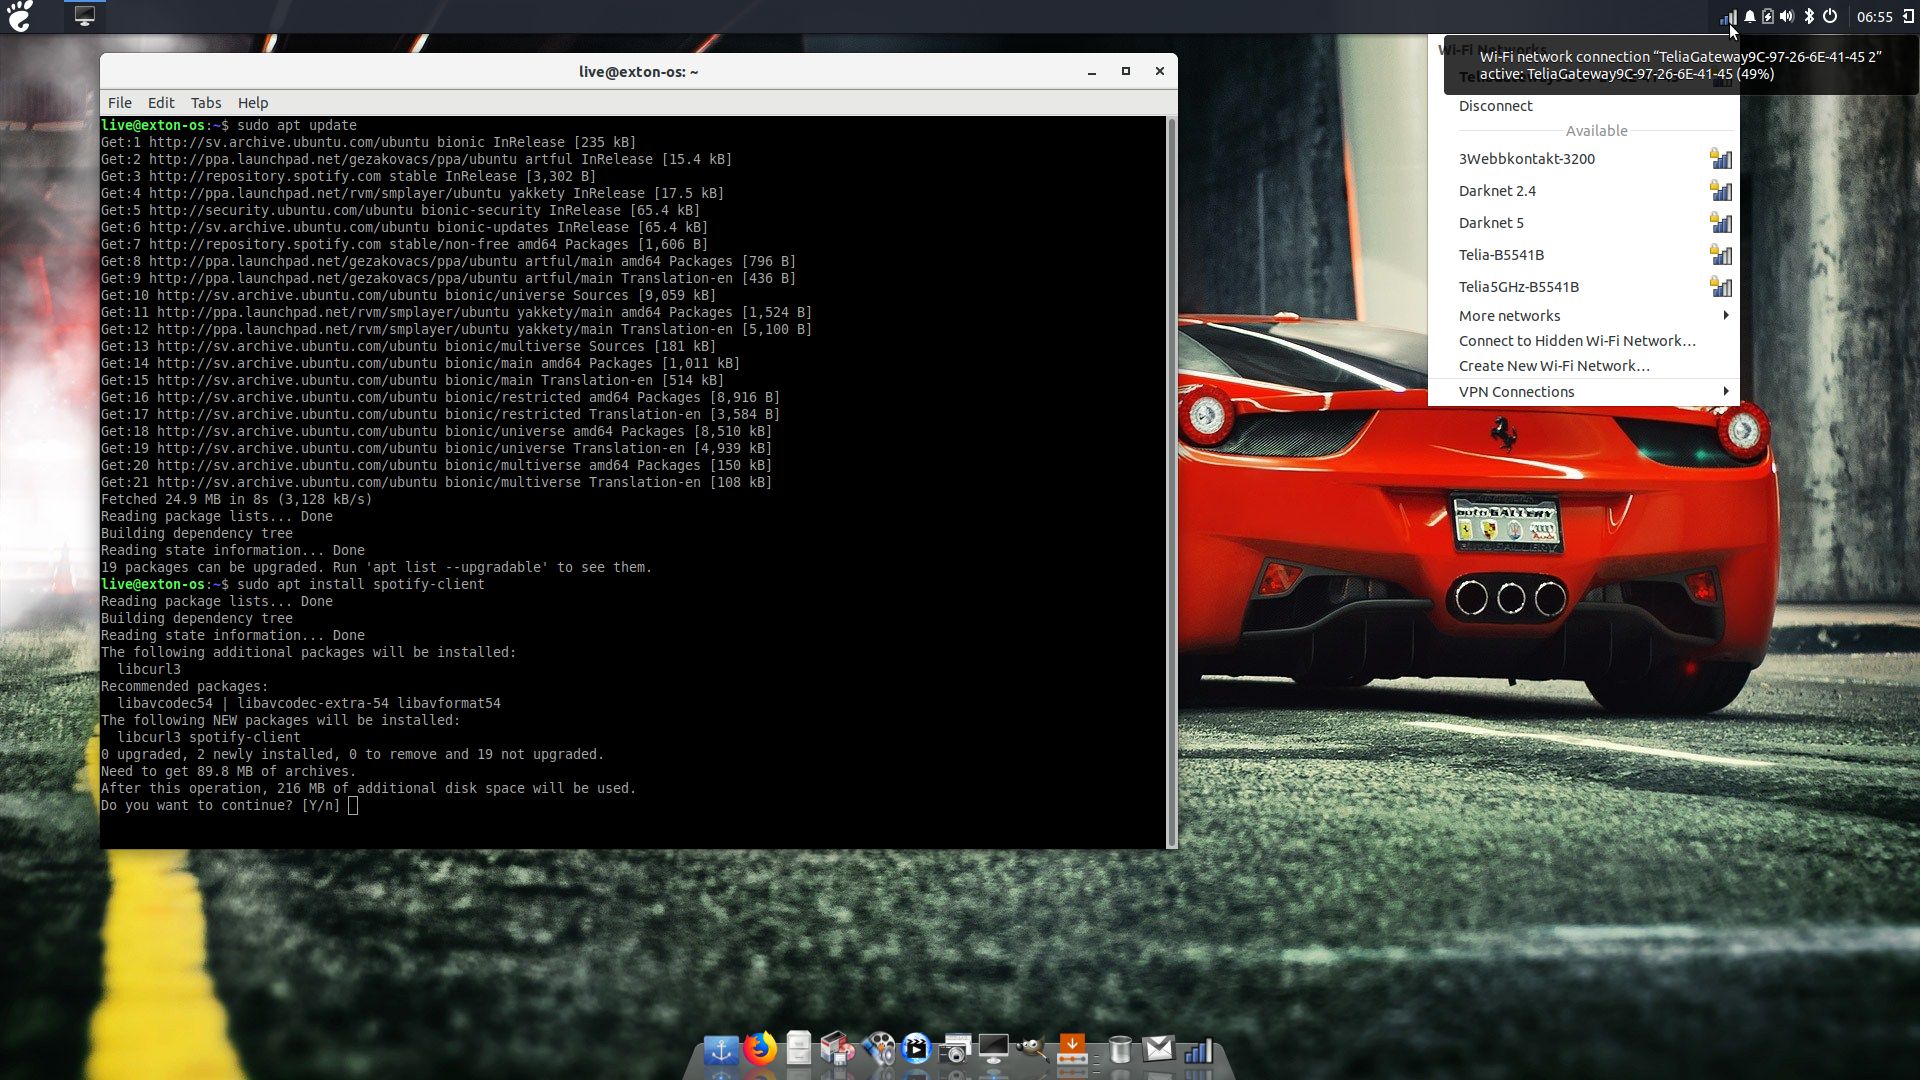
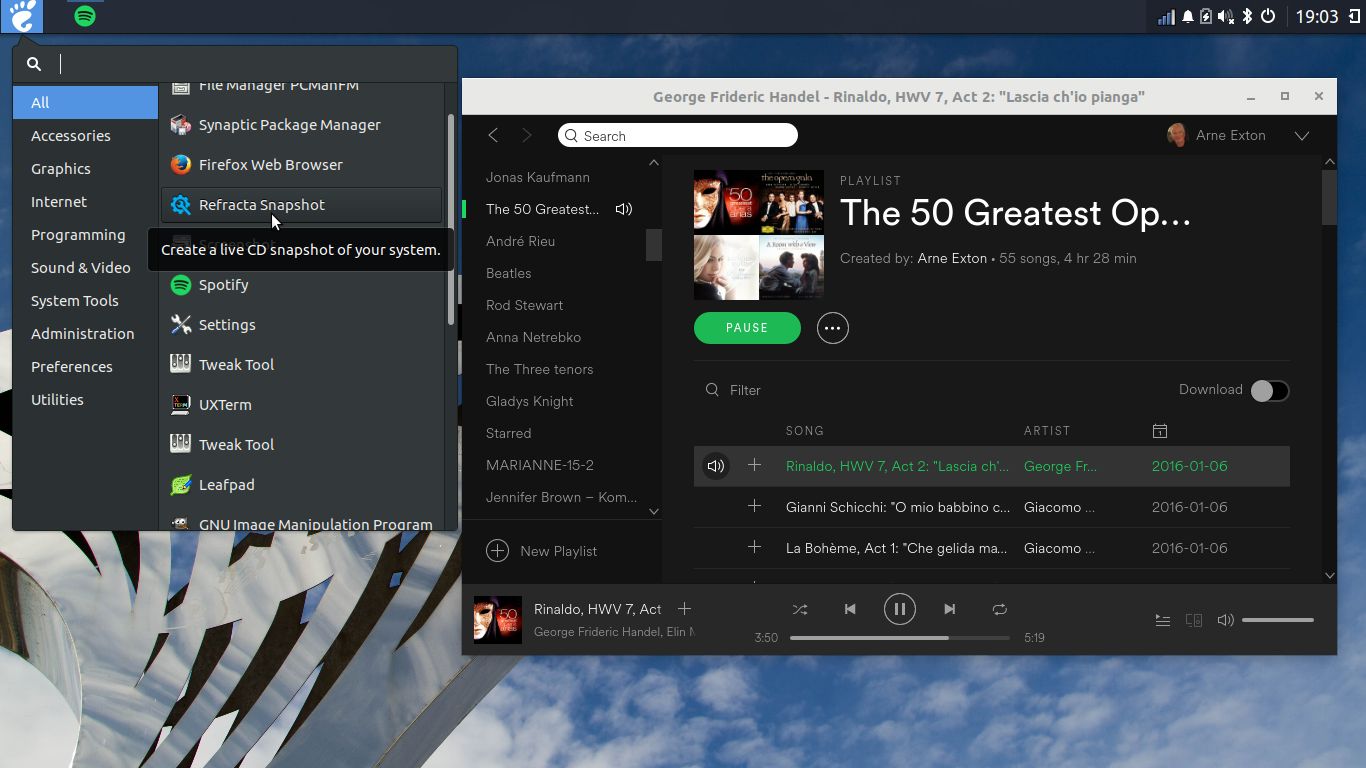
You may want to run Spotify. In this version of Debian Pixel you can’t install Spotify with the command sudo apt install spotify-client. Too many unfulfilled dependencies. You can, however, run Spotify Web Player. Use Firefox for that. Watch a screenshot when Spotify Web Player is running.
Important about Refracta
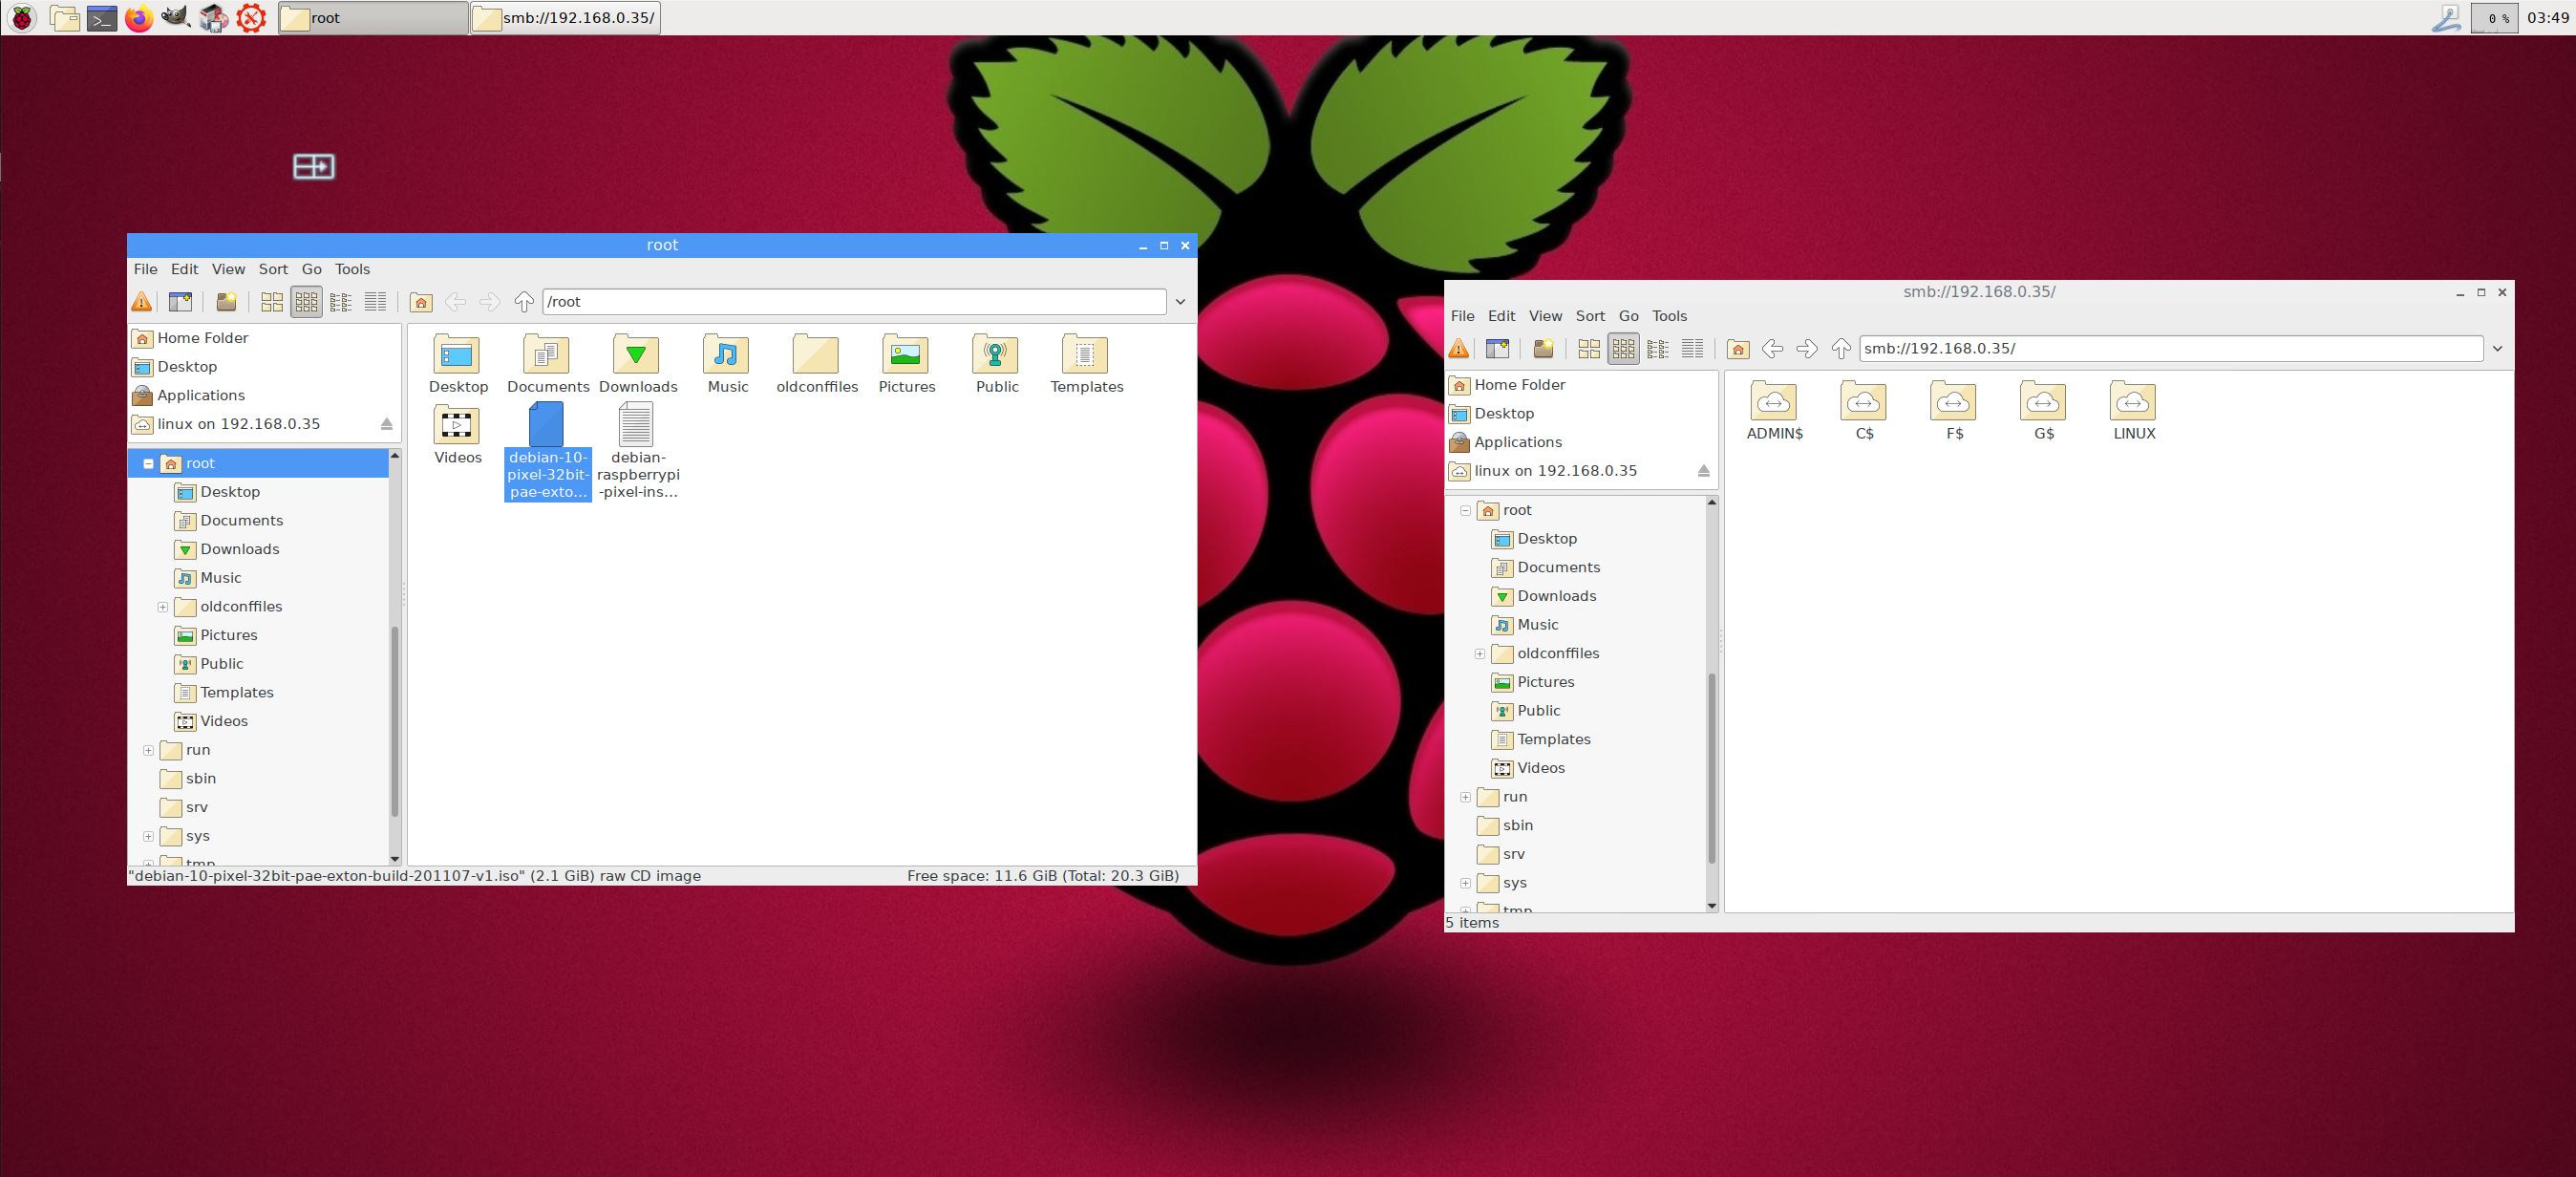
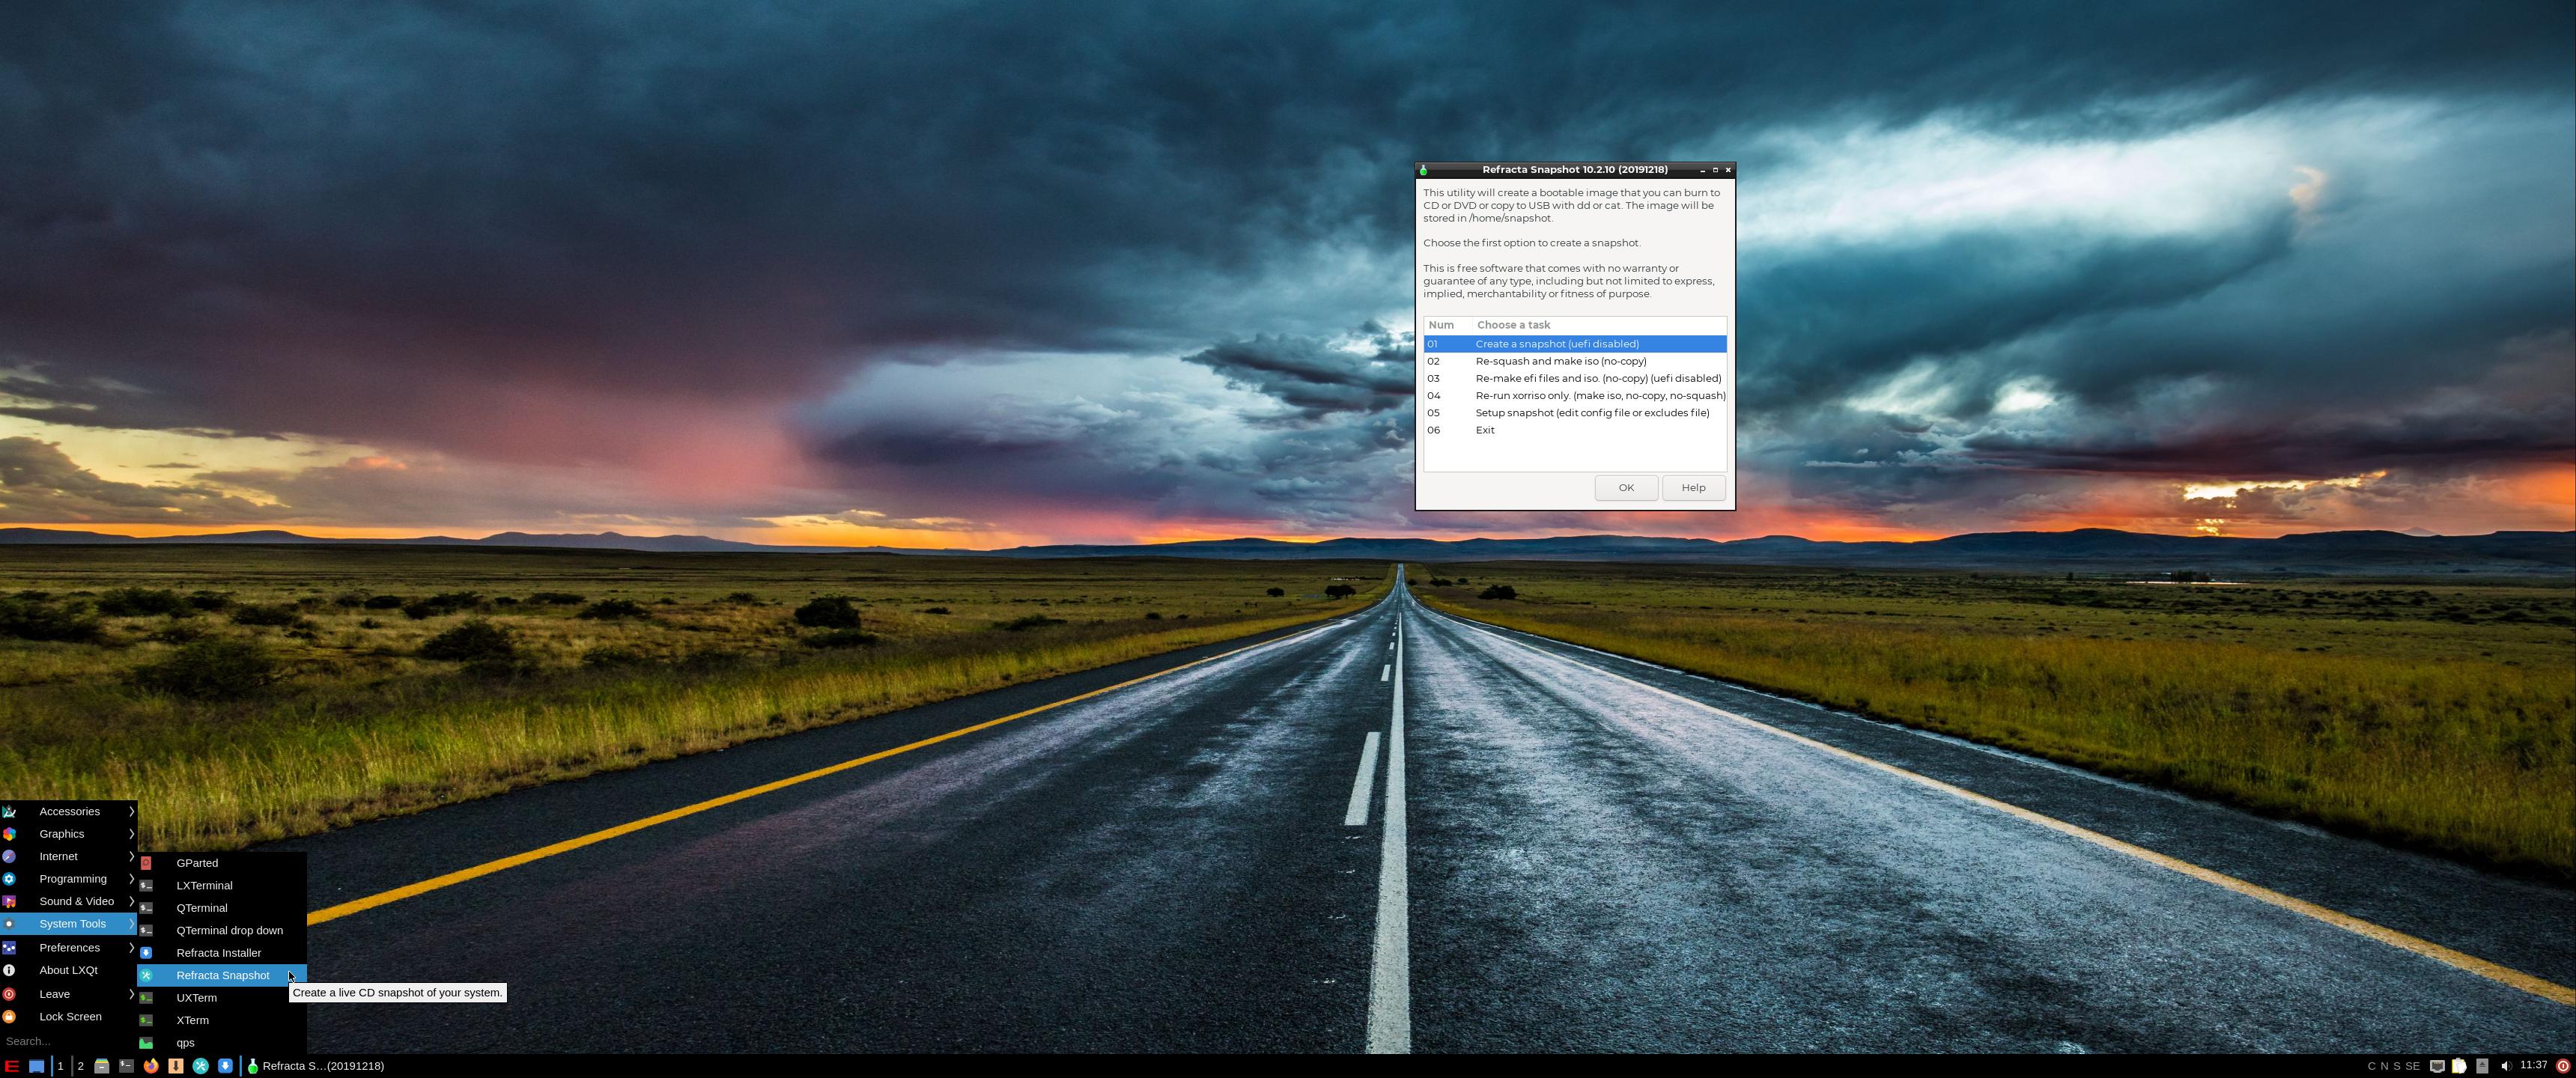
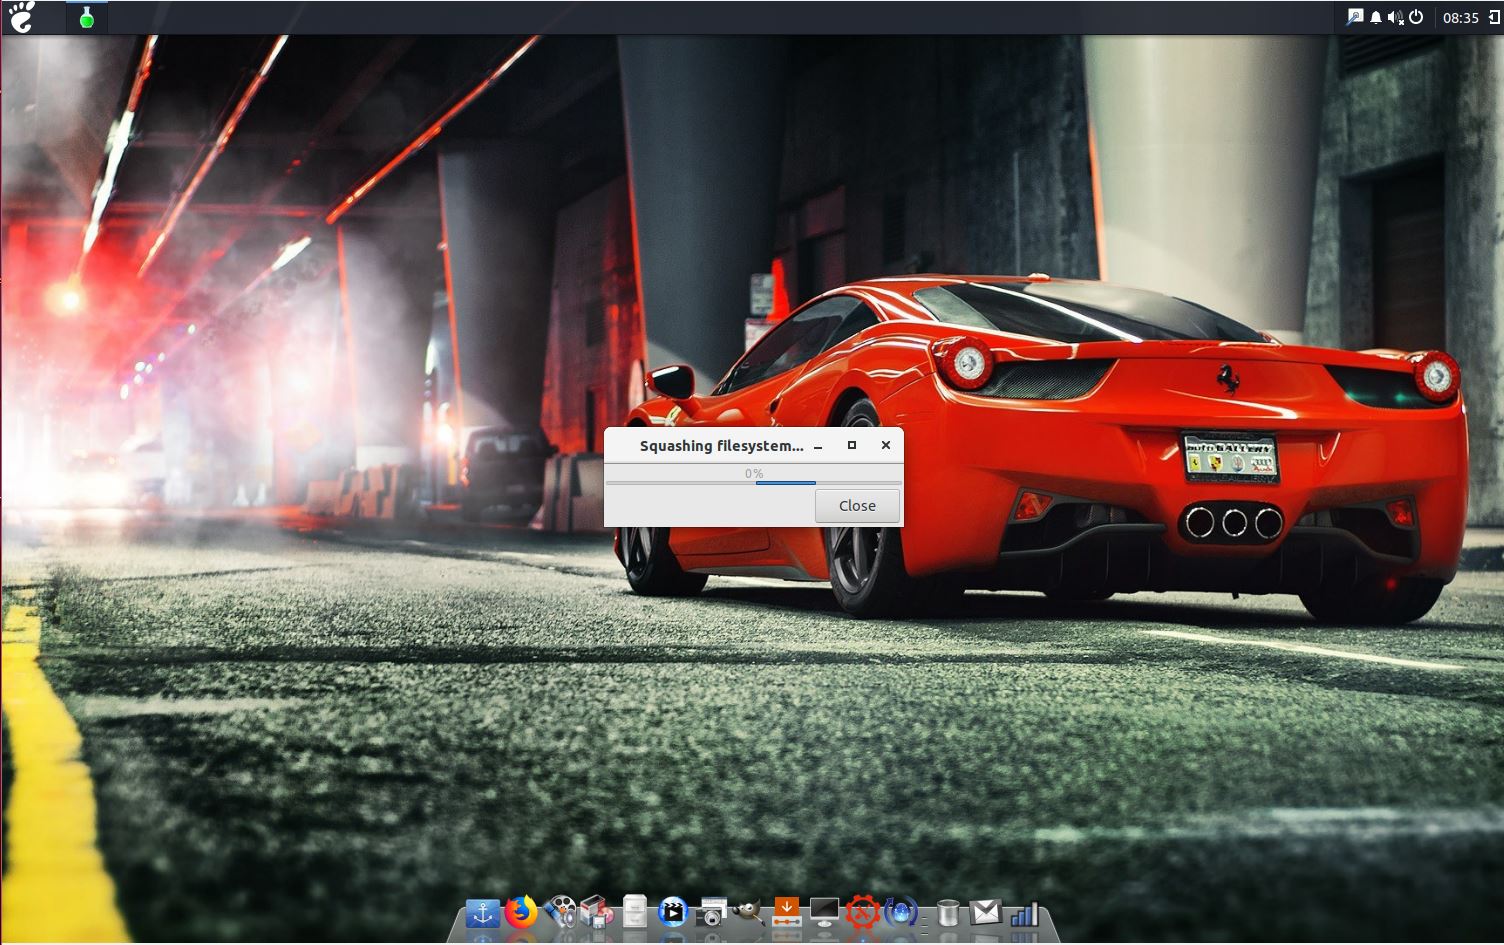
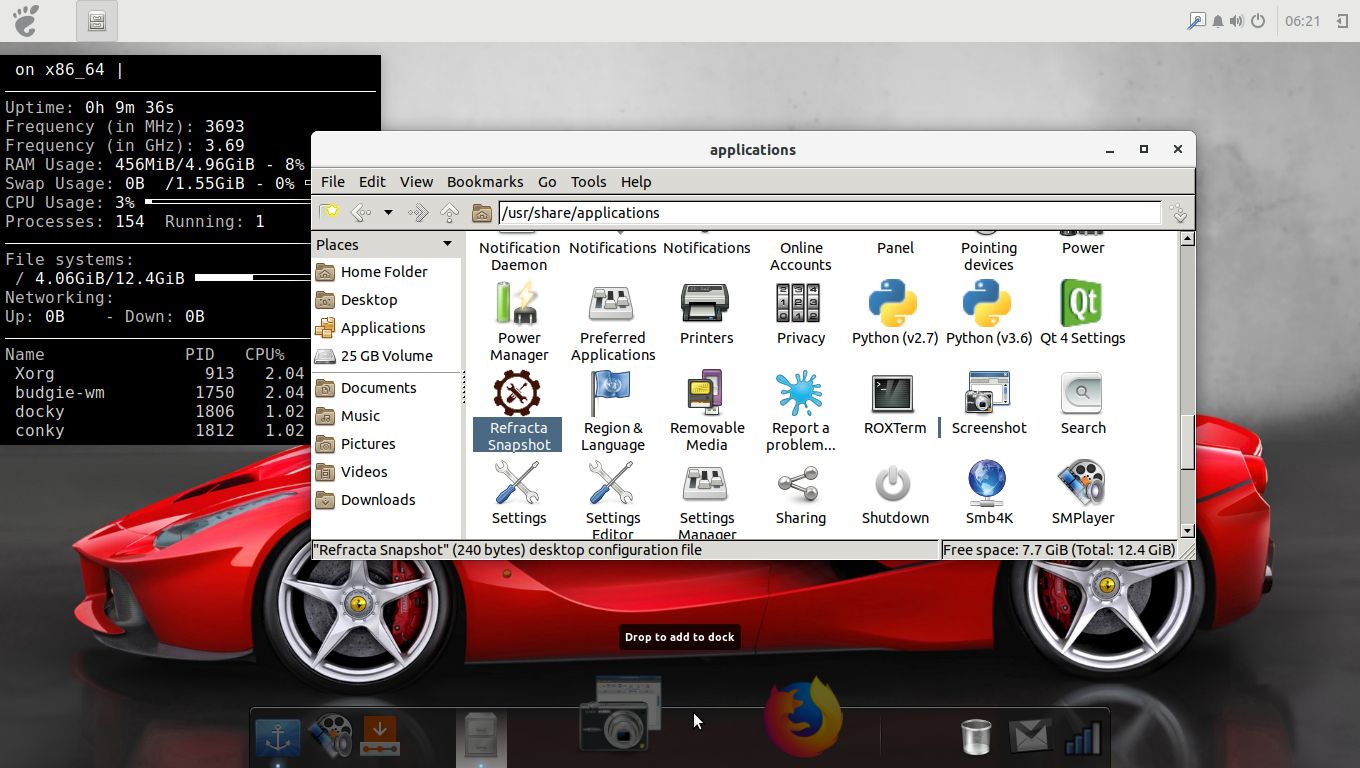
You can use the Refracta Snapshot (pre-installed) to create your own installable Raspberry Pi Debian 12 PIXEL system once you have installed my build to hard drive. I mean change everything and then create a whole new Debian live system. Start Refracta from Menu >> System tools >> Refracta snapshot. You don’t even have to install my build to hard drive before you can use the Refracta Snapshot. If you have plenty of RAM you can create a new (your own!) Debian PIXEL system while running my build from DVD or a USB stick. Please note that the whole Refracta process (creating your new ISO file) will only take 20 – 60 min! Please edit the configuration file /etc/refractasnapshot.conf first. Change line 45 and 46. I.e. decide where you want the ISO file to be build. The whole thing is very simple. NOTE: You can also do everything in VirtualBox or VMware. Use FileZilla (pre-installed) to transfer your new ISO file to your server. Or use Samba to transfer the ISO file to one of your Windows computers in your home Network – screenshot. In VirtualBox you can also drop the new ISO directly on your host Desktop. NOTE: You may have to do run Refracta Snapshot in three steps (1, 2 , 3).
Install to Debian PIXEL hard drive
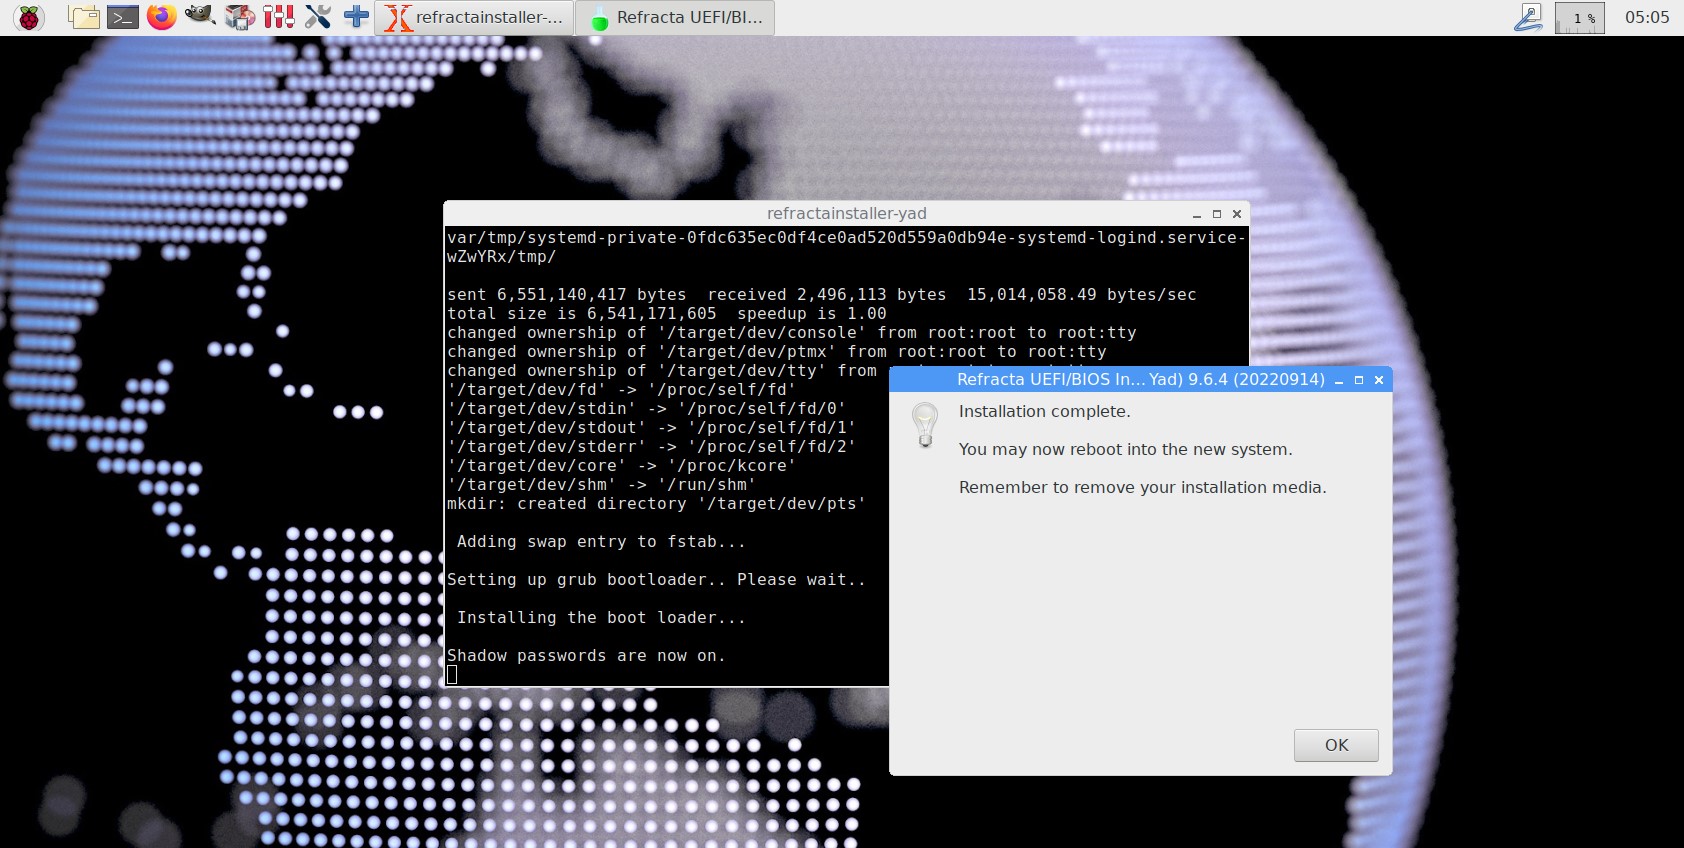
Just start Refracta Installer from the Menu >> System tools >> Refracta Installer and follow the instructions. Very simple. After a hard drive installation Grub’s boot menu will look like this.
![]()
Install Debian PIXEL to a USB stick
You can use Rufus in Windows. Persistence can’t be enabled though. The best way to achieve persistence on a USB stick is to burn Debian PIXEL to a DVD, start up the system from the DVD and then use Refracta Installer for the installation. Choose to install Grub in MBR on /dev/sdb. (Normally your USB stick, but check it carefully!) I.e. you will get a chance to choose between /dev/sda and /dev/sdb. This method will give you perfect persistence.
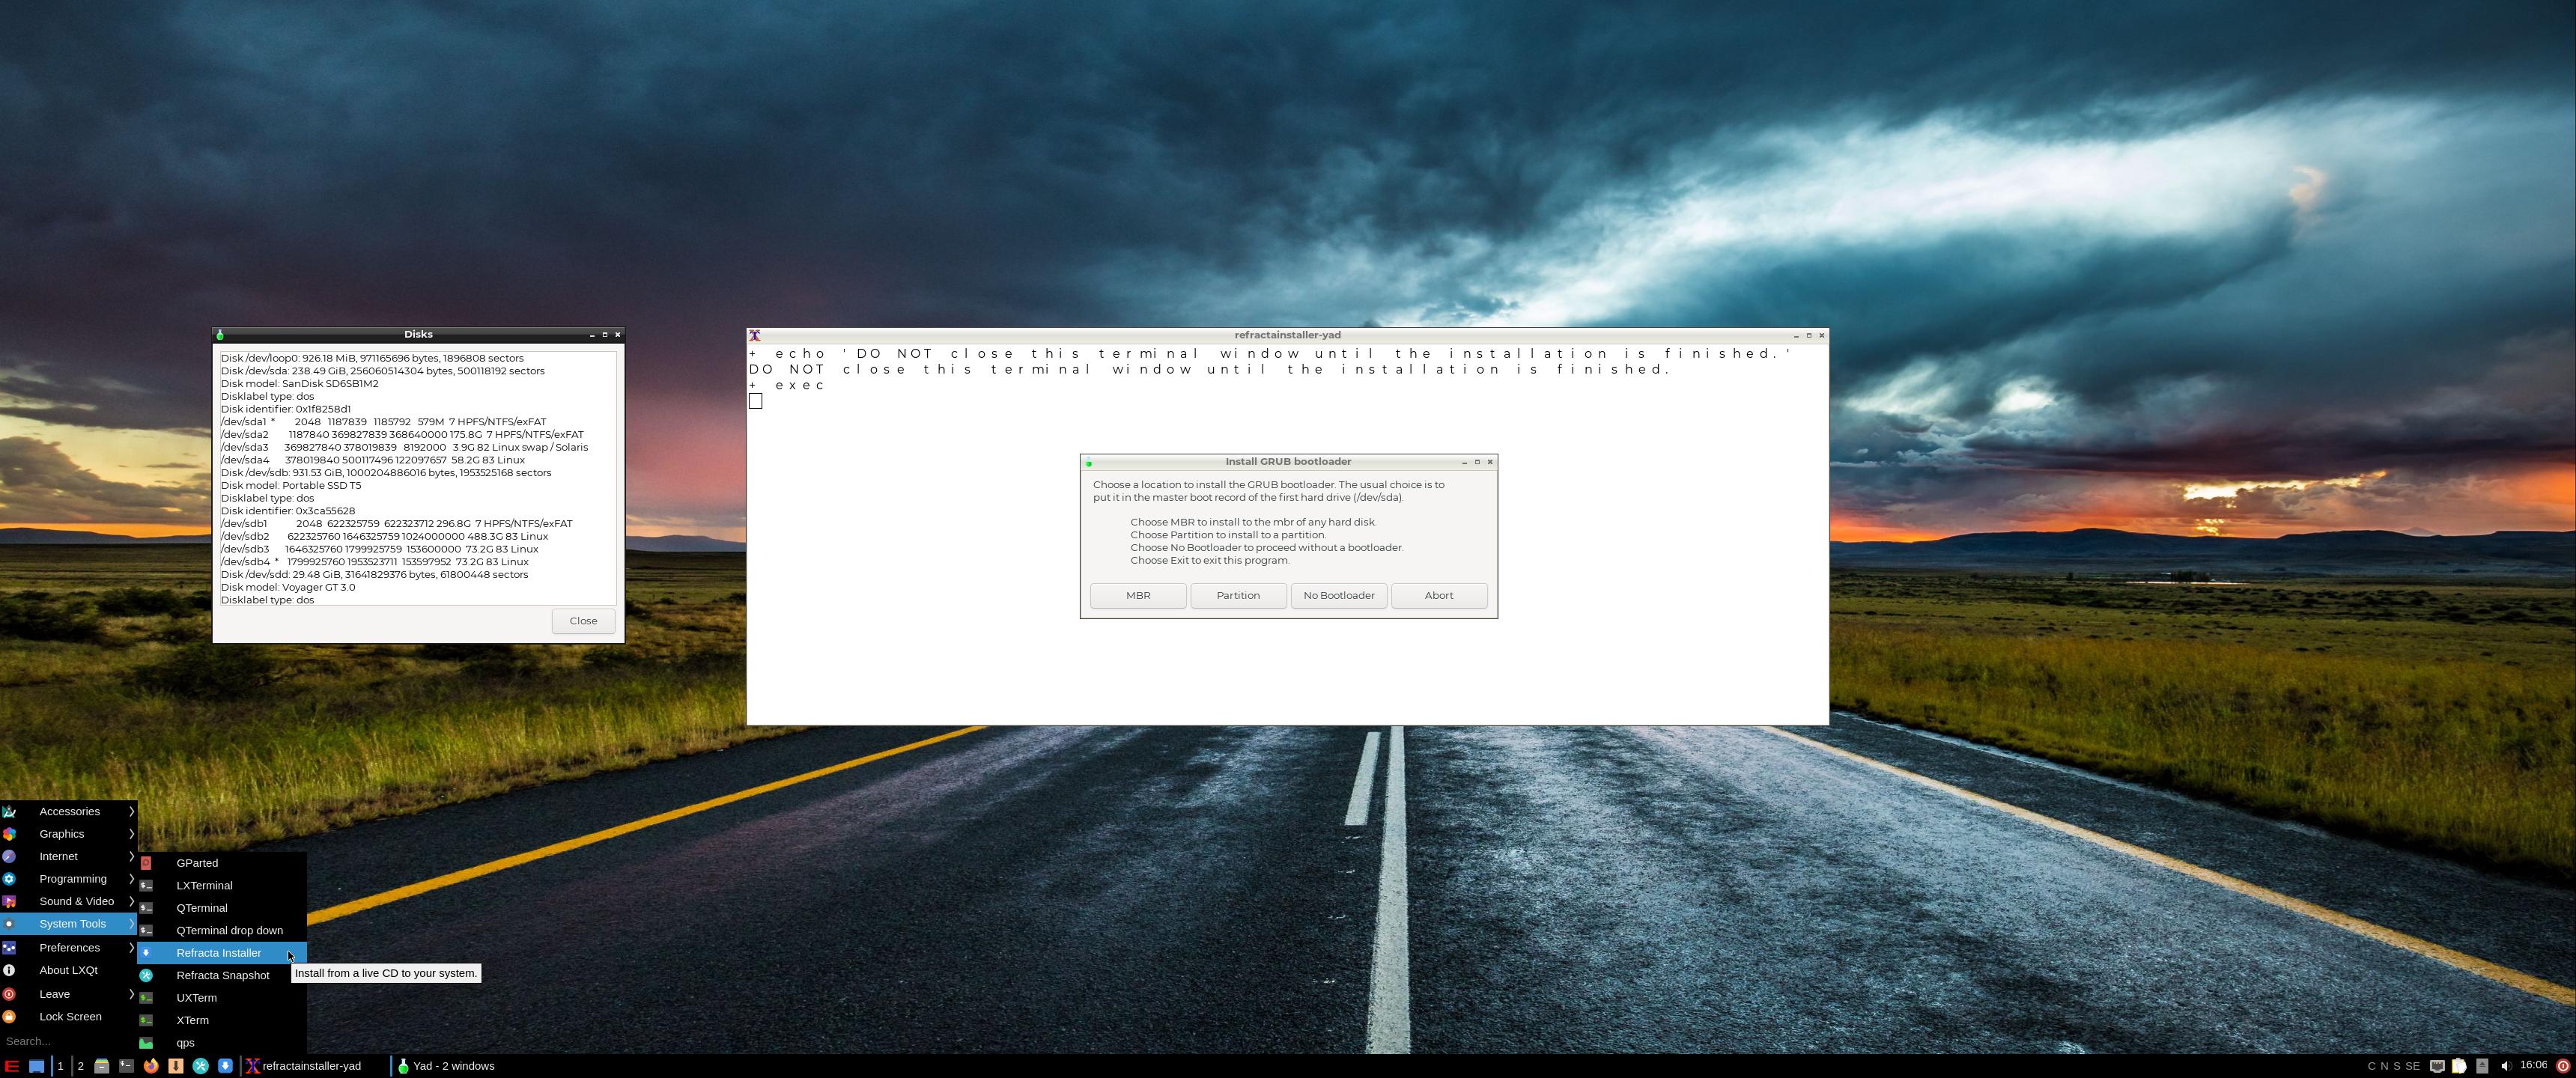
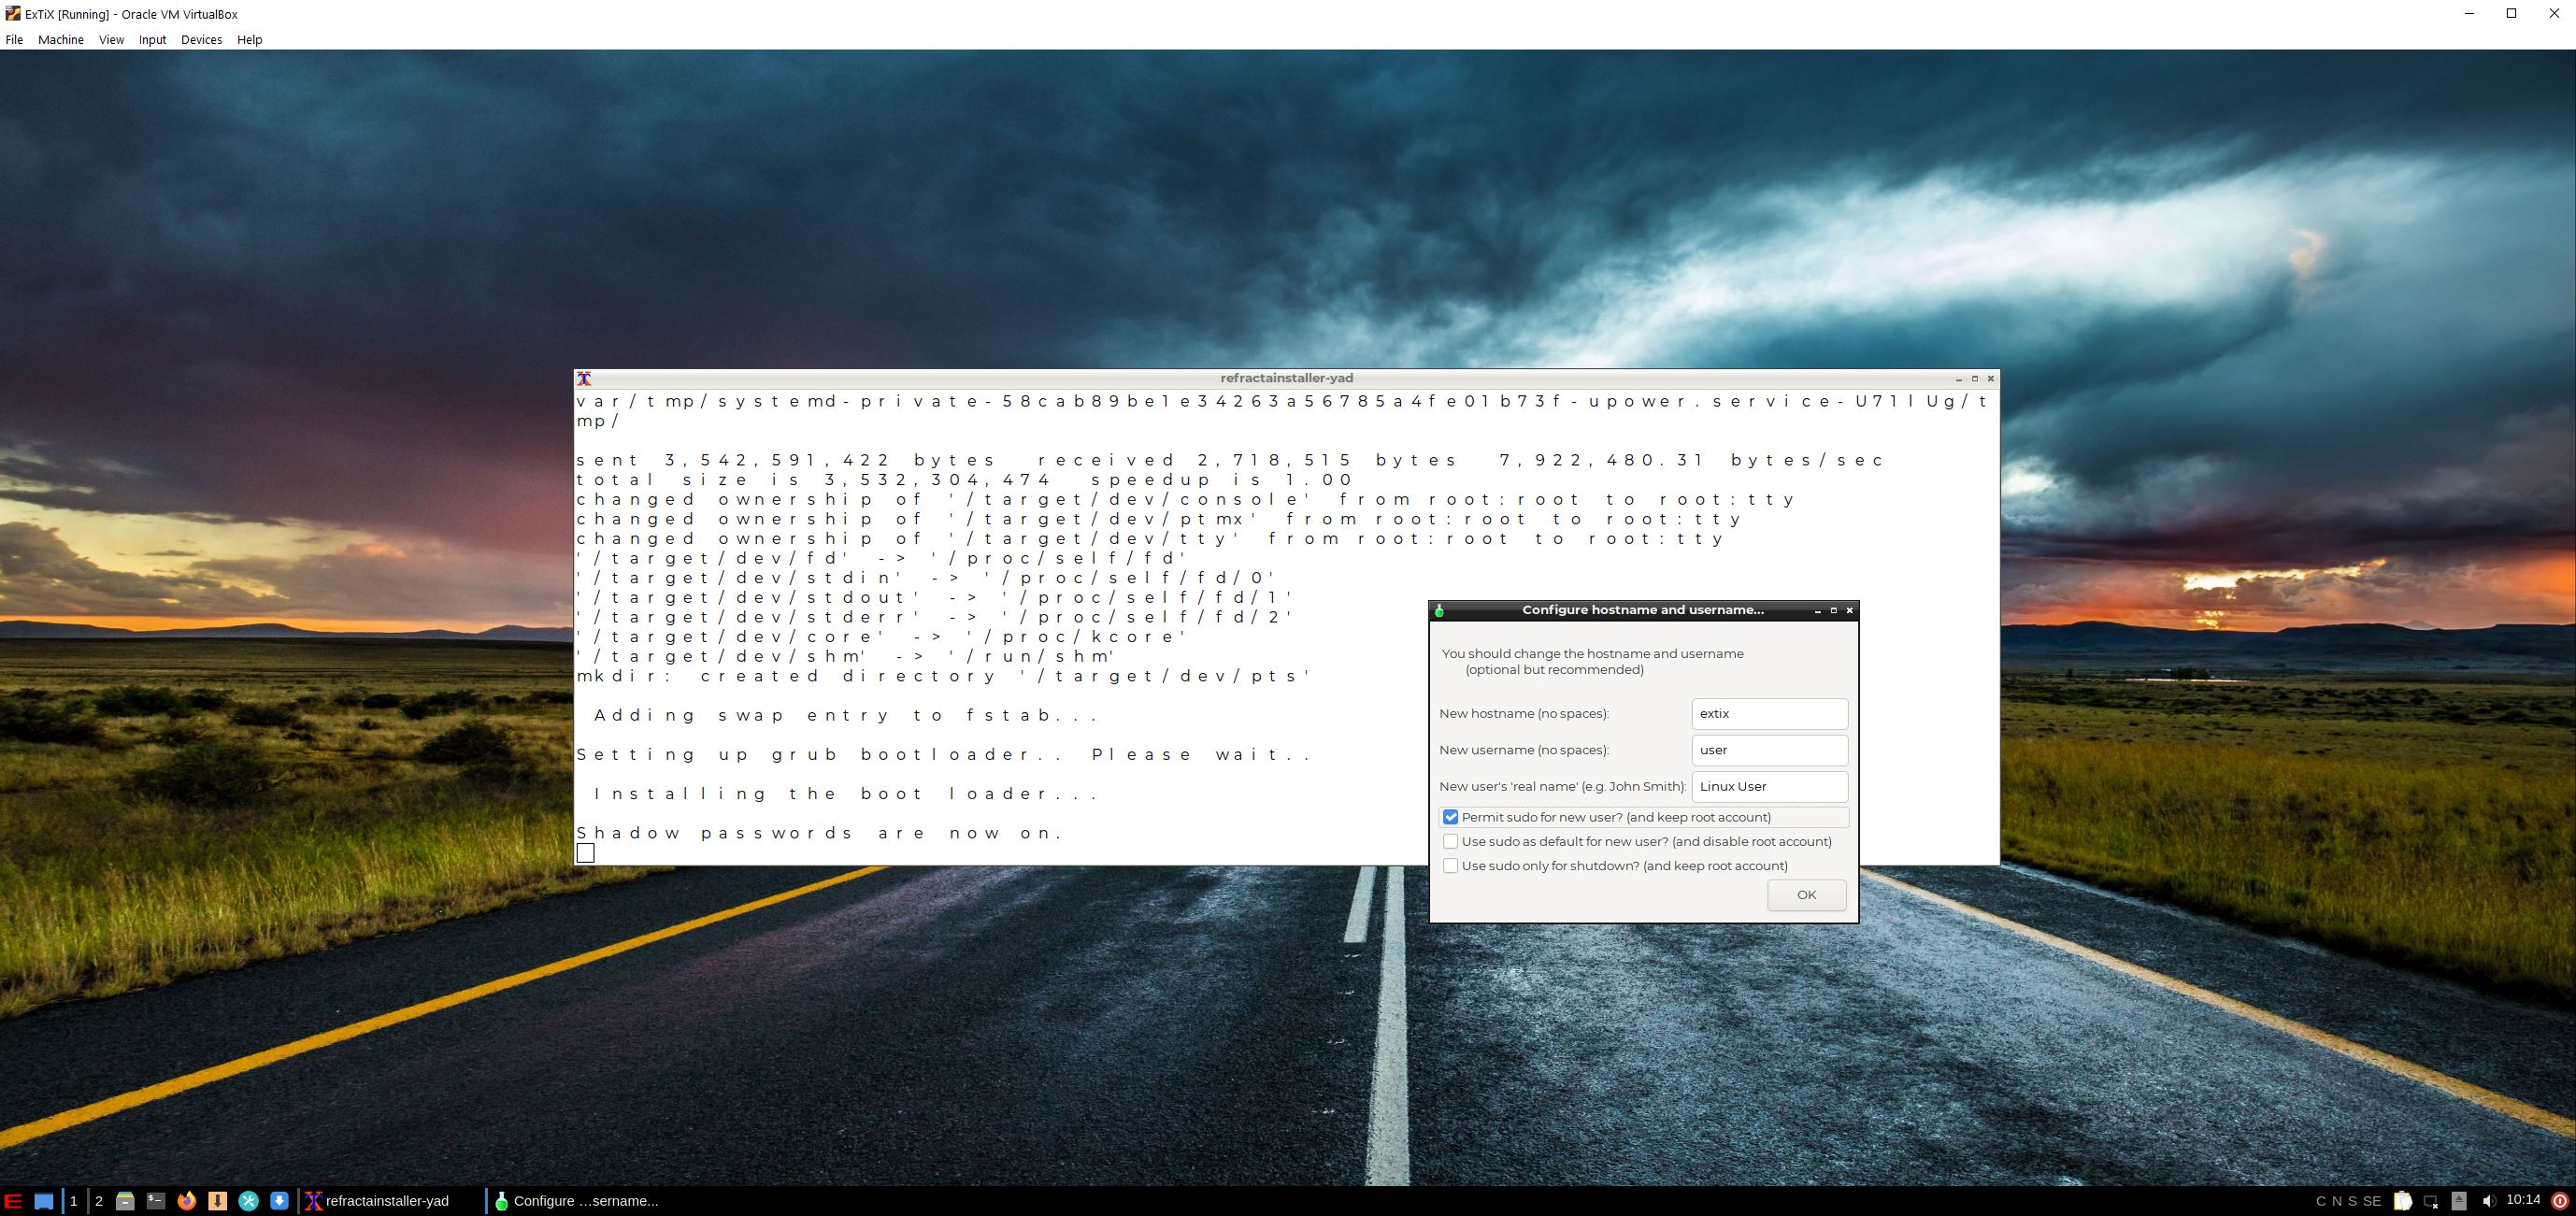
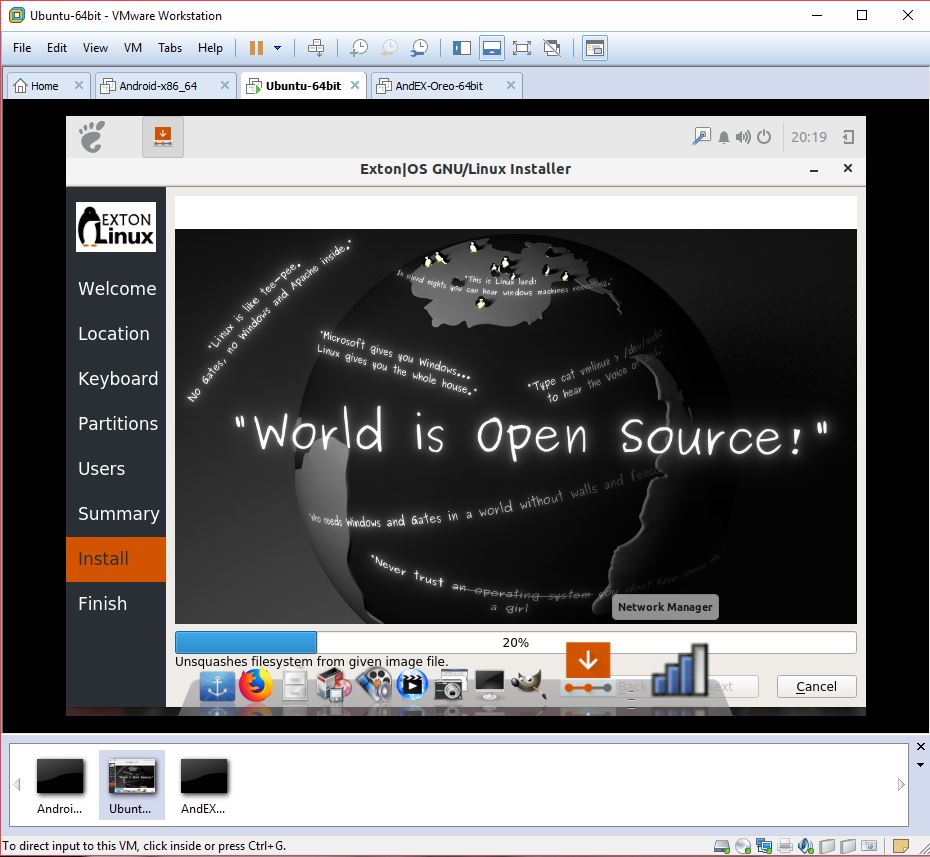
Watch the slideshow below showing the Refracta installation process in Debian PIXEL.
Windows Virtual Desktop on Azure
For smoother Raspberry PI performance a virtual PC such as azure windows virtual desktop which can be the best option due to its high end functionality and 24*7 top-notch support from a reliable desktop as a service provider.
SCREENSHOTS
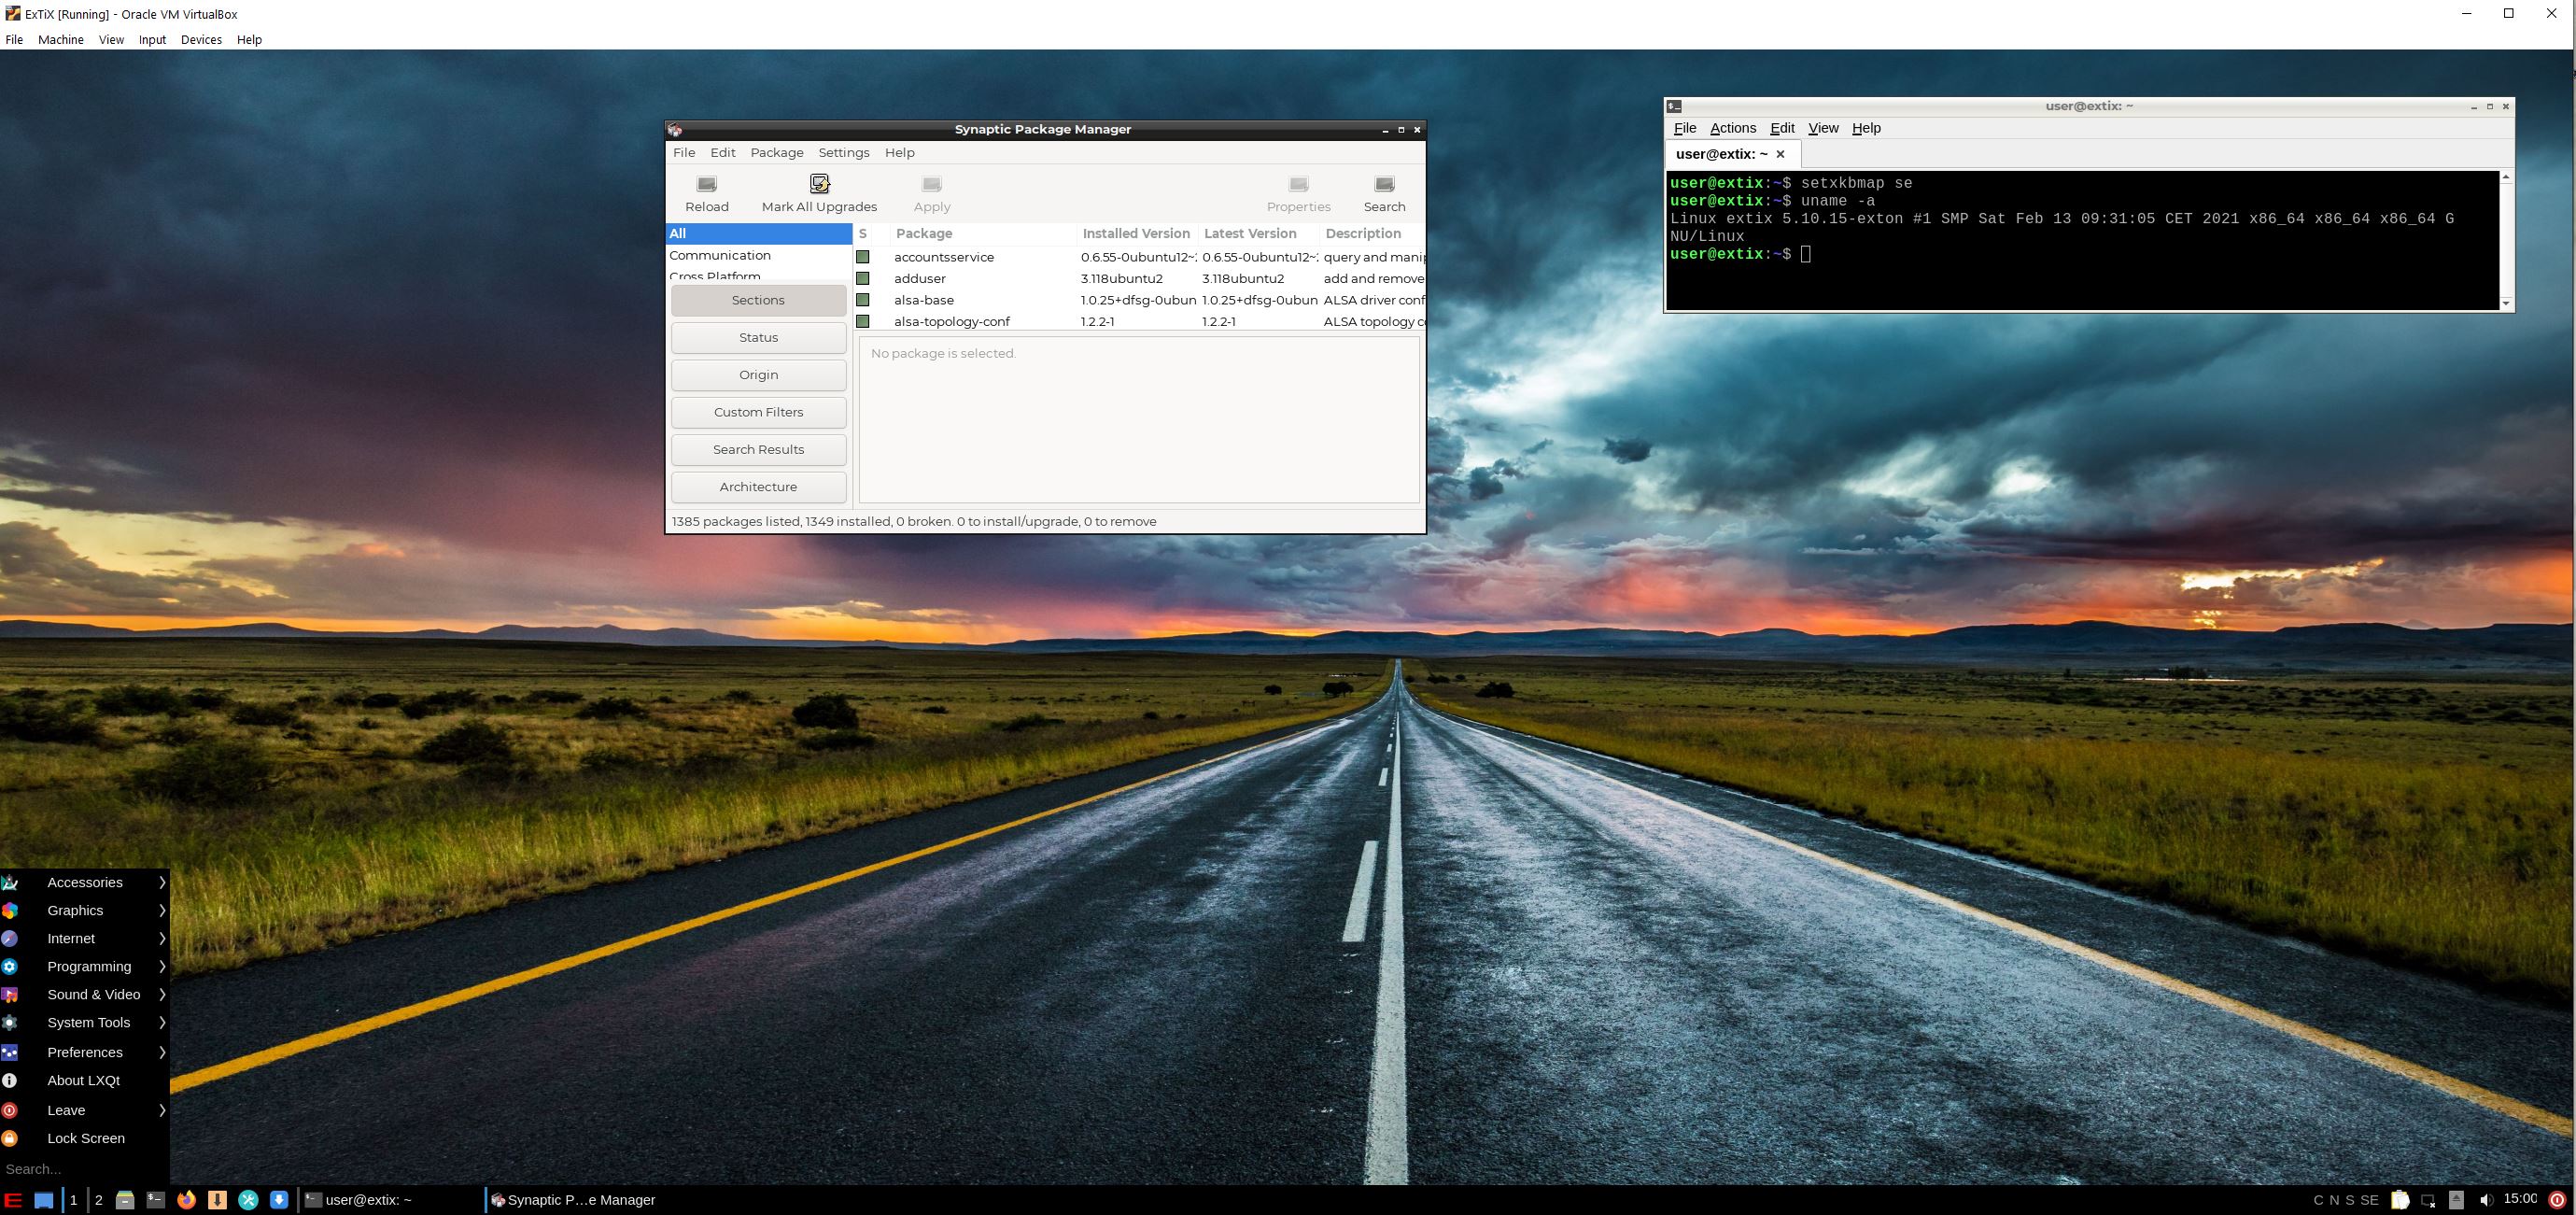
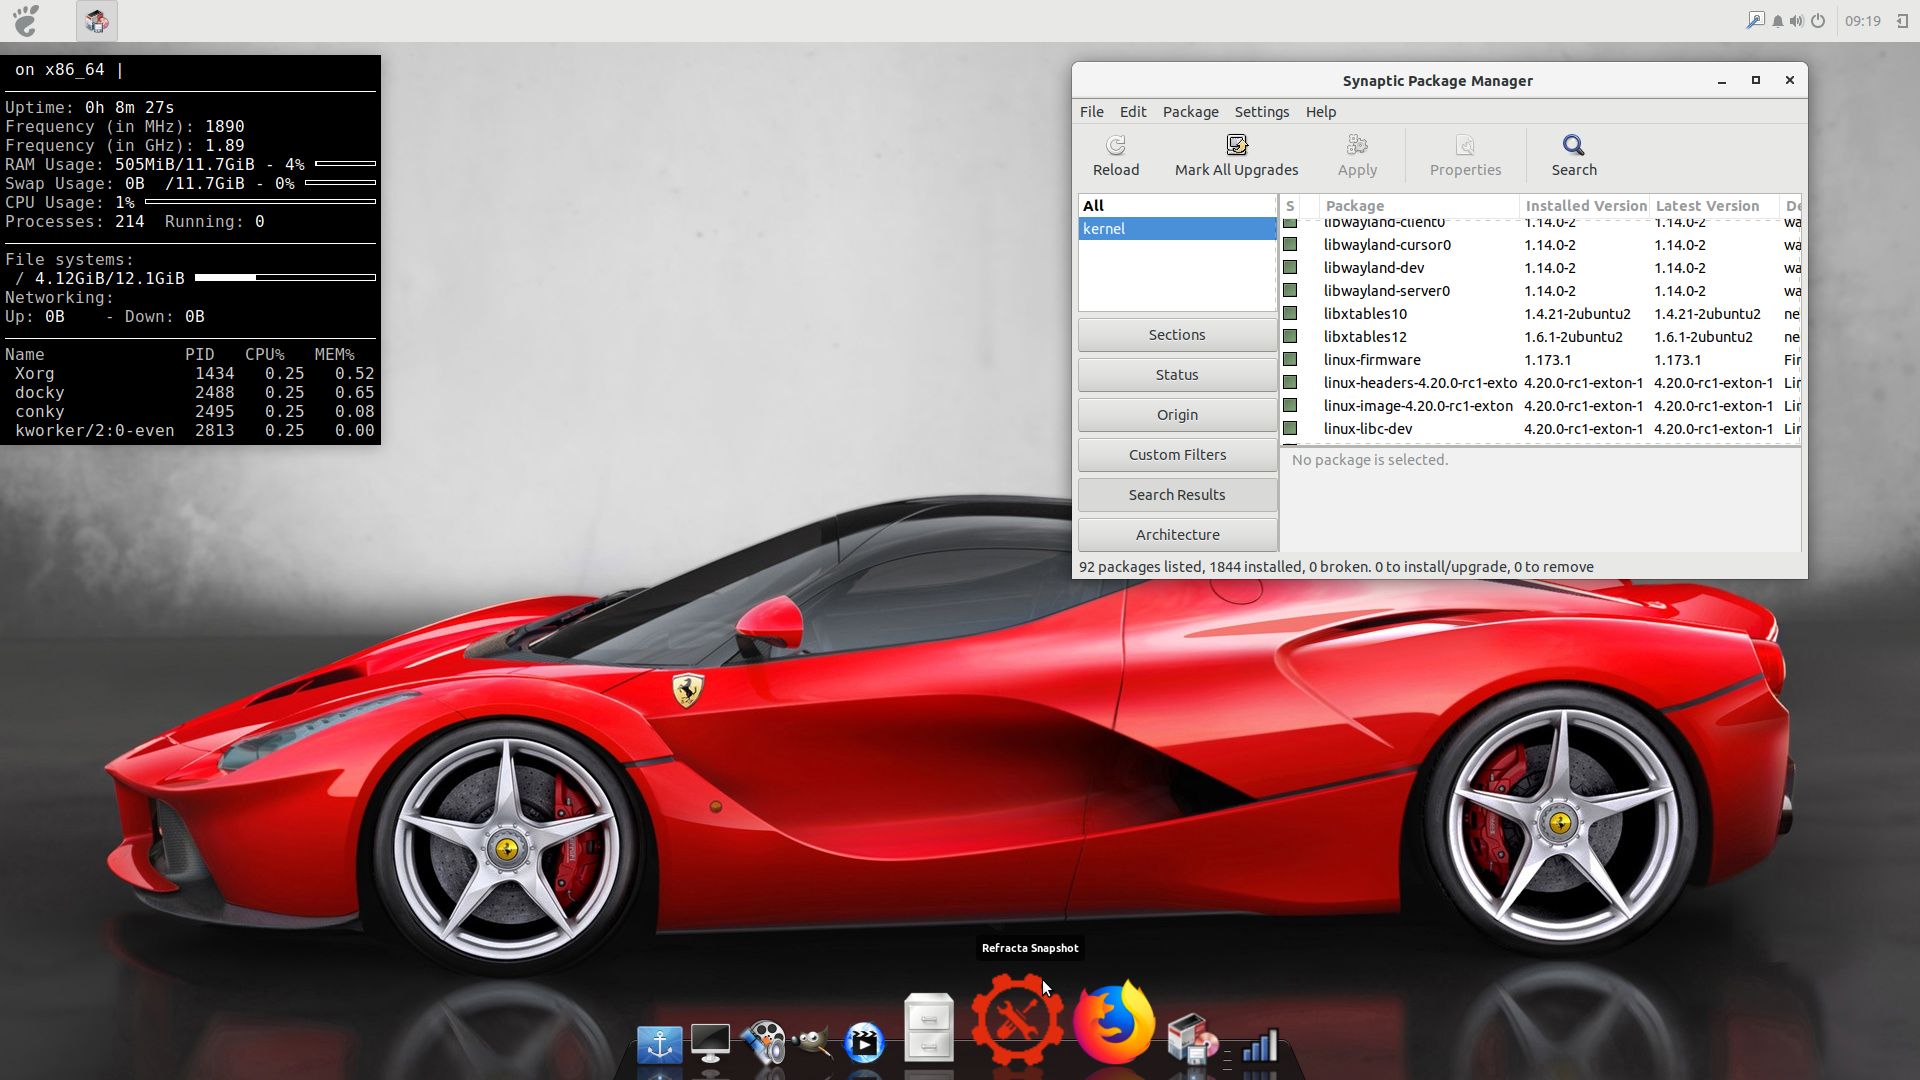
Screenshot 1 – User Desktop 240414
Screenshot 2 – Debian PIXEL running in VirtualBox in full screen
Screenshot 3 – Samba running (reach your Windows computers in your network)
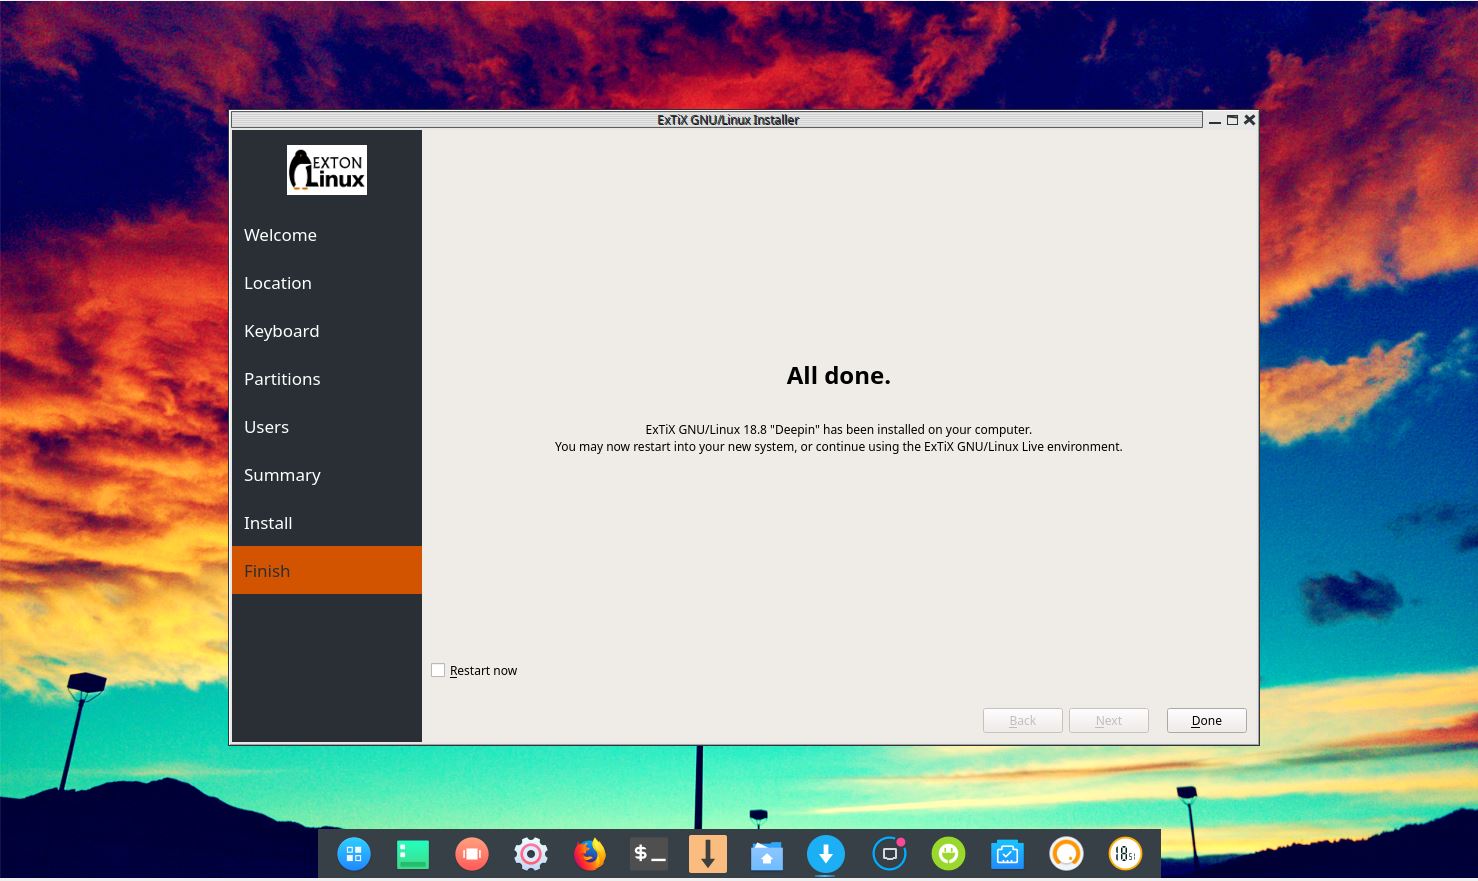
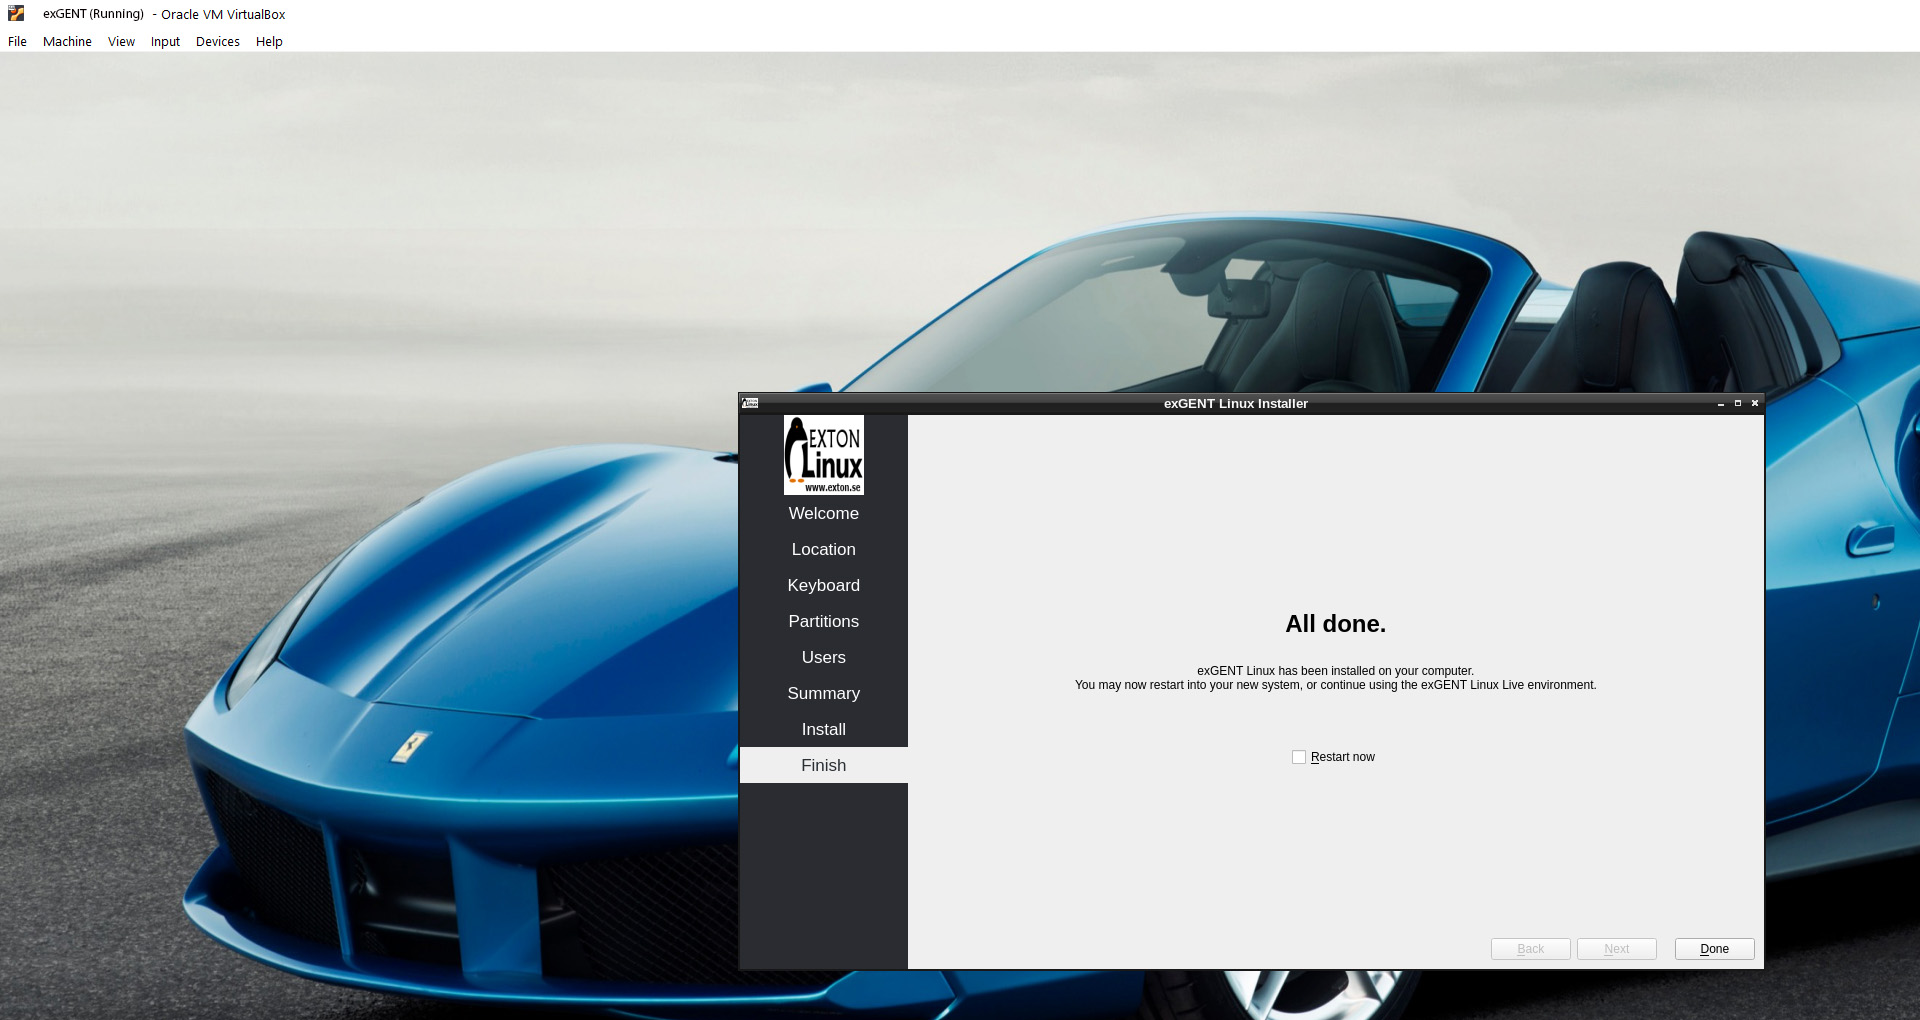
Screenshot 4 – The installation is ready
Screenshot 5 – Spotify Web Player running
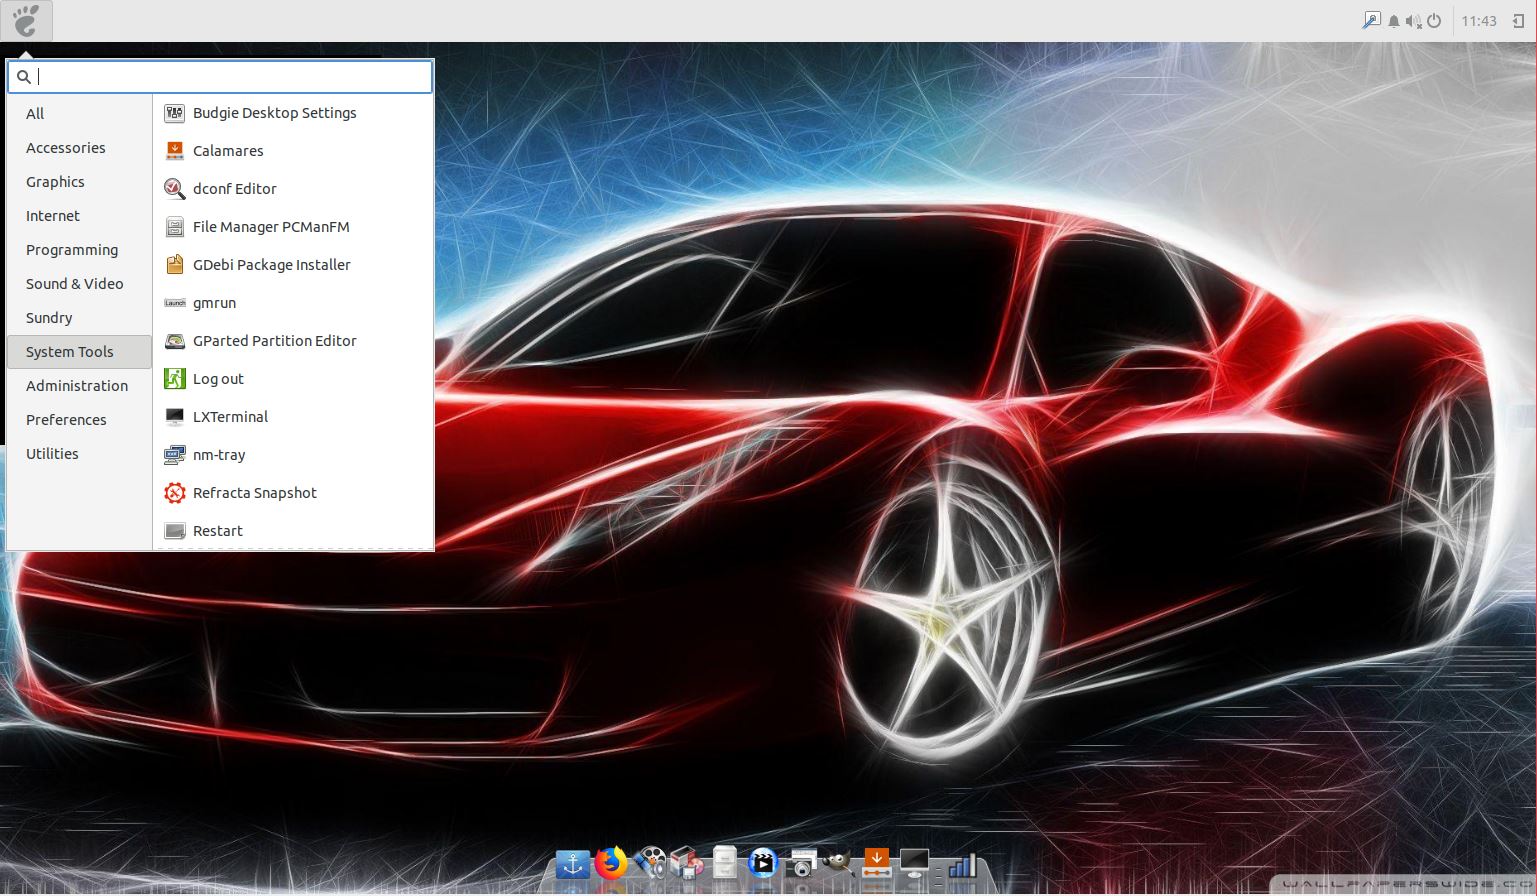
Screenshot 6 – The Desktop for root
DOWNLOAD
my Debian Raspberry Pi PIXEL Build 240414 for free from SourceForge.net – Fast, secure and free downloads from the largest Open Source applications and software directory.

md5sum for debian-12-pixel-32bit-pae-exton-build-1900mb-240414.iso
Raspberry Pi is a trademark of Raspberry Pi Foundation
andex.exton.net – latest is AndEX 11 (with GAPPS), AndEX 10 (with GAPPS) and AndEX Pie 9.0 (also with GAPPS)!
and
about my Android 13, 12, 11, 10, Pie, Oreo, Nougat, Marshmallow and Lollipop versions for Raspberry Pi 4 and 3/2 at
raspex.exton.se – latest is RaspAnd 13 and RaspAnd 12 (without GAPPS), RaspAnd 11 (with GAPPS) and RaspAnd Oreo 8.1 (also with GAPPS)!
