Tag Archives: multiboot

About NixOS – How to multiboot the system together with several other Linux systems and Windows :: 200507

What is NixOS?
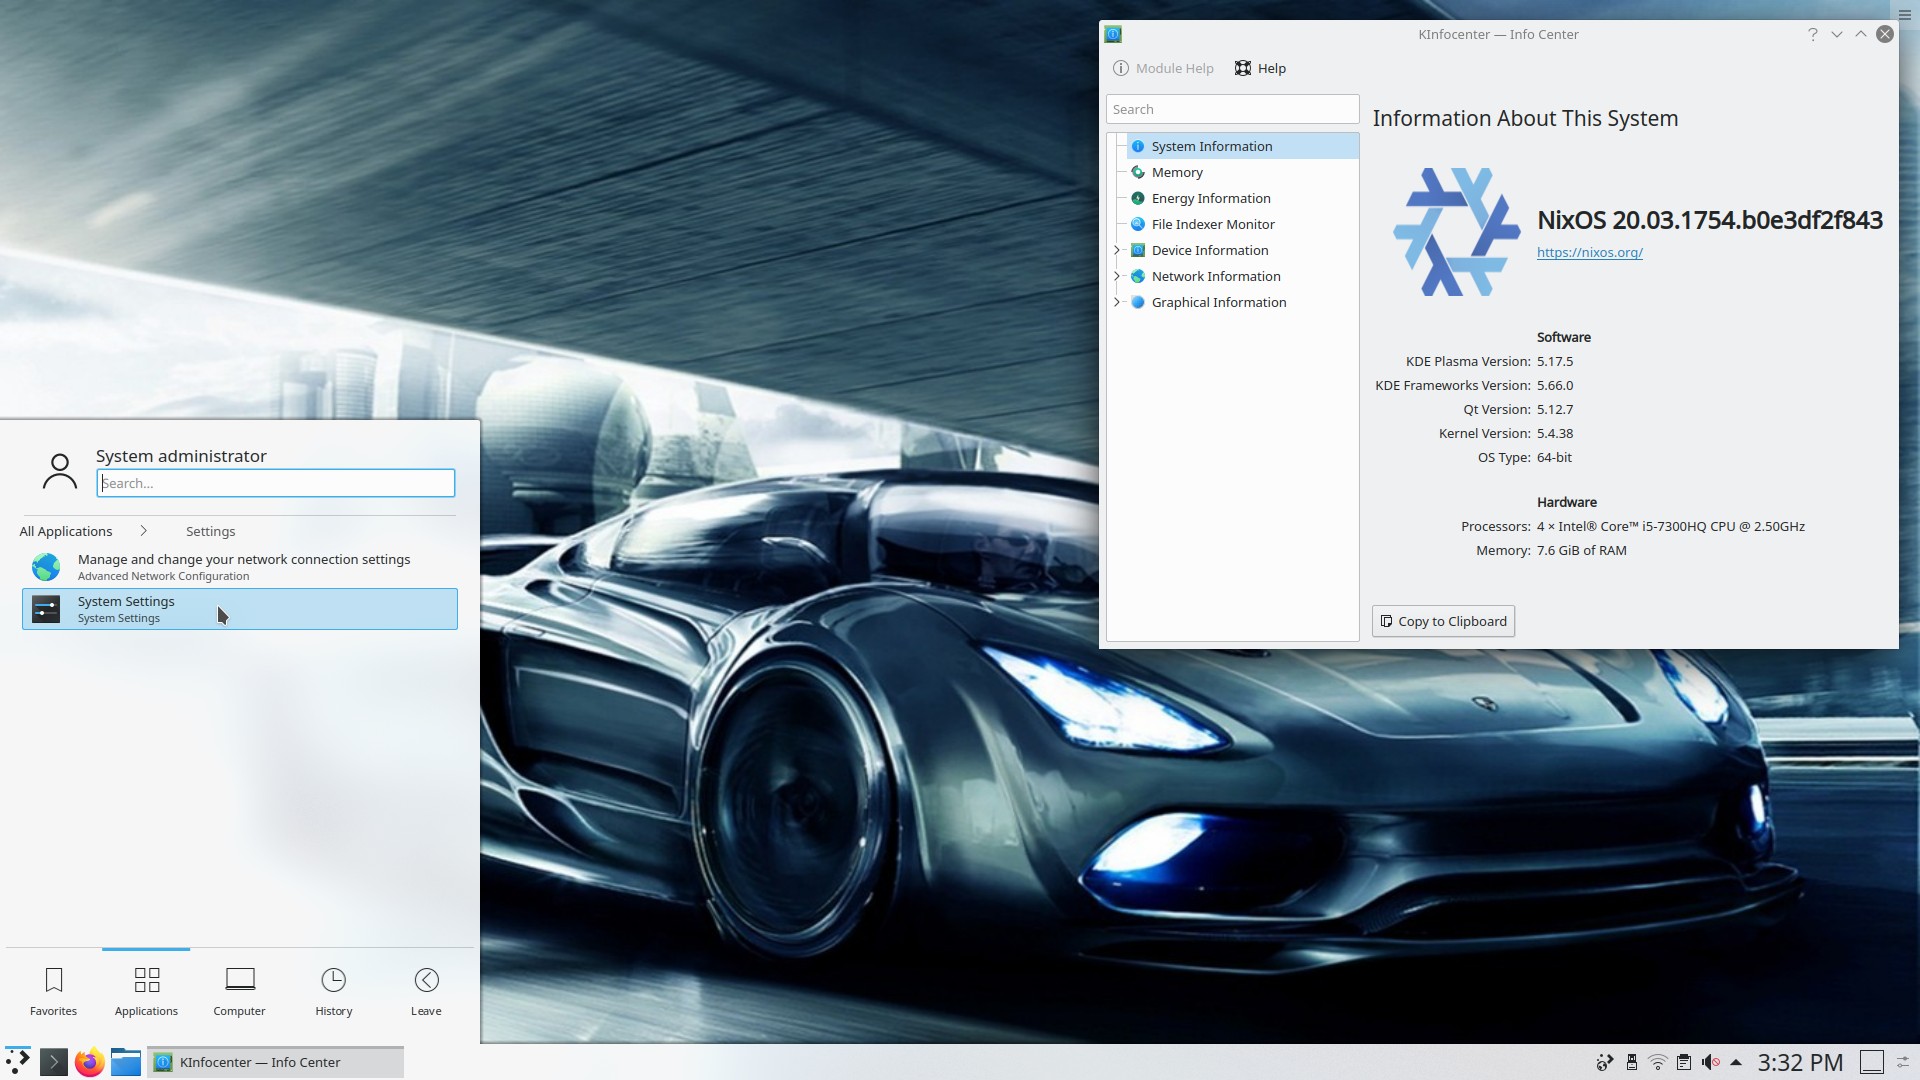
NixOS is a Linux distribution with a unique approach to package and configuration management. Built on top of the Nix package manager, it is completely declarative, makes upgrading systems reliable, and has many other advantages.

I think NixOS is a very interesting and useful Linux system, but a bit difficult to handle, since it doesn’t work like any other Linux system. I.e. the installation to hard drive is very special, the file system is different and NixOS uses special commands, which you can’t use in any other Linux system. However, if you follow my instruction below you can install NixOS without messing up your current Grub boot configuration and finally enjoy NixOS running from hard drive.

INSTRUCTION
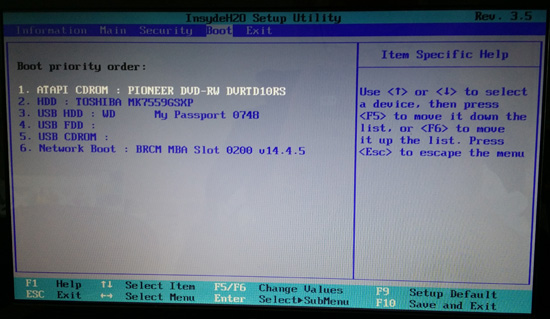
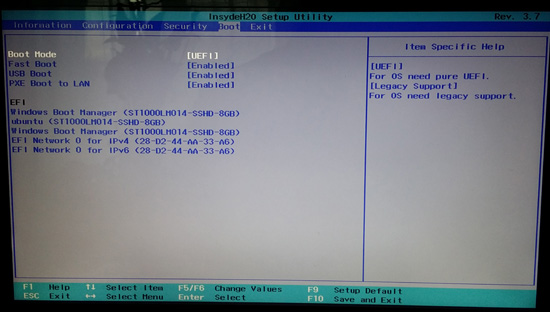
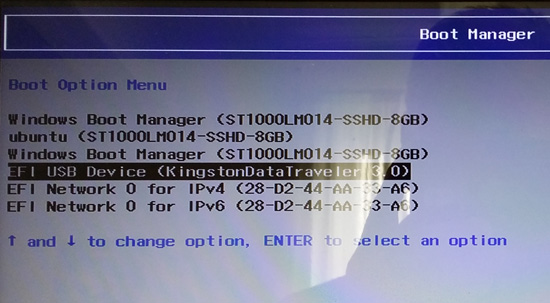
1. Download NixOS and install the ISO to a USB stick using Rufus 3.10 in Windows. Start up your computer from the USB stick
2. Install NixOS by following the NixOS Installation Manual
3. Add the lines below to /etc/nixos/configuration.nix and be sure not to install Grub during the NixOS installation. Open configuration.nix with Nano.

boot.loader = {

grub.enable = true;
grub.version = 2;
grub.device = “nodev”;
};

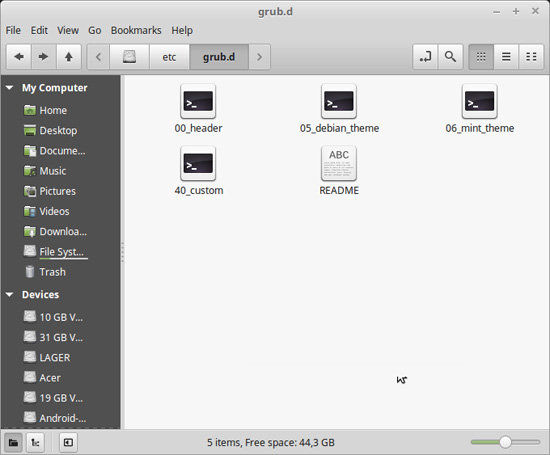
4. Reboot and start up the Linux system (for example Ubuntu) where you have Grub installed. Add the lines below to /boot/grub.cfg or
/etc/grub.d/40_custom

menuentry ‘NixOS’ {
boot.loader.grub.device = “nodev”;
set root='(hd0,X)’
configfile ‘/boot/grub/grub.cfg’;
}

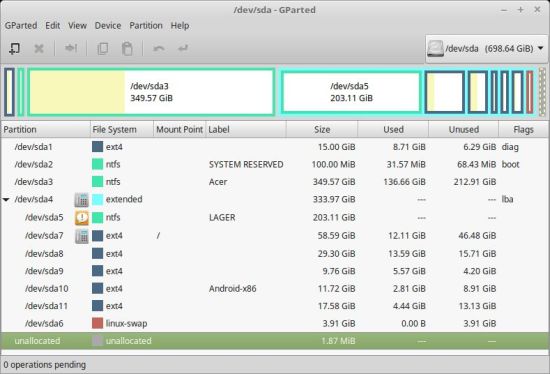
NOTE1: You shall of course replace “X” with the correct number for your install partition. For example (hd0,6)

5. If something goes wrong you can always chroot (change root) into your NixOS partition. Do it like this.
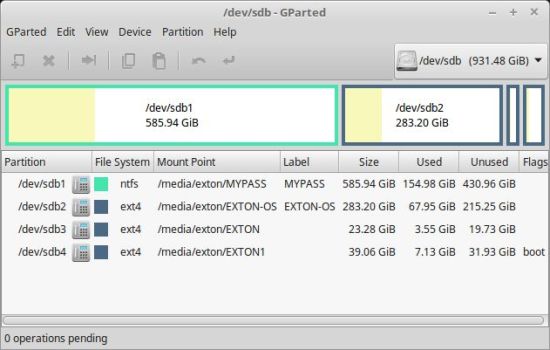
A) Start up your computer from the NixOS DVD or USB stick and run the command mount /dev/disk/by-label/nixos /mnt
B) Then run the command nixos-enter
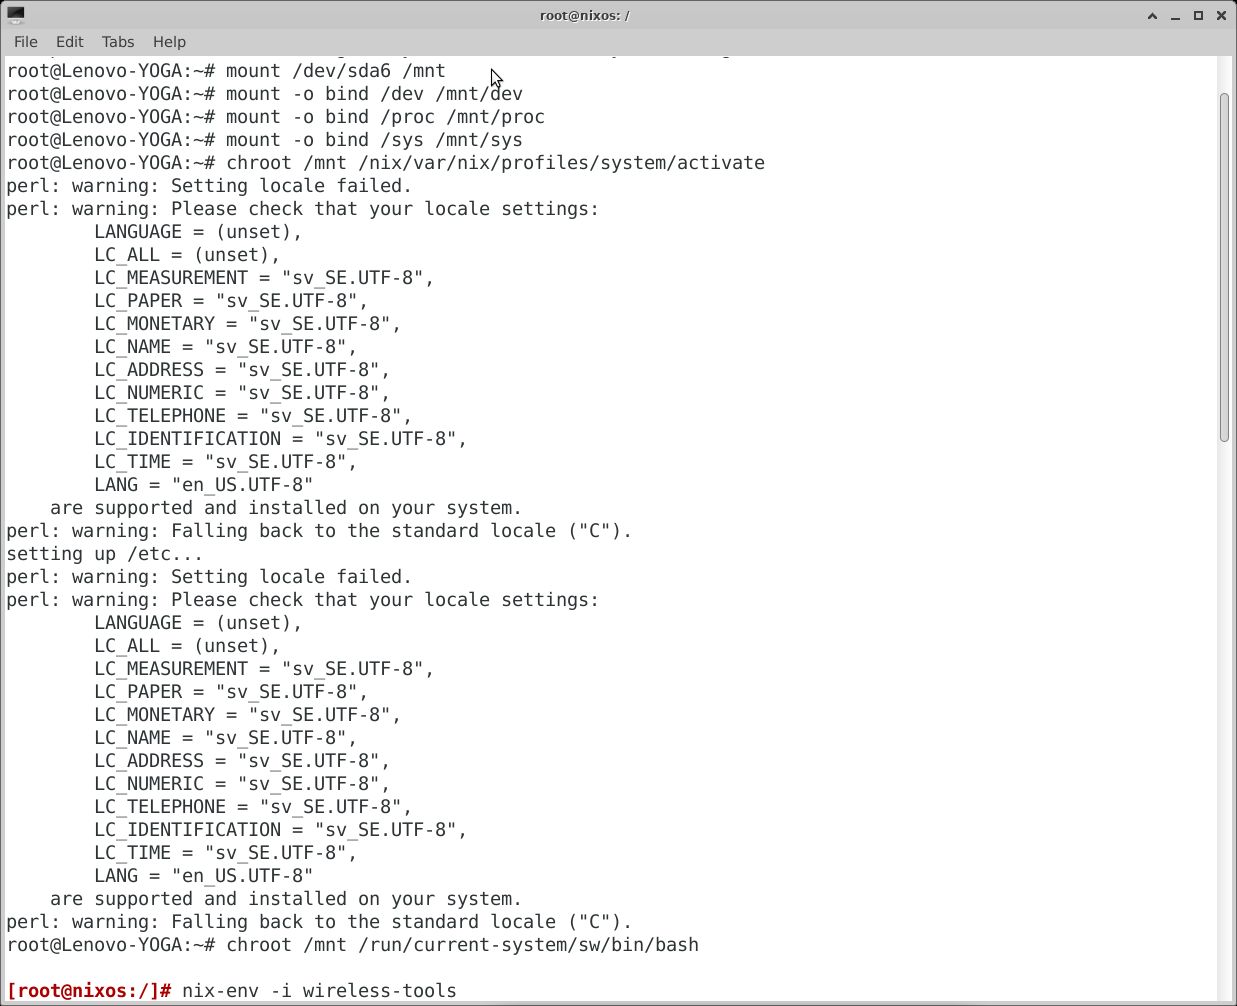
C) You can also do a manual chroot from any Linux system – watch this screenshot
D) Now you can install any extra (or missed) packages. Example: nix-env -i wireless-tools
NOTE2: When installing packages in chroot you may get an error message saying that the “Operation is not permitted”.
That can be fixed by adding the line nix.readOnlyStore = false to the end of /etc/nixos/configuration.nix.
NOTE3:  While in chroot you may not get a Internet connection. That is fixed by editing /etc/resolv.conf. Add the line nameserver 8. 8.8.8. Open resolv.conf with the command nano /etc/resolv.conf.

Difficulties with NetworkManager
If you can’t get a Internet connection through WiFi when you have started NixOS from hard drive you should start up your computer from the DVD/USB stick again and chroot as described above.

A) Then install NetworkManager and NM-applet with the command: nix-env -i network-manager network-manager-applet

B) Edit /etc/nixos/configuration.nix like this – see below. (Open the file with Nano).

networking.wireless.enable = false;
## Only one daemon, wireless or networkmanager, could be ## enabled at the same time.
networking.networkmanager.enable = true;

C) Rebuild NixOS with the command:
nixos-rebuild switch –upgrade –show-trace

D) Reboot and start NetworkManager service daemon with the command: systemctl restart networkmanager
NOTE: The last command may not be necessary. If you see the NM-applet to the right in the panel just click on it and connect.

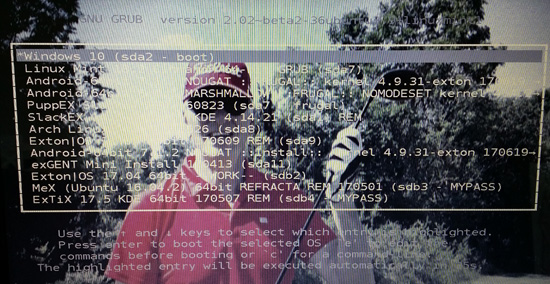
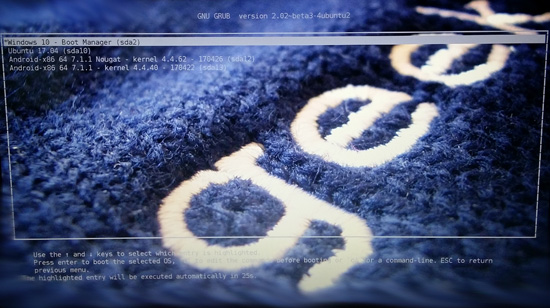
About multiboot with Grub
On the computer where I now have NixOS installed I also have nine (9) other Linux systems and Windows 10 installed. Study my Grub configuration (/boot/grub/grub.cfg). You may also find my instruction How To dual boot, triple boot or multi boot Linux with Windows in a simple way and be happy interesting.

Screenshots from my NixOS installation
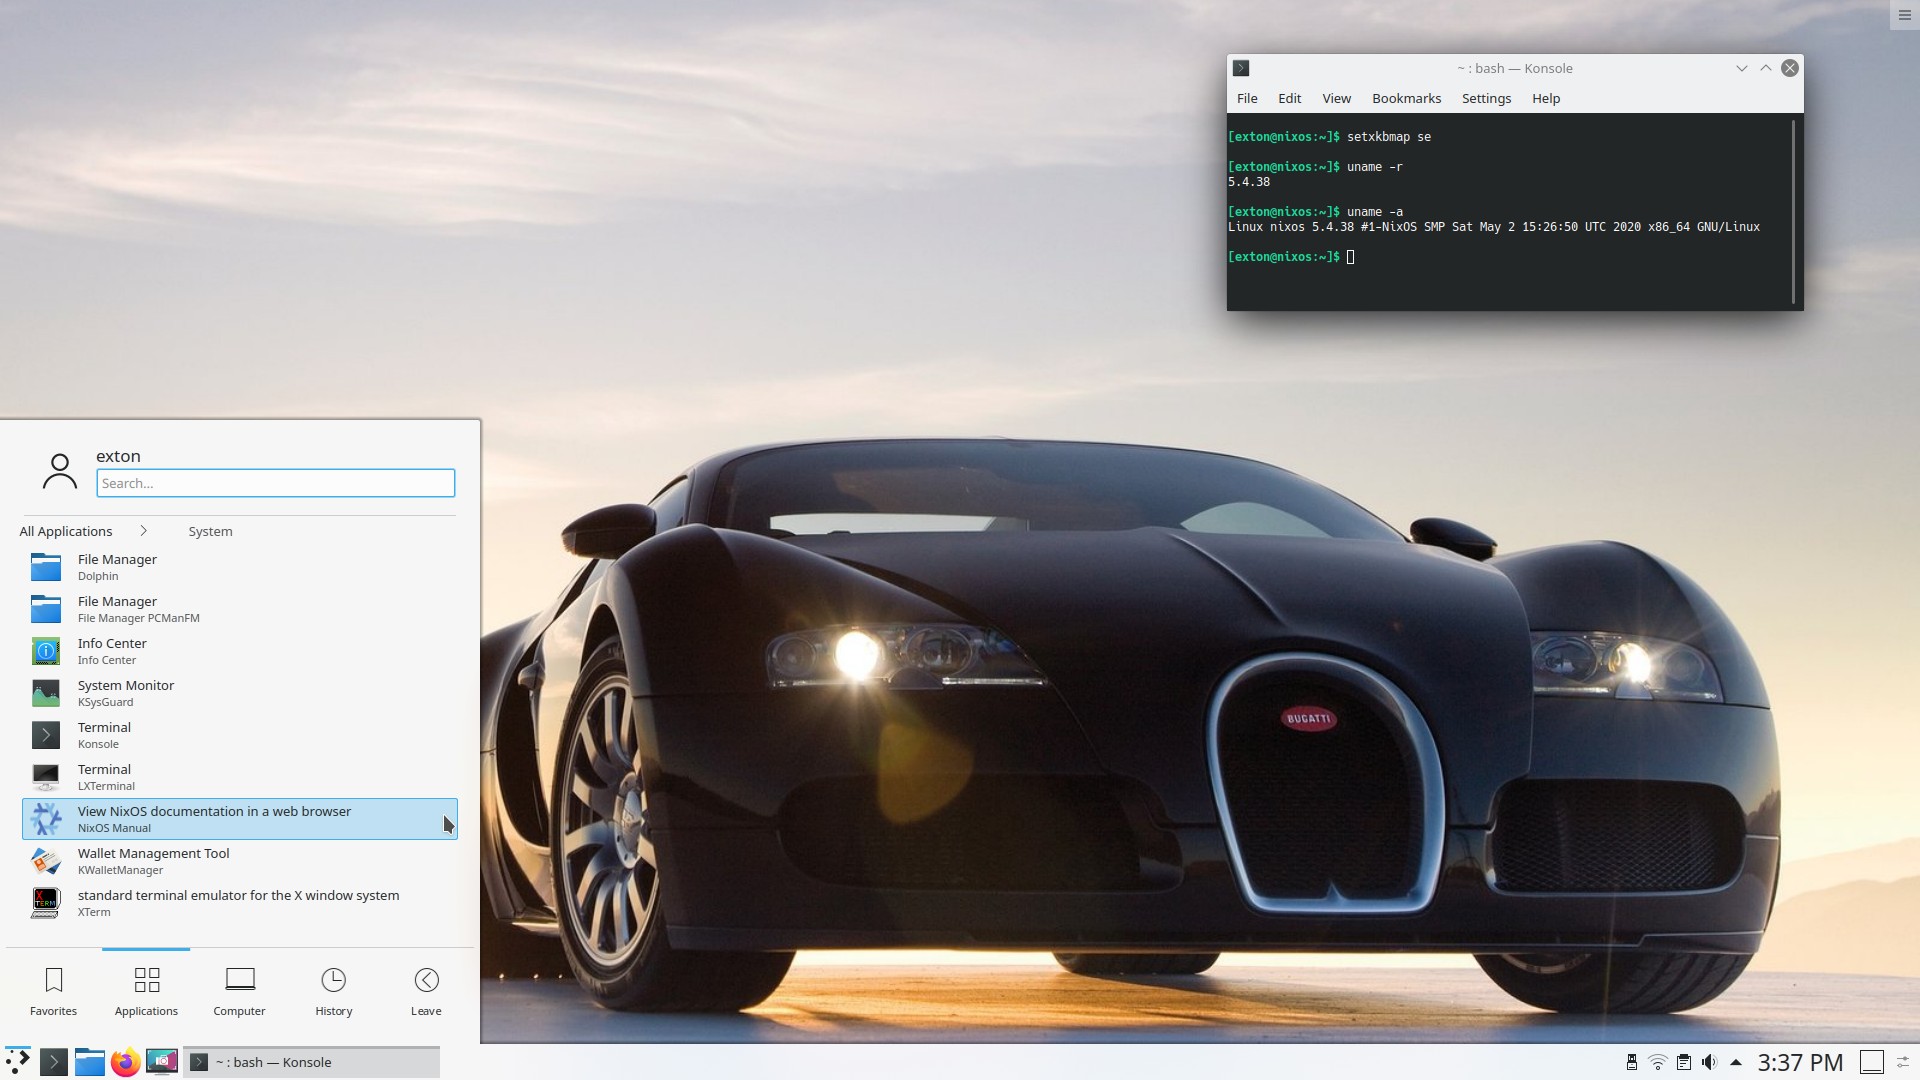
1. The Desktop when running as root

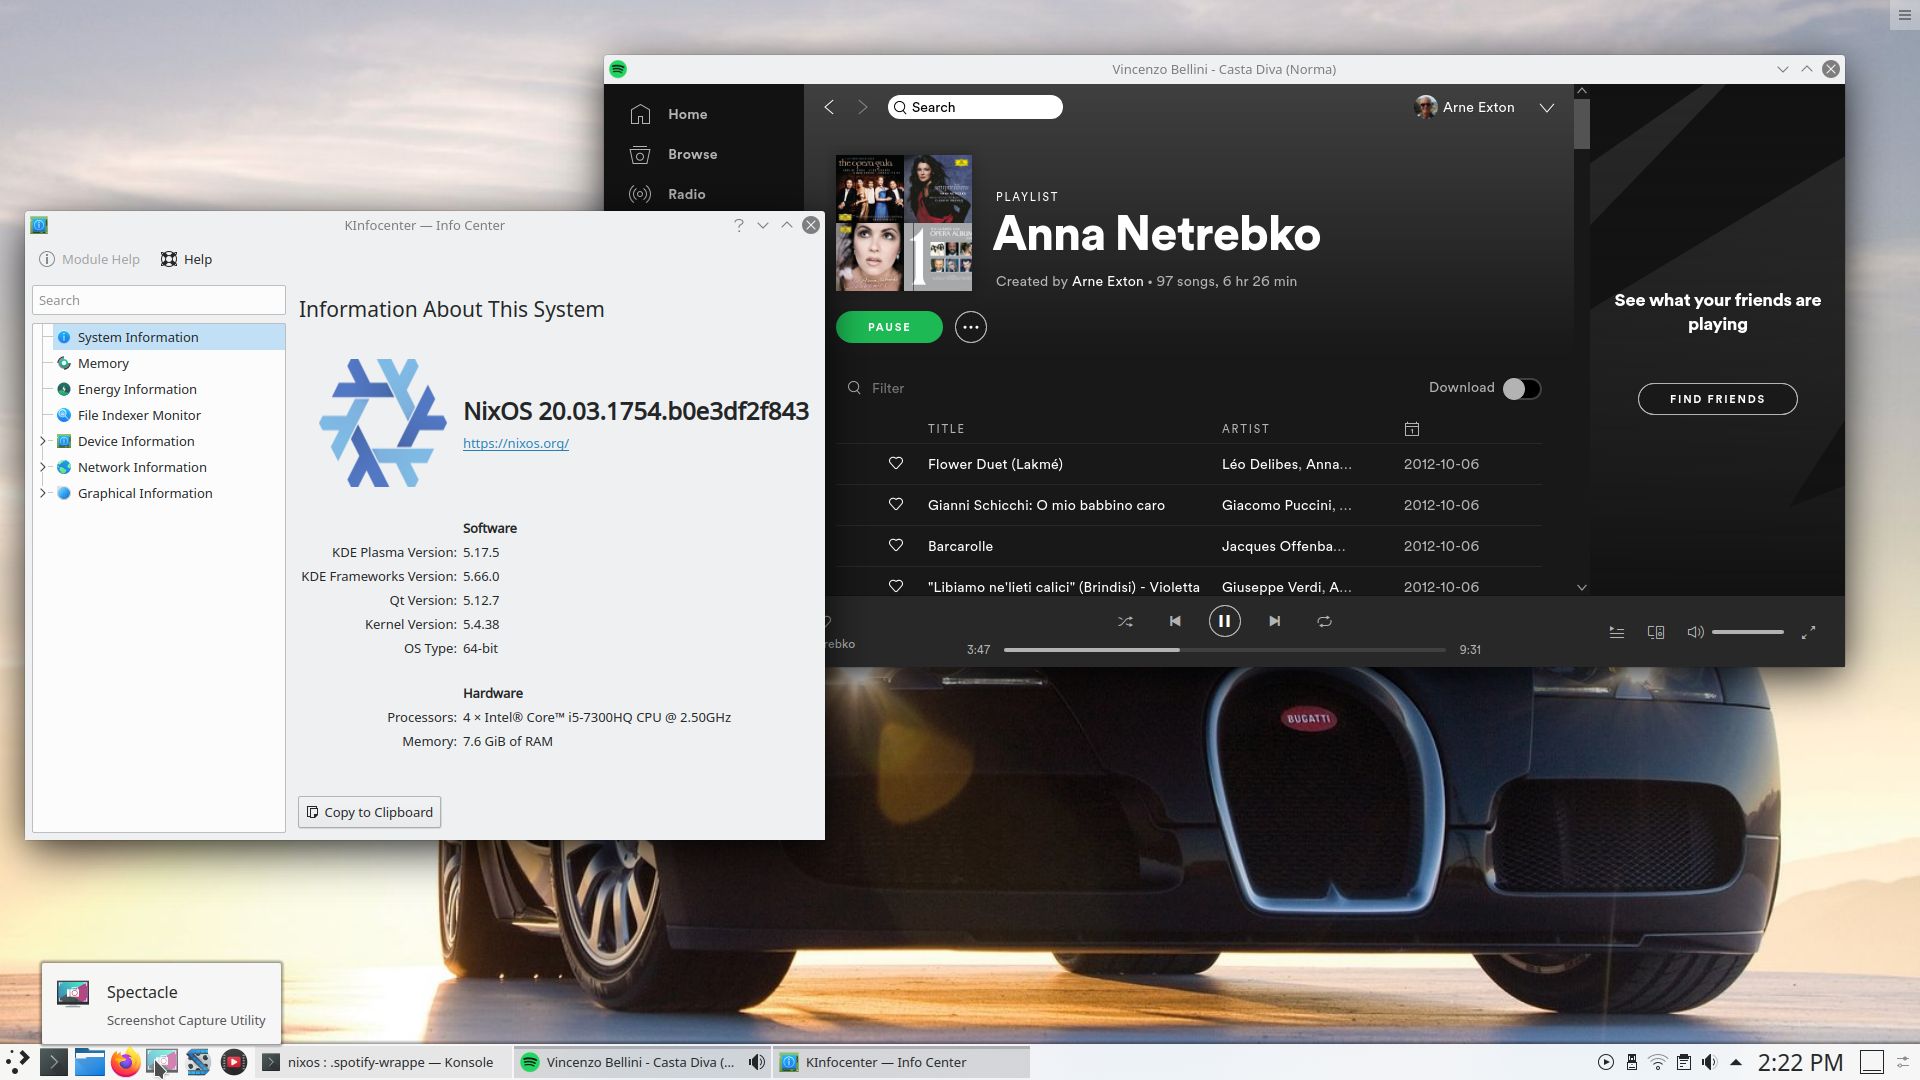
2. The Desktop when running as an ordinary user
3. Spotify is running (install Spotify with the command: nix-env -i spotify)

Good luck!  /exton

Read about my Android-x86 Systems – 10, Pie, Oreo, Nougat, Marshmallow, Lollipop and KitKat at

andex.exton.net – latest is AndEX 10 (with GAPPS) and AndEX Pie 9.0 (also with GAPPS)!
and
about my Pie, Oreo, Nougat, Marshmallow and Lollipop versions for Raspberry Pi 3/2 at
raspex.exton.se – latest is RaspAnd Pie 9.0 (without GAPPS) and RaspAnd Oreo 8.1 (with GAPPS)!

Latest News about EXTON Linux MultiBootCD 6-OS – Build 190215

Latest News about EXTON Linux MultiBootCD 6-OS 15.2.2019
A new version of EXTON Linux MultibootCD 6-OS is ready. Changes: New (latest) versions of Porteus, GParted Live, Puppy Linux (PuppEX Slack64), 4MLinux, SliTaz and Tiny Core. Note about VirtualBox/VMware: All systems can run in VirtualBox and VMware.

1. Porteus v. 4.0  >> Screenshot

Porteus is a complete linux operating system that is optimized to run from CD, USB flash drive, hard drive, or other bootable storage media. 

2. PuppEX Slack64 (Puppy Linux) >> Screenshot
Puppy Linux uses unique Puppy scripts. Puppy loads and runs fast, entirely from Ram. Puppy has optimized programs and wizards. PuppEX Slack 64 bit is a remaster of Puppy Slacko 6.3.2. Google Chrome is included. Just to make it possible to watch Netflix movies. The NVIDIA Graphics driver 367.35 is also included. Kernel 4.7.2-x86_64-puppex is used.

3. Tiny Core 10.0 >> Screenshot
Tiny Core Linux is a very small (16 MB) minimal Linux GUI Desktop. It is based on Linux kernel, Busybox, Tiny X, and Fltk. The core runs entirely in ram and boots very quickly.

4. GParted 0.26.1-5-amd64 >> Screenshot
GParted Live is a business card-size live CD distribution with a single purpose – to provide tools for partitioning hard disks in an intuitive, graphical environment.

5. 4MLinux 28.0 >> Screenshot
4MLinux is a miniature Linux distribution focusing on four capabilities: maintenance (by using it as a system rescue live CD), multimedia (for example, for playing video DVDs),mini server (using the inetd daemon), and mystery (meaning console games).

6. SliTaz 5.0 >> Screenshot
SliTaz is a free operating system, working completely in RAM and booting from removable media such as a cdrom or USB key. The system is quick and responsive, clean and robust. SliTaz is simple and intuitive, providing a lightweight, elegant desktop, detailed documentation and easy to use configuration tools.

READ MORE…

How-to dual-boot, triple-boot or multi-boot Linux with Windows in a simple way and be happy

How-to dual-boot, triple-boot or multi-boot Linux with Windows in a simple way and be happy…

In this instruction I will show you how easy it is to have several Linux systems installed on one computer together with for example Windows 10. The configuration is so simple a ten year old child can do it.

BACKGROUND
Ubuntu and all Linux systems based on Ubuntu (such as Linux Mint) uses Grub2 as boot manager. Also Debian and most other Linux systems use Grub2. Grub2 works differently from the old Grub Legacy.

UEFI BIOS and non-UEFI BIOS
The Extensible Firmware Interface (EFI) or its version 2.x variant, Unified EFI (UEFI) is a firmware type that is widespread on recent computers, especially those more recent than 2010Ubuntu wiki.

Configuring Grub2 – Example for non-UEFI BIOS computers
One of my computers, an Acer Aspire 5750G from 2010, has a 750 GB hard drive and an external USB hard drive of 1000 GB. On that computer I have Windows 10 and twelve (12) different Linux systems installed. Of those twelve systems three are Android-x86 systems (AndEX Nougat and AndEX Marshmallow). Below I will describe step by step how I configured Grub2 in the easiest way possible.

1. The computer was delivered with Windows 7 (now updated to Windows 10) preinstalled on /dev/sda2 and /dev/sda3. I immediately started up my computer from a Linux Mint Live DVD. Using GParted, I created seven new partitions on the internal hard drive and three on the external USB hard drive. After that I installed Mint on /dev/sda7 and Grub2 in MBR at the same time as the installer also suggested. Then I restarted my computer and checked that Mint (and Windows) could be started. Everything worked (as expected) fine. See the screenshots below showing how my partitioning looks like now.

The internal hard drive partitions
Note the 4 GB SWAP partition on /dev/sda6

The external USB drive partitions

2. Then it was time to install Arch Linux on /dev/sda8. When the installation prompted installation of Grub2 during installation, I chose to install Grub2 on /dev/sda8. Such an installation of Grub2 does not affect the existing Grub2 installation in MBR. I did it just the same to find out “start data” for Arch Linux. I then read these start data from Mint in the /mnt/sda8/boot/grub/grub.cfg file.

3. After that I started Mint on /dev/sda7 again. Now it was time to get a real “multiboot computer” using Grub2. This is how I did it:
A) In /etc/grub.d I deleted all files except 00_header, 05_debian_theme, 06_mint_theme, 40_custom and README. Said folder then looked like this.


B)
I edited the /etc/grub.d/40_custom file to look like this. Note that this is how my 40_custom file looks like now when I have installed totally twelve Linux systems. The start data for Arch Linux (see above) was already fixed by looking at the /mnt/sda8/boot/grub/grub.cfg file. I could do it in a similar way when I installed the other eleven Linux systems.

Since this instruction is a bit old (from July 7, 2017) you can also have a look at the 40_custom file as it is today (211212) on one of my other computers – link.

C) Finally, I ran the update-grub command. Then the /boot/grub/grub.cfg file (which is the file Grub2 “takes into account” at boot) was created/changed. This file (grub.cfg) should never be edited manually. Instead, edit the file 40_custom, as I showed above. Always use Leafpad or Mousepad (or a similar simple editor) when editing 40_custom. Never LibreOffice Writer or Word or the like of them. Study my present grub.cfg file. When I now start up my Acer Aspire the boot screen look like this.

My BIOS settings on my Acer Aspire look like this.

Configuring Grub2 – Example for UEFI BIOS computers
On another computer (laptop) Lenovo Z50 from 2015 I have Windows 10 installed together with three Linux systems. Ubuntu 17.04 and two Android-x86 systems. Since Windows 10 was installed in UEFI mode I also had to install Ubuntu 17.04 in UEFI mode to be able to configure Grub2 the way I describe above. I went into BIOS and changed the settings to look like this.

When I went into the boot menu in BIOS I could choose my USB stick. In this case Kingston DataTraveler – watch this screenshot.

So I started up Ubuntu 17.04 from the USB stick and installed it on a partition I had created in advance using GParted. Since my Lenovo already had a ESP (EFI System Partition) I installed Grub2 onto that partition. When I now start up my Lenovo the boot screen looks like this. (You can of course install many more Linux systems if you like. Just edit /etc/grub.d/40_custom the way I describe above).

IMPORTANT: Identifying if the computer boots the Ubuntu DVD/USB stick in UEFI mode
If the BIOS is set up to boot the DVD/USB stick in UEFI mode, then you will see the screen below.

If the BIOS is NOT set up to boot the CD in UEFI mode, or if the disk is not 64-bit, then you will see the screen below.


(ExTiX is based on Ubuntu)

Grub2 bootsplash
One of the benefits of Grub2 is that you can have a nice high resolution image as bootsplash/grub boot image. The image may have the same size as the resolution on your screen can handle, for example 1366×768. It is common with a regular image in jpg, png or tga format. Just place the image in /boot/grub and run the update-grub command. If you get the answer that the image is found in /boot/grub it will work. If not, try editing the /etc /default/grub file and add the line
GRUB_BACKGROUND = “/boot/grub/MyNicePicture.png”
Then run the update-grub command again (and restart the computer).

Have a look at my /etc/default/grub file.

Change the text – font and size – which Grub2 shows at boot

Run the following command:
grub-mkfont –output=/boot/grub/DejaVuSansMono.pf2 –size=24 /usr/share/fonts/truetype/ttf-dejavu/DejaVuSansMono.ttf
(Maybe you’ll need to run the command (apt-get install ttf-dejavu first). Then edit the /etc/default/grub file and add the following line.
GRUB_FONT=/boot/grub/DejaVuSansMono.pf2
Run the update-grub command again. After rebooting, the Grub2 boot menu will surely look better (depending on how your boot image looks like).

40_custom on my Lenovo Z50 computer as of today (211212) – see above
Since this instruction is a bit old (from July 7, 2017) you can also have a look at the 40_custom file as it is today (211212) on my Lenovo Z50 laptop – link.

############################################

Good luck!

/exton

Read about my Android-x86 Systems – 10, Pie, Oreo, Nougat, Marshmallow, Lollipop and KitKat at
andex.exton.net – latest is AndEX 10 (with GAPPS) and AndEX Pie 9.0 (also with GAPPS)!
and

about my Android 11, 10, Pie, Oreo, Nougat, Marshmallow and Lollipop versions for Raspberry Pi 4 and 3/2 at
raspex.exton.se
– latest is RaspAnd 11 (with GAPPS) and RaspAnd Oreo 8.1 (also with GAPPS)!