Tag Archives: exton

Exton|Defender SRS based on Fedora “Rawhide” (upcoming Fedora 33) with Cinnamon 4.6.4 and kernel 5.8-rc1 :: Install to USB with persistence! :: Build 200623

About Exton|Defender SRS (Super Rescue System) Build 200623
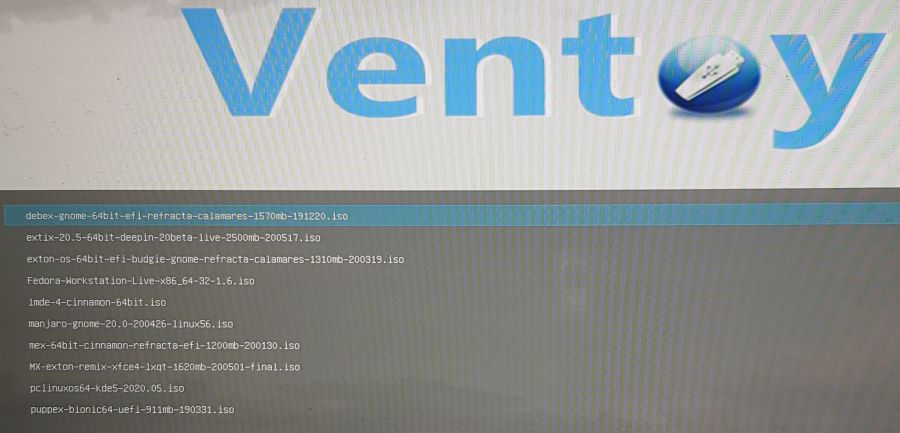
Exton|Defender SRS is a Linux system available as a Live USB/DVD based on Rawhide (upcoming Fedora 33), 64bit – version 200623 – for administrating or repairing your system and data after a crash. Exton|Defender aims to provide an easy way to carry out admin tasks on your computer, such as creating and editing the hard disk partitions. It comes with a lot of Linux software such as system tools and basic tools (editors, Midnight Commander, Network tools). Exton|Defender can, however, also be used as a normal Linux Desktop System. It requires no hard drive installation, but can be installed to hard drive if you want. Desktop environment: Cinnamon 4.6.4. Kernel: 5.8-rc1.

What’s new in kernel 5.8?

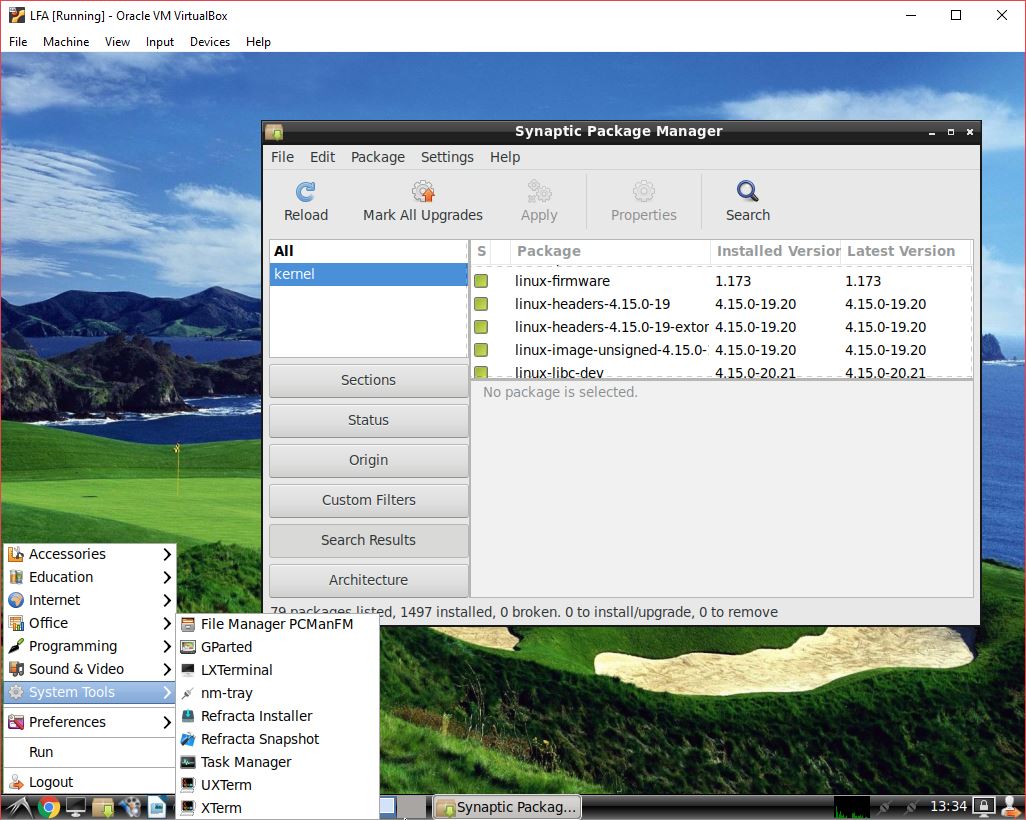
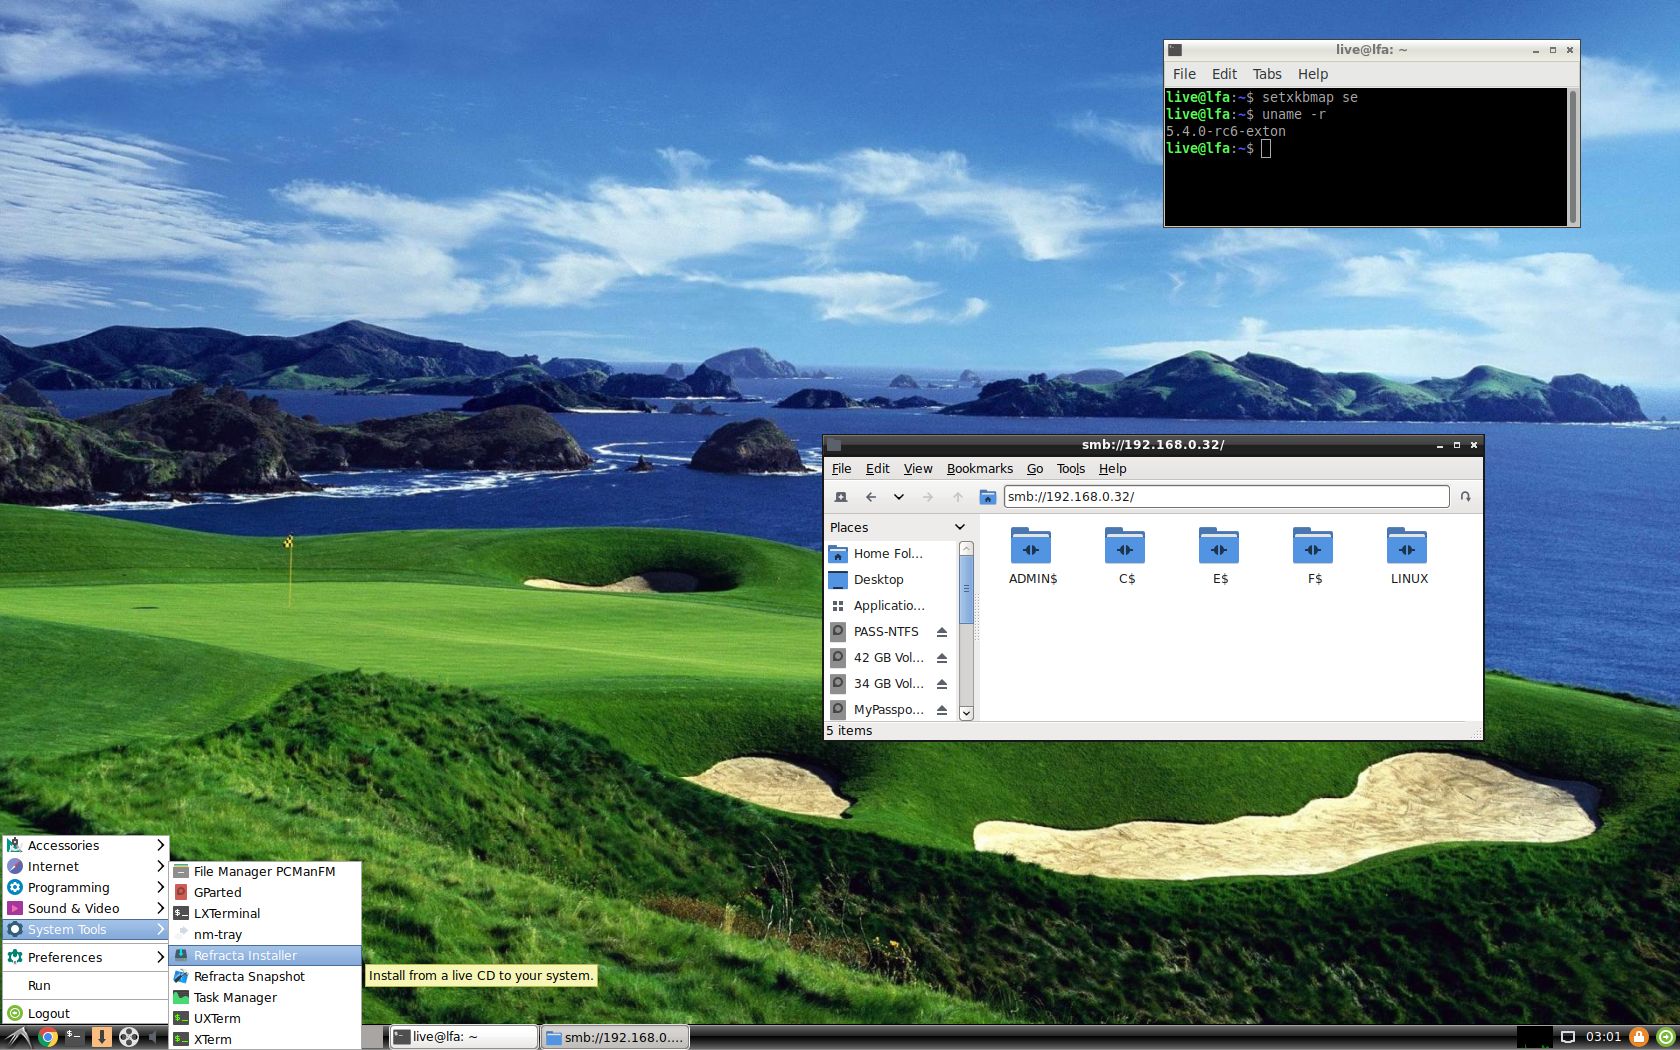
System Tools included
NTFS-3g, GParted, PartImage, Shred, Sfdisk (util-linux-ng), Rsync, Ddrescue, FSArchiver, TestDisk and Midnight Commander. Other programs (among many others): NetworkManager, Firefox, Thunderbird, Samba, Emacs, Safecopy, kernel headers and many compilation tools. See a complete LIST of all installed packages 200623. (Exton|Defender version 200623).

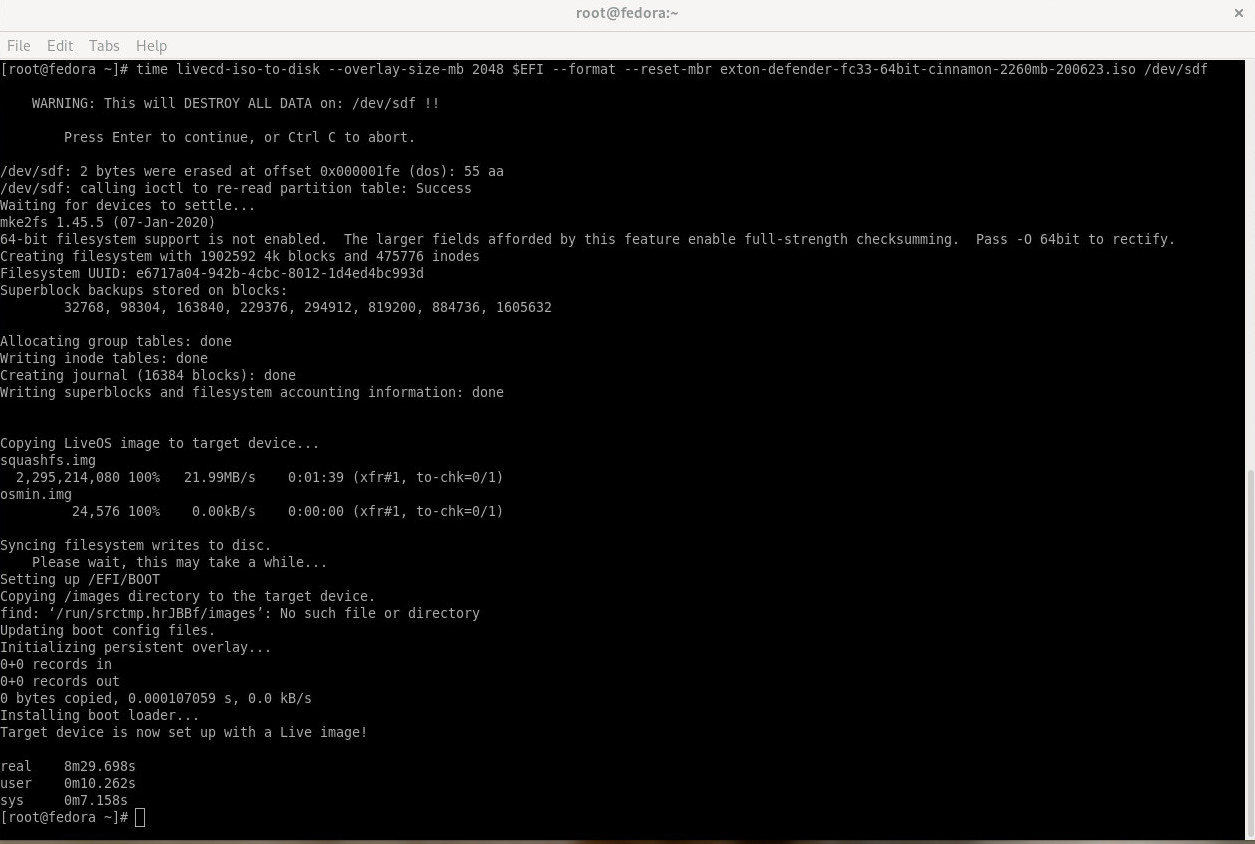
Installation to a USB stick in Fedora or Ubuntu – with persistence!
Use the following command as root in Fedora:

time livecd-iso-to-disk –overlay-size-mb 2048 $EFI –format –reset-mbr exton-defender-fc33-64bit-cinnamon-2260mb-200623.iso /dev/sdX – screenshot when the command is running.
NOTE 1: Change X to b, d, e or… Check it carefully to avoid data losses. You must use the whole stick (for example /dev/sdb) not a partition (for example /dev/sdb1).

NOTE 2: After a few changes you can also use the above command also in Ubuntu. Read more about it…
NOTE 3: The above command is the only one that actually works. And you can’t use Fedora Media Writer (or any other program with a GUI (if you want persistence).
NOTE 4: If you don’t have an installed Fedora system on your computer you can run Exton|Defender from a DVD and install to a USB stick using the command above. Or run Exton|Defender from one USB stick and install on another USB stick.
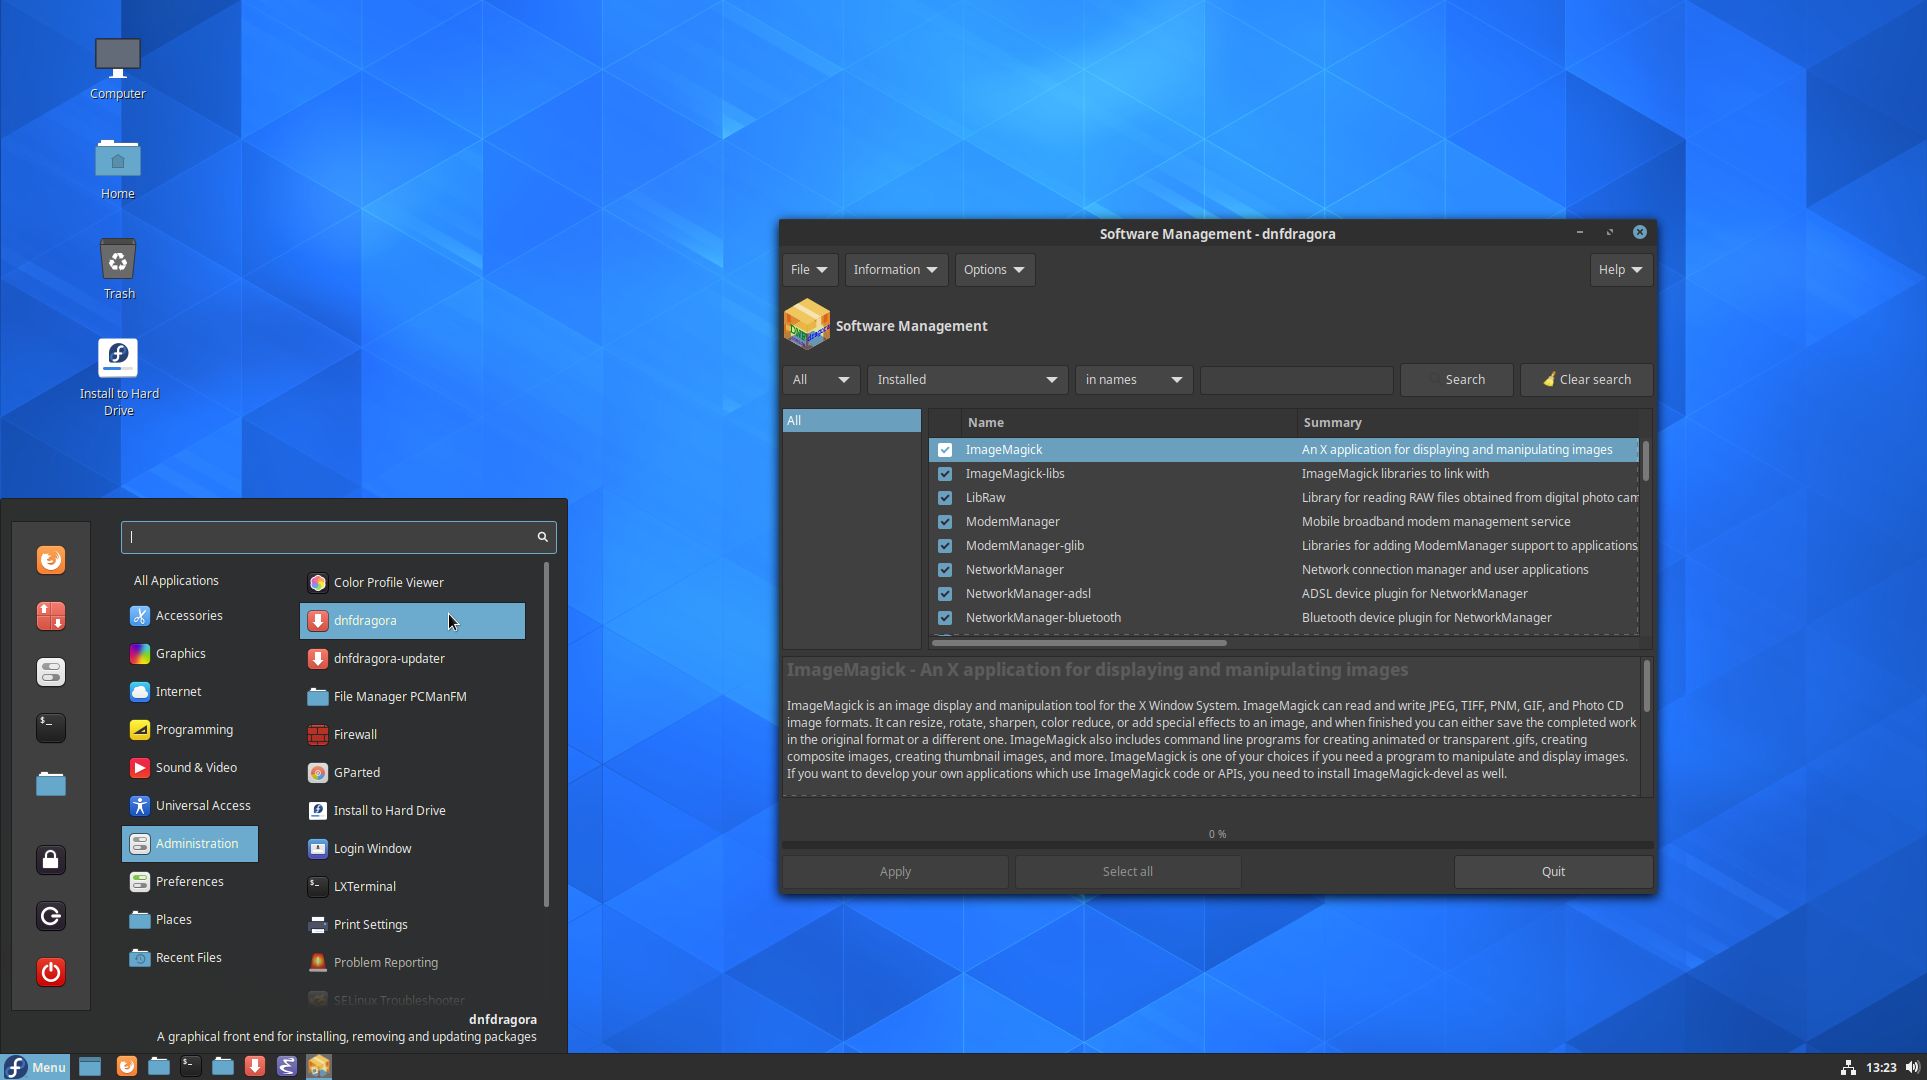
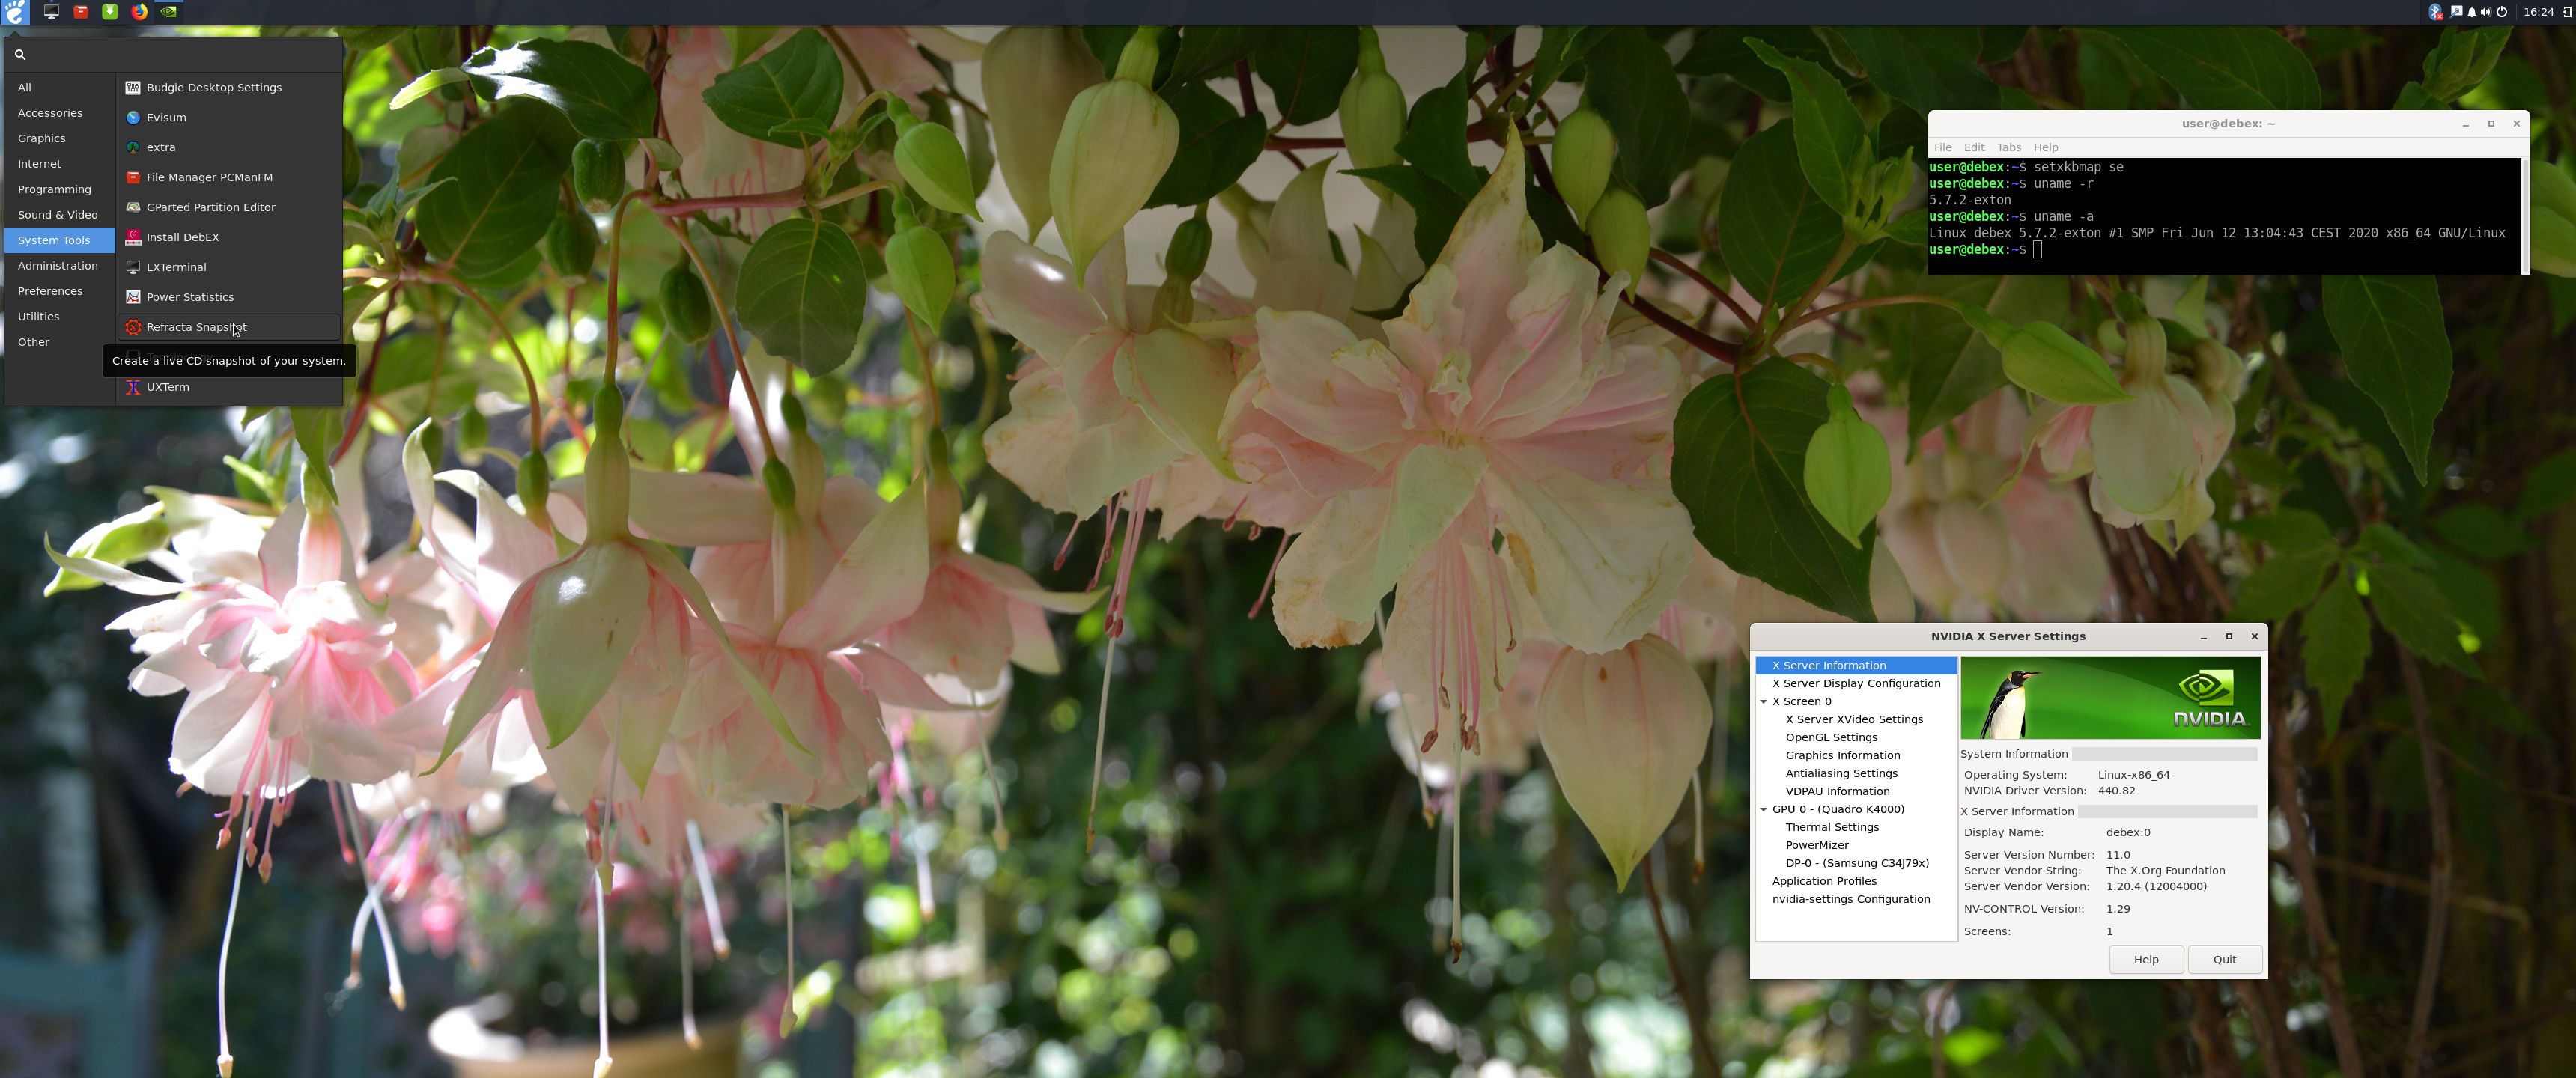
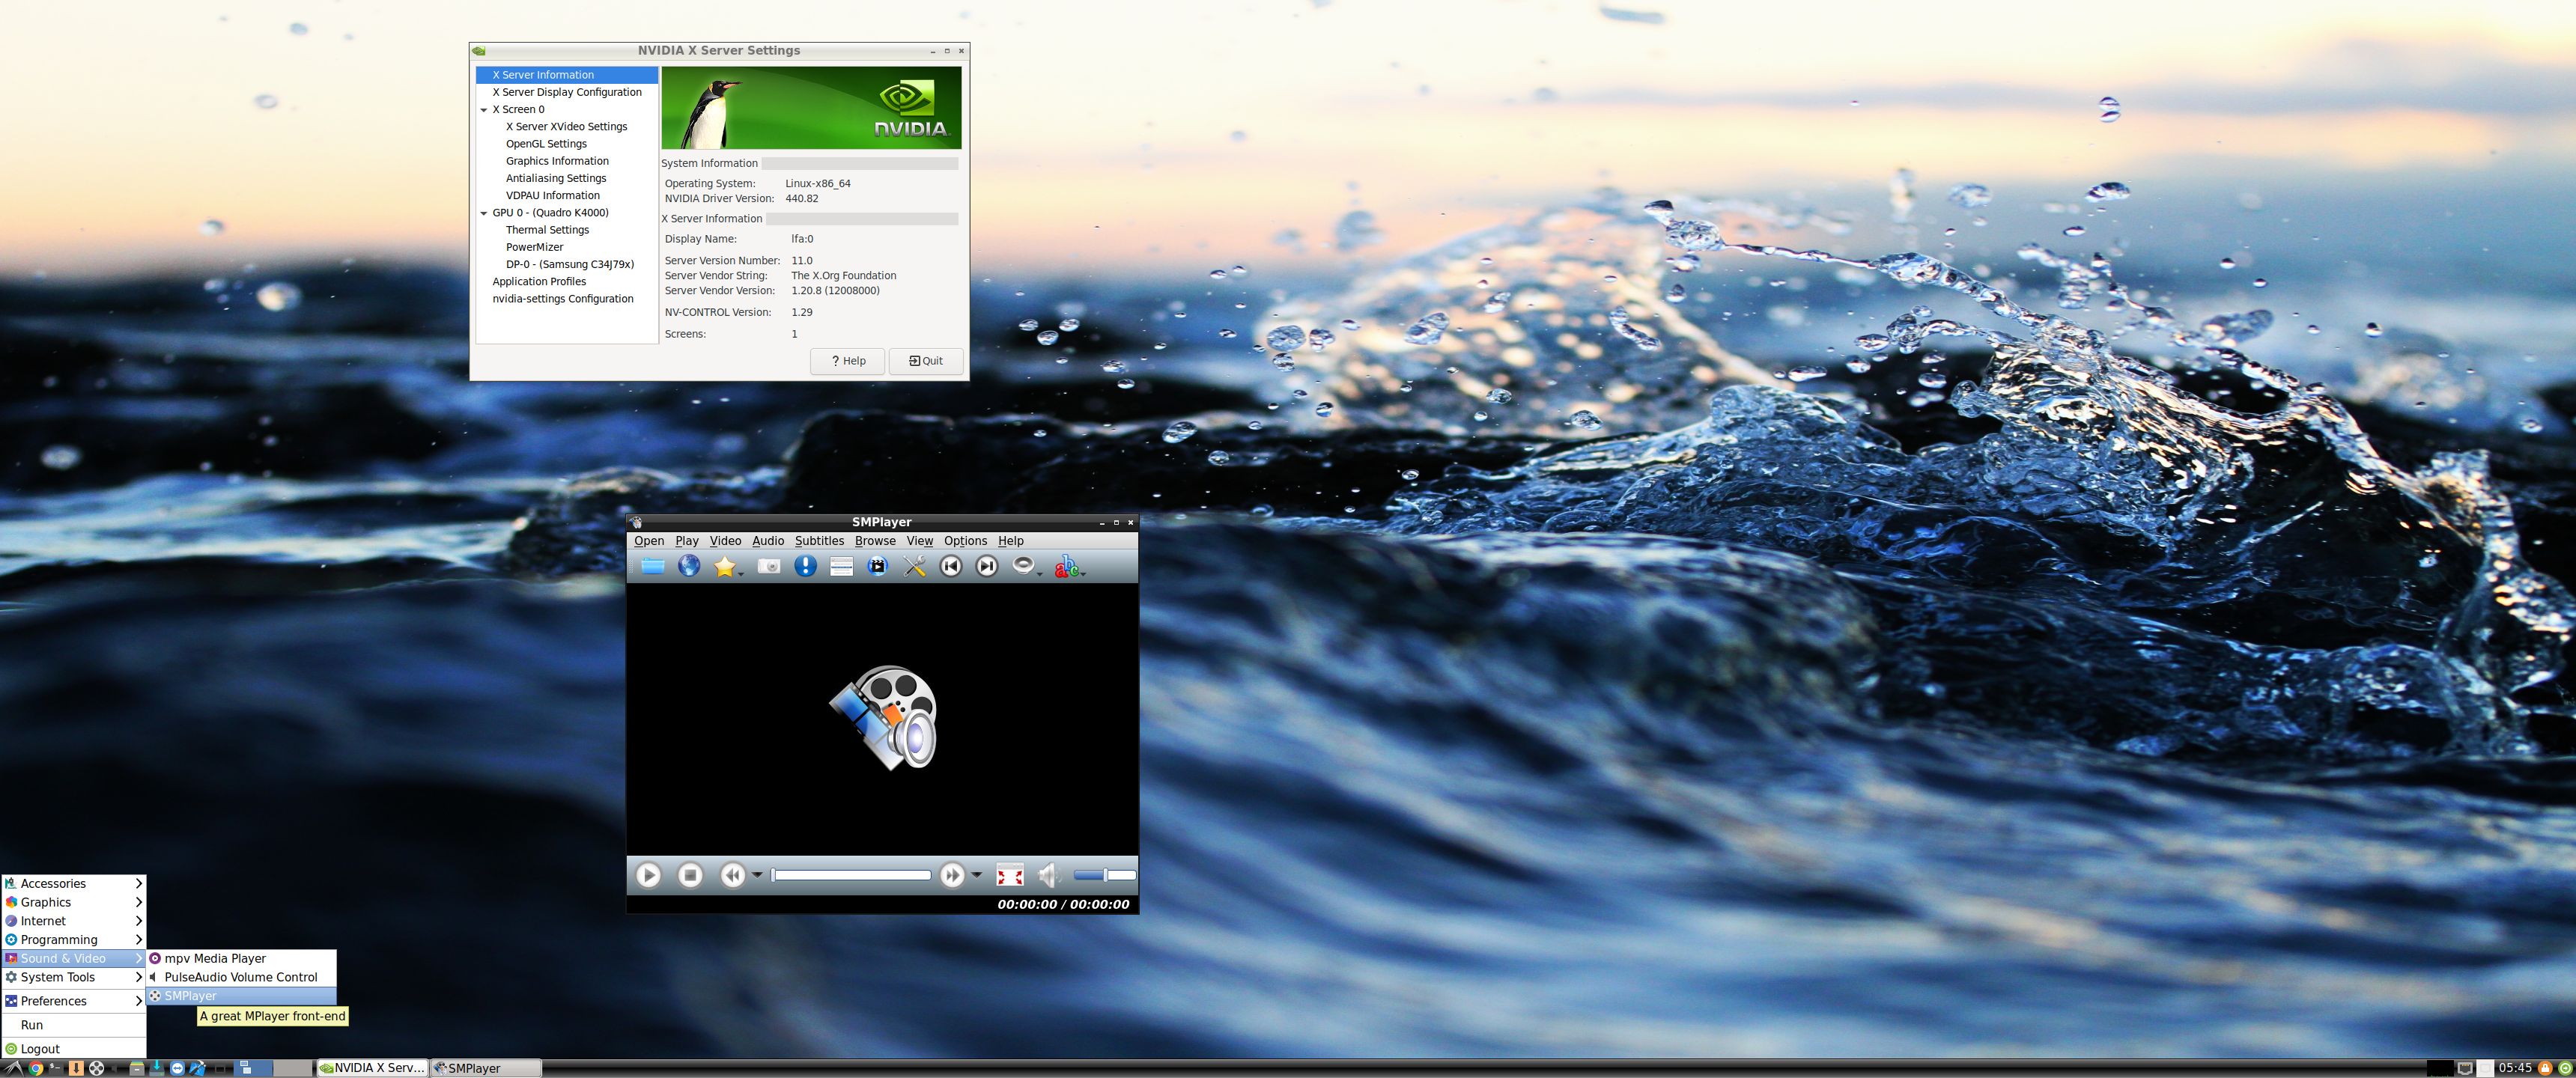
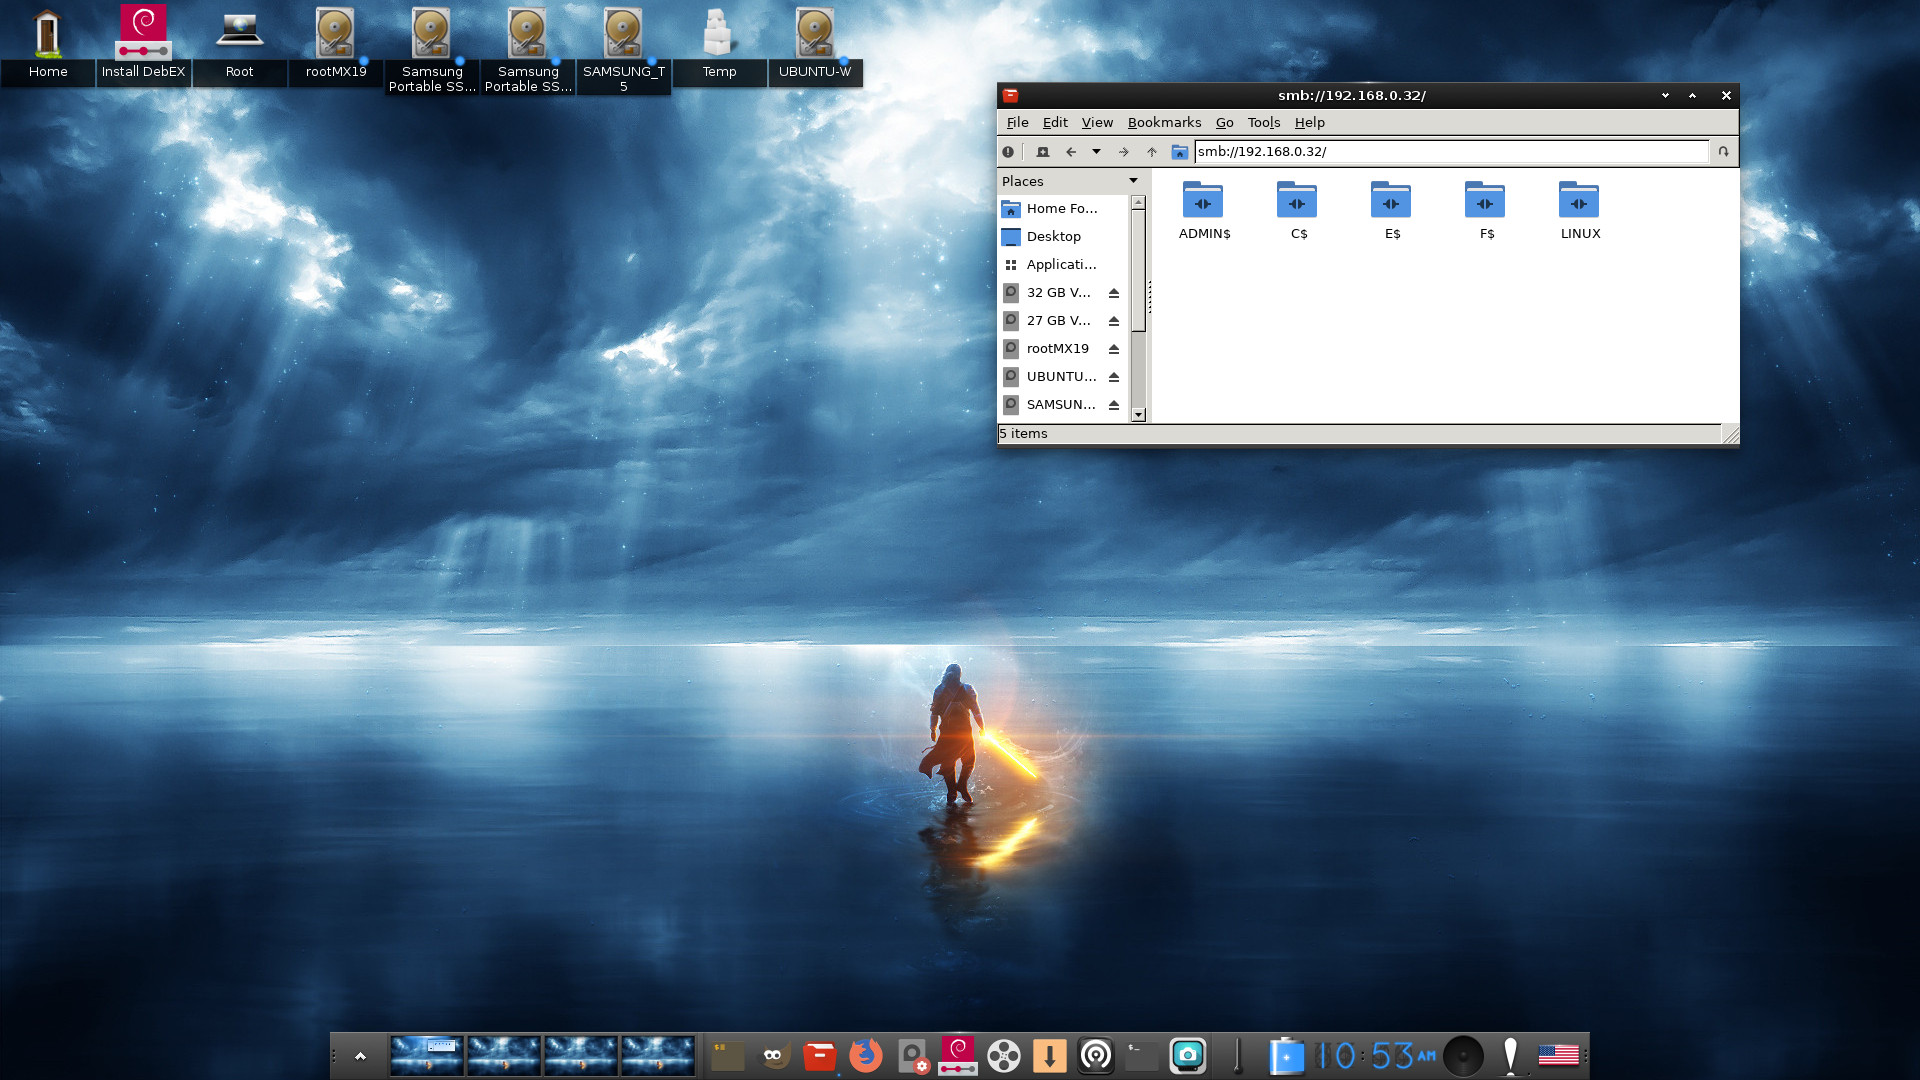
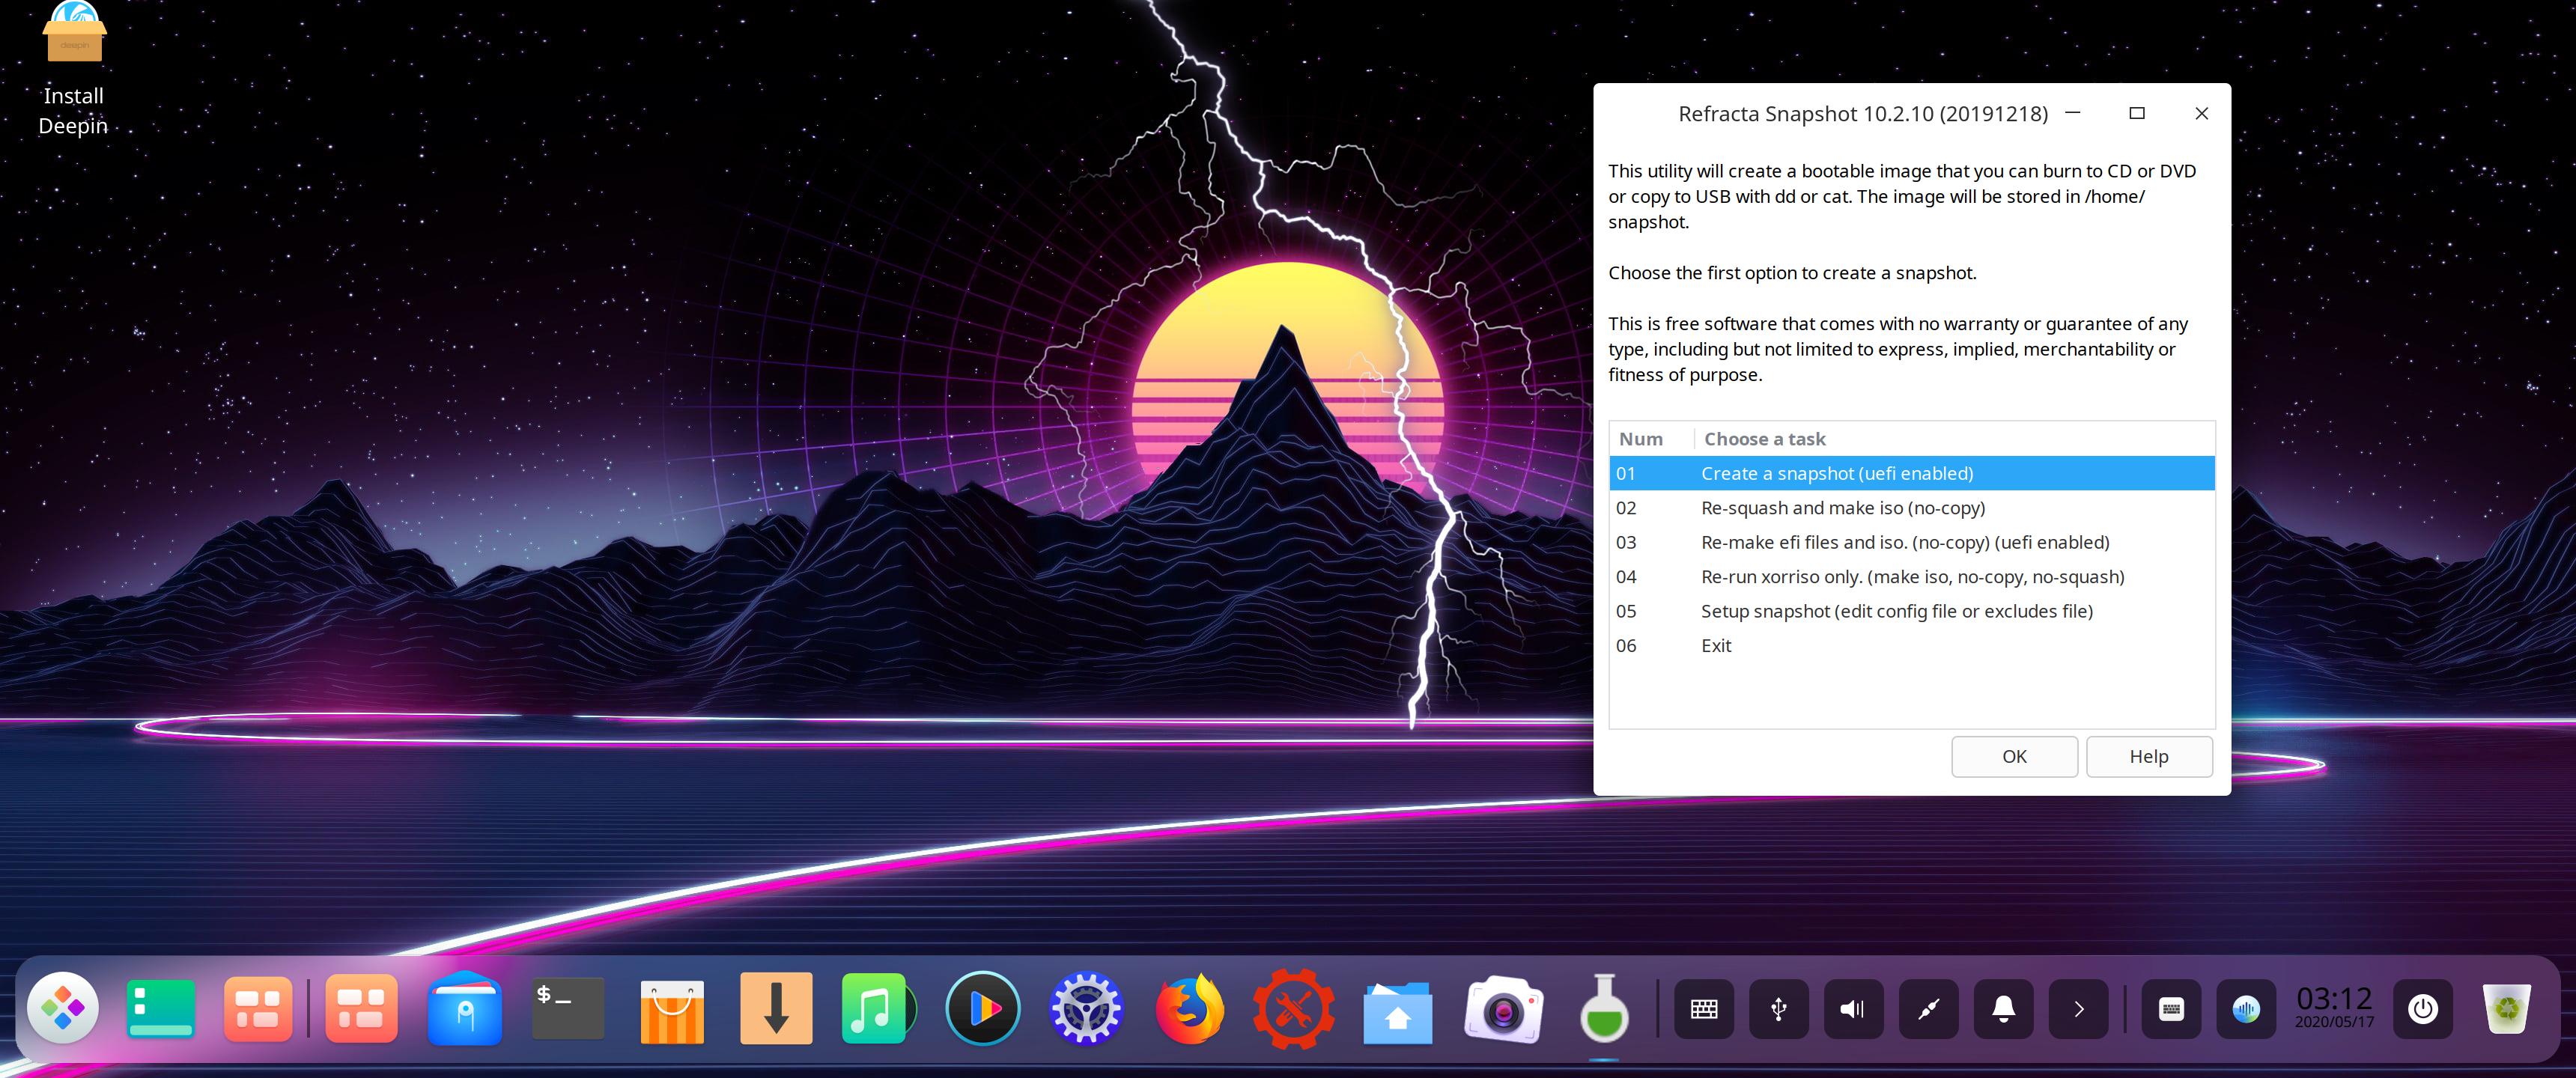
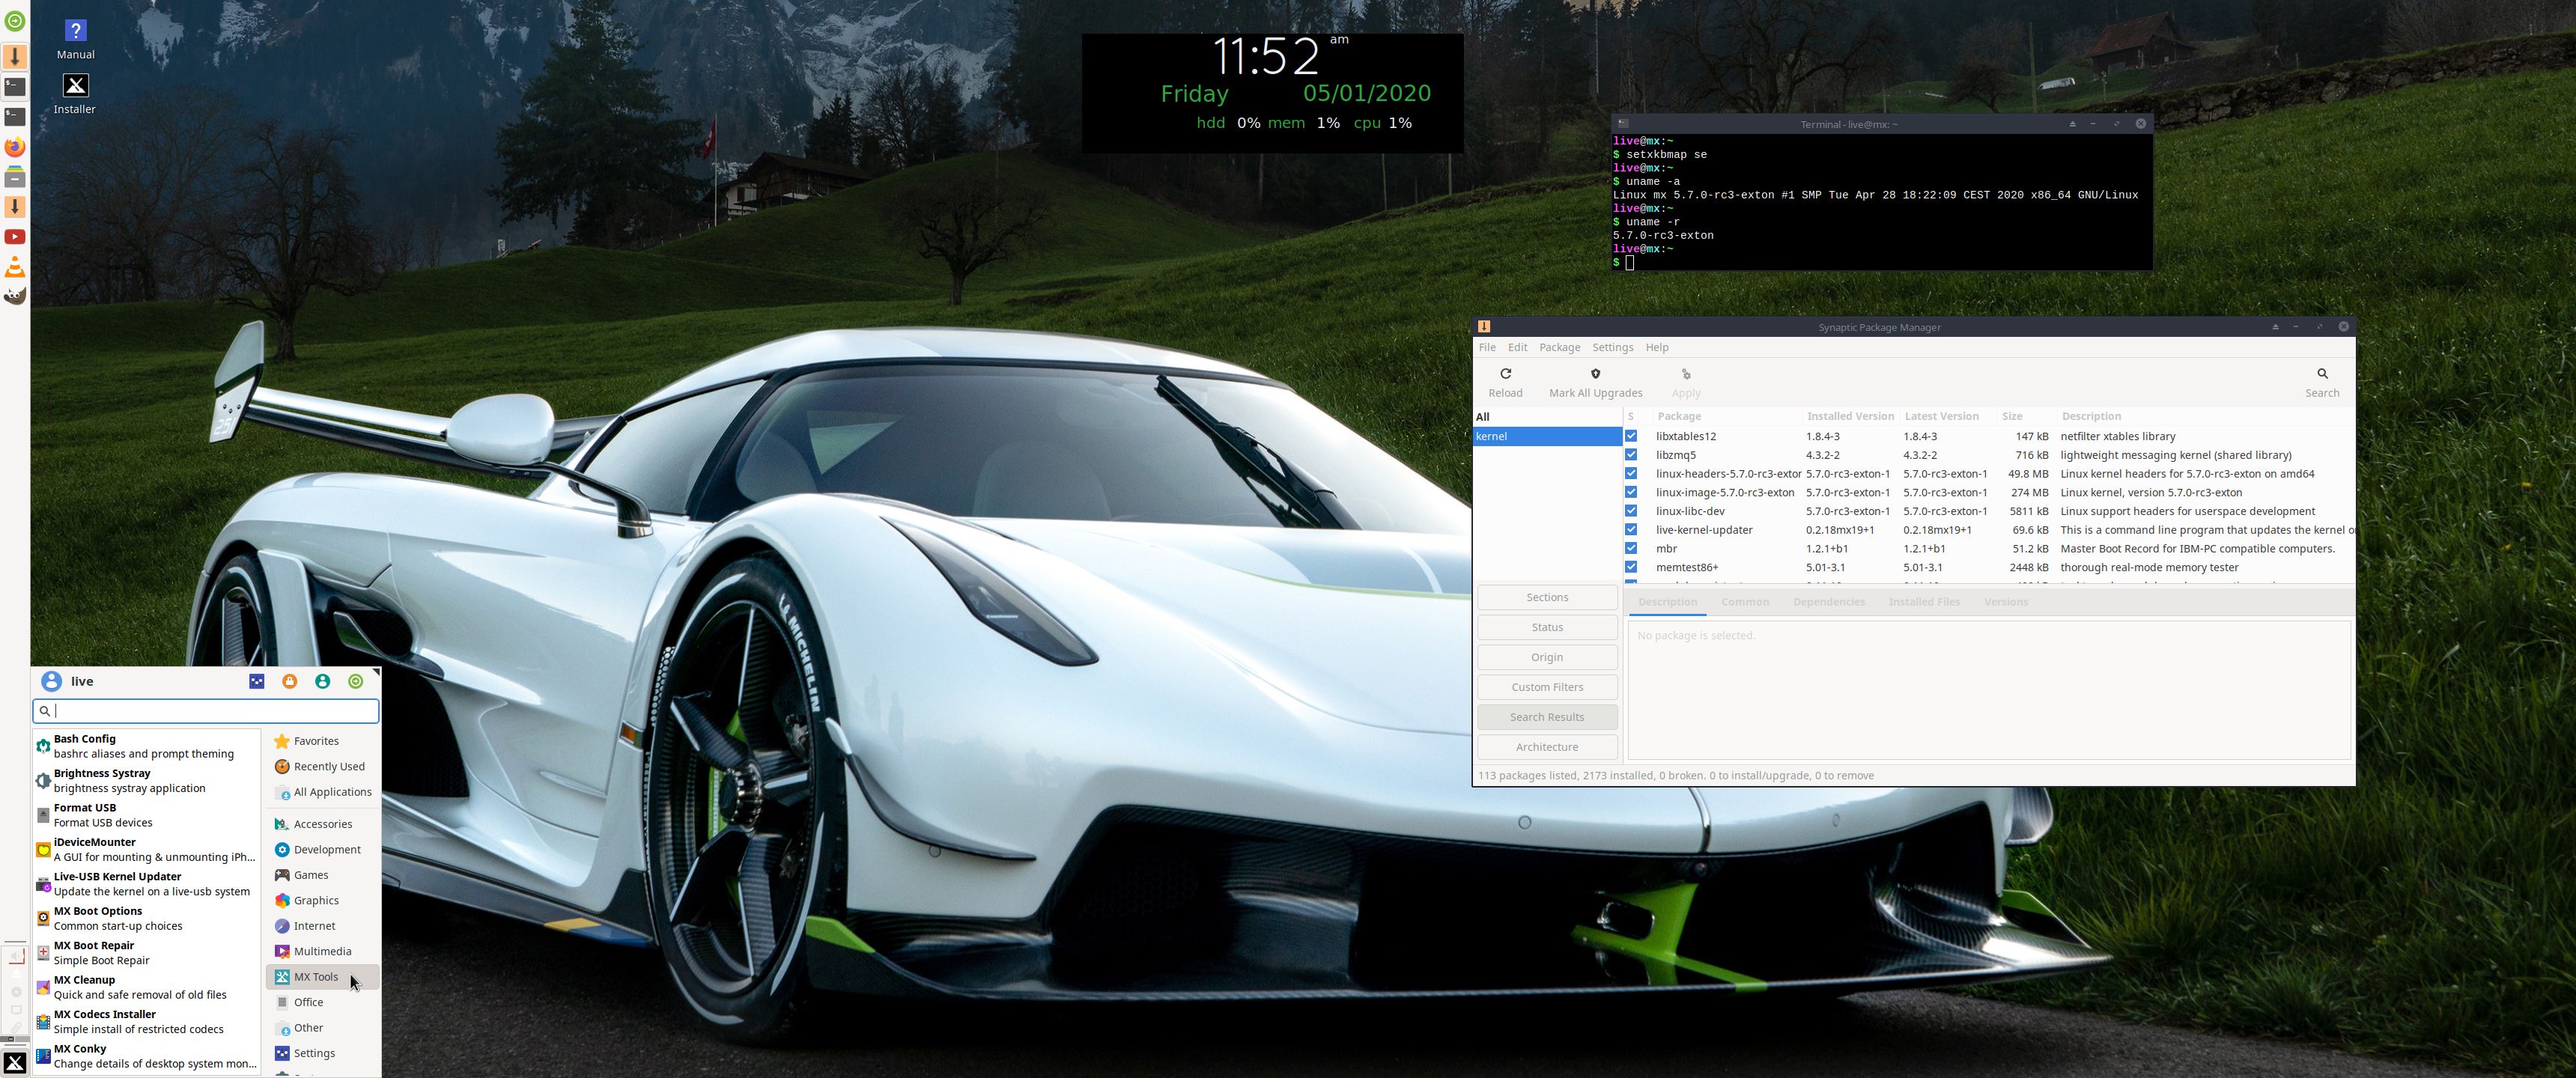
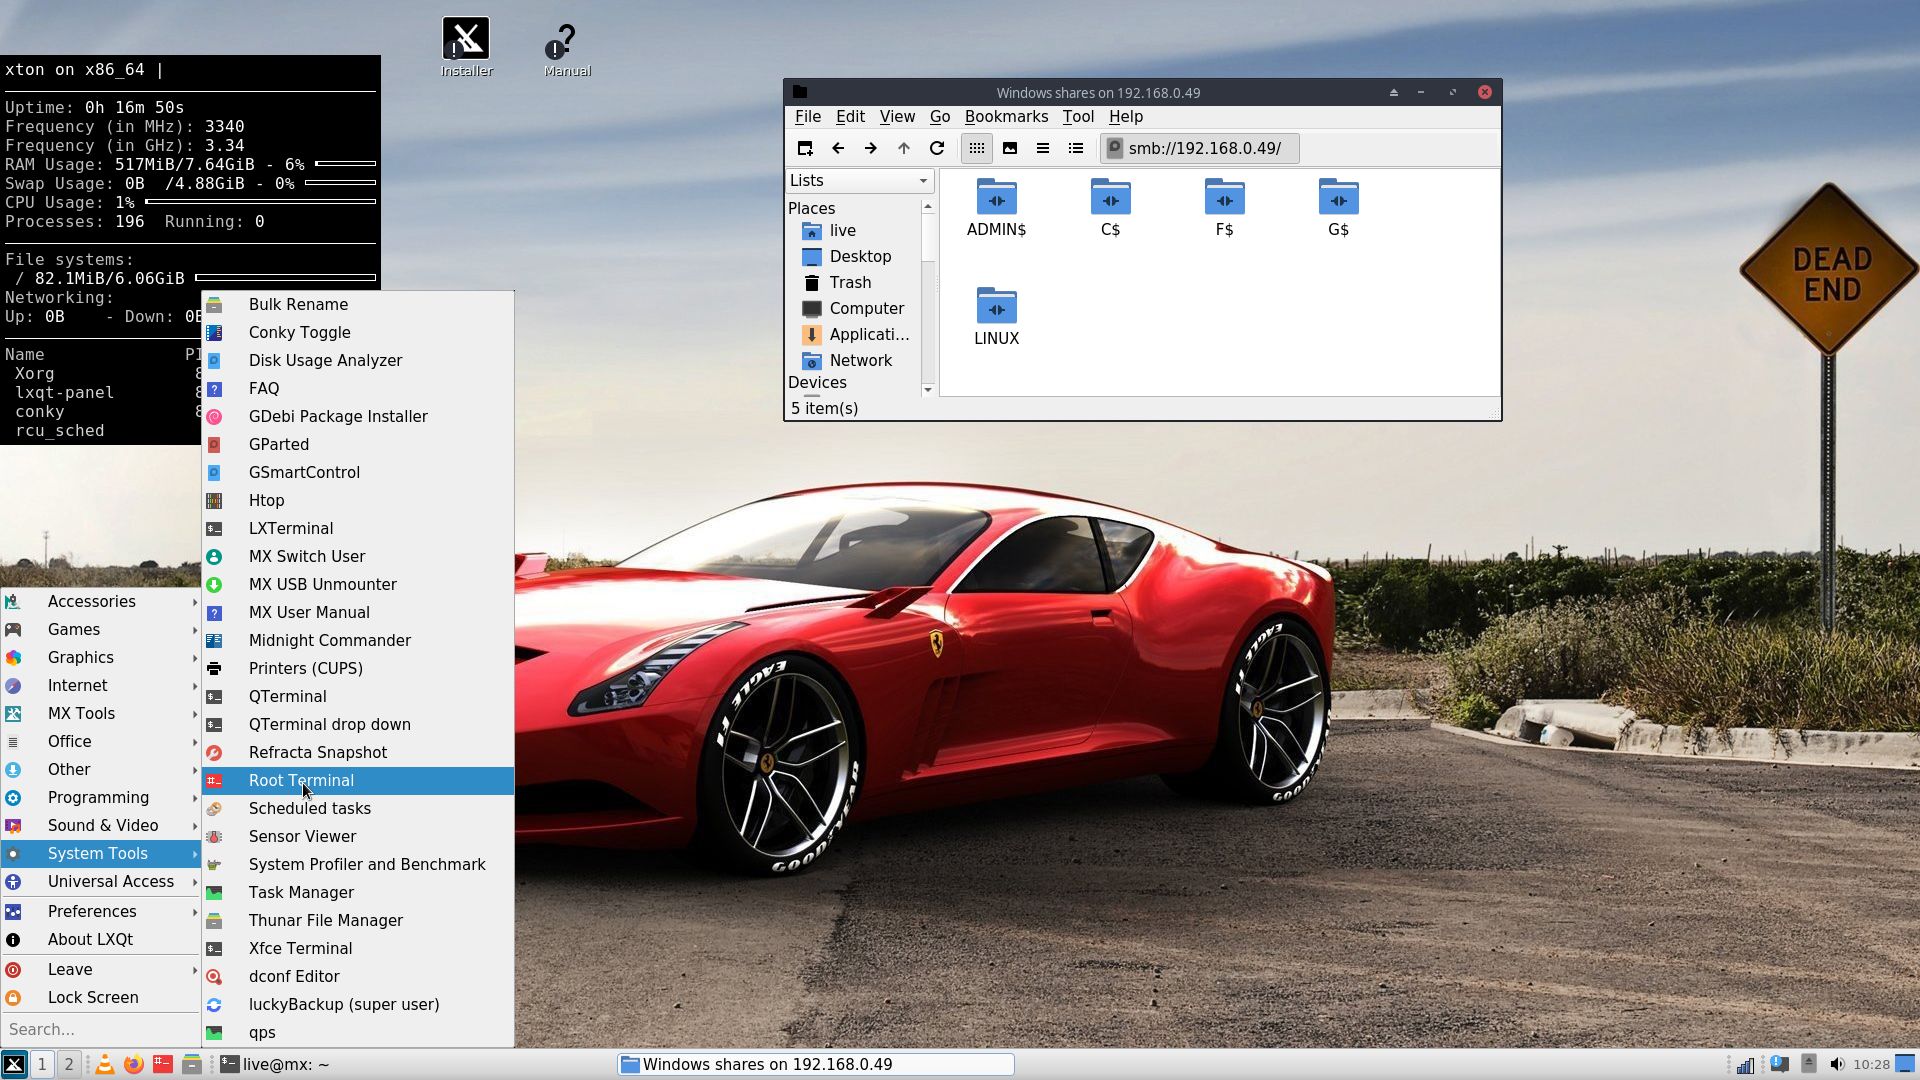
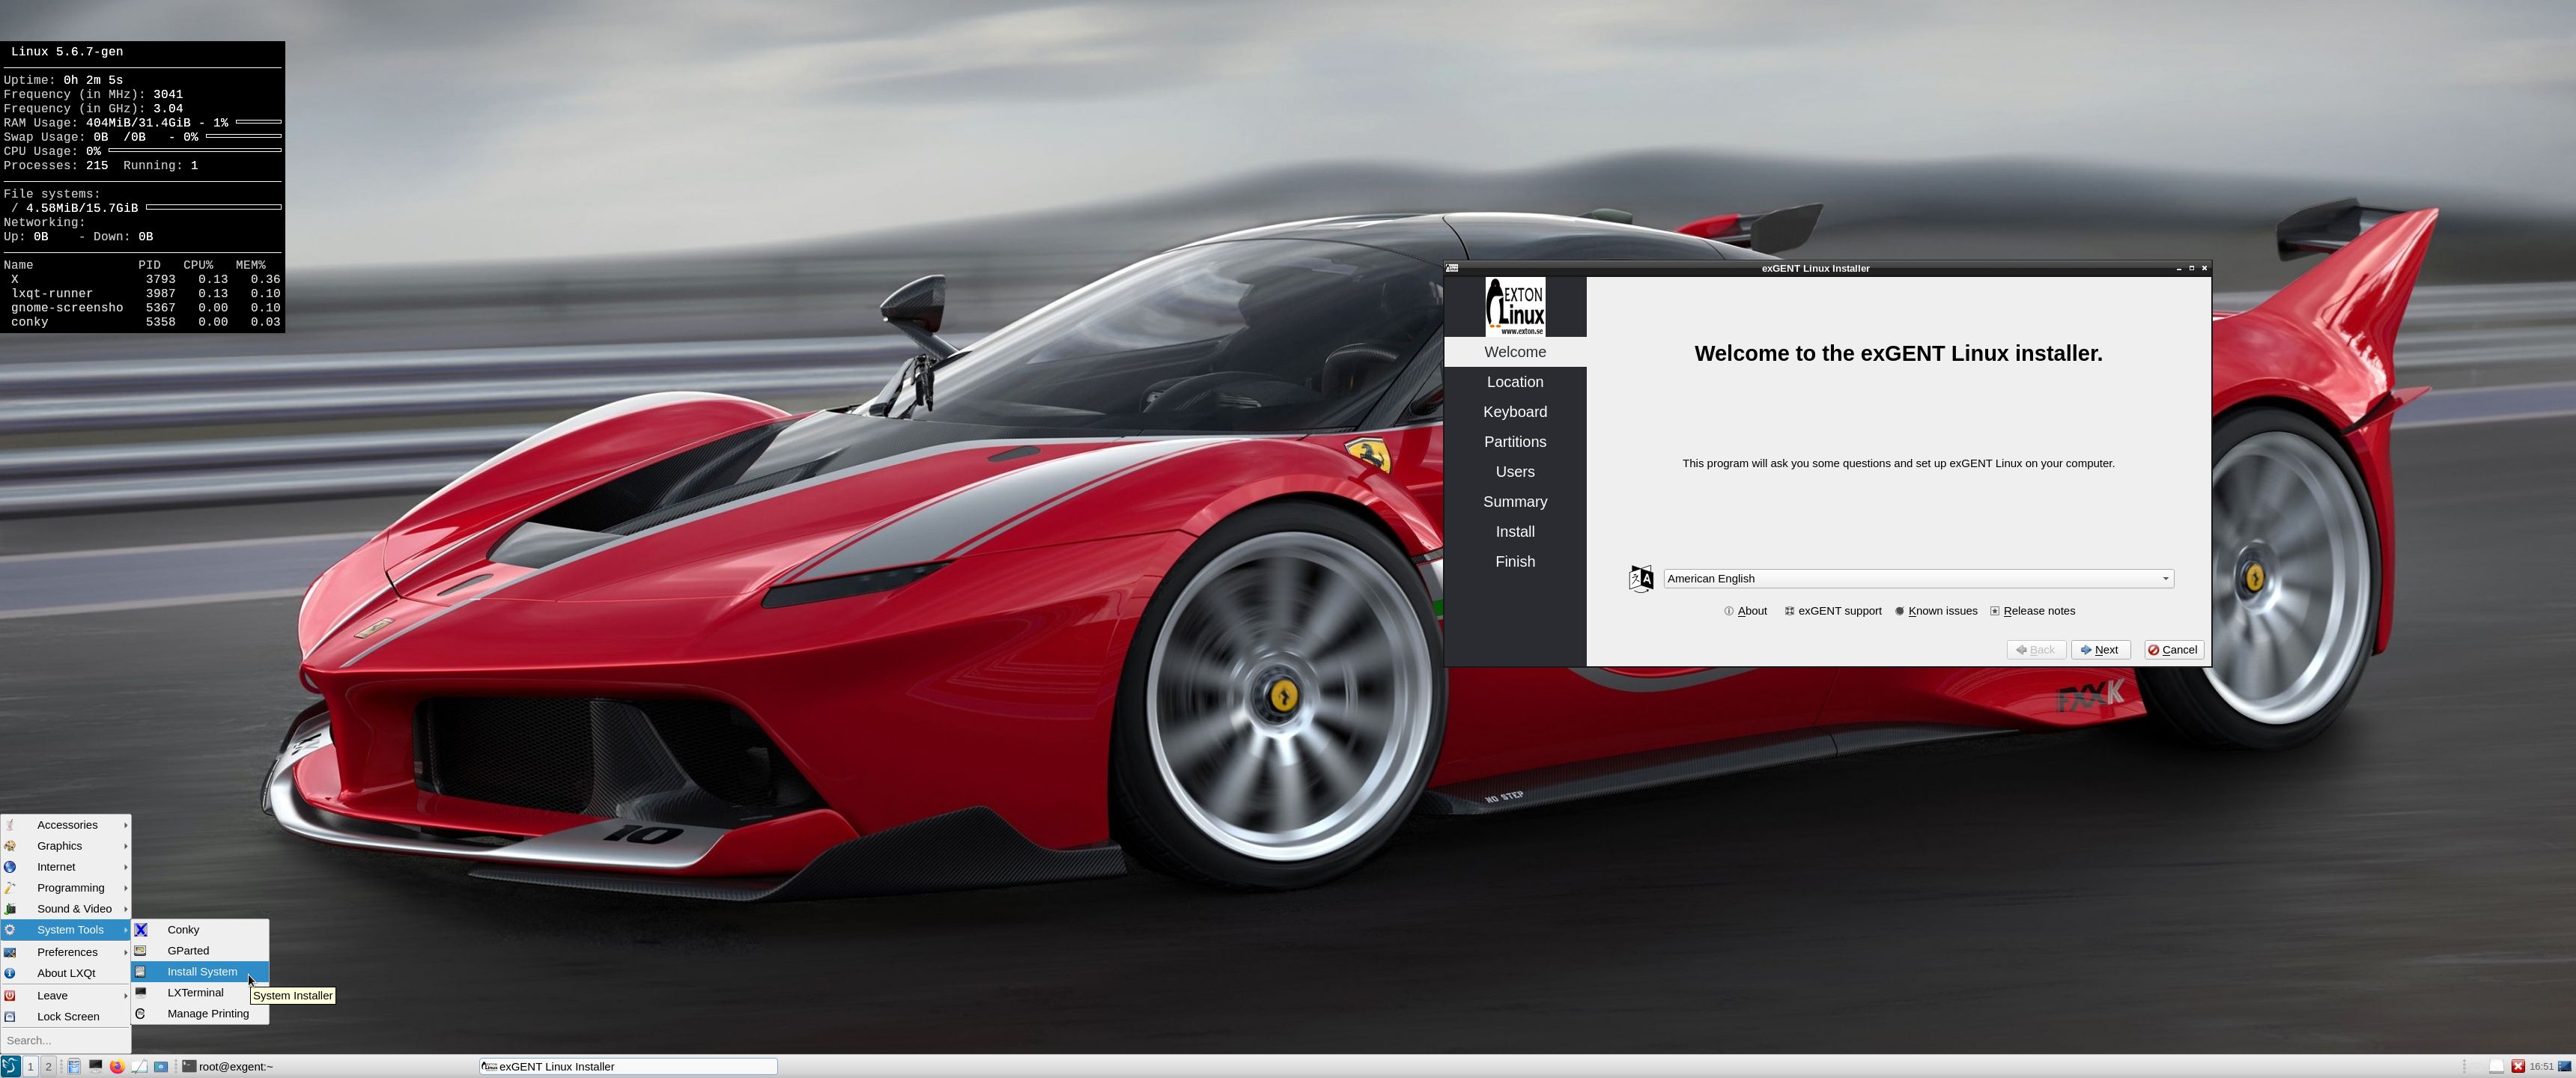
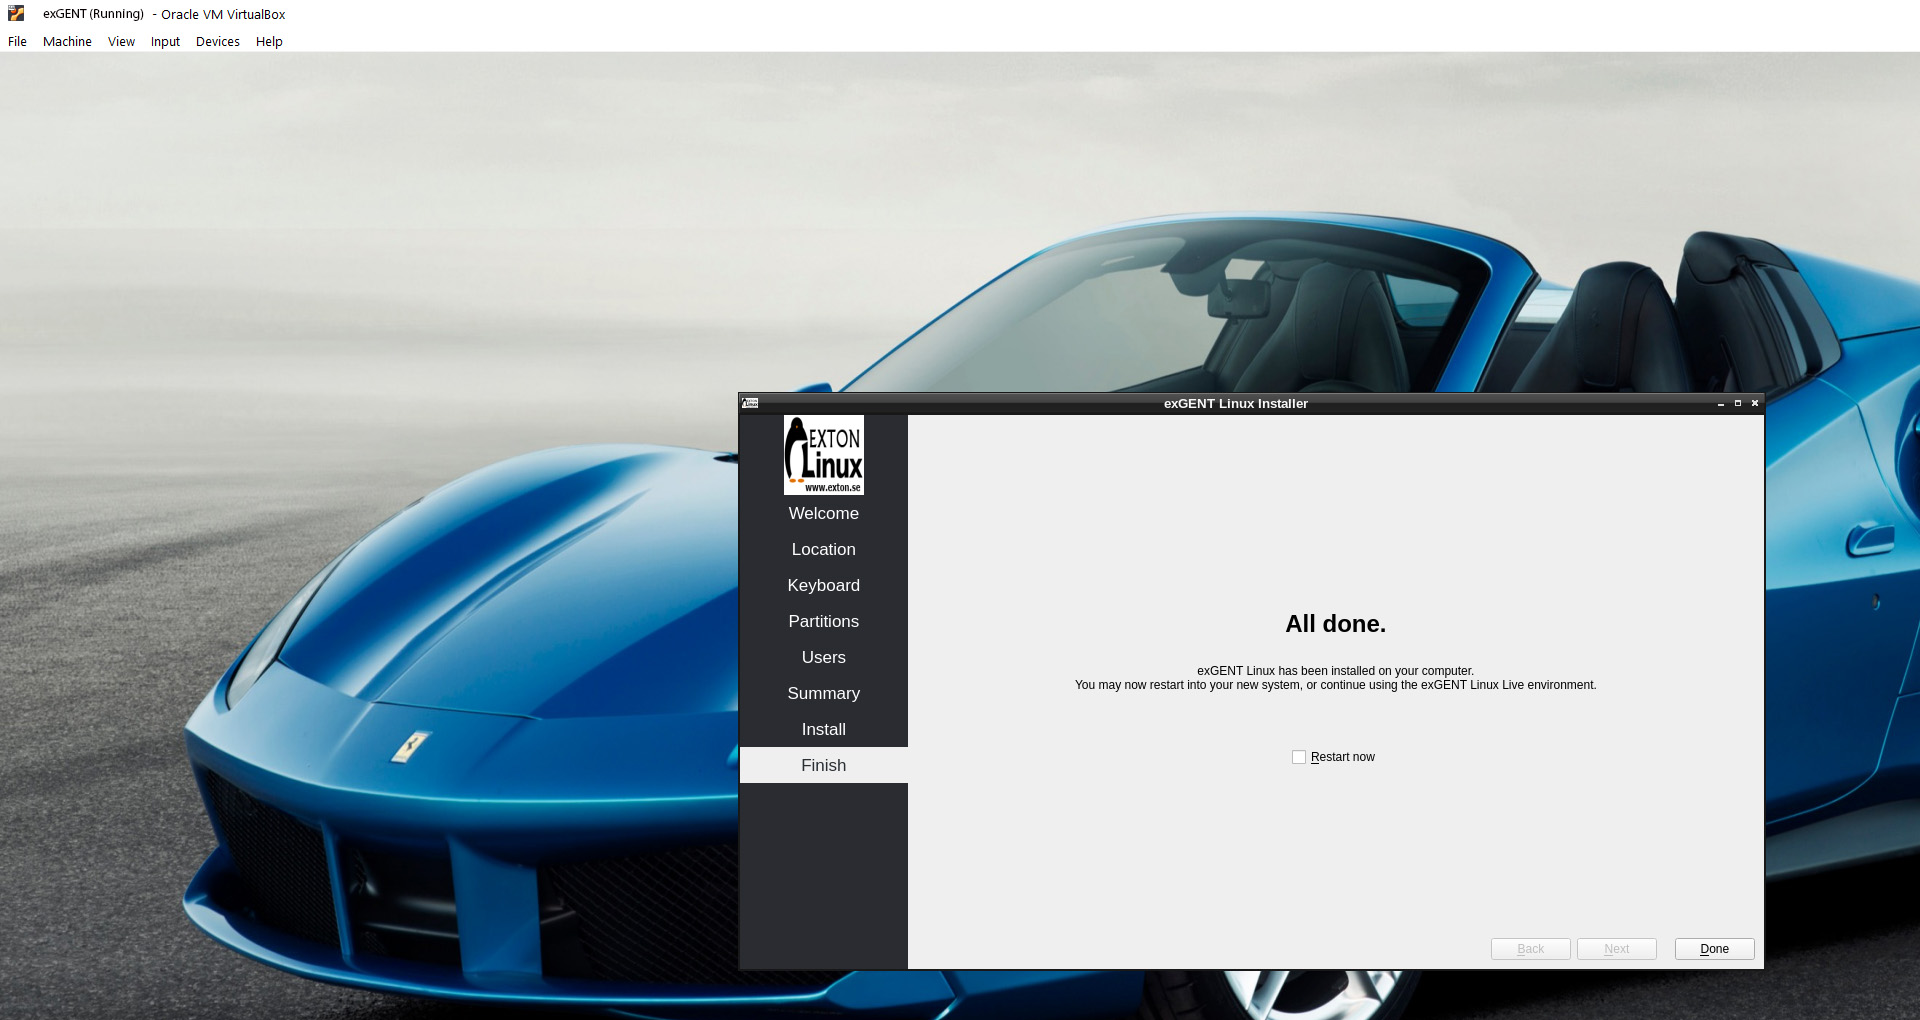
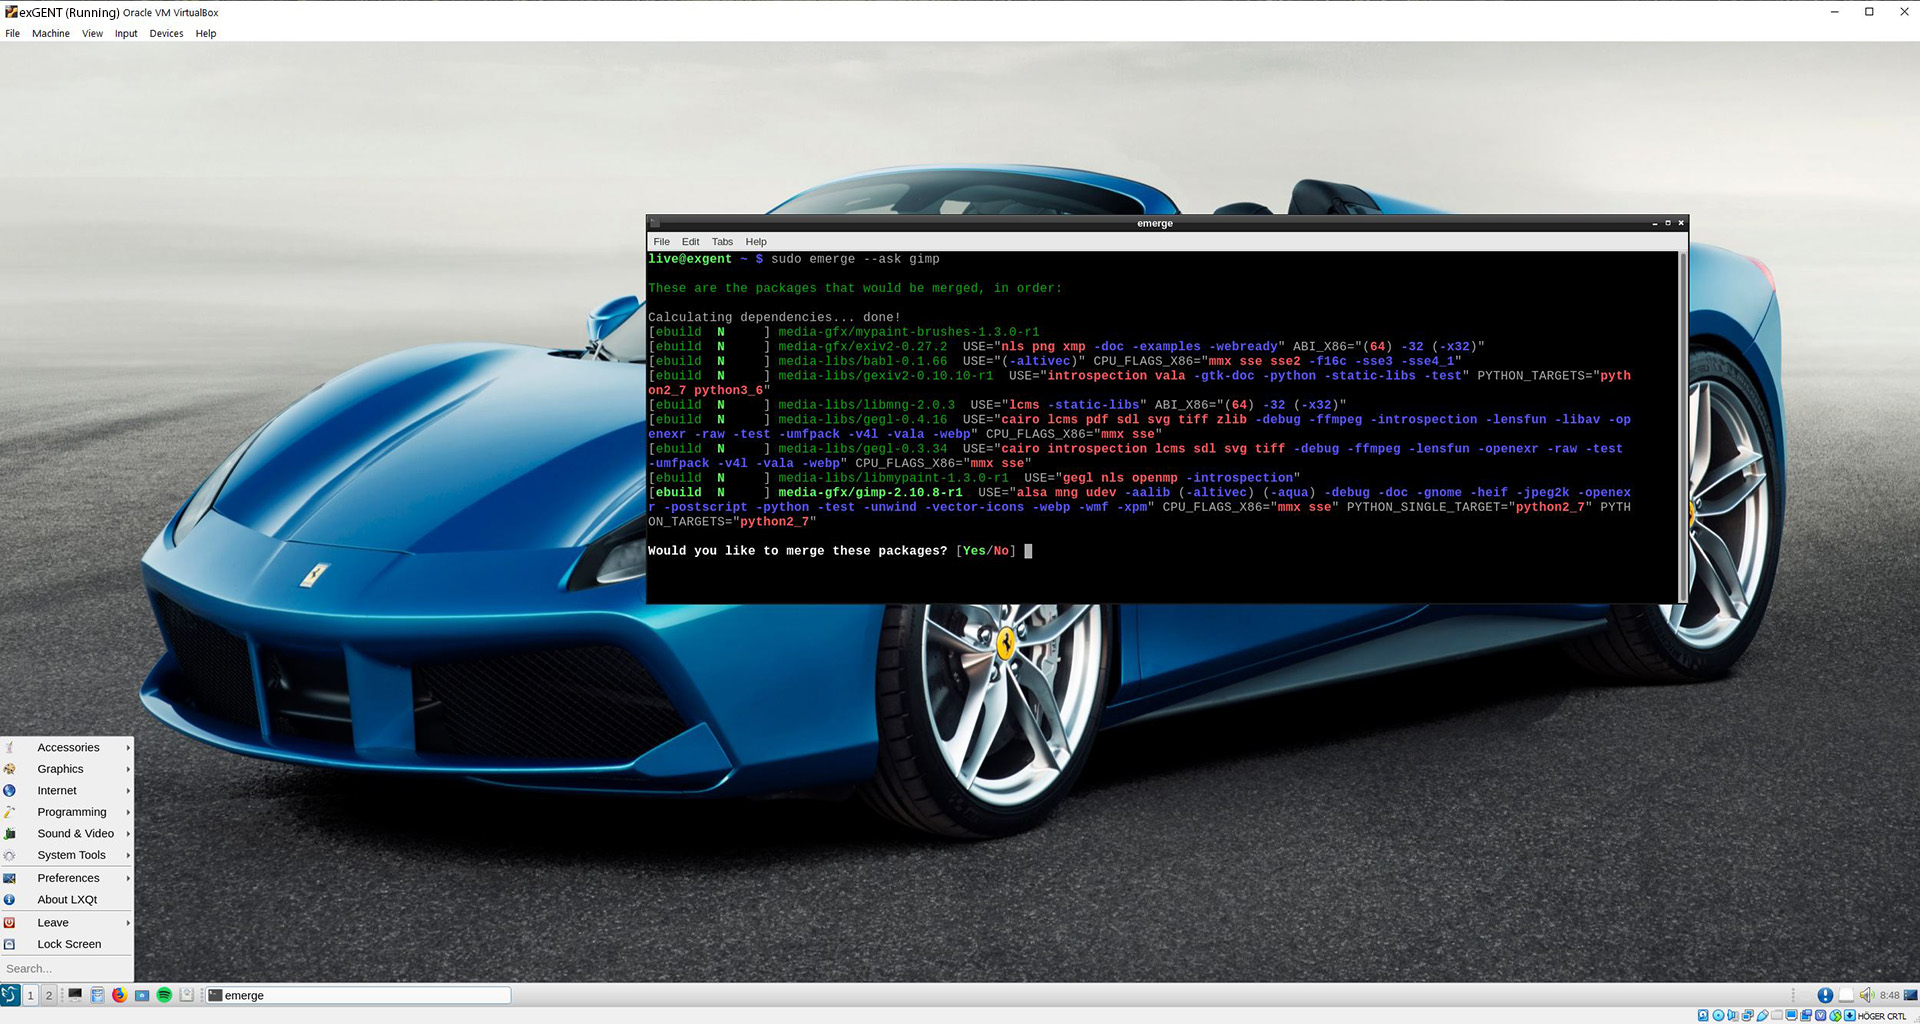
SCREENSHOTS
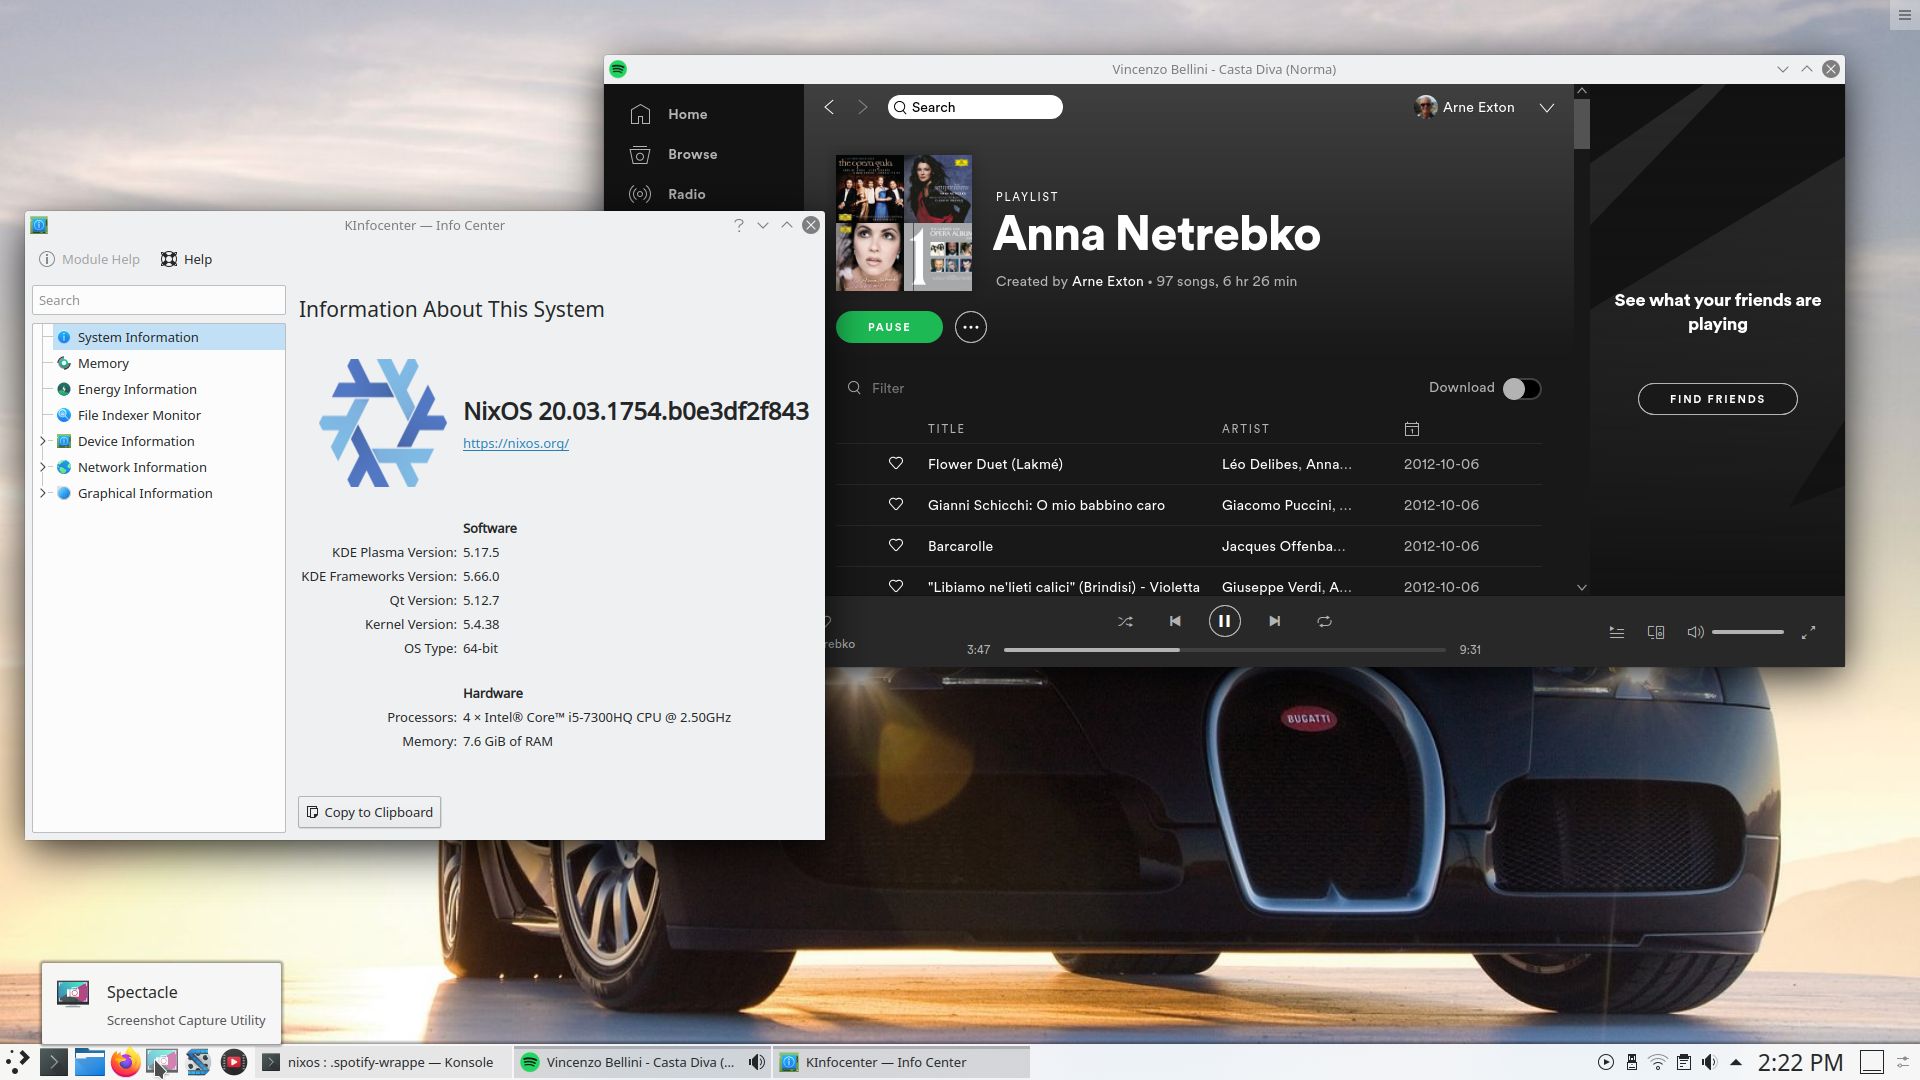
Screenshot 1 of Exton|Defender´s Cinnamon 4.6.4 Desktop
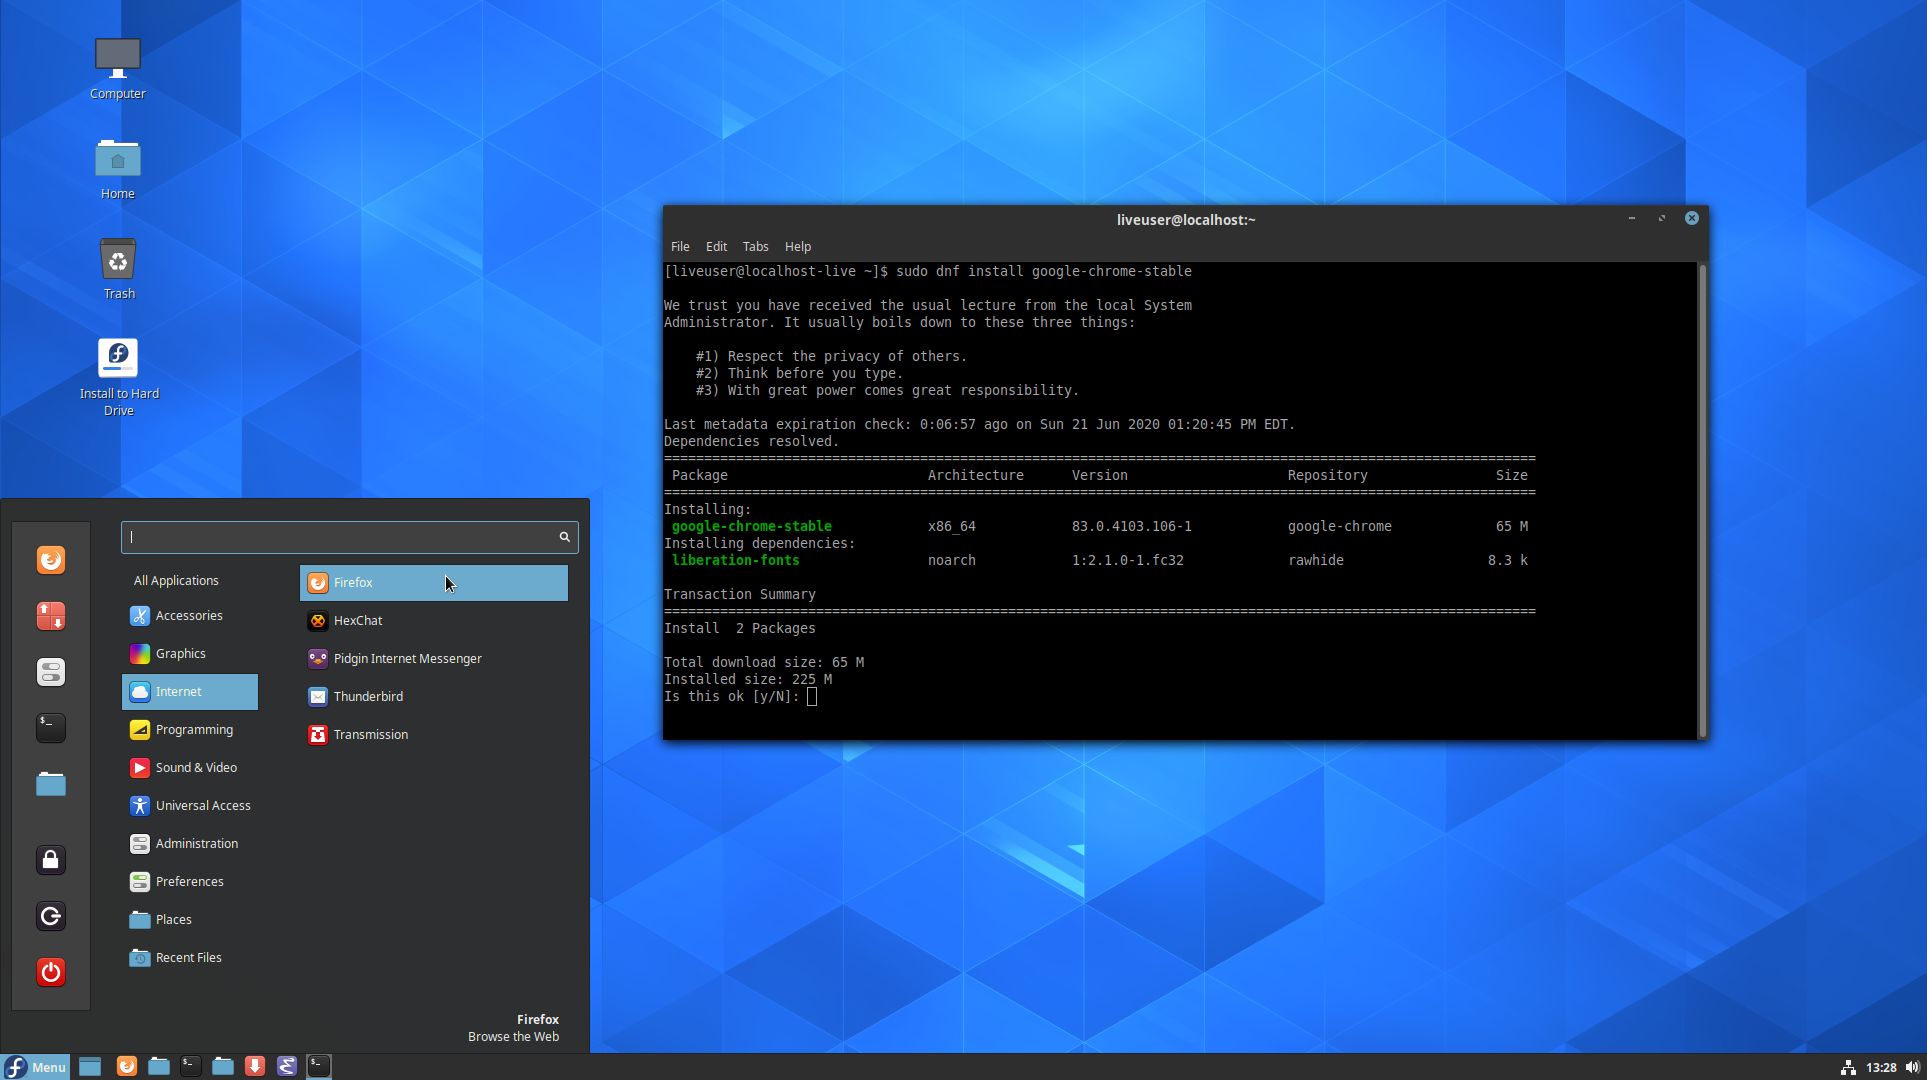
Screenshot 2 – installation of Google Chrome
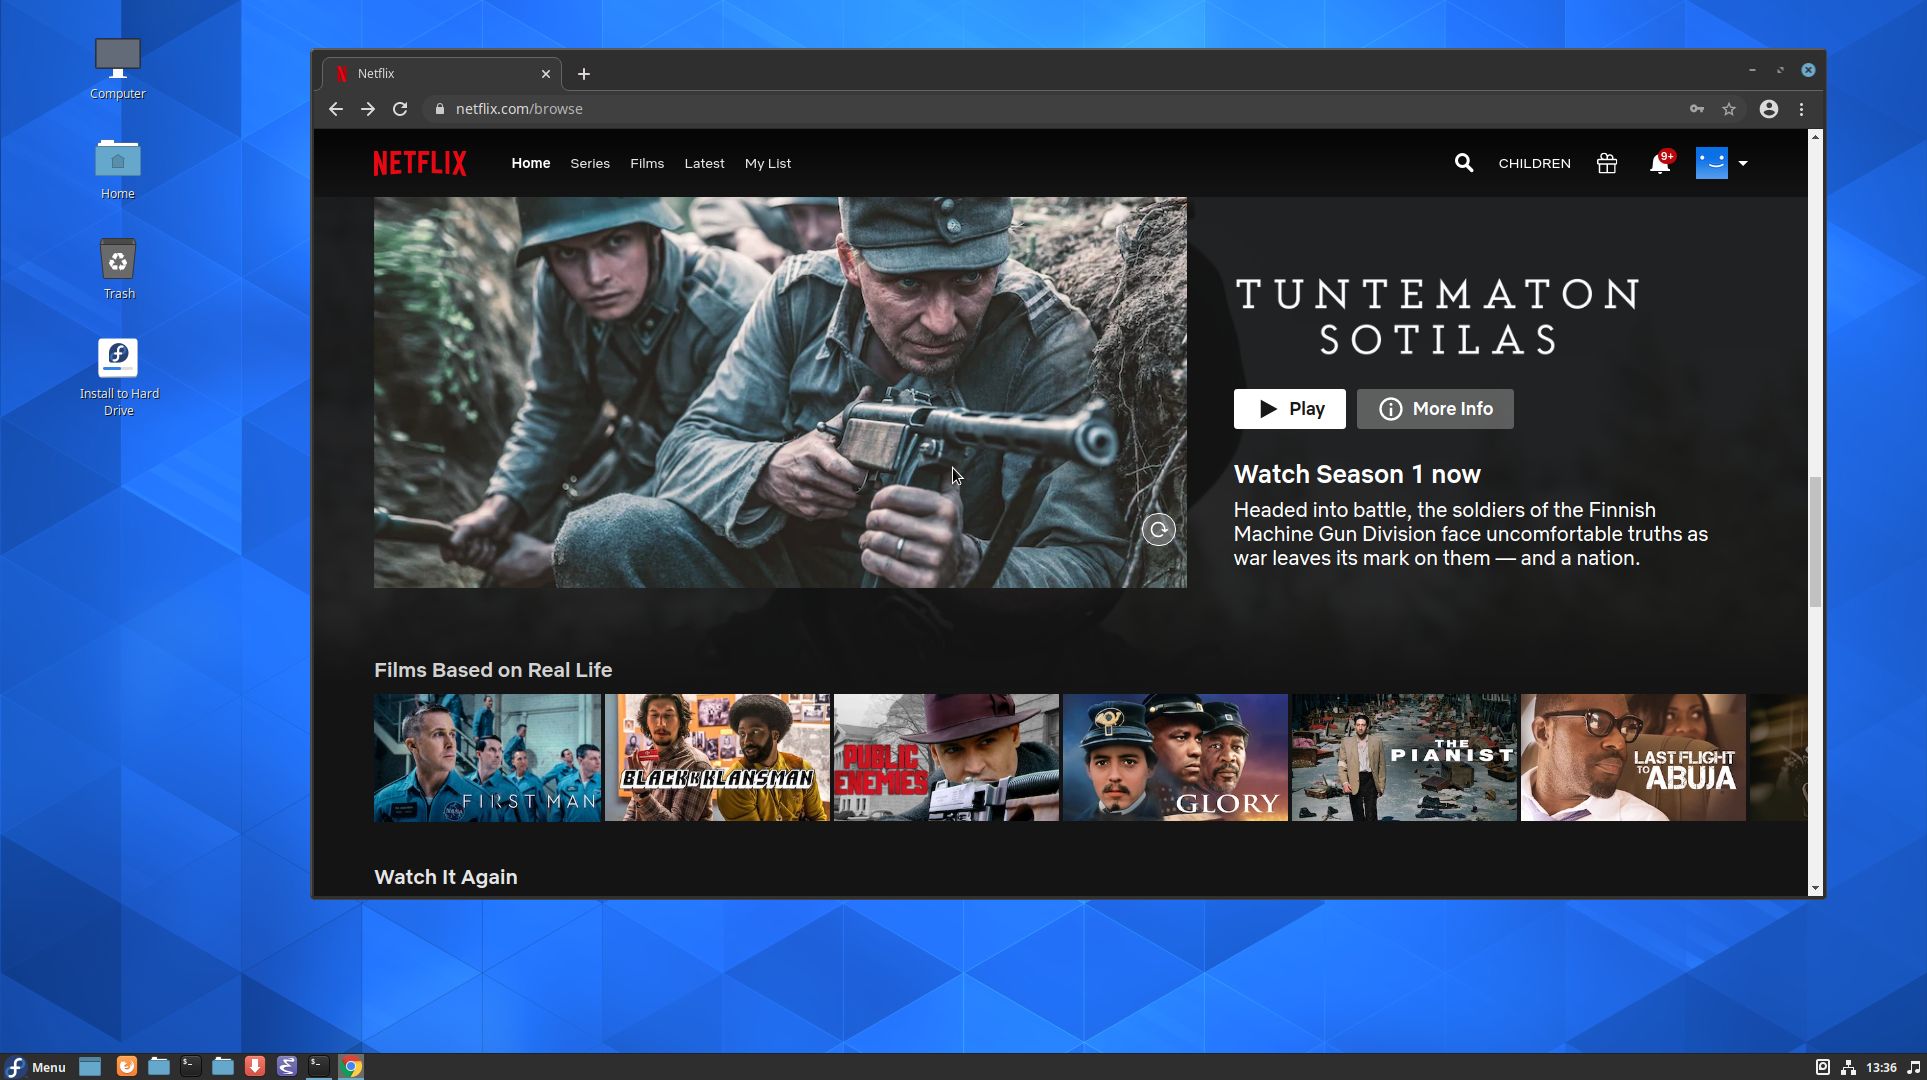
Screenshot 3 – Netflix is running

READ MORE…

Read about my Android-x86 Systems – 10, Pie, Oreo, Nougat, Marshmallow, Lollipop and KitKat at

andex.exton.net – latest is AndEX 10 (with GAPPS) and AndEX Pie 9.0 (also with GAPPS)!
and
about my Pie, Oreo, Nougat, Marshmallow and Lollipop versions for Raspberry Pi 3/2 at

raspex.exton.se – latest is RaspAnd Pie 9.0 (without GAPPS) and RaspAnd Oreo 8.1 (with GAPPS)!

DebEX Budgie/Enlightenment – Build 200618 – with Budgie Desktop 10.5, Enlightenment 0.23.1, Refracta Snapshot, Nvidia Graphics driver 440.82 and kernel 5.7.2-exton

About DebEX Barebone Budgie/Enlightenment, DebEX Gnome and DebEX KDE Plasma Linux 64 bit
All three systems/distributions are a based on Debian Buster (10) and Debian Bullseye/Sid (upcoming Debian 11). Budgie Desktop 10.5 and Enlightenment 0.23.1 are used as Desktop environments in DebEX Barebone/Budgie/Enlightenment. Gnome 3.30 is used in DebEX Gnome. KDE Plasma Desktop 5:14 is used in DebEX KDE. The system language is English (in all three versions of DebEX).

NEWS 200618 about DebEX Budgie/Enlightenment – a Refracta Build
A new version of DebEX Barebone with Budgie Desktop 10.5, Enlightenment 0.23.1 and kernel 5.7.2-exton (equivalent to Kernel.org’s second latest kernel 5.7.2) is ready. All packages have been updated to the latest version as of June 18, 2020. DebEX Barebone is now based on Debian Buster (Debian 10.4). I have installed Nvidia‘s latest proprietary Graphics driver 440.82. It will automatically be used if your computer has support for it.

Most important Changes
I’ve added Enlightenment 0.23.1 as an extra Desktop environment. That makes this version of DebEX unique, since there is no other live distro with Enlightenment 0.23.1 installed. Version 0.23.1 (released 190926) is not yet included in Debian’s repositories. I’ve thus installed Enlightenment 0.23.1 from source. The ISO is of only 1520 MB, which makes it easy to run the system live from RAM. That ability allows DebEX Budgie/Enlightenment to be very fast, since reading and writing data from/to RAM is much faster than on a hard disk drive. You can use the Calamares 3.2.4-3 Installer Framework to install DebEX Budgie/Enlightenment to your computer in any language. You can even use Calamares in VirtualBox and VMware – i.e. non-efi computers. Watch this animated GIF. NOTE also: When starting up DebEX Budgie/Enlightenment and entering the Enlightenment 0.23.1 Desktop you will get an error message as this screenshot shows. The error is fixed by running the following commands: chmod 777 .cache/efreet and sudo chmod 777 /root/.cache/efreet. After installing DebEX to hard drive you won’t get any error messages.

SCREENSHOTS
1. The Budgie Desktop for the ordinary user user
2. The Budgie Desktop for root
3. The Enlightenment Desktop for user user
4. The Boot menu when running DebEX live
5. The Boot menu when running DebEX from hard drive
6. The Enlightenment Desktop for root
7. A Samba connection in DebEX Budgie/Enlightenment

READ MORE…

Read about my Android-x86 Systems – 10, Pie, Oreo, Nougat, Marshmallow, Lollipop and KitKat at

andex.exton.net – latest is AndEX 10 (with GAPPS) and AndEX Pie 9.0 (also with GAPPS)!
and
about my Pie, Oreo, Nougat, Marshmallow and Lollipop versions for Raspberry Pi 3/2 at

raspex.exton.se – latest is RaspAnd Pie 9.0 (without GAPPS) and RaspAnd Oreo 8.1 (with GAPPS)!

LFA (Linux For All) 64bit Build 200607 with LXDE, TeamViewer, Google Chrome, Nvidia 400.82, Refracta Snapshot and kernel 5.7.0-exton

About Linux For All (LFA) Build 200607
The system is based on Ubuntu 20.04 LTS and Debian. It’s a total rebuild. I.e. nothing is left of the old LFA system.

Why Ubuntu 20.04 LTS?
Ubuntu 20.04 is supported until April 2025.

NEWS ABOUT LFA Build 200607

1. This is a BIG system (1670 MB). All packages the ordinary Linux user can wish for are pre-installed. Study the full packages list.
2. Kernel 5.7.0-exton is used.
3. I have installed Nvidia’s latest proprietary graphics driver 440.82.
4. The Desktop environment is LXDEDesigned to be user friendly and slim, while keeping the resource usage low.
5. The main Web Browser is Google Chrome. So you can watch Netflix! Another advantage with Google Chrome is that you will get all your bookmarks if you log in with your Gmail account.
6. I have included Refracta tools (Refracta Snapshot) to make it possible for you to create your own installable Ubuntu 20.04 LTS Live DVD once you have installed LFA to hard drive. This is done in the easiest possible way!
7. Use TeamViewer (pre-installed) to control your Windows computers from LFA. Or control LFA from your Windows computers.

What’s new in kernel 5.7?

SCREENSHOTS
Screenshot 1 – LFA running Windows 10 with TeamViewer
Screenshot 2 – Windows 10 running LFA with TeamViewer
Screenshot 3 – Running Nvidia Settings
Screenshot 4 – Synaptic running
Screenshot 5 – LFA running in VMware
Screenshot 6 – LFA running in VirtualBox
Screenshot 7 – LFA running Samba to reach Windows computers

READ MORE…

Read about my Android-x86 Systems – 10, Pie, Oreo, Nougat, Marshmallow, Lollipop and KitKat at

andex.exton.net – latest is AndEX 10 (with GAPPS) and AndEX Pie 9.0 (also with GAPPS)!
and
about my Pie, Oreo, Nougat, Marshmallow and Lollipop versions for Raspberry Pi 3/2 at

raspex.exton.se – latest is RaspAnd Pie 9.0 (without GAPPS) and RaspAnd Oreo 8.1 (with GAPPS)!

Run Android 10 on your PC :: AndEX 10 (Android-x86_64) with GAPPS (Google Play Store etc.), F-Droid, Brave Browser and Spotify :: Build 200604, 200225, 200218 and 200108

NEWS 200604 – A new version of AndEX 10 is ready!
I’ve uploaded a new upgraded version of AndEX 10 andex-10-x86_64-gapps-BIG-1080mb-200604.iso. All included apps have been updated to the latest version. Also Google Play Services and Google Play Store. The ISO file is of only 1080 MB! Makes it easier to run AndEX on computers with low RAM. I have replaced the Brave Browser with Mint Browser, which also is an excellent Web Browser in many ways. The very nice launcher 3D Live Launcher is used also in this AndEX version. Make it your standard Launcher. Version 200604 of AndEX 10 is a totally new build with a new kernel – 4.19.122-exton-android-x86_64. I’ve noticed that the WiFi connection works better with this new kernel. I.e. the connection is more stable. This build works very well also in VirtualBox and VMware. You can even use the very nice launcher 3D Live Launcher and also change wallpapers to your liking – screenshot.

Fourth Build of AndEX 10
This is my fourth build of AndEX 10. When downloading Build 200604 you will also get the other three previous versions. They are all somewhat special.

MORE ABOUT AndEX 10 Build 200604
My new compiled Android-x86_64 system (10) can run and be installed on almost all newer laptops (and some Desktop computers). For example Acer (Aspire), HP, Samsung, Dell, Toshiba, Lenovo, Thinkpad, Fujitsu, Panasonic and Asus laptops. You can also run AndEX 10 in VirtualBox and/or VMware. I can also mention that I could run my new 10 version on a HP Pavilion 500-317no Desktop Computer and on a Lenovo ThinkStation C30. You can very easy do a “normal” or manual installation to hard drive. A manual installation can also be done to a drive where you already have another Linux system (for example Ubuntu 20.04) installed.

Android 10 was released 190903.

SCREENSHOTS
Screenshot 1 – AndEX 10 Desktop 200604 with GAPPS and many other apps pre-installed
Screenshot 2 – AndEX 10 Build 200604 running Google Play Store
Screenshot 3 – AndEX 10 Build 200604 Desktop after first boot
Screenshot 4 – AndEX 10 Build 200604 running AIDA64
Screenshot 5 – AndEX 10 Build 200604 running in VirtualBox

READ MORE…

Read about my Android-x86 Systems – 10, Pie, Oreo, Nougat, Marshmallow, Lollipop and KitKat at

andex.exton.net – latest is AndEX 10 (with GAPPS) and AndEX Pie 9.0 (also with GAPPS)!
and
about my Pie, Oreo, Nougat, Marshmallow and Lollipop versions for Raspberry Pi 3/2 at

raspex.exton.se – latest is RaspAnd Pie 9.0 (without GAPPS) and RaspAnd Oreo 8.1 (with GAPPS)!

Multiboot Linux live with Ventoy – “A New Bootable USB Solution” :: 200524

Ventoy 1.0.11 with persistence support was released yesterday (200523). I’ve tested Ventoy today.

What is Ventoy?
Ventoy is an open source tool to create bootable USB drive for ISO files. With Ventoy, you don’t need to format the disk again and again, you just need to copy the iso file to the USB drive and boot it. You can copy many iso files at a time and Ventoy will give you a boot menu to select them (screenshot). Both Legacy BIOS and UEFI are supported in the same way.

My test of Ventoy in Windows
I followed these steps.
1. Downloaded ventoy-1.0.11-windows.zip and unzipped it.
2. Inserted a USB stick of 32 GB (Corsair Voyager).
3. Opened the folder ventoy-1.0.11 and started Ventoy2Disk.exe for installing Ventoy to the USB stick. It looked like this.

4. Then I copied ten (10) different Linux systems to the stick – see the list below. It looked like this.

5. Then I rebooted my computer and tested each system. All of them worked very well. NOTE: Not all Linux systems will work (be bootable). You can just test the ones you want on your USB stick. If one doesn’t work you can just delete the ISO from the stick and try another ISO file.

The ISO’s I put on the stick
1. DebEX Gnome Build 191220
2. ExTiX 20.5 Deepin Build 200517
3. Exton|OS Budgie Build 200319
4. Fedora 32 Build 200428
5. Linux Mint Cinnamon 19.3 Build 2019
6. Manjaro Gnome Build 200426
7. MeX Linux Cinnamon Build 200130
8. MX Linux Exton Remix Build 200501
9. PCLinuxOS KDE5 Build March 2020
10. PuppEX Bionic 64 Build 190331

My conclusion
Ventoy works very well. Using Ventoy is so simple that a ten year old child can do it. Ventoy also makes my MultiBootCD  expendable.

SCREENSHOTS
1. Ventoy’s boot menu
2. My “installed” ISO’s

Read about my Android-x86 Systems – 10, Pie, Oreo, Nougat, Marshmallow, Lollipop and KitKat at
andex.exton.net – latest is AndEX 10 (with GAPPS) and AndEX Pie 9.0 (also with GAPPS)!
and

about my Android 11, 10, Pie, Oreo, Nougat, Marshmallow and Lollipop versions for Raspberry Pi 4 and 3/2 at
raspex.exton.se
– latest is RaspAnd 11 (with GAPPS) and RaspAnd Oreo 8.1 (also with GAPPS)!

ExTiX Deepin 20.5 Live based on Deepin 20 Beta (latest) with Skype, Spotify, Refracta Snapshot and kernel 5.7.0-rc5 :: Build 200517

NEWS 200517 ABOUT ExTiX Deepin
I’ve released a new version of ExTiX Deepin today (200517). This ExTiX Build is based on Deepin 20 Beta released by Deepin Technology 200415.

NEW FUNCTIONS etc

1.You can run ExTiX from RAM. Use boot alternative 2 (load to RAM) or Advanced. A wonderful way to run Linux if you have enough RAM. Everything will be super fast. When ExTiX has booted up you can remove the DVD or USB stick.
2. You will have the opportunity to choose language before you enter the Deepin 20 Desktop. All main languages are supported.
3. I have replaced Deepin Installer with the Reborn version of Deepin Installer. Works better in every way.
4. I have replaced kernel 5.5.0-rc3-exton with kernel 5.7.0-rc5-exton. The latest available kernel from Kernel.org.
5. Spotify and Skype are pre-installed.
6. You can watch Netflix while running Firefox.
7. You can install ExTiX Deepin also in VirtualBox/VMware using Deepin Installer. (In previous versions you had to “chroot” into the install partition and install Grub).
8. Install ExTiX to a USB stick preferably with Rufus 3.10 in Windows.

UNIQUE
I may add that there is no other live version of Deepin 20 Beta.

SCREENSHOTS
1. ExTiX Deepin 20 Beta Desktop
2. Refracta Snapshot has started
3. ExTiX Deepin being installed in VirtualBox using Deepin Installer
4. ExTiX Deepin login screen (LightDM)
5. Movie showing how to enable Window effects

READ MORE…

Read about my Android-x86 Systems – 10, Pie, Oreo, Nougat, Marshmallow, Lollipop and KitKat at

andex.exton.net – latest is AndEX 10 (with GAPPS) and AndEX Pie 9.0 (also with GAPPS)!
and
about my Pie, Oreo, Nougat, Marshmallow and Lollipop versions for Raspberry Pi 3/2 at

raspex.exton.se – latest is RaspAnd Pie 9.0 (without GAPPS) and RaspAnd Oreo 8.1 (with GAPPS)!

About Raspup Buster for Raspberry Pi 1, Raspberry Pi Zero, Raspberry Pi 2, Raspberry Pi 3 and Raspberry Pi 4 – all from the one download – test 200514

My test of Raspup Buster 8.2 built from the Woof-CE build system originally developed by Barry Kauler, the creator of Puppy Linux

Raspup supports Raspberry Pi 1, Raspberry Pi Zero, Raspberry Pi 2, Raspberry Pi 3 and Raspberry Pi 4 all from the one download.

Raspup’s features
– pTheme global theme manager designed by zigbert(AKA Sigmund Berglund)

– JWM-2.3.6 window manager from Joe Wing and Rox Filer updated by @woodenshoe-wi
– Run internet apps as unprivileged user “spot”, see Menu > System > Login and Security Manager and click the “Help” button.
– shinobar’s on the fly SFS loading and unloading – updated version
– Well stocked package manager (PPM) with access to Raspbian repositories
– SFS Manager for extra large packages including LibreOffice, browsers, full development environment (compilers, headers and assemblers) and kernel sources plus more.
– A great suite of programs included by default including but not limited to, web browser (Midori), word processor (Abiword), spread sheet (Gnumeric), email client (Sylpheed), chat client (irrsi), image editor (mtpaint), video player (mplayer), audio/video processor (ffmpeg), music player (pMusic), audio editor (mhwaveedit), text editor (geany, nano, leafpad), ftp file transfer (gftp), file sharing clients and servers (ftp, samba), games, printing (cups) and even more!
– Amazing size at ~375MB, which includes 3 kernels to support the different Pi versions.

My test results
I ran Raspup on a Raspberry Pi 4. I installed Raspup to a SD class 10 card using Rufus 3.10 in Windows. According to my experience Rufus is the best (most reliable) image writing program there is out there. I.e. other programs may not make the card bootable. Raspup works very well (as expected). Like Puppy Linux Raspup runs from RAM. So it is quite fast. When rebooting or power off the system you will be asked to save your system changes. Do that and be sure to change boot options so that Raspup will acknowledge your system changes. Watch this screenshot. As you can see my save space is called raspupsave-puppex. Raspup is compatible with Debian Buster (Debian 10). New packages are easily installed with Raspup’s Package Manager. Watch this screenshot. Be sure to update the repositories before you try to install anything.

Screenshots
1. Changing boot options
2. Using Raspup’s Package Manager
3. Running Firefox and YouTube

READ MORE about Raspup…

About PuppEX Bionic 64
You may also be interested in my remix of Puppy Linux BionicPup64. It’s compatible with Ubuntu Bionic (Ubuntu 18.04 LTS).

Read about my Android-x86 Systems – 10, Pie, Oreo, Nougat, Marshmallow, Lollipop and KitKat at

andex.exton.net – latest is AndEX 10 (with GAPPS) and AndEX Pie 9.0 (also with GAPPS)!
and
about my Pie, Oreo, Nougat, Marshmallow and Lollipop versions for Raspberry Pi 3/2 at

raspex.exton.se – latest is RaspAnd Pie 9.0 (without GAPPS) and RaspAnd Oreo 8.1 (with GAPPS)!

About NixOS – How to multiboot the system together with several other Linux systems and Windows :: 200507

What is NixOS?
NixOS is a Linux distribution with a unique approach to package and configuration management. Built on top of the Nix package manager, it is completely declarative, makes upgrading systems reliable, and has many other advantages.

I think NixOS is a very interesting and useful Linux system, but a bit difficult to handle, since it doesn’t work like any other Linux system. I.e. the installation to hard drive is very special, the file system is different and NixOS uses special commands, which you can’t use in any other Linux system. However, if you follow my instruction below you can install NixOS without messing up your current Grub boot configuration and finally enjoy NixOS running from hard drive.

INSTRUCTION
1. Download NixOS and install the ISO to a USB stick using Rufus 3.10 in Windows. Start up your computer from the USB stick
2. Install NixOS by following the NixOS Installation Manual
3. Add the lines below to /etc/nixos/configuration.nix and be sure not to install Grub during the NixOS installation. Open configuration.nix with Nano.

boot.loader = {

grub.enable = true;
grub.version = 2;
grub.device = “nodev”;
};

4. Reboot and start up the Linux system (for example Ubuntu) where you have Grub installed. Add the lines below to /boot/grub.cfg or
/etc/grub.d/40_custom

menuentry ‘NixOS’ {
boot.loader.grub.device = “nodev”;
set root='(hd0,X)’
configfile ‘/boot/grub/grub.cfg’;
}

NOTE1: You shall of course replace “X” with the correct number for your install partition. For example (hd0,6)

5. If something goes wrong you can always chroot (change root) into your NixOS partition. Do it like this.
A) Start up your computer from the NixOS DVD or USB stick and run the command mount /dev/disk/by-label/nixos /mnt
B) Then run the command nixos-enter
C) You can also do a manual chroot from any Linux system – watch this screenshot
D) Now you can install any extra (or missed) packages. Example: nix-env -i wireless-tools
NOTE2: When installing packages in chroot you may get an error message saying that the “Operation is not permitted”.
That can be fixed by adding the line nix.readOnlyStore = false to the end of /etc/nixos/configuration.nix.
NOTE3:  While in chroot you may not get a Internet connection. That is fixed by editing /etc/resolv.conf. Add the line nameserver 8. 8.8.8. Open resolv.conf with the command nano /etc/resolv.conf.

Difficulties with NetworkManager
If you can’t get a Internet connection through WiFi when you have started NixOS from hard drive you should start up your computer from the DVD/USB stick again and chroot as described above.

A) Then install NetworkManager and NM-applet with the command: nix-env -i network-manager network-manager-applet

B) Edit /etc/nixos/configuration.nix like this – see below. (Open the file with Nano).

networking.wireless.enable = false;
## Only one daemon, wireless or networkmanager, could be ## enabled at the same time.
networking.networkmanager.enable = true;

C) Rebuild NixOS with the command:
nixos-rebuild switch –upgrade –show-trace

D) Reboot and start NetworkManager service daemon with the command: systemctl restart networkmanager
NOTE: The last command may not be necessary. If you see the NM-applet to the right in the panel just click on it and connect.

About multiboot with Grub
On the computer where I now have NixOS installed I also have nine (9) other Linux systems and Windows 10 installed. Study my Grub configuration (/boot/grub/grub.cfg). You may also find my instruction How To dual boot, triple boot or multi boot Linux with Windows in a simple way and be happy interesting.

Screenshots from my NixOS installation
1. The Desktop when running as root

2. The Desktop when running as an ordinary user
3. Spotify is running (install Spotify with the command: nix-env -i spotify)

Good luck!  /exton

Read about my Android-x86 Systems – 10, Pie, Oreo, Nougat, Marshmallow, Lollipop and KitKat at

andex.exton.net – latest is AndEX 10 (with GAPPS) and AndEX Pie 9.0 (also with GAPPS)!
and
about my Pie, Oreo, Nougat, Marshmallow and Lollipop versions for Raspberry Pi 3/2 at
raspex.exton.se – latest is RaspAnd Pie 9.0 (without GAPPS) and RaspAnd Oreo 8.1 (with GAPPS)!

MX Linux Exton Remix 64bit with all Debian packages upgraded to “Bullseye” (upcoming Debian 11) and kernel 4.19 replaced by kernel 5.7.0-rc3-exton – Build 200501

ABOUT my MX Linux Remix 200501
MX Linux (based on Debian) is by far the most popular Linux system in the world according to DistroWatch.com. I tested MX Linux a few months ago and noticed immediately that one can change the MX system and create a new ISO with MX Snapshot. My first MX Linux Remix is from 191018.

MX Linux 19.1
My first remix was based on MX Linux 18.3 (released in May 2019). MX Linux 19.1 was released on February 15, 2020. It is based on Debian 10.3 (Stable/Buster).

My changes of the original MX Linux 19.1 system
1. All packages are upgraded from Buster (Debian 10) to Bullseye (upcoming Debian 11). Study the full package LIST.
2. The original kernel 4.19 is replaced by “my” kernel 5.7.0-rc3-exton corresponding Kernel.org‘s latest kernel 5.7-rc3. You can download my kernel if you want to use it in another MX/Debian/Ubuntu/Mint system.
3. I’ve added the LXQt Desktop. It’s in version 0.15 released on April 25, 2020. Version 0.15 is still not included in Debian’s repositories so I had to install LXQt 0.15 from source. (Took me a few hours). NOTE: I have (of course) also kept the original Xfce 4.14 Desktop.
4. Some cosmetic changes. I.e. new nice wallpapers.

Installation to a USB stick
Please note that you can only use Rufus 3.10 in Windows for USB installations. If you use other software the stick won’t be made bootable. Note also that you must write in DD image mode. When using Rufus 3.10 it will look like this.

Performance
Everything in my remix works very well. MX Linux works on new and old computers. I can mention that I could run (and install) my MX remix without problems on my 15 year old laptop Acer Aspire 5102WLMi. You can of course make your own MX Linux Remix with my remix as “groundwork”.

Login
Login to the Xfce4 or the LXQt Desktop as live with password live or as root with password rootscreenshot.

Hard drive installations
Use MX Installer. It works very well. NOTE: Log in as root before you start the installation!

SCREENSHOTS
1. root’s Desktop in LXQt
2. root’s Desktop in Xfce4

3. live’s Desktop in LXQt
4. live’s Desktop in Xfce4
5. Connection to a Windows computer with Samba

DOWNLOAD
This build has been replaced by Build 220524…

Read about my Android-x86 Systems – 10, Pie, Oreo, Nougat, Marshmallow, Lollipop and KitKat at andex.exton.net – latest is AndEX 10 (with GAPPS) and AndEX Pie 9.0 (also with GAPPS)!
and
about my Android 11, 10, Pie, Oreo, Nougat, Marshmallow and Lollipop versions for Raspberry Pi 4 and 3/2 at raspex.exton.se – latest is RaspAnd 11 (with GAPPS) and RaspAnd Oreo 8.1 (also with GAPPS)!

exGENT (Gentoo) 64bit Live DVD/USB with LXQt 0.14.1, Calamares Installer and kernel 5.6.7-gentoo-aufs-exton – Build 200428 – can be installed to hard drive in 2 min!

NEWS 200428 about exGENT (Gentoo) 64 bit
I’ve made a new version of exGENT with only a few necessary packages pre-installed. It uses LXQt 0.14.1 as Desktop environment and kernel 5.6.7-gentoo-aufs-exton corresponding Kernel.org’s latest stable kernel 5.6.7. The ISO file is of 2100 MB. Despite this exGENT version 200428 runs surprisingly fast from DVD or USB. Even in VirtualBox and VMware. Faster than most other Linux live systems. I call my new version exGENT 2020 LXQt Live DVD/USB. It replaces version 200119. All installed packages in exGENT have been updated to the latest available version by 200428. Study the full package list.

What’s new in kernel 5.6? – The most exciting kernel in years!

What’s new in exGENT Build 200428?
The boot loader Grub Legacy has been replaced by Grub2. In exGENT versions before 170309 the file system wasn’t writable when running exGENT live (from DVD). Now you can emerge (install) new programs/packages even while running the system from a DVD or USB stick. If you do that and later decide to install exGENT to hard drive all your changes will follow! (That is if you use the install scripts in /root/install). Furthermore you can install/transfer exGENT to a USB stick with the dd command in Linux or use Rufus or Etcher in Windows. Such installations were impossible before. NOTE: I have not installed Google Chrome. It’s not needed anymore, since Netflix nowadays runs very well in Firefox. About the LXQt Desktop environment: LXQt is a lightweight Qt desktop environment. It will not get in your way. It will not hang or slow down your system. It is focused on being a classic desktop with a modern look and feel. MOST IMPORTANT: Now you can install exGENT to hard drive in two ways. You can still use the install scrips in /root/install. That is the best way to install exGENT on non UEFI computers for example VirtualBox and VMware. The second way is to use the Calamares Installer.

Is exGENT Build 200428 unique?
If you have a look at Gentoo’s download site you will notice that the latest Gentoo live system is from 20160704 (!?). Furthermore there are only a few other distros based on Gentoo. The most well-known are Funtoo Linux and Sabayon Linux. Funtoo isn’t a live system. Sabayon is a live system distributed with different Desktops variants. (Not with LXQt though). I have tried some of them on the computers I have access to. None of Sabayon’s variants could run live. Not even in VirtualBox and VMware. My guess is that exGENT has better hardware recognition than Sabayon.

Screenshots

1. exGENT Build 200428 running Spotify
2. exGENT Build 200428 – root’s Desktop
3. exGENT running Calamares in VirtualBox
4. exGENT running in VirtualBox

READ MORE…

About exGENT Rpi4 Build 200410
I’ve created an exGENT/Gentoo system for Raspberry Pi 4. Read more about it…

Read about my Android-x86 Systems – 10, Pie, Oreo, Nougat, Marshmallow, Lollipop and KitKat at

andex.exton.net – latest is AndEX 10 (with GAPPS) and AndEX Pie 9.0 (also with GAPPS)!
and
about my Pie, Oreo, Nougat, Marshmallow and Lollipop versions for Raspberry Pi 3/2 at
raspex.exton.se – latest is RaspAnd Pie 9.0 (without GAPPS) and RaspAnd Oreo 8.1 (with GAPPS)!